
🔎position: sticky
스크롤 할때 화면에 나오게 되면 고정시킬 때 사용

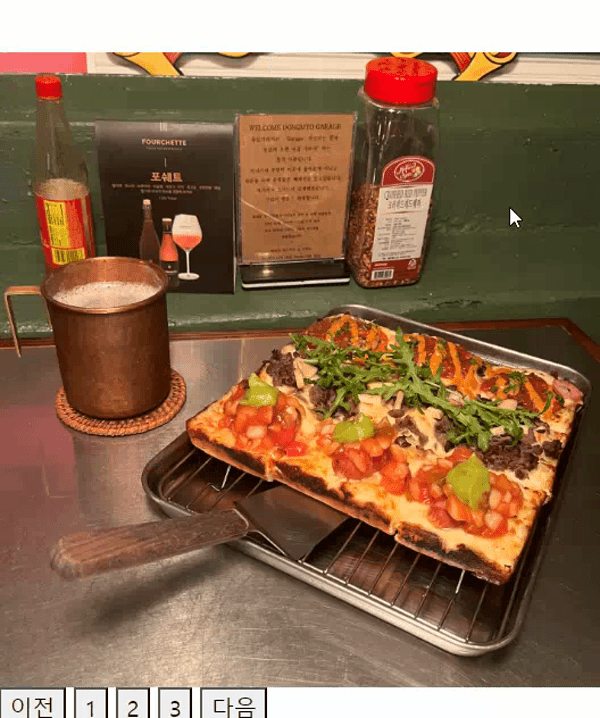
위와 같은 화면으로 이미지가 나올때, 이미지를 고정시키도록 코드를 작성했다.
html
<body style="background : grey; height : 3000px">
    <div class="grey">
        <div class="image">
            <img src="../img/js.jpg" width="100%">
        </div>
        <div style="clear : both"></div>
        <div class="text">Javascript with young-ki</div>
    </div>
</body>
css
        .grey {
            background: lightgrey;
            height: 2000px;
            margin-top: 500px;
        }

        .text {
            float: left;
            width: 300px;
        }

        .image {
            float: right;
            width: 400px;
            position: sticky;
            top: 100px;
        }
📋 sticky 활용

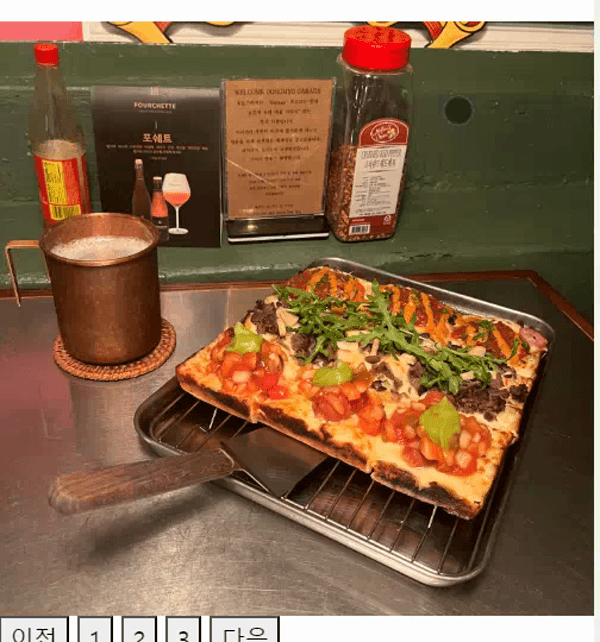
위와 같은 화면을 만들어줄 것이다.
html
<body style="background : grey; height : 3000px">
    <div class="card-background">
        <div class="card-box">
            <img src="../img/food1.jpg">
        </div>
        <div class="card-box">
            <img src="../img/food2.jpg">
        </div>
        <div class="card-box">
            <img src="../img/food3.jpg">
        </div>
    </div>
</body>
css
        .card-background {
            height: 3000px;
            margin-top: 800px;
            margin-bottom: 1600px;
        }

        .card-box img {
            display: block;
            margin: auto;
            max-width: 80%;
        }

        .card-box {
            position: sticky;
            top: 400px;
            margin-top: 200px;
            transition : all 0.05s;
        }
sticky를 활용했다.
js
        window.addEventListener('scroll', function () {
            var totalH = document.documentElement.scrollTop; // 스크롤된 높이 가져오기
            console.log(totalH);


            var cardBox = document.querySelectorAll('.card-box');
            if (cardBox) {
                let y = -1 / 500 * totalH + 110 / 50; //계산식
                let z = (-1 / 5000) * totalH + 565 / 500;
                cardBox[0].style.opacity = y;
                cardBox[0].style.transform = `scale(${z})`;
            }
            if (totalH > 1000) {
                let y = -1 / 500 * (totalH - 500) + 110 / 50;
                let z = (-1 / 5000) * (totalH-500) + 565 / 500;
                cardBox[1].style.opacity = y;
                cardBox[1].style.transform = `scale(${z})`;
            }
        });
카드가 3개이므로 첫번째, 두번째만 스크롤 할시 사라지도록 구현했다. 다소 하드코딩했으나, 이를 활용해서 카드가 여러개일 경우도 작성할 수 있을 것이다.
💡 스와이프 기능
🔎 mouse
mousedown : 마우스 버튼 눌렀을때
mouseup : 마우스 버튼 땠을 때
mousemove : 요소 위에서 마우스를 이동할 때
📋 마우스 드래그해 다음 이미지로 이동
움직인 거리가 100이 넘지 않으면 첫번째 이미지를 보여주고, 움직인 거리가 100 초과일 경우 두 번째 이미지를 보여준다.
html
    <div style="overflow: hidden">
        <div class="slide-container">
            <div class="slide-box">
                <img src="img/food1.jpg">
            </div>
            <div class="slide-box">
                <img src="img/food2.jpg">
            </div>
            <div class="slide-box">
                <img src="img/food3.jpg">
            </div>
        </div>
    </div>
js
let start = 0;
let ifPress = false;
let moveX = 0;
document.querySelectorAll('.slide-box')[0].addEventListener('mousedown',function(e){
  start=e.clientX;
  ifPress=true;
})
document.querySelectorAll('.slide-box')[0].addEventListener('mousemove',function(e){
  if (ifPress){
    moveX=e.clientX - start;
    document.querySelectorAll('.slide-box')[0].style.transform = `translateX(${moveX}px)`;
  }
})
document.querySelectorAll('.slide-box')[0].addEventListener('mouseup',function(e){
  ifPress=false;
  console.log(moveX);
  if(moveX<-100){
    document.querySelector(".slide-container").style.transform =
    "translateX(-100vw)";
  }else{
    document.querySelector(".slide-container").style.transform =
    "translateX(0vw)";
  }
애니메이션을 주기도 했으나, 기능이 잘 동작하지 않아서 빼주니 잘 동작했다.
🔎 touch
모바일로 구현할 시에 touch를 이용한다.
touchstart 터치 시작시
touchmove 터치 중일 때 계속
touchend 터치 종료시
📋 모바일로 구현하기
같은 기능을 모바일로 터치했을 때도 동일하게 작동하게 할 것이다.
js
let start_m = 0;
let ifPress_m = false;
let moveX_m = 0;
document.querySelectorAll('.slide-box')[0].addEventListener('touchstart',function(e){
  start_m=e.touches[0].clientX;
  ifPress_m=true;
})
document.querySelectorAll('.slide-box')[0].addEventListener('touchmove',function(e){
  if (ifPress_m){
    moveX_m=e.touches[0].clientX - start_m;
    document.querySelectorAll('.slide-box')[0].style.transform = `translateX(${moveX_m}px)`;
  }
})
document.querySelectorAll('.slide-box')[0].addEventListener('touchend',function(e){
  ifPress_m=false;
  console.log(moveX_m);
  if(moveX_m<-100){
    document.querySelector(".slide-container").style.transform =
    "translateX(-100vw)";
  }else{
    document.querySelector(".slide-container").style.transform =
    "translateX(0vw)";
  }
})
기존의 e.clientX를 e.touches[0].clientX 이렇게 수정했다.
잘 작동하였다.
🔎 switch
let num = 2

switch (num){
  case 1 :
    alert('1입니다');
    break
  case 2 :
    alert('2입니다');
    break
  default :
    alert('1또는2가 아닙니다')
}
위와 같은 방식으로 사용된다. break를 걸어줘야 다음 케이스로 넘어가지 않는다.
SKYDeveloper