RDS는 mysql로 생성되어 있다고 가정
1. 버킷 생성
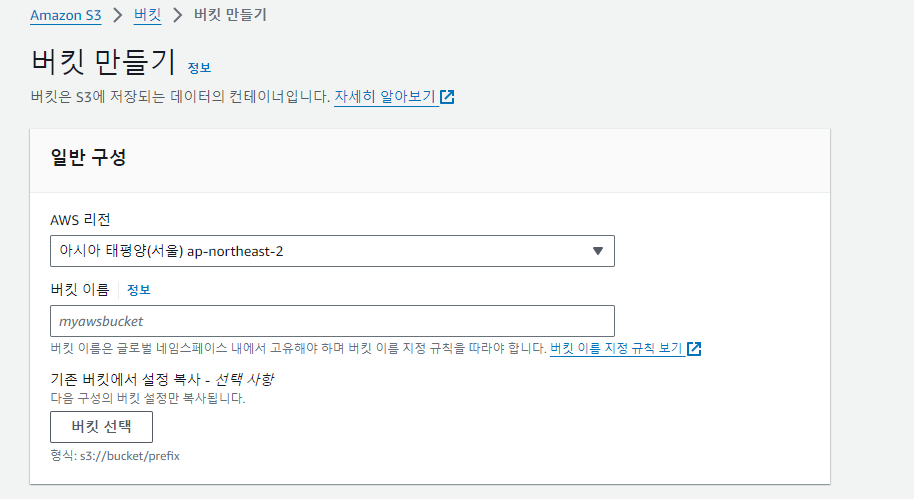
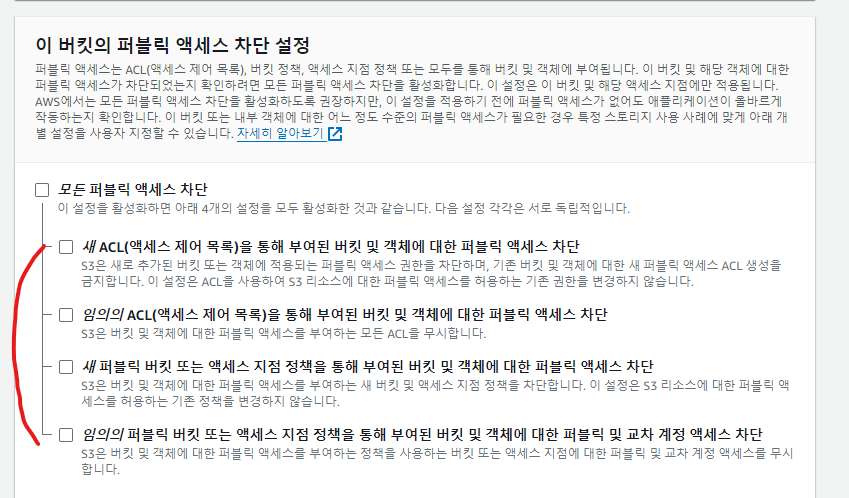
접근을 위해 퍼블릭 엑세스를 허용 해주자!
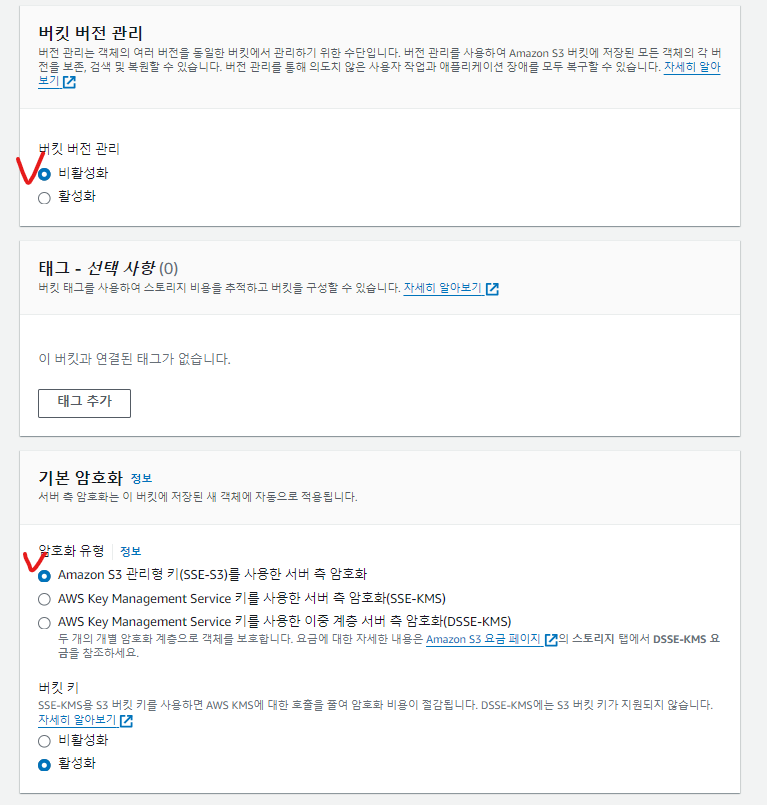
버킷 버전 관리를 활성화 할 경우 요금이 과금될 수 있음!
IAM을 통해 만들어진 user 의 Access key ID,Secret access key 가 필요!
- 외부에 노출되지 않게 조심해야함!
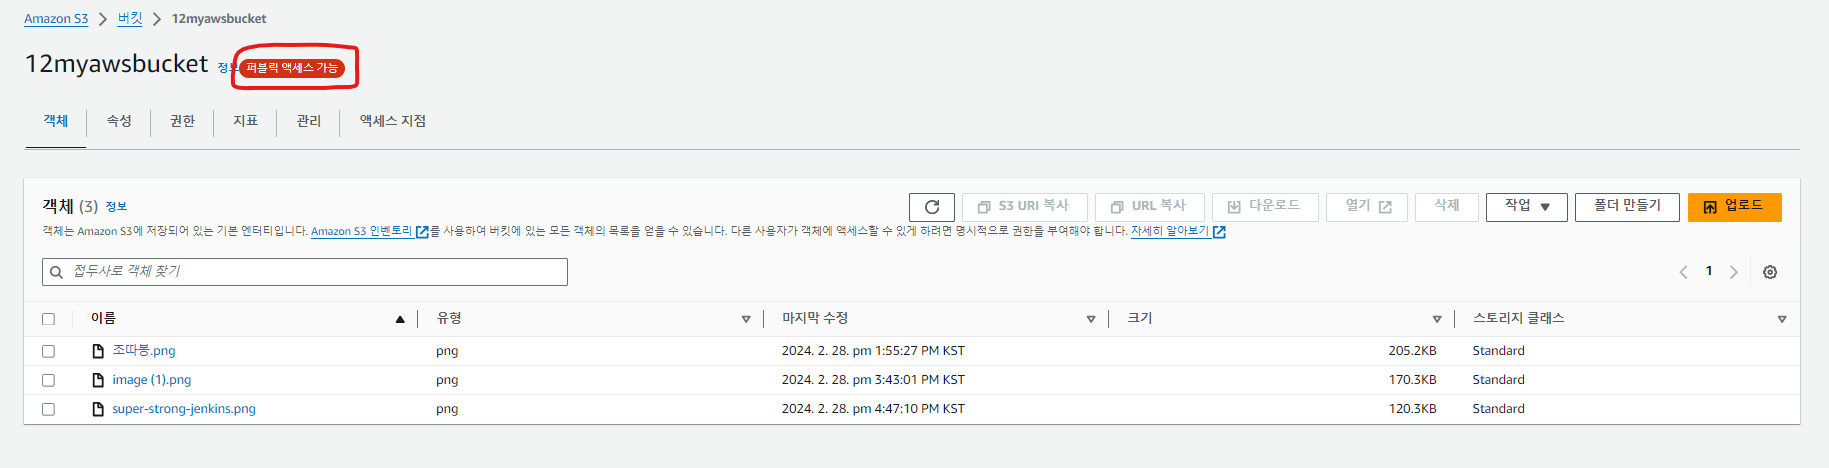
버킷이 퍼블릭 엑세스 허용되도록 생성된 것을 확인
2. Spring 설정
build.gradle 추가
implementation 'org.springframework.cloud:spring-cloud-starter-aws:2.2.6.RELEASE'yml 파일
server:
  port: 80    # server.port=80
  servlet:
    context-path: /probono  # server.servlet.context-path=/probono

spring:
  datasource:
    driver-class-name: com.mysql.cj.jdbc.Driver
    username: '계정'
    password: '비번'
    url: jdbc:mysql://<엔드포인트>:3306/<데이터베이스>?useSSL=false&allowPublicKeyRetrieval=true

  jpa:
    database: mysql
    database-platform: org.hibernate.dialect.MySQL8Dialect
    generate-ddl: true
    hibernate:
      ddl-auto: none
    show-sql: true
  mvc:        # jsp 사용을 위한 필수 설정, WEB-INF 폴더 직접 만들고, pom.xml에 설정, ProbonoController의 메소드 setViewName()확인하기
    view:
      prefix: /WEB-INF/    # spring.mvc.view.prefix: /WEB-INF/
      suffix: .jsp         # spring.mvc.view.suffix: .jsp


  servlet:
    multipart:
      max-request-size: 30MB
      max-file-size: 30MB

cloud:
  aws:
    s3:
      bucket: <버킷이름>
    region:
      static: ap-northeast-2
    stack:
      auto: false
    credentials:
      access-key: <키>
      secret-key: <키>
중요한 정보가 담겨있음!! -> yml 파일은 절~대 github에 올리지 않도록 .gitignore를 꼭 설정해 주자
3. 간단한 사진 업로드 기능작성
config 파일
@Configuration
public class S3config {

	@Value("${cloud.aws.credentials.access-key}")
	private String accessKey;
	@Value("${cloud.aws.credentials.secret-key}")
	private String secretKey;
	@Value("${cloud.aws.region.static}")
	private String region;

	@Bean
	public AmazonS3Client amazonS3Client() {
		AWSCredentials credentials = new BasicAWSCredentials(accessKey, secretKey);

		return (AmazonS3Client)AmazonS3ClientBuilder
			.standard()
			.withRegion(region)
			.withCredentials(new AWSStaticCredentialsProvider(credentials))
			.build();
	}
}
Service
@Service
@RequiredArgsConstructor
public class S3UploadService {

	private final AmazonS3 amazonS3;

	@Value("${cloud.aws.s3.bucket}")
	private String bucket;

	public String saveFile(MultipartFile multipartFile) throws IOException {
		String originalFilename = multipartFile.getOriginalFilename();

		ObjectMetadata metadata = new ObjectMetadata();
		metadata.setContentLength(multipartFile.getSize());
		metadata.setContentType(multipartFile.getContentType());

		amazonS3.putObject(bucket, originalFilename, multipartFile.getInputStream(), metadata);
		return amazonS3.getUrl(bucket, originalFilename).toString();
	}
}
Controller
@RestController
@RequiredArgsConstructor
public class FileUploadController {

	private final S3UploadService s3UploadService;

	@PostMapping("/api/upload")
	public ResponseEntity<String> upload(@RequestPart(name = "file") MultipartFile file) throws IOException {
		return ResponseEntity.ok(s3UploadService.saveFile(file));
	}

}
😢오류!
수정 전
@PostMapping("/api/upload")
	public ResponseEntity<String> upload(@RequestPart MultipartFile file) throws IOException {
		return ResponseEntity.ok(s3UploadService.saveFile(file));
	}


오류 발생
Request part name for argument type [org.springframework.web.multipart.MultipartFile] not specified, and parameter name information not found in class file either.
파라미터 이름 정보가 클래스 파일에서 찾을 수 없다는 에러가 발생한다!
메서드의 파라미터에 이름을 명시적으로 지정하여 해결해줬다.
수정 후
@PostMapping("/api/upload")
	public ResponseEntity<String> upload(@RequestPart(name = "file") MultipartFile file) throws IOException {
		return ResponseEntity.ok(s3UploadService.saveFile(file));
	}
postman으로 테스트
form-data에서 File 형식으로 설정하고 컨트롤러에서 설정한 parameter name 을 넣어 준다.
업로드할 사진을 넣고 send!
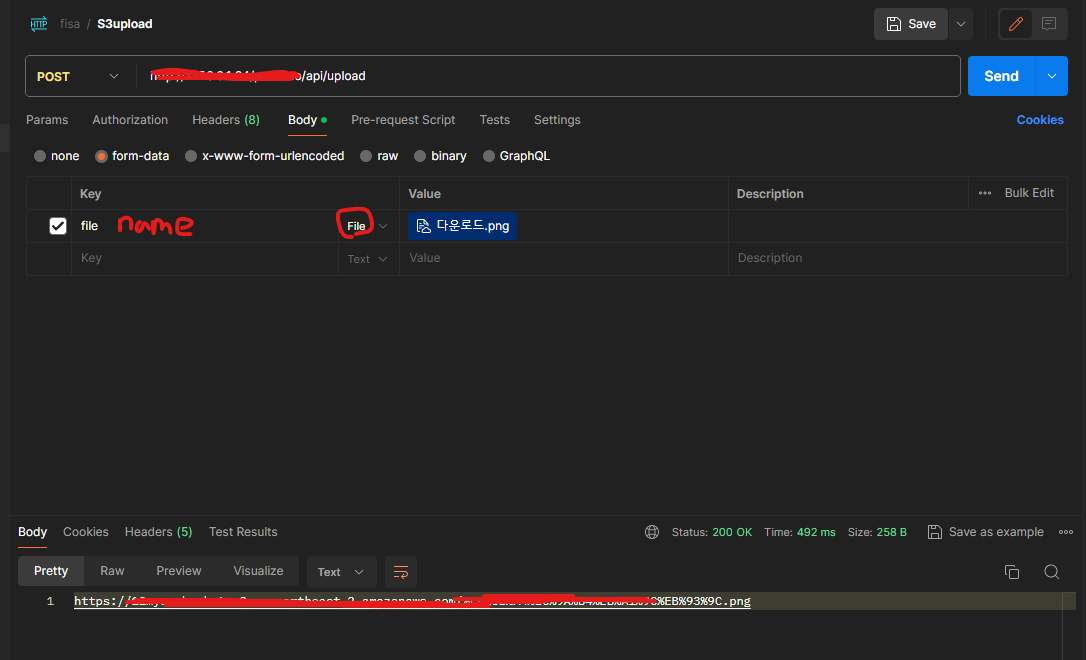
반환 값으로 업로드한 해당 사진의 url 값이 오게 됨
이제 이 url로 크롬에서 접속해 보면~?

이미지 확인이 가능하다~
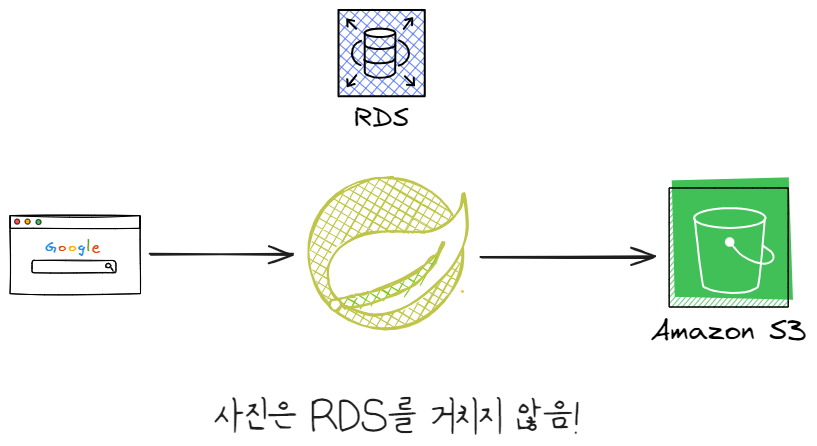
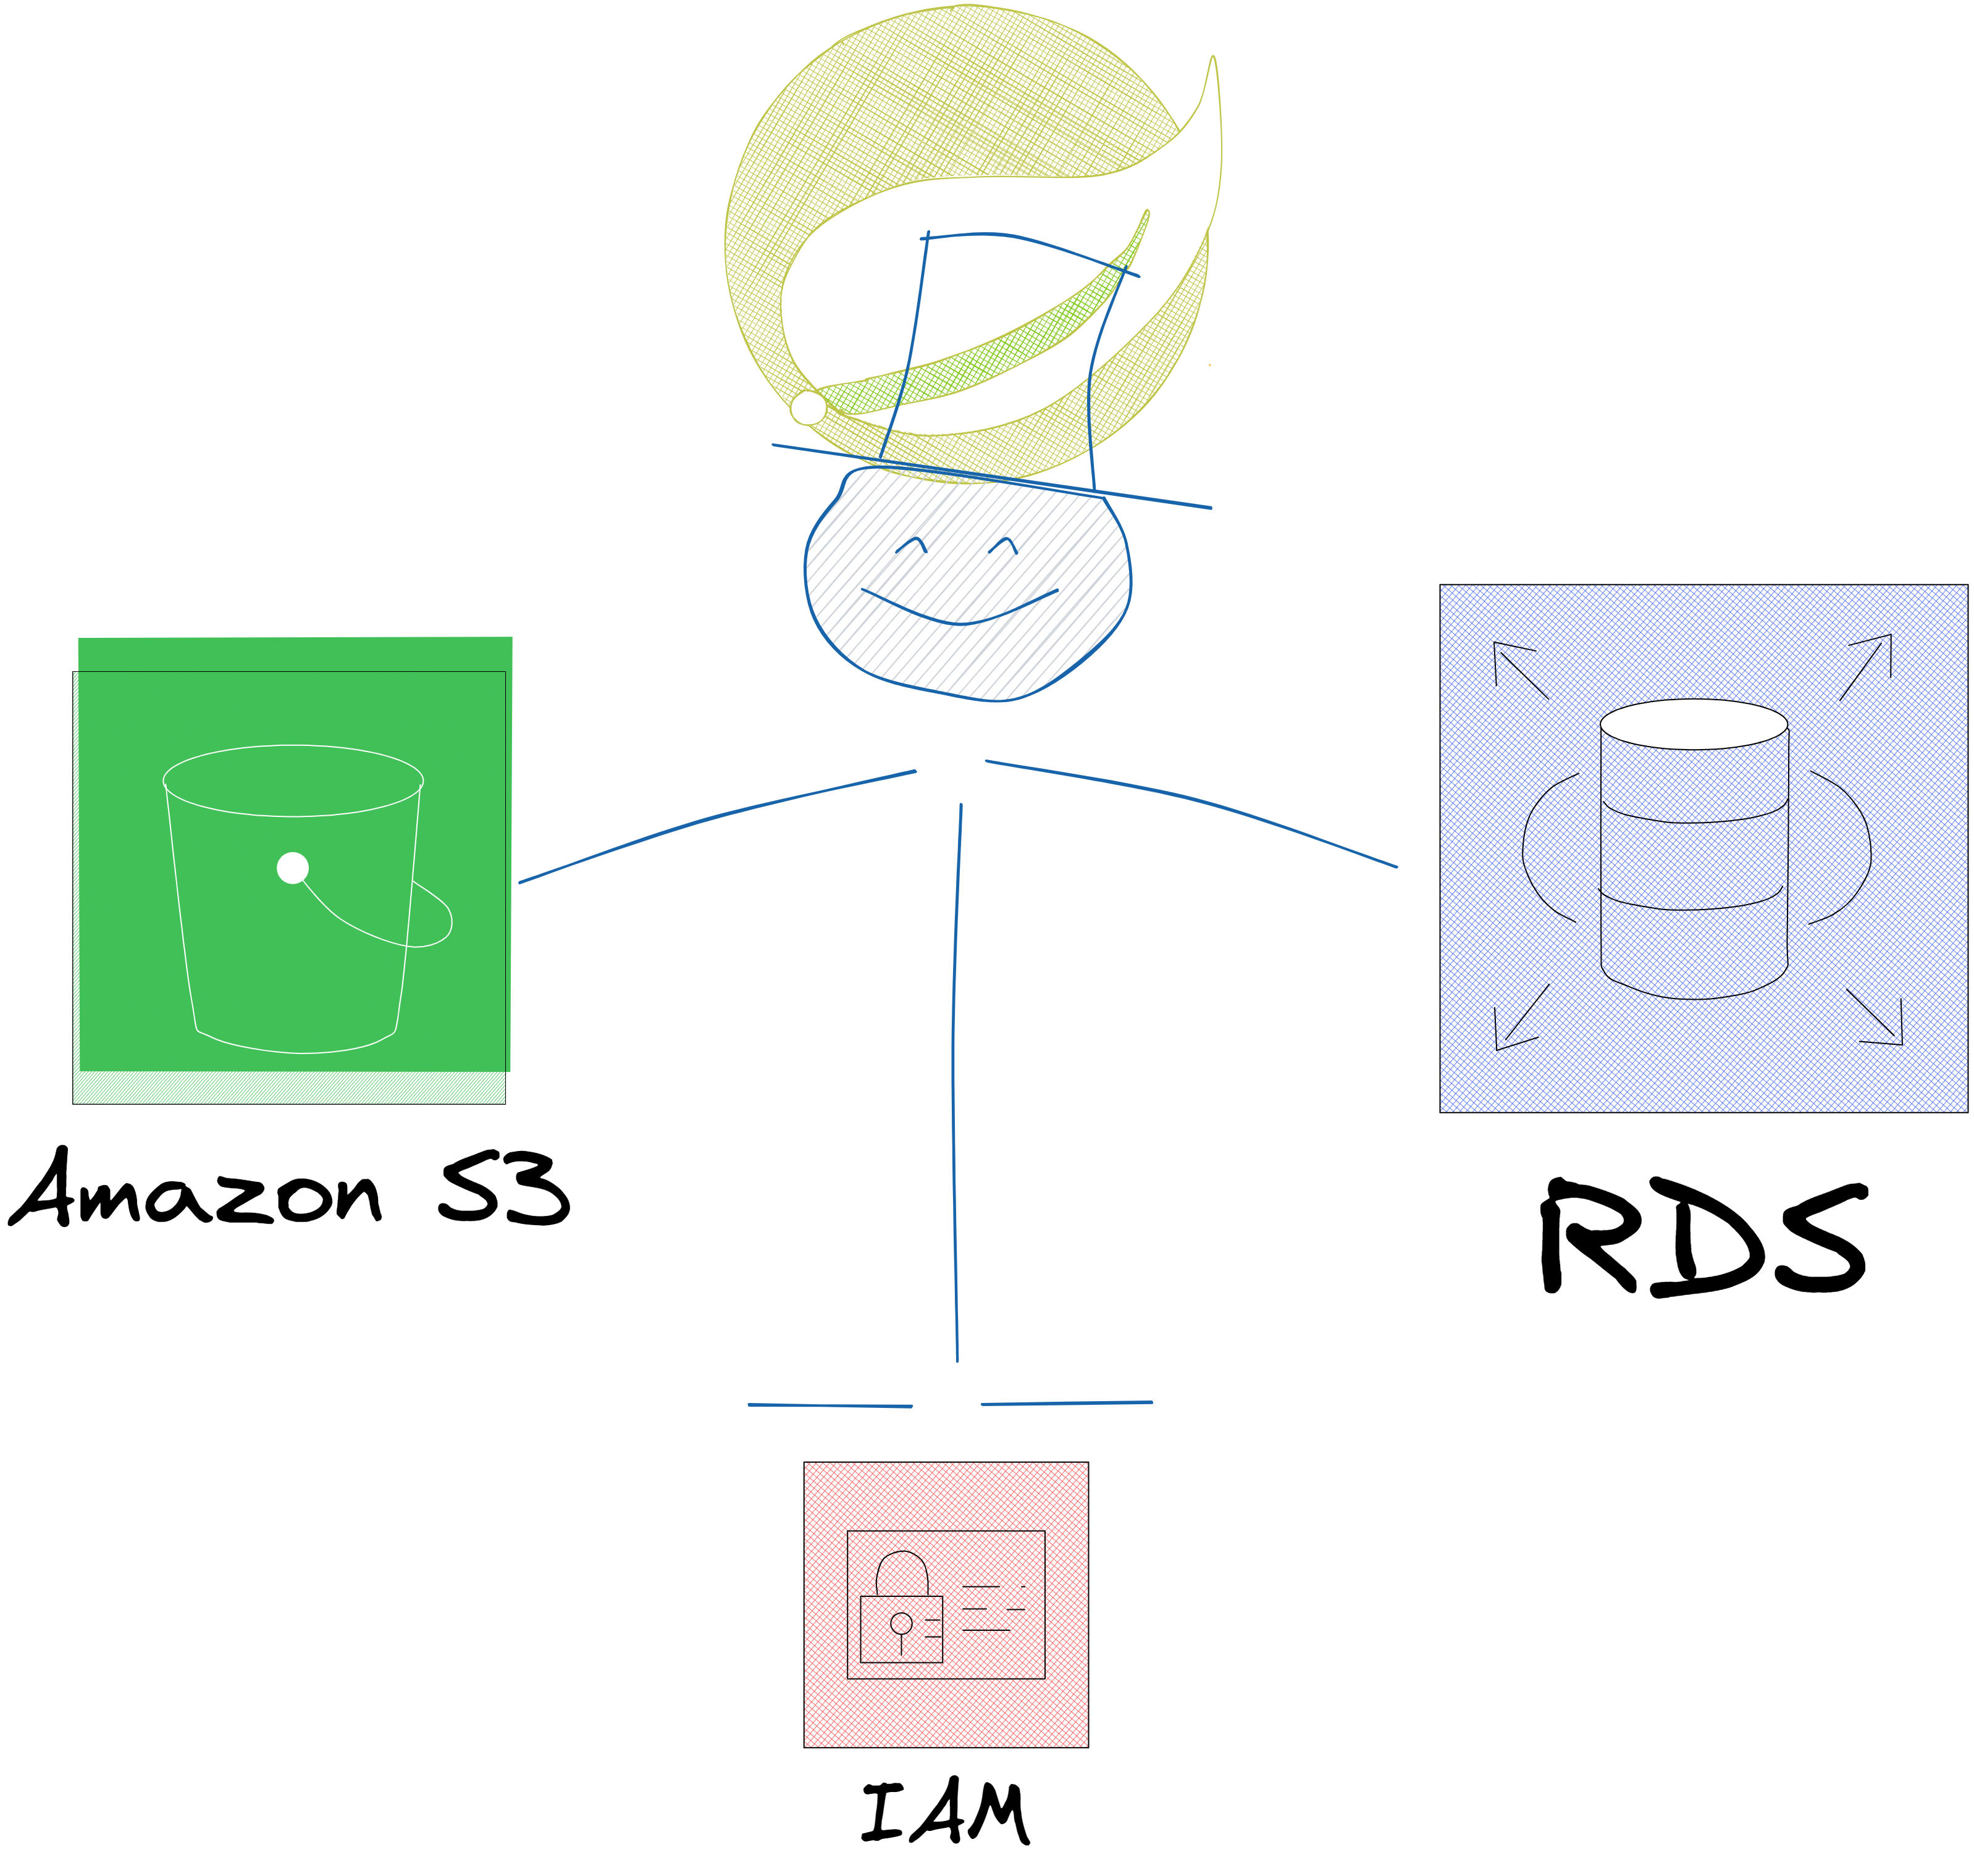
구성

💪 점진적 과부하로 성장하는 개발자