오늘은 AppStore에 App을 올리기 위해 필요한 Provisioning Profile을 만들어 보겠습니다.
Apple Developer 등록을 했다는 가정하에 진행합니다.
1. Profile 탭 - + 버튼
2. 개발 or 배포용 선택
- Certificates와 같이 개발, 배포 따로 만들어야한다.
- 개발 = iOS App Development
- 배포 = App Store

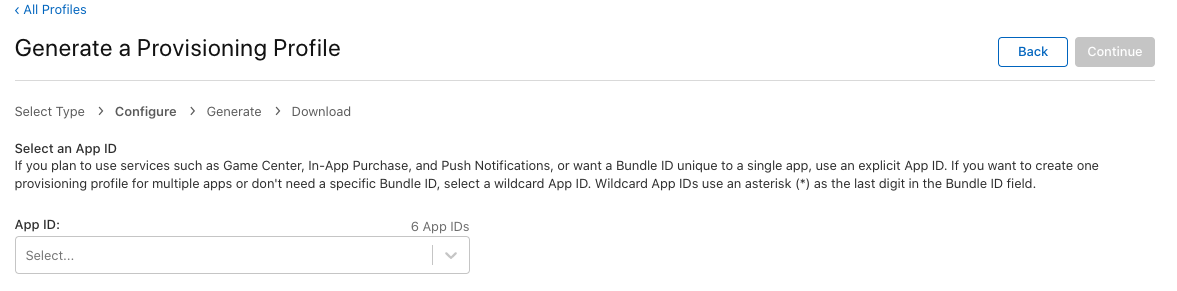
3. Part2에서 만든 Identifier를 선택
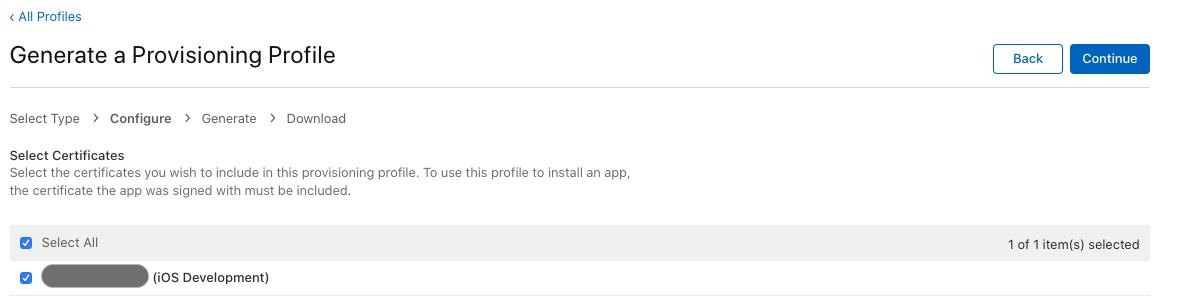
4. Part1에서 만든 Certificate 선택
- 1단계에서 개발용으로 하면 개발만 보임 (밑사진에서 (iOS Development))
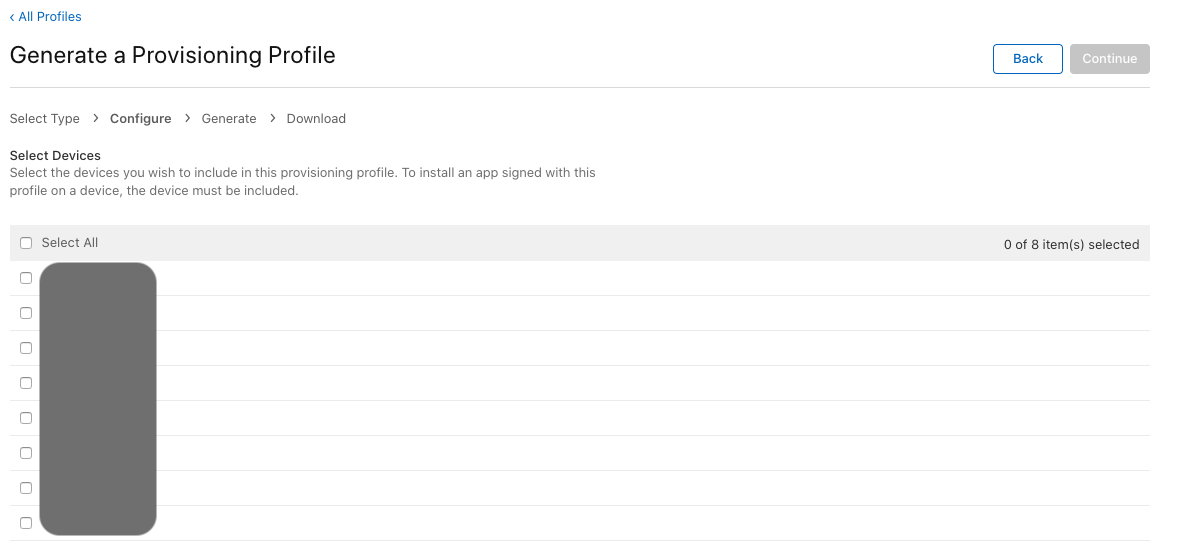
5. Part3에서 만든 Device 선택
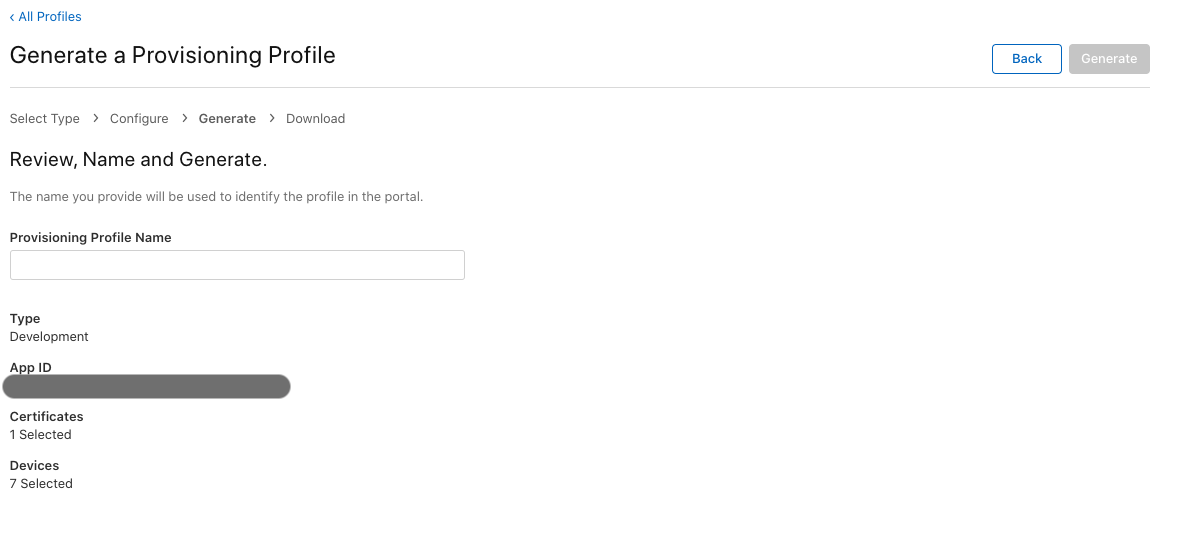
6. 원하는 이름 적고 Generate
혹시 에러가 생긴다면, Part1부터 빼놓은게 없는지 확인!
개발병아리