https://developer.mozilla.org/ko/docs/WebAssembly/Rust_to_wasm
1. wasm-pack 설치
cargo install wasm-pack으로는 설치시 에러가 발생하여 진행하기 어려워 아래 링크의 설치 파일을 이용해서 wasm-pack 설치
https://rustwasm.github.io/wasm-pack/installer/
2. WebAssembly npm 패키지 빌드
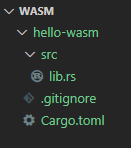
cargo new --lib hello-wasm

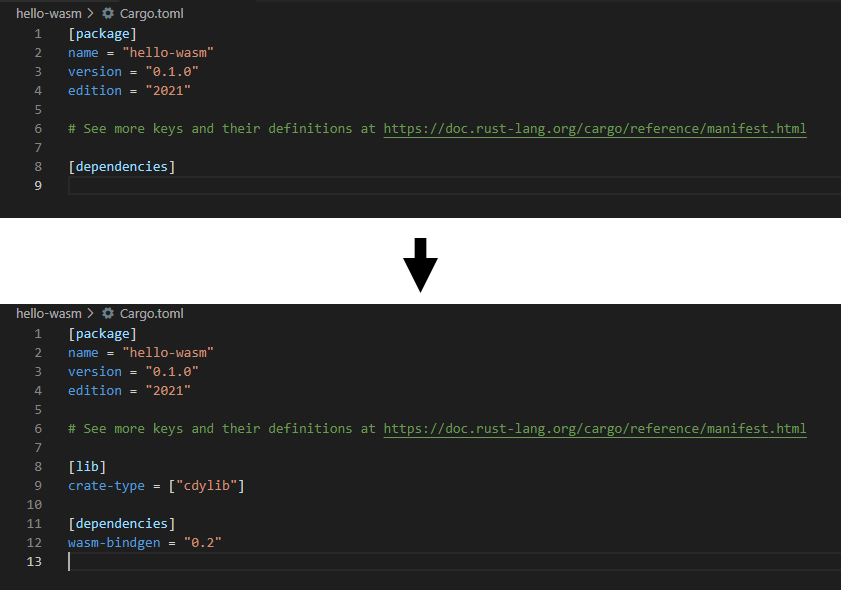
Cargo.toml은 빌드를 위해 설정하는 파일
Cargo.toml 파일 편집

lib.rs 내용 작성
src/lib.rs의 내용을 삭제 후 아래 내용 기입
use wasm_bindgen::prelude::*;

#[wasm_bindgen]
extern {
    pub fn alert(s: &str);
}

#[wasm_bindgen]
pub fn greet(name: &str) {
    alert(&format!("Hello, {}!", name));
}
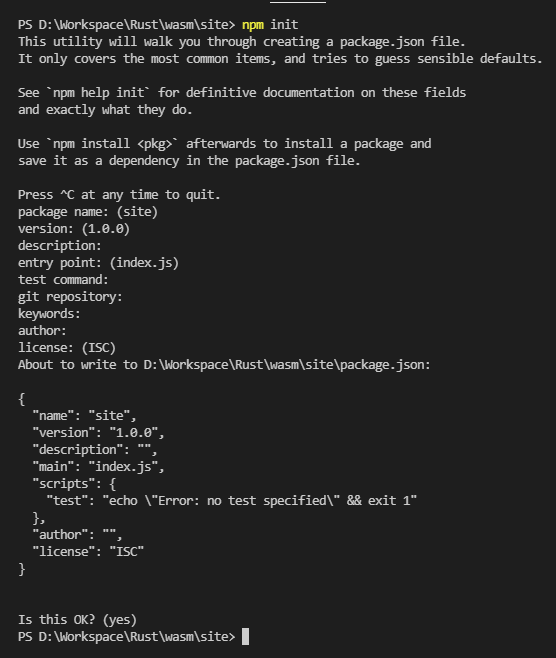
site 폴더 생성 후 npm init

package.json 파일 수정
"scripts"에 "serve" : "webpack-dev-server" 추가
"devDependencies": {
    "webpack": "^4.25.1",
    "webpack-cli": "^3.1.2",
    "webpack-dev-server": "^3.1.10"
  }
devDependencies 항목 추가
webpack.config.js 파일 생성
const path = require('path');
module.exports = {
  entry: "./index.js",
  output: {
    path: path.resolve(__dirname, "dist"),
    filename: "index.js",
  },
  mode: "development"
};
index.html 파일 생성
<!DOCTYPE html>
<html>
  <head>
    <meta charset="utf-8">
    <title>hello-wasm example</title>
  </head>
  <body>
    <script src="./index.js"></script>
  </body>
</html>
index.js 파일 생성
const js = import("../pkg/hello_wasm.js");
js.then(js => {
  js.greet("WebAssembly");
});
wasm-pack build

server 실행
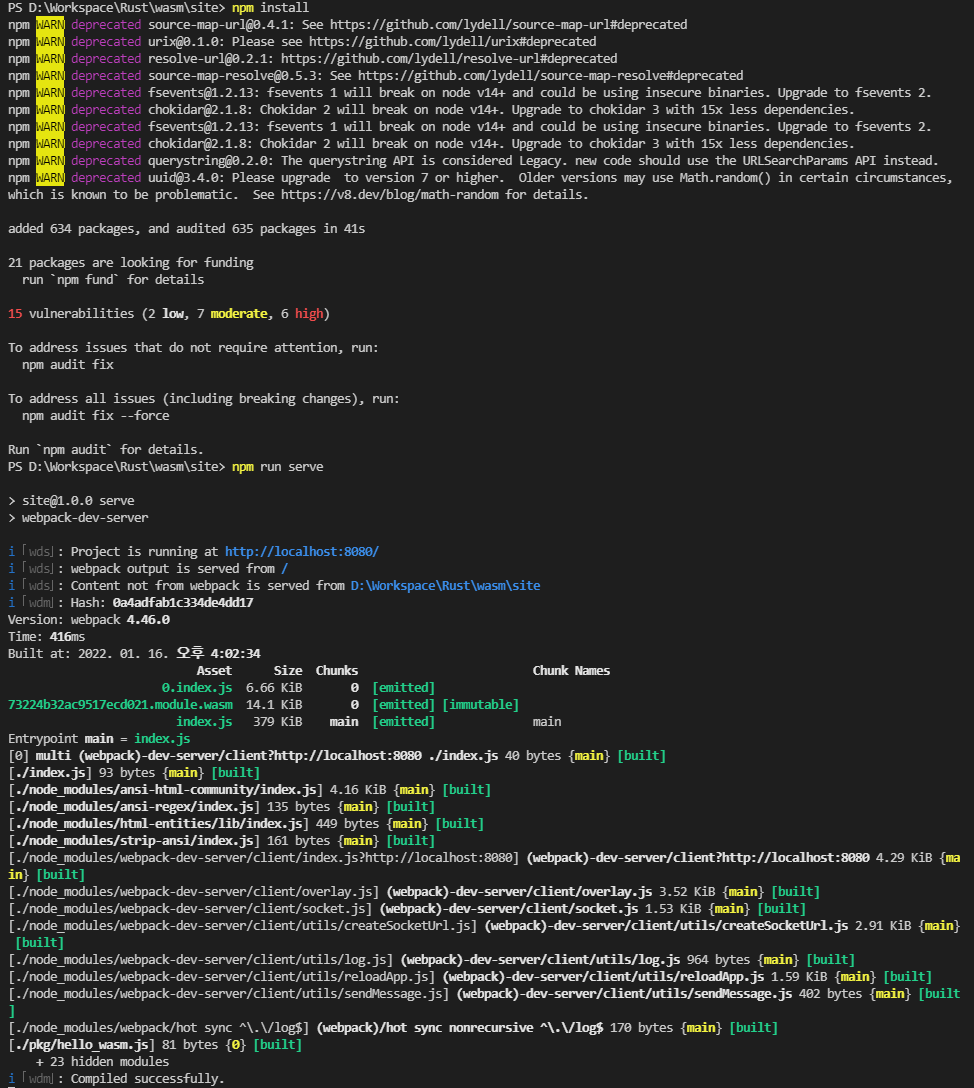
npm install
npm run serve

localhost:8080

