Firebase console
시작하기 → 프로젝트 만들기 버튼 클릭 → 프로젝트 이름 작성 및 동의 → 계속 → 동의 후 다음
프로젝트 설정 클릭 → 안드로이드 버튼 클릭 → SHA-1 값 등록 (등록하는 방법은 이전 게시물 참조)
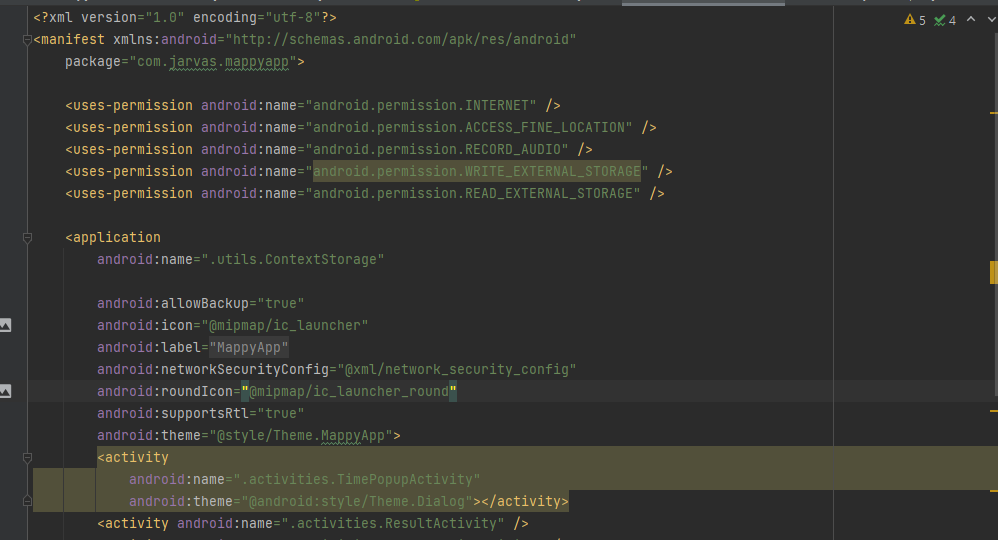
패키지 이름은 Manifest 파일에서 확인할 수 있다.
앱 등록 후 , 구성파일 다운로드
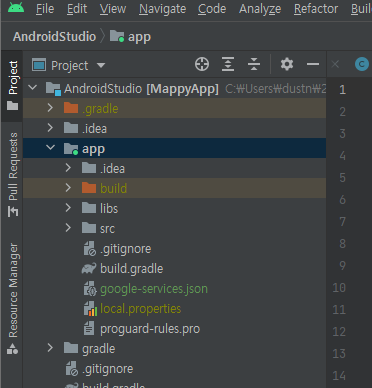
다운로드 파일을 붙여넣고 File → Sync Project with Gradle Files 클릭
안내에 따라
프로젝트 수준의 build.gradle에서
buildscript {
  repositories {
    // Check that you have the following line (if not, add it):
    google()  // Google's Maven repository

  }
  dependencies {
    ...
    // Add this line
    classpath 'com.google.gms:google-services:4.3.10'

  }
}

allprojects {
  ...
  repositories {
    // Check that you have the following line (if not, add it):
    google()  // Google's Maven repository

    ...
  }
}
입력해준다.
그리고
앱수준 build.gradle에서
apply plugin: 'com.android.application'

// Add this line
apply plugin: 'com.google.gms.google-services'

dependencies {
  // Import the Firebase BoM
  implementation platform('com.google.firebase:firebase-bom:29.3.1')

  // Add the dependency for the Firebase SDK for Google Analytics
  // When using the BoM, don't specify versions in Firebase dependencies
  implementation 'com.google.firebase:firebase-analytics'

  // Add the dependencies for any other desired Firebase products
  // https://firebase.google.com/docs/android/setup#available-libraries
}
라고 나와있는데
나는 dependencies에서
implementation 'com.google.firebase:firebase-messaging:23.0.3'을 추가했다.
Java 클래스를 하나 만들어 FirebaseMessagingService를 상속하는 클래스를 생성한다.
public class MyFirebaseMessagingService extends FirebaseMessagingService {
    @Override
    public void onMessageReceived(@NonNull RemoteMessage message) {
        super.onMessageReceived(message);
        // token을 서버로 전송한다.
        // 클라우드 서버에 등록될 시 호출, token이 앱을 구분하기 위한 고유 키가 됨.
    }

    @Override
    public void onNewToken(@NonNull String token) {
        super.onNewToken(token);
        // 수신한 메시지를 처리한다.
        // 클라우드 서버에서 메시지 전송시 자동호출, 메시지 처리해 알림 보낼 수 있음.
    }
}
Manifest에서 INTERNET을 사용하기 위한 퍼미션을 추가하고, 서비스를 추가한다.
<manifest xmlns:android="http://schemas.android.com/apk/res/android"
    package="com.maejin.samplepush">

    <!--   INTERNET 퍼미션 추가!   -->
    <uses-permission android:name="android.permission.INTERNET"/>

    <application
        ...>
        <activity android:name=".MainActivity">
            ...
        </activity>

        <!--   서비스를 추가하고 인텐트 필터를 설정한다.   -->
        <service android:name=".MyFirebaseMessagingService">
            <intent-filter>
                <action android:name="com.google.firebase.MESSAGING_EVENT"/>
            </intent-filter>
        </service>
    </application>

</manifest>
등록된 token 확인 방법
String token = FirebaseMessaging.getInstance().getToken().getResult();addOnSuccessListener로 토큰 확인시 자동으로 onSuccess 호출가능
FirebaseMessaging.getInstance().getToken().addOnSuccessListener(new OnSuccessListener<String>() {
    @Override
    public void onSuccess(String token) {
        //...
    }
});