
ts-animal 테스트 코드를 작성하며 배운 것 & 테스트코드 적용기
CLI package의 테스트 코드를 작성하던 중 알아봤던 내용 & 적용한 경험담입니다😄
지금 만들고 있는 npm package ts-animal은 터미널에 움직이는 아스키 아트 애니메이션을 보여주는 패키지인데요.

CLI로 동작하는 패키지를 테스트 하려하니, 이전 유닛 테스트, e2e 테스트를 작성할 때와 또 다른 점이 있었고, 공유할 수 있는 경험을 하게 된 것 같아 정리해봤습니다. 항해플러스를 과정을 거치면서 프론트, 백엔드, CLI에 대한 각기 다른 테스트 방식을 체험해보게 되어 알찬 경험이 되었습니다.
터미널에 출력되는 값을 어떻게 테스트 할 것인가?
처음 process를 테스트하는 방법에 대한 레퍼런스를 찾아보고, 개인 작업물에서 child_process.exec()를 사용하여 간단히 작성하여 알아봤었는데요. [👉소스 코드]
그런데 테스트 코드를 좀 더 복잡한 코드인 ts-animal에 적용하려 했을 때, child_process가 원하는 대로 동작하지 않는다는 느낌을 받았습니다. 그래서 기능을 제대로 이해하고 테스트 코드를 작성하기 위해 NodeJS 공식 문서를 살펴봤습니다.
이 글에서는
1️⃣ 첫 번째로 child_process에 대해서 알게된 내용을 정리하고,
2️⃣ 두 번째로 테스트를 적용하면서 발생한 문제점을 해결한 사례를 공유하려 합니다.
📌 node:child_process
Child_process: Node.js 하위 프로세스 관리
Thenode:child_processmodule provides the ability to spawn subprocesses
Node.js는 애플리케이션에서 하위 프로세스를 관리하는 모듈인 child_process 를 제공합니다. (Stability: 2 - Stable)
레퍼런스를 기준으로 파이프, 쉘, 하위 프로세스 생성 등 child_process를 살펴보겠습니다.
파이프 Pipe란?
파이프는 프로세스 간 통신의 기본적인 개념입니다.
Node.js에서는 child_process 모듈이 표준 입력(stdin), 표준 출력(stdout), 표준 에러(stderr)에 대한 기본 파이프를 제공합니다.
간단한 예제를 살펴보겠습니다:
const { spawn } = require('child_process'); // spawn 메서드 사용
const ls = spawn('ls', ['-lh', '/usr']);

ls.stdout.on('data', (data) => {
  console.log(`표준 출력: ${data}`);
});

ls.stderr.on('data', (data) => {
  console.error(`표준 에러: ${data}`);
});

ls.on('close', (code) => {
  console.log(`하위 프로세스가 종료되었습니다. 종료 코드: ${code}`);
});
하위 프로세스의 라이프사이클, subprocesses
하위 프로세스의 라이프사이클은 프로세스 생성부터 종료까지의 과정을 의미합니다. 이를 관리하기 위해 child_process 모듈은 다양한 이벤트와 메서드를 제공합니다.
child_process의 메서드
- 특이사항
- sync 메서드는 이벤트 루프를 차단하는, 동기적으로 작동하는 메서드입니다.
- exec, execFile 메서드는 콜백 함수가 존재합니다.
- execFile을 윈도우에서 실행하기 위해서는 별도의 처리가 필요합니다(하단 참고)
| 구분 | 내용 | 콜백 |
|---|---|---|
| child_process.spawn() | 비동기적으로 하위 프로세스를 생성하고, Node.js 이벤트 루프를 차단하지 않습니다. | |
| child_process.spawnSync() | 생성된 프로세스가 종료되거나 종료될 때까지 이벤트 루프를 차단합니다. | |
| child_process.exec() | 셸을 생성하고 해당 셸 내에서 명령을 실행하며, 실행이 완료되면 stdout 및 stderr을 콜백 함수에 전달합니다. | ◯ |
| child_process.execFile() | 기본적으로 셸을 생성하지 않고 명령을 직접 실행합니다. child_process.exec()와 유사하지만 명령을 직접 생성합니다. | ◯ |
| child_process.fork() | 새로운 Node.js 프로세스를 생성하고 지정된 모듈을 IPC 통신 채널로 호출합니다. 부모 및 자식 프로세스 간 메시지를 전송할 수 있습니다. | |
| child_process.execSync() | Node.js 이벤트 루프를 차단하고 동기적으로 명령을 실행합니다. child_process.exec()의 동기적 버전입니다. | |
| child_process.execFileSync() | child_process.execFile()의 동기적 버전으로, Node.js 이벤트 루프를 차단하고 명령을 동기적으로 실행합니다. |
윈도우에서의 child_process.execFile 하위 프로세스 처리
윈도우 환경에서 하위 프로세스 중 execFile 메서드를 실행할 때 주의할 점이 있습니다.
Unix 계열의 운영 체제에서는 셸(Shell)을 실행하고 해당 셸 내에서 명령을 실행하는 방식이 일반적입니다. 따라서 child_process.execFile() 메서드를 사용하여 명령을 실행할 때는 셸이 필요한 경우 자동으로 셸이 생성되어 해당 셸 내에서 명령을 실행합니다.
하지만 Windows 환경에서는 .bat 및 .cmd 파일이 셸의 역할을 하여 해당 파일이 직접 실행됩니다. 따라서 .bat 및 .cmd 파일을 실행할 때에는 셸을 명시적으로 호출해주어야 합니다. 이는 child_process.spawn() 메서드를 사용하여 명령을 실행할 때 적용됩니다.
- Spawning
.batand.cmdfiles on Windows
// On Windows Only...
const { spawn } = require('node:child_process');
const bat = spawn('cmd.exe', ['/c', 'my.bat']);

bat.stdout.on('data', (data) => {
  console.log(data.toString());
});

bat.stderr.on('data', (data) => {
  console.error(data.toString());
});

bat.on('exit', (code) => {
  console.log(`Child exited with code ${code}`);
});
environment variable
기본적으로, child_process.exec() 및 child_process.execFile() 메서드는 options 객체에 포함된 env 환경 변수를 기준으로 경로를 검색합니다. 그렇지 않은 경우, 프로세스의 process.env.PATH를 사용합니다.
옵션 객체에 env가 설정되었지만 PATH가 포함되지 않은 경우, Unix 환경에서는 기본 검색 경로로 /usr/bin:/bin이 사용되며(자세한 내용은 해당 운영 체제의 매뉴얼을 참조하십시오), Windows 환경에서는 현재 프로세스의 PATH 환경 변수가 사용됩니다.
이를 요약하면, PATH 환경 변수는 외부 프로그램 실행에 필수적인데, 이를 설정하는 방법에 따라 실행 결과가 달라질 수 있습니다.
📌 CLI NPM package 테스트 적용기
1. 테스트 코드 작성
- 먼저, 공식문서를 살펴본 내용을 기준으로 다음과 같이 메서드를 적용했습니다.
| 구분 | 기준 |
|---|---|
| execSync | 한줄로 작성할 수 있는 간단한 테스트 |
| exec | 콜백 함수 내 error 확인 필요한 경우 |
execSync를 사용하는 경우
- 반환값을 모킹, 테스트를 한 줄로 작성, 리턴값이 동일한 지 확인
import { execSync } from 'child_process';
...

jest.mock('../helper/color.helper', () => ({
  listColors: jest
    .fn()
    .mockReturnValue(
      '\x1B[30mblack\x1B[0m, \x1B[31mred\x1B[0m, ...',
    ),
}))

describe('colors command', () => {
  ...
  test('should log the colors to the console', () => {
    const print = execSync('ts-node src/index.ts colors', {
      encoding: 'utf8'
    });

    expect(result).toEqual(mockColorsList);
  });
});exec를 사용하는 경우
- 반환값을 모킹, callback function을 사용하여 에러 케이스 및 출력을 확인
import { exec } from 'child_process';
...

describe('version command', () => {
  let spyLog: jest.SpyInstance;
  const mockList = listHelper().join(', ');
  ...

  test('should log the list message with child_process', (done) => {
    exec('ts-node src/index.ts list', { encoding: 'utf8' }, (error, stdout) => {
      if (error) {
        done.fail(error);
        return;
      }

      expect(stdout).toMatch(mockList);

      done();
    });
  });
});👩💻 코드의 내용
color와listcommand의 기능과 터미널 출력을 확인하기 위한 테스트입니다.- 각 helper를 위한 모킹을 추가했고, command의 출력을 확인하여 테스트를 통과했습니다.
❌ 문제점
- 그런데? 테스트 커버리지가 올라가지 않습니다.

- 다음 코드에 문제점이 있습니다.
- 기능에 대한 검증이 필요합니다.
import { listColors } from '../helper/color.helper';

export function colors() {
  console.log(listColors());
}
2. 테스트 가능하도록 기능을 수정
- 이전 항해플러스 TDD 진행 과정에서 테스트 코드의 수정은 조심스러워야 한다! 라는 교훈을 얻었습니다만, 이번 상황에는 기능 테스트를 위해 반환값이 진짜 필요했습니다.
- 중간 발표(라고 쓰고 삽질 연대기라고 읽는) 장표 中
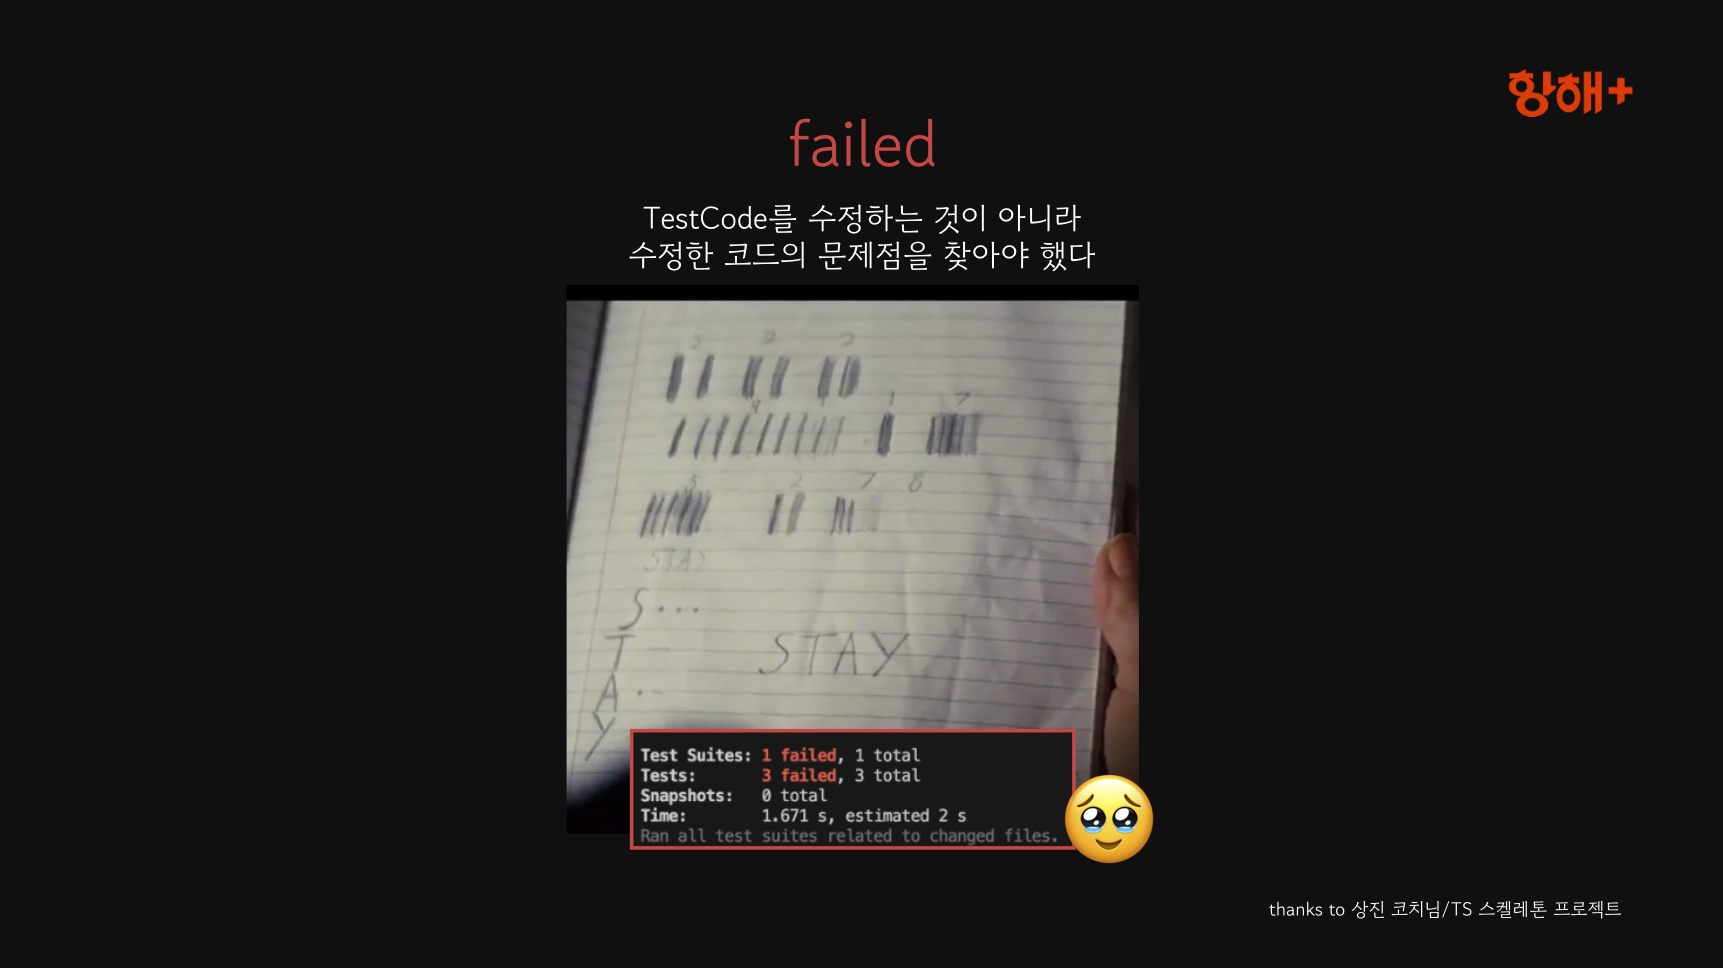
- 중간 발표(라고 쓰고 삽질 연대기라고 읽는) 장표 中
- 이번에는 다르다!
- 오류 해결을 위해 이미 동작하는 테스트 코드를 수정하는 것과, 테스트가 불가능한 코드를 가능한 코드로 변경하는 것은 다릅니다.
👩💻 코드의 내용
- command의 동작을 확인하는 테스트 코드를 작성해, 테스트 코드 PR을 올렸습니다.
import { listColors } from '../helper/color.helper';

export function colors() {
  const print = listColors();
  console.log(print);

  return print; // 값을 정상적으로 출력하고 있는지 확인할 기준으로, 반환값을 추가
}- 커버리지 초록색으로 채우기😃

❌ 문제점
- 그런데..? 피드백!
3. 모킹 제거하기
- 2월 1일 항해 플러스 멘토링 시간에 command 테스트에서 불필요한 테스트를 하고 있음을 알게 되었습니다(허재 코치님✨👍)
- *.command.ts의 테스트
- command.ts는 helper.ts 기능 테스트와 별개
- 해당 함수의 리턴값을 불필요하게 모킹할 필요가 없다
- 애초에 변경되지 않는 상수값이므로 모킹하는 의도가 불분명
- command.ts는? command가 정상적으로 출력 되는지 여부만 확인하면 됨
👩💻 코드의 내용
변경 전 - 문제 있음
import { execSync } from 'child_process';
import * as colorHelper from '../helper/color.helper'; // helper
import { colors as colorsCommand } from './colors.command';

jest.mock('../helper/color.helper', () => ({  // helper를 모킹
  listColors: jest
    .fn()
    .mockReturnValue(
      '\x1B[30mblack\x1B[0m, \x1B[31mred\x1B[0m, \x1B[32mgreen\x1B[0m, \x1B[33myellow\x1B[0m, \x1B[34mblue\x1B[0m, \x1B[35mmagenta\x1B[0m, \x1B[36mcyan\x1B[0m, \x1B[37mwhite\x1B[0m, \x1B[91mbrightRed\x1B[0m, \x1B[92mbrightGreen\x1B[0m, \x1B[93mbrightYellow\x1B[0m, \x1B[94mbrightBlue\x1B[0m, \x1B[95mbrightMagenta\x1B[0m, \x1B[96mbrightCyan\x1B[0m, \x1B[97mbrightWhite\x1B[0m\n',
    ),
}));

describe('colors command', () => {
  let spyLog: jest.SpyInstance;
  const mockColorsList = colorHelper.listColors();
  // color.helper의 listColors가 모킹된 값을 반환
  ...

  test('colors() should list colors', () => {
    const returns = colorsCommand();
    // colorsCommand 내의 listColors에서 모킹된 값을 반환

    expect(spyLog).toHaveBeenCalledWith(mockColorsList);
    expect(returns).toEqual(mockColorsList);
    // colorsCommand 값을 모킹 리스트와 굳이 비교, => 당연히 똑같으므로 테스트하는 이유가 없다
  });
});
변경 후 - (1)반환 여부와 (2)반환값의 일부를 확인
import { execSync } from 'child_process';
import { colors as colorsCommand } from './colors.command';
// helper를 삭제

describe('colors command', () => {
  let spyLog: jest.SpyInstance;
  ...

  test('colors() should list colors', () => {
    const returns = colorsCommand();
    // 실제 값

    expect(returns).not.toBeNull();
    // command가 동작하면 반환값이 존재함
    expect(returns).toContain('red');
    // 전체 문자열을 확인하지 않고, 확실히 포함하는 일부 문자열을 확인
  });
});
❌ 문제점
- 모킹 값을 실제 반환값으로 변경했습니다.
- 그리고 코드리뷰 후 개선점을 추가 발견하게 됩니다🤔
4. 스냅샷 테스트로 개선
- 코드 리뷰에서 스냅샷을 통해 변경점을 확인하고, 테스트를 개선할 수 있음을 알게 되었습니다.(병헌님✨👍)
- 👉 개선 시, 기존 테스트처럼
expect(result).toMatch(colorKeys);를 매번 확인할 필요가 없음

👩💻 코드의 내용
- 다음과 같은 형식으로 수정했습니다.
test('listColors should return a string with all colors', () => {
  const result = listColors();
  const colorKeys = Object.keys(COLOR)
    .filter((e) => e !== 'reset')
    .map((e) => `${COLOR[e]}${e}${COLOR.reset}`)
    .join(', ');

  expect(result).toMatch(colorKeys);
  // 1️⃣ 이전 테스트 사항

  expect(result).toMatchSnapshot();
  // 2️⃣ snapshot (check previous result on `./__snapshots__/color.helper.spec.ts.snap`)
});
✅ 완료
- 다음 PR로 *.command.ts 파일의 테스트 코드 작성을 마무리했습니다😄
https://github.com/ts-animal/ts-animal/pull/34#discussion_r1478063977
thank you for the comment✨
👉 I organized the test code for src/helper/color.helper.ts as follows:
(1) Verify if the output of the random color is in ANSI color format.
(2-1) Check if the color list is not null.
(2-2) Confirm if the displayed color list matches the previous snapshot. 👈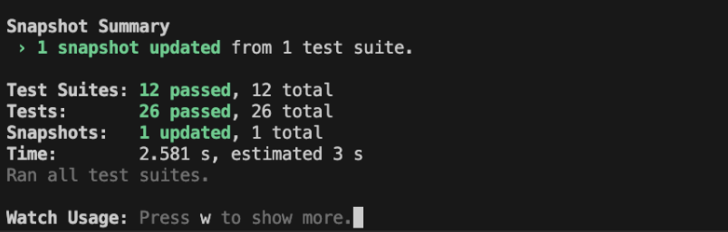
요약...✨
구분 내용 레퍼런스 NodeJS 공식문서 https://nodejs.org/api/child_process.html
Snapshot 테스트: Jest https://jestjs.io/docs/snapshot-testing
Snapshot 테스트: daleseo, 한글 블로그 https://www.daleseo.com/jest-snapshot/배경 개인 작업물에서 child_process.exec를 사용하여 작성했던 테스트 코드가
ts-animal 패키지에서 child_process가 원하는 대로 동작하지 않아 해당 개념 & 동작을 확인
멘토링 및 코드 리뷰 과정을 통한 테스트코드 개선 작업내용 (1)NPM Package를 테스트하기 위해 알아본 사항 정리
(2)테스트 적용 과정에 대한 기록
