
코딩애플이 말하는 상식
웹개발 잘하고 싶으면 브라우저 기능을 잘 알아야함
JS문법은 도구일 뿐
<커스텀태그>로 길고 복잡한 HTML 축약하는 법
class 클래스 extends HTMLElement {
  connectedCallback(){

  }
}
customElements.define('custom-input', 클래스)
class 클래스 extends HTMLElement {
  connectedCallback(){

  }
}
이거는 정해진 양식임
<body>
  <custom-input></custom-input>

  <script>

    class 클래스 extends HTMLElement {
      connectedCallback(){
        this.innerHTML = `<label>이메일인풋이에요</label><input>`
      }
    }
    customElements.define('custom-input', 클래스)

  </script>
</body>
이렇게 하니

잘 등장해준다.
this는 클래스로부터 새로 생성될 인스턴스.
여기서는 새로 생성될 이 되겠다.
html 생성하는 다른 방법
let 변수 = document.createElement('label')
this.appendChild(변수)
아까의
connectedCallback(){}
안에 위 js를 입력해서 만들면 html 생성속도가 조금 더 빨라진다.
<커스텀태그> 장점은 html 중복제거, 다른 페이지에서 재활용 가능
일종의 함수 문법이다.
attribute를 이용해서 함수에서 파라미터를 사용하듯이도 가능하다.
<body>
  <custom-input name="비번"></custom-input>
  <custom-input name="이메일"></custom-input>

  <script>

    class 클래스 extends HTMLElement {
      connectedCallback(){
        let name = this.getAttribute('name')
        this.innerHTML = `<label>${name} 인풋이에요</label><input>`
      }
    }
    customElements.define('custom-input', 클래스)

  </script>
</body>
attribute 변경감지 기능 제공됨
static get observeAttributes() {
  return ['name']
}
이런 식의 코드를 이용해주면 되는데, name이라는 attribute가 바뀌는지 감시해주세요.가 된다.
감시해서 실행할 코드는 아래처럼 해주면된다.
static get observedAttributes() {
  return ['name']
}
attributeChangedCallback(){
  console.log(this.getAttribute('name'))
}<body>
<custom-input name="비번"></custom-input>
<custom-input name="이메일"></custom-input>
<script>
class 클래스 extends HTMLElement {
connectedCallback(){
let name = this.getAttribute('name')
this.innerHTML = `<label>${name} 인풋이에요</label><input>`
}
static get observedAttributes() {
return ['name']
}
attributeChangedCallback(){
console.log(this.getAttribute('name'))
}
}
customElements.define('custom-input', 클래스)
</script>
</body>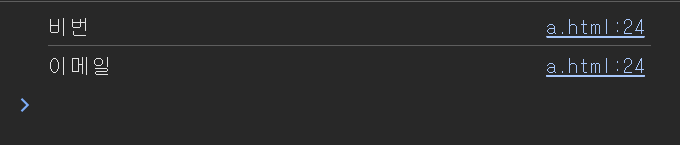
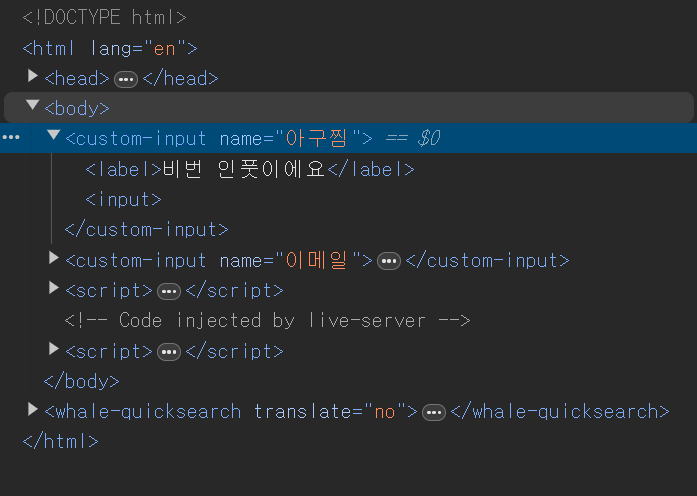
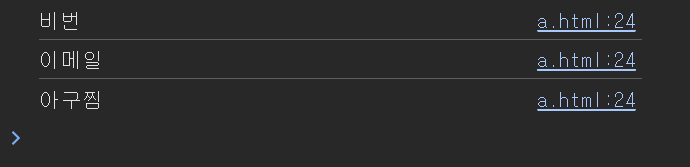
이런식으로 잘 작동되는 것을 볼 수 있다.
attribute 변경할 때 마다 html 재렌더링하고 싶다면?
attributeChangedCallback(){}
에 html을 변경하는 코드를 넣어주면 된다. this.innerHTML =`` 하는 방식으로 말이다.
(결론) : Web Components 기능 스면 긴 HTML도 함수처럼 재사용 가능
그런데 React랑 Vue를 쓰면 더 좋음

반드시 결승점을 통과하는 개발자