
개요
이번에 프로젝트를 새로 시작하면서 typescript로 react를 시작하려고 하면서 기록할 겸 작성해본다.
redux-toolkit 설정
우선 프로젝트를 타입스크립트로 시작할 것이기에 아래의 방식으로 생성해주었다.
javascript로 생성된 프로젝트를 typescript로 만드는 방법이 내겐 현재 필요하지 않기에 추후 내가 하게되면 그때 따로 기록하겠다.
npx create-react-app my-app --template typescript
그리고 redux-toolkit을 이용해서 전역관리를 해주기 위해 다음을 입력했다.
npm install @reduxjs/toolkit react-redux
리더그 툴킷 공식사이트 이곳에서 시작방법을 해도 되지만, 난 내가 한 기록을 하기 위해 딱히 설명 큰 설명 없이 코드를 기록할 것이다.
index.tsx
index.tsx에 redux-toolkit을 적용시키기 위해 아래 코드를 추가한다.
import { store } from './store/store'
import { Provider } from 'react-redux'
그리고 App 태그를 Provider로 감싸준다.
<Provider store={store}>
  <App />
</Provider>
여기서 store가 store/store로 되어있는데 내가 src폴더 및에 store라는 폴더를 만들고 그 밑에 store.ts를 만들었기 때문이다.
store 폴더
store.ts, hooks.ts
src 밑에 store 폴더를 만들었다.
store.ts와 hooks.ts를 생성했다.
여기서 hooks.ts는 js로 사용할 때는 useDispatch, useSelector로 사용했던 것을 ts에서는 타입을 적용시켜서 useAppDispatch, useAppSelector로 사용하게 하는 것이다.
각각의 코드는 아래처럼 했다.
// store.ts
import { configureStore } from '@reduxjs/toolkit'
import counterReducer from './slices/counter/counterSlice'

export const store = configureStore({
  reducer: {
    counter:counterReducer
  },
})

export type RootState = ReturnType<typeof store.getState>
export type AppDispatch = typeof store.dispatch

export default store;
여기서 reducer에 counter: counterReducer라고 작성되어있는데 이는 나중에 counterSlice.ts코드의 마지막에
export default counterSlice.reducer로 export default를 적용해 store.ts에서
import counterReducer from './slices/counter/counterSlice'로 사용하고 있기 때문이다.
// hooks.ts
import { useDispatch, useSelector } from 'react-redux'
import type { RootState, AppDispatch } from './store'

// Use throughout your app instead of plain `useDispatch` and `useSelector`
export const useAppDispatch = useDispatch.withTypes<AppDispatch>()
export const useAppSelector = useSelector.withTypes<RootState>()
슬라이스 폴더
슬라이스들을 사용 분류에 따라 구분하기 위해 폴더를 생성해서 구분하기로 했다.
난 store 폴더 밑에 slices 폴더를 만들고 그 안에서 우선 test용으로 counter 폴더를 만들었다.
그리고 counter 폴더 아래에 counterSlice.ts를 생성했다.
src/store/slices/counter/counterSlice.ts
가 된다.
counterSlice.ts의 코드는 아래와 같다.
import { createSlice } from '@reduxjs/toolkit'
import type { PayloadAction } from '@reduxjs/toolkit'
import type { RootState } from '../../store'

// Define a type for the slice state
interface CounterState {
  value: number
}

// Define the initial state using that type
const initialState: CounterState = {
  value: 0,
}

export const counterSlice = createSlice({
  name: 'counter',
  // `createSlice` will infer the state type from the `initialState` argument
  initialState,
  reducers: {
    increment: (state) => {
      state.value += 1
    },
    decrement: (state) => {
      state.value -= 1
    },
    // Use the PayloadAction type to declare the contents of `action.payload`
    incrementByAmount: (state, action: PayloadAction<number>) => {
      state.value += action.payload
    },
    decrementByAmount: (state, action: PayloadAction<number>) => {
      state.value -= action.payload
    },
  },
})

export const { increment, decrement, incrementByAmount, decrementByAmount } = counterSlice.actions

// Other code such as selectors can use the imported `RootState` type
export const selectCount = (state: RootState) => state.counter.value

export default counterSlice.reducer
interface를 이용해서 type을 적용시키고, initalState에서 변수의 초기값을 할당했다.
export const counterSlice = createSlice{}부분에서 해당 slice에서 적용할 코드를 입력하고,
export const { increment, decrement, incrementByAmount, decrementByAmount } = counterSlice.actions와
export const selectCount = (state: RootState) => state.counter.value
export default counterSlice.reducer
에서는 각 컴포넌트에서 사용할 수 있도록 export 해준다.
사용
난 우선 테스트를 하기 위함이므로 바로 app.tsx에서 사용해봤다.
import { useAppSelector, useAppDispatch } from './store/hooks'
import { decrement, increment, incrementByAmount, decrementByAmount } from './store/slices/counter/counterSlice'
hooks와 slice를 import 해주었다.
const count = useAppSelector((state) => state.counter.value)
const dispatch = useAppDispatch()
그리고 useAppSelector와 useAppDispatch를 이용해서 가져오고,
아래처럼 사용했다.
<div>
        <button onClick={() => {dispatch(increment())}}>+</button>
        <button onClick={() => {dispatch(decrement())}}>-</button>
        <button onClick={() => {dispatch(incrementByAmount(5))}}>+</button>
        <button onClick={() => {dispatch(decrementByAmount(5))}}>-</button>
        <p>{count}</p>
      </div>
전체 코드는 아래와 같다.
(초기 세팅하자마자 바로 작성해서 기본 코드가 그대로 있다.)
import React, {useState} from 'react';
import logo from './logo.svg';
import './App.css';

import { useAppSelector, useAppDispatch } from './store/hooks'
import { decrement, increment, incrementByAmount, decrementByAmount } from './store/slices/counter/counterSlice'


function App() {
  const count = useAppSelector((state) => state.counter.value)
  const dispatch = useAppDispatch()


  return (
    <div className="App">
      <header className="App-header">
        <img src={logo} className="App-logo" alt="logo" />
        <p>
          Edit <code>src/App.tsx</code> and save to reload.
        </p>
        <a
          className="App-link"
          href="https://reactjs.org"
          target="_blank"
          rel="noopener noreferrer"
        >
          Learn React
        </a>
      </header>
      <div>
        <button onClick={() => {dispatch(increment())}}>+</button>
        <button onClick={() => {dispatch(decrement())}}>-</button>
        <button onClick={() => {dispatch(incrementByAmount(5))}}>+</button>
        <button onClick={() => {dispatch(decrementByAmount(5))}}>-</button>
        <p>{count}</p>
      </div>
    </div>
  );
}

export default App;
하단에 버튼이 생긴게 보이고 누르니까 잘 작동하는 것도 확인이 되었다.
react-router-dom 설정
npm i react-router-dom
으로 설치해준다.
index.tsx
import { BrowserRouter } from "react-router-dom"

const root = ReactDOM.createRoot(
  document.getElementById('root') as HTMLElement
);
를 추가하고
<BrowserRouter>로 App태그를 감싸준다.
import React from 'react';
import ReactDOM from 'react-dom/client';
import './index.css';
import App from './App';
import reportWebVitals from './reportWebVitals';

import { store } from './store/store'
import { Provider } from 'react-redux'

import { BrowserRouter } from "react-router-dom"

const root = ReactDOM.createRoot(
  document.getElementById('root') as HTMLElement
);
root.render(
  <React.StrictMode>
    <Provider store={store}>
      <BrowserRouter>
        <App />
      </BrowserRouter>
    </Provider>
  </React.StrictMode>
);

// If you want to start measuring performance in your app, pass a function
// to log results (for example: reportWebVitals(console.log))
// or send to an analytics endpoint. Learn more: https://bit.ly/CRA-vitals
reportWebVitals();
App.tsx
App.tsx에 route와 routes를 import 하고, 이동할 페이지들을 각각 import 해준다.
import React from 'react';
import { Route, Routes } from 'react-router-dom';
import Home from './components/pages/Home';
import Login from './components/pages/Login';
import NotFound from './components/pages/NotFound';
import Navbar from './components/Layout/Navbar';

function App() {

  return (
    <Routes>
      <Route element={<Navbar/>}>
        <Route path='/' element={<Home />} />
        <Route path='/Login' element={<Login />} />
      </Route>
      <Route path='*' element={<NotFound />} />
    </Routes>
  );
}

export default App;
react-router-dom v6를 사용하기에 path='/' 앞에 exact를 붙일 필요가 없다.
그리고 현재 navbar를 사용하고 있어 위처럼 했으나 사용하지 않는다면, 아래처럼 해도 된다.
<Routes>
      <Route path='/' element={<Home />} />
      <Route path='/Login' element={<Login />} />
      <Route path='*' element={<NotFound />} />
    </Routes>
각 페이지
현재는 페이지들을 src 밑에 components 밑에 Layout 또는 pages라는 폴더를 만들고 생성해두었다.
src/components/pages/~.tsx
Navbar
import React, {useState} from 'react';

import { Outlet, Link } from "react-router-dom";

function Navbar() {


  return (
    <div className="Navbar">
      <nav>
        <span><Link to="/">1번째</Link></span>
        <span><Link to="/Login">2번째</Link></span>
        <span><a href="https:www.naver.com">3번째</a></span>
        <span><a href="https:www.google.com">4번째</a></span>
        <span>5번째</span>
        <span>6번째</span>
        <span>7번째</span>
        <span>8번째</span>
        <span>9번째</span>
      </nav>
      <hr />
      <hr />
      <Outlet/>
    </div>
  );
}

export default Navbar;

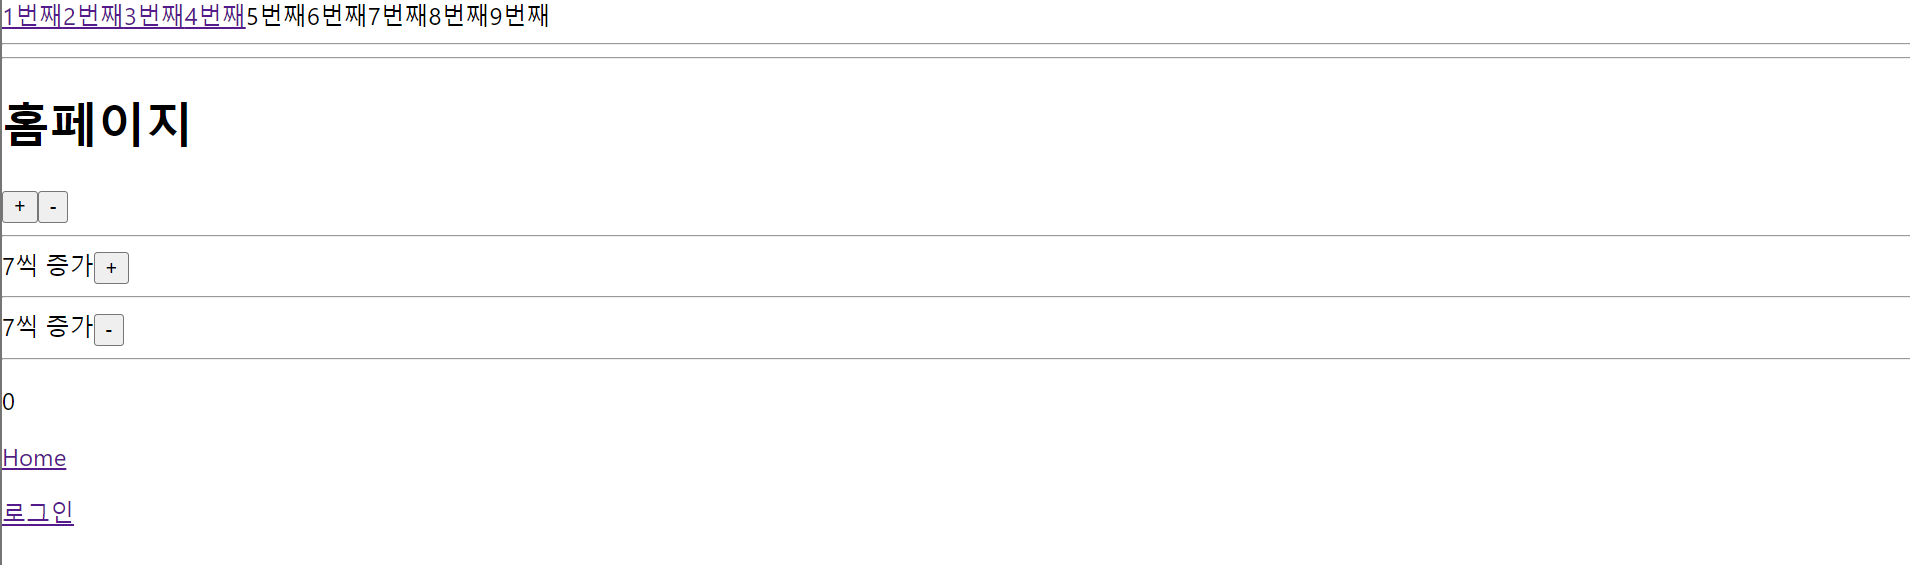
Home
import React, {useState} from 'react';

import { Outlet, Link } from "react-router-dom";
import { useAppSelector, useAppDispatch } from '../../store/hooks'
import { decrement, increment, incrementByAmount, decrementByAmount } from '../../store/slices/counter/counterSlice'


function Home() {
  const count = useAppSelector((state) => state.counter.value)
  const dispatch = useAppDispatch()
  const [incrementN, setIncrementN] = useState<number>(7)
  const [discountN, setDiscountN] = useState<number>(7)

  return (
    <div className="Home">
      <div>
        <h1>홈페이지</h1>
      </div>
      <div>
        <button onClick={() => {dispatch(increment())}}>+</button>
        <button onClick={() => {dispatch(decrement())}}>-</button>
        <hr />
        <span>{incrementN}씩 증가</span>
        <button onClick={() => {dispatch(incrementByAmount(incrementN))}}>+</button>
        <hr />
        <span>{discountN}씩 증가</span>
        <button onClick={() => {dispatch(decrementByAmount(discountN))}}>-</button>
        <hr />
        <p>{count}</p>
      </div>
      <div>
        <p>
          <Link to="/">Home</Link>
        </p>
        <p>
          <Link to="/Login">로그인</Link>
        </p>
      </div>
    </div>
  );
}

export default Home;
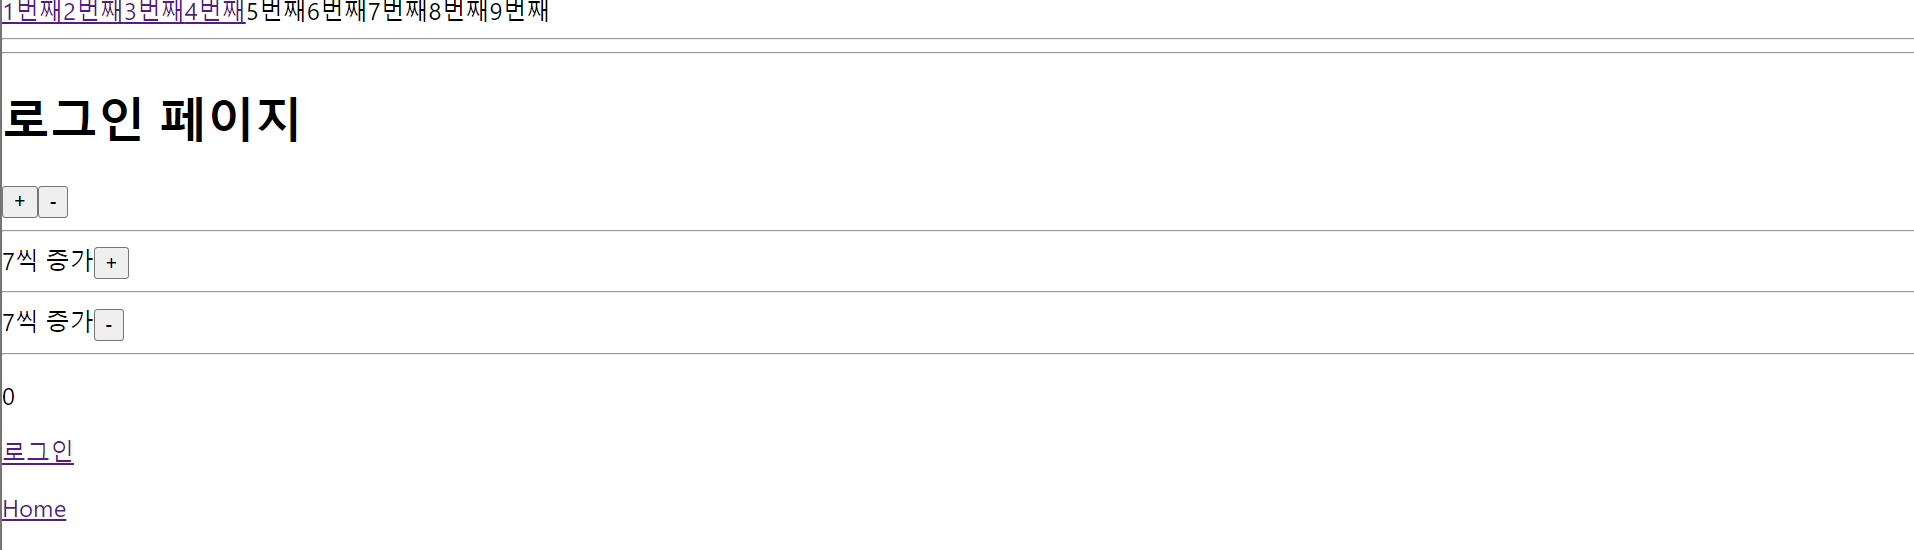
Login
import React, {useState} from 'react';

import { Outlet, Link } from "react-router-dom";
import { useAppSelector, useAppDispatch } from '../../store/hooks'
import { decrement, increment, incrementByAmount, decrementByAmount } from '../../store/slices/counter/counterSlice'


function Login() {
  const count = useAppSelector((state) => state.counter.value)
  const dispatch = useAppDispatch()
  const [incrementN, setIncrementN] = useState<number>(7)
  const [discountN, setDiscountN] = useState<number>(7)


  return (
    <div className="Login">
      <div>
        <h1>로그인 페이지</h1>
      </div>
      <div>
        <button onClick={() => {dispatch(increment())}}>+</button>
        <button onClick={() => {dispatch(decrement())}}>-</button>
        <hr />
        <span>{incrementN}씩 증가</span>
        <button onClick={() => {dispatch(incrementByAmount(incrementN))}}>+</button>
        <hr />
        <span>{discountN}씩 증가</span>
        <button onClick={() => {dispatch(decrementByAmount(discountN))}}>-</button>
        <hr />
        <p>{count}</p>
      </div>
      <div>
        <p>
          <Link to="/Login">로그인</Link>
        </p>
        <p>
          <Link to="/">Home</Link>
        </p>
      </div>
    </div>
  );
}

export default Login;
NotFound
import React from 'react';

import { useNavigate } from 'react-router-dom';

function NotFound() {
  const navigate = useNavigate()


  return (
    <div className="NotFound">
      <div>
        <h1>Not Found 페이지</h1>
      </div>
      <div>
        <h2>유효하지 않은 요청입니다.</h2>
        <p>웹페이지 주소가 정확하게 입력되었는지 다시 한 번 확인하시기 바랍니다.</p>
      </div>
      <button onClick={() => {navigate(-1)}}>이전 화면으로</button>
    </div>
  );
}

export default NotFound;

react-router-dom의 코드도 잘 작동하는 것을 모두 확인할 수 있었다.
이제 typescript로 react 초기 세팅이 잘 적용되었으므로, 코드와 타입에 맞게 구현하려는 것을 잘 구현하면 되겠다.