form 태그
흔히 사용하는 아이디, 비밀번호를 칠 수 있는 textarea 같은걸 생성해준다.
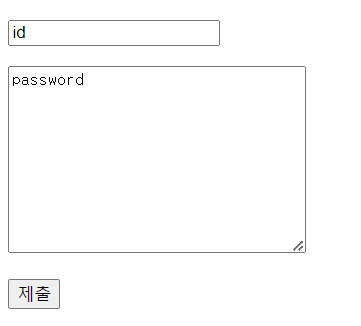
해당 그림과 같이 하려면, input + textarea + submit 세 개가 필요하다. 따라서 jade 파일을 생성한다음 아래와 같이 작성한다. form 안에 method를 따로 적지 않는다면 get 방식이다.
doctype html
html
  head
    meta(charset='utf-8')
  body
    form(action="/form_reciver")
      p
        input(type='text' name='title')
      p
        textarea(name="description", cols="30", rows="10")
      p
        input(type='submit')
또한, 제출 버튼을 눌렀을 경우 넘어간 페이지를 만들기 위해서는 get을 통해 따로 생성해줄 필요가 있다.
app.get("/form_reciver", function (req, res) {
  var title = req.query.title;
  var description = req.query.description;

  res.send(title + "," + description);
});
위의 코드는 제출 -> form_reciver 페이지 -> title, descprition 얻기의 순서로 작동한다.
post 방식으로 수신하기
app.post("/form_reciver", function (req, res) {
  res.send("hello post");
});
get이 아닌 post로 연결해준다.
또한 post 방식의 데이터를 활용하기 위해서는 body-parser라는 미들웨어 설치가 필요하다. ("npm install body-parser")
var body = require('body-parser')
app.use(bodyParser.urlencoded({ extended: false }));

app.post("/form_reciver", function (req, res) {
  var title = req.body.title;
  var description = req.body.description;
  res.send(title + " " + description);
});
위와 같이 query가 아닌 body로 정보를 얻어올 수 있다.
get과 post의 차이
get을 쓰는 이유는 사용자가 주소를 서버에 보낼 때 노출이 가능하며 같은 화면을 공유해야할 때 사용.(쿼리 스트링으로 표시되므로)
post는 아이디, 패스워드 처럼 민감한 데이터를 보낼 때 사용한다. 또한 제출할 데이터가 매우 길다면 쿼리스트링에 담지 못하기에 post로 사용하는 것이 좋다.
두 방식 모두 보안성에 취약함

주니어 백엔드 개발자