MainActivity의 하단 메뉴바를 이용해 프래그먼트를 전환하는 기능을 구현하였다.
MainActivity.java
먼저 MainActivity.java가 실행되면 SharedPreferences를 통해서 설정 화면에서 설정한 날짜 간격을 받아오고,
오늘 날짜에 날짜 간격만큼을 더한 날짜를 만든다.
        sharedPreferences = PreferenceManager.getDefaultSharedPreferences(this);

        dateInterval = sharedPreferences.getString("date_interval", "0");
        SimpleDateFormat simpleDateFormat = new SimpleDateFormat("yyyy-MM-dd");
        date = simpleDateFormat.format(System.currentTimeMillis() + (1000 * 60 * 60 * 24 * Integer.parseInt(dateInterval)));
setTestData() 함수를 통해 날짜로 얻은 데이터를 ReviewFragment에 전달한다.
그 후 FrameLayout 화면을 ReviewFragment로 바꾼다.
		setTestData();

        getSupportFragmentManager().beginTransaction().replace(R.id.container, reviewFragment).commit();

		...


    public void setTestData() {

        String sql = "select * from " + TestDatabase.TABLE_TEST + " where DATE = '" + date + "'";

        reviewFragment.date = date;

        if(mDatabase != null){
            Cursor cursor = mDatabase.rawQuery(sql);

            if(cursor.getCount() == 0){
                reviewFragment.hasTest = false;
            }else{
                cursor.moveToNext();

                String title = cursor.getString(2);
                String imageAddress = cursor.getString(3);
                String answerLink = cursor.getString(4);

                reviewFragment.date = date;
                reviewFragment.title = title;
                reviewFragment.imageAddress = imageAddress;
                reviewFragment.answerLink = answerLink;

                reviewFragment.hasTest = true;
            }
        }
}BottomNavigationBar를 이용해 4개의 탭을 정의한 메뉴의 각 버튼을 누르면 각 화면으로 전환되도록 만들었다.
BottomNavigationView bottomNavigationView = findViewById(R.id.bottomNavigationView);
bottomNavigationView.setOnNavigationItemSelectedListener(new BottomNavigationView.OnNavigationItemSelectedListener() {
@Override
public boolean onNavigationItemSelected(@NonNull MenuItem item) {
switch (item.getItemId()){
case R.id.tab1:
dateInterval = sharedPreferences.getString("date_interval", "0");
SimpleDateFormat simpleDateFormat = new SimpleDateFormat("yyyy-MM-dd");
date = simpleDateFormat.format(System.currentTimeMillis() + (1000 * 60 * 60 * 24 * Integer.parseInt(dateInterval)));
setTestData();
getSupportFragmentManager().beginTransaction().replace(R.id.container, reviewFragment).commit();
return true;
case R.id.tab2:
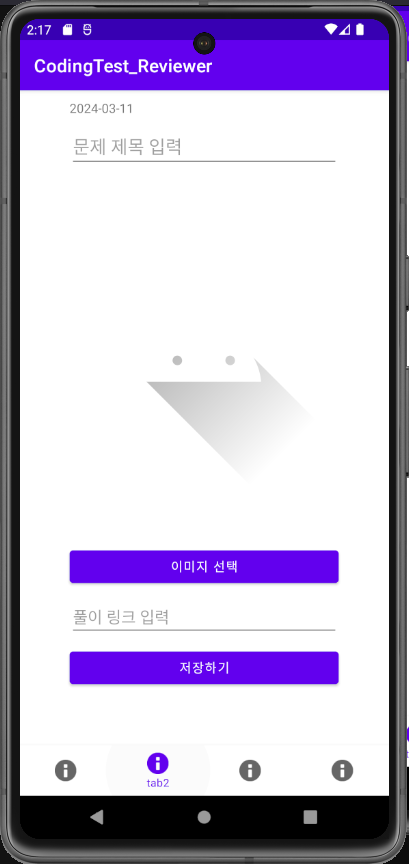
getSupportFragmentManager().beginTransaction().replace(R.id.container, saveFragment).commit();
return true;
case R.id.tab3:
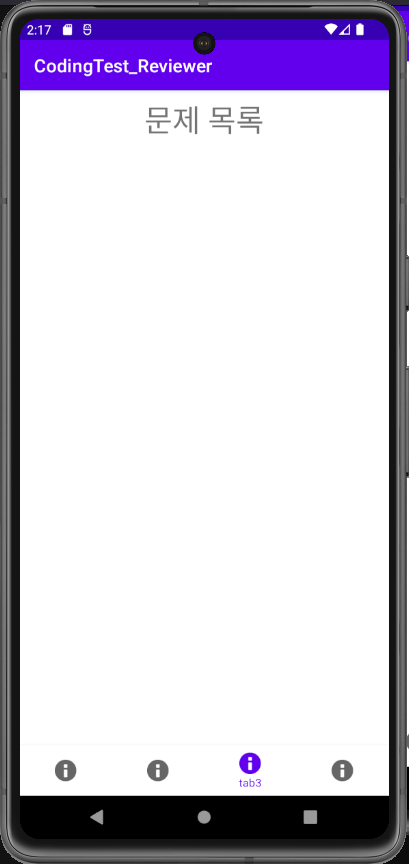
getSupportFragmentManager().beginTransaction().replace(R.id.container, listFragment).commit();
return true;
case R.id.tab4:
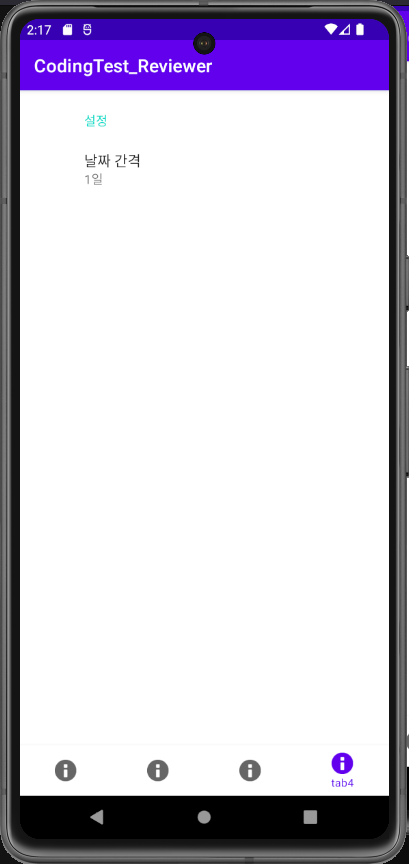
getSupportFragmentManager().beginTransaction().replace(R.id.container, settingsFragment).commit();
return true;
}
return false;
}
}); ReviewFragment.java
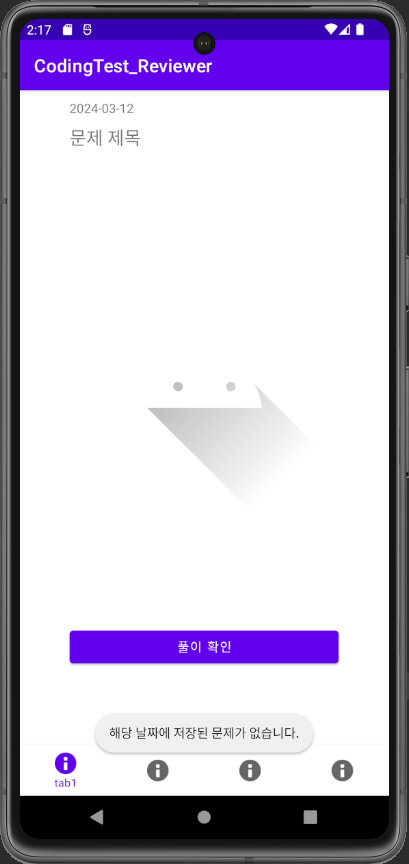
MainActivity에서 ReviewFramgment 화면을 띄울땐 복습할 날짜의 문제 데이터를 ReviewFragment로 전달한다.
ReviewFramgment에선 전달받은 데이터를 View에 보여줘야 한다.
이를 위해 ReviewFramgment의 onResume() 함수를 재정의해 ReviewFramgent에서 할당된 문제를 보여주도록 만들었다.
    @Override
    public void onResume() {
        super.onResume();

        setTest();
    }

    public void setTest(){

        textDate.setText(date);

        if(hasTest){
            textTitle.setText(title);
            try{
                bitmap = BitmapFactory.decodeFile(imageAddress);
                imageView.setImageBitmap(bitmap);
            }catch (Exception e){
                Toast.makeText(getContext(), "이미지를 불러오는데 실패했습니다.", Toast.LENGTH_SHORT).show();
            }
        }else{
            Toast.makeText(getContext(), "해당 날짜에 저장된 문제가 없습니다.", Toast.LENGTH_SHORT).show();
        }

    }

}
이외에 링크가 저장되있지 않을 때 버튼이 눌렸을 때의 오류, 설정 화면에서 날짜를 변경했을 때 sample이 바뀌어 보이지 않는 문제, 문제 만들기 화면에서 자동으로 날짜를 입력하는 기능 등을 수정하였다.
본래라면 지금의 MainActivity나 문제 조회 화면에서 reviewFragment를 사용하며, 프래그먼트 밖의 액티비티에서 fragment의 뷰들을 변경하려고 하였다.
하지만 개발 중 그러한 구현이 잘 되지 않아 그 부분의 코드를 수정할 필요를 느꼈다.
문제 조회 화면 기능을 본격적으로 구현할 땐 구상한 코드에서 많이 바뀔 수도 있을꺼같다.