6️⃣ 구글 로그인 준비
-
Google APIs 들어가서 프로젝트 생성
- Oauth 동의화면
- 앱 이름
- 사용자 이메일
- 개발자 이메일
- 사용자 인증 정보 만들기
- 이름
- 승인된 리다이렉트 URI
- 무조건 http://<사이트 이름>/login/oauth2/code/goolgle 로 설정할 것!
- Oauth 동의화면
-
build.gradle추가하기implementation group: 'org.springframework.boot', name: 'spring-boot-starter-oauth2-client', version: '2.4.3' // https://mvnrepository.com/artifact/org.webjars/jquery implementation group: 'org.webjars', name: 'jquery', version: '3.5.1' // https://mvnrepository.com/artifact/org.webjars/bootstrap implementation group: 'org.webjars', name: 'bootstrap', version: '4.6.0' // https://mvnrepository.com/artifact/org.webjars/webjars-locator-core implementation group: 'org.webjars', name: 'webjars-locator-core', version: '0.46' // https://mvnrepository.com/artifact/org.webjars/js-cookie implementation group: 'org.webjars', name: 'js-cookie', version: '2.1.0'
-
application.yml에 Client ID와 Client Secret 넣기security: oauth2: client: registration: google: # /oauth2/authorization/google ? ??? ???? ??. client-id: ??? client-secret: ??? scope: - email - profile
-
SecurityConfigpackage com.example.security1.config; import org.springframework.context.annotation.Bean; import org.springframework.context.annotation.Configuration; import org.springframework.security.config.annotation.web.builders.HttpSecurity; import org.springframework.security.config.annotation.web.configuration.EnableWebSecurity; import org.springframework.security.config.annotation.web.configuration.WebSecurityConfigurerAdapter; import org.springframework.security.config.http.SessionCreationPolicy; import org.springframework.security.core.token.TokenService; import org.springframework.security.crypto.bcrypt.BCryptPasswordEncoder; import org.springframework.security.web.SecurityFilterChain; import org.springframework.security.web.authentication.AuthenticationFailureHandler; import org.springframework.security.web.authentication.UsernamePasswordAuthenticationFilter; @Configuration @EnableWebSecurity // 이 파일을 활성화 해주는 코드, 스프링 시큐리티 필터가 스프링 필터 체인에 등록된다. public class SecurityConfig { // 여기서 스프링 시큐리티 필터는 이 SecurityConfig를 말한다. private AuthenticationFailureHandler authenticationFailureHandler; @Bean // 해당 메서드의 리턴되는 객체를 IoC로 등록해준다. public BCryptPasswordEncoder encodePwd(){ return new BCryptPasswordEncoder(); } @Bean public SecurityFilterChain filterChain(HttpSecurity http) throws Exception { http.csrf().disable(); http.authorizeRequests() .antMatchers("/user/**").authenticated() .antMatchers("/manager/**").access("hasRole('ROLE_ADMIN') or hasRole('ROLE_MANAGER')") .antMatchers("/admin/**").access("hasRole('ROLE_ADMIN')") .anyRequest().permitAll() // 1차 위처럼 명시된 역할을 가지고 있지 않으면 각 페이지로 접근할 수 없다 -> 403에러 .and() .formLogin() .loginPage("/loginForm") // 2차 여기서는 로그인이 되어있지 않으면 user, manager, admin 페이지에 접근할 시 login 페이지로 연결된다. .failureHandler(authenticationFailureHandler) .loginProcessingUrl("/login") // /login 주소가 호출이 되면 시큐리티가 낚아채서 대신 로그인을 진행해준다 -> 내가 controller에 /login을 만들지 않아도 된다. .defaultSuccessUrl("/") .and() .oauth2Login() .loginPage("/loginForm"); return http.build(); } }
결과
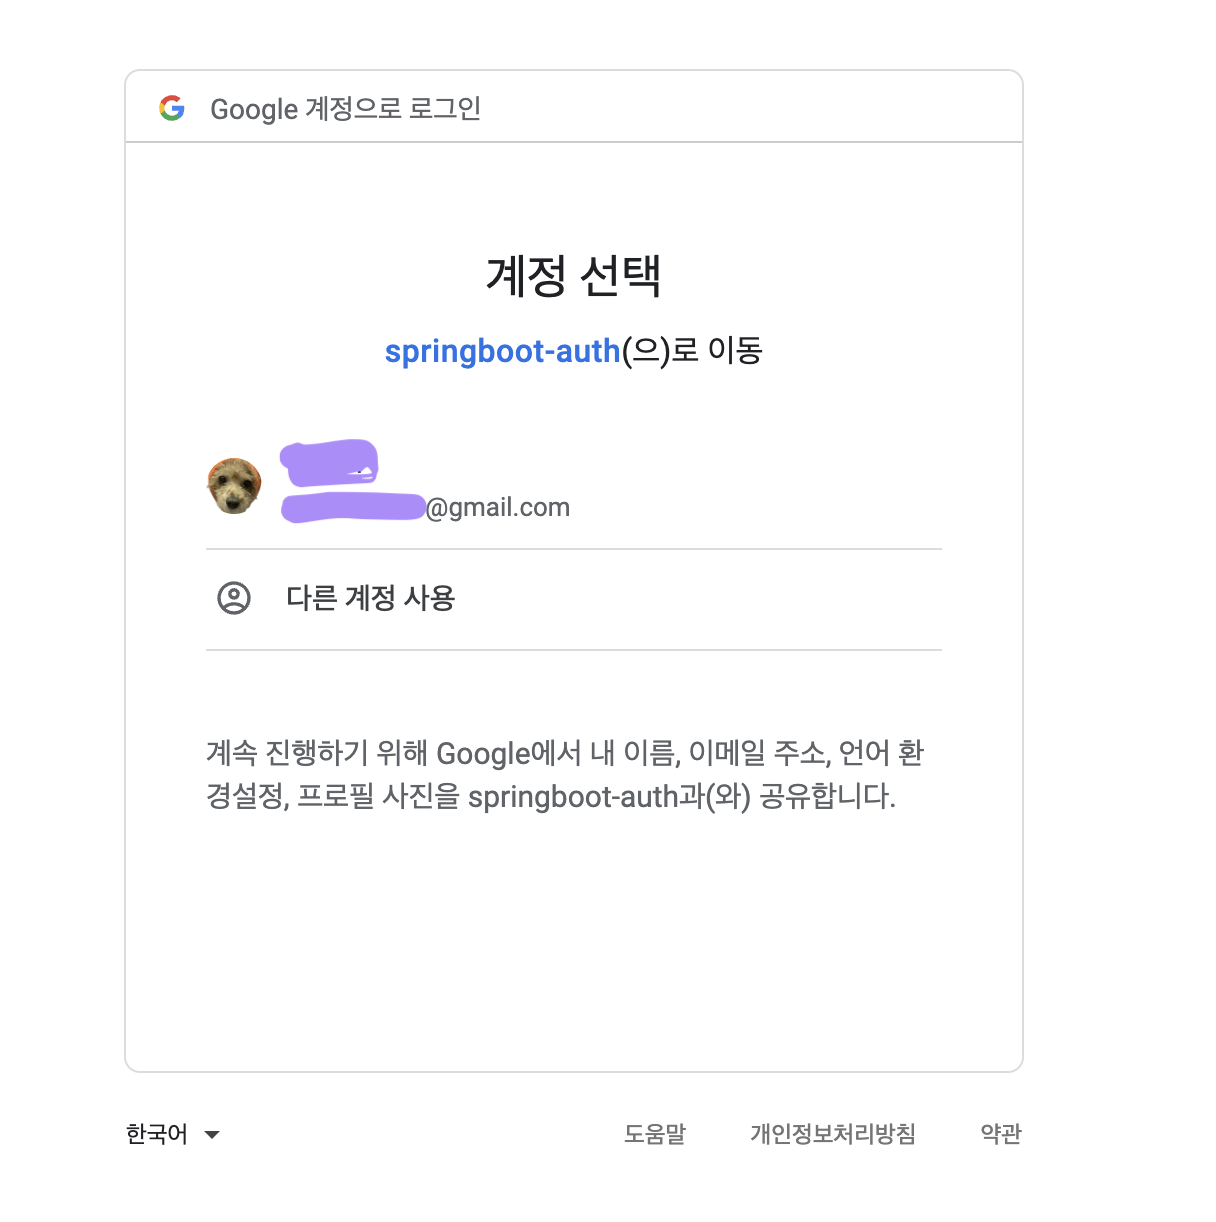

Hi~