
1. Spring Boot로 파일 생성하기
Spring initializr ( http://start.spring.io)
- project -> gradle로 하는 것이 추세
- Language -> java
- spring Boot -> 2.3.1
- project Metadata
- group : 기업 도메인을 주로 적어줌 / 강의에서는 크게 상관없음
- artifact : build 된 후 나온 결과물- dependencies -> 사용할 라이브러리 선택
[ spring boot로 만든 파일 ]
- buile.gradle : version 설정하고 라이브러리 가져오는 용도
spring boot는 tomcat 서버를 내장하고 있어서 spring boot 파일을 실행시키면 자동적으로 tomcat 서버를 사용한다.
3. View 환경설정
/static/ 경로에 index.html 파일을 만들면 이것이 Welcome page(http://localhost:8080/)가 된다.
@Controller
  public class HelloController {
      @GetMapping("hello") // hello.html로 get
      public String hello(Model model) {
          model.addAttribute("data", "hello!!"); // data : hello!!
          return "hello"; // hello.html로 렌더링 된다.
      }
<!DOCTYPE HTML>
<html xmlns:th="http://www.thymeleaf.org">
<head>
<title>Hello</title>
<meta http-equiv="Content-Type" content="text/html; charset=UTF-8" />
</head>
<body> <!--- data 자리에는 hellocontroller의 "hello!!" 가 들어간다. --->
<p th:text="'안녕하세요. ' + ${data}" >안녕하세요. 손님</p>
</body>
</html> 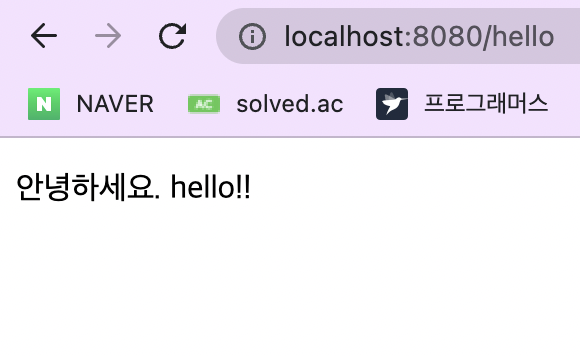
4. 빌드하고 실행하기
콘솔로 이동하기gradlew가 있는 폴더로 이동./gradlew build-> build 하기- `build/libs/로 이동``
java -jar hello-spring-0.0.1-SNAPSHOT.jar-> 서버 실행ctrl + C-> 서버 끄기

Hi~