APNs란?
APNs는 Apple push notification service의 줄임말로, iOS에 표시되는 푸시알림 기능이다. 애플 개발자 페이지에서 인증서와 키를 설정해야만 사용할 수 있다.
Apple developer사이트에 앱을 등록했다는 가정하에 진행하도록 하겠다.
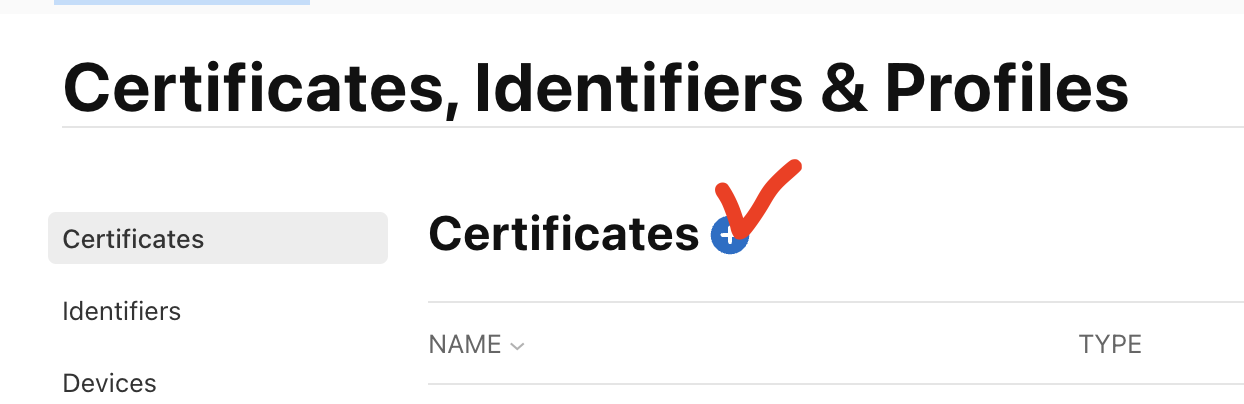
1. APNs 인증서 발급하기
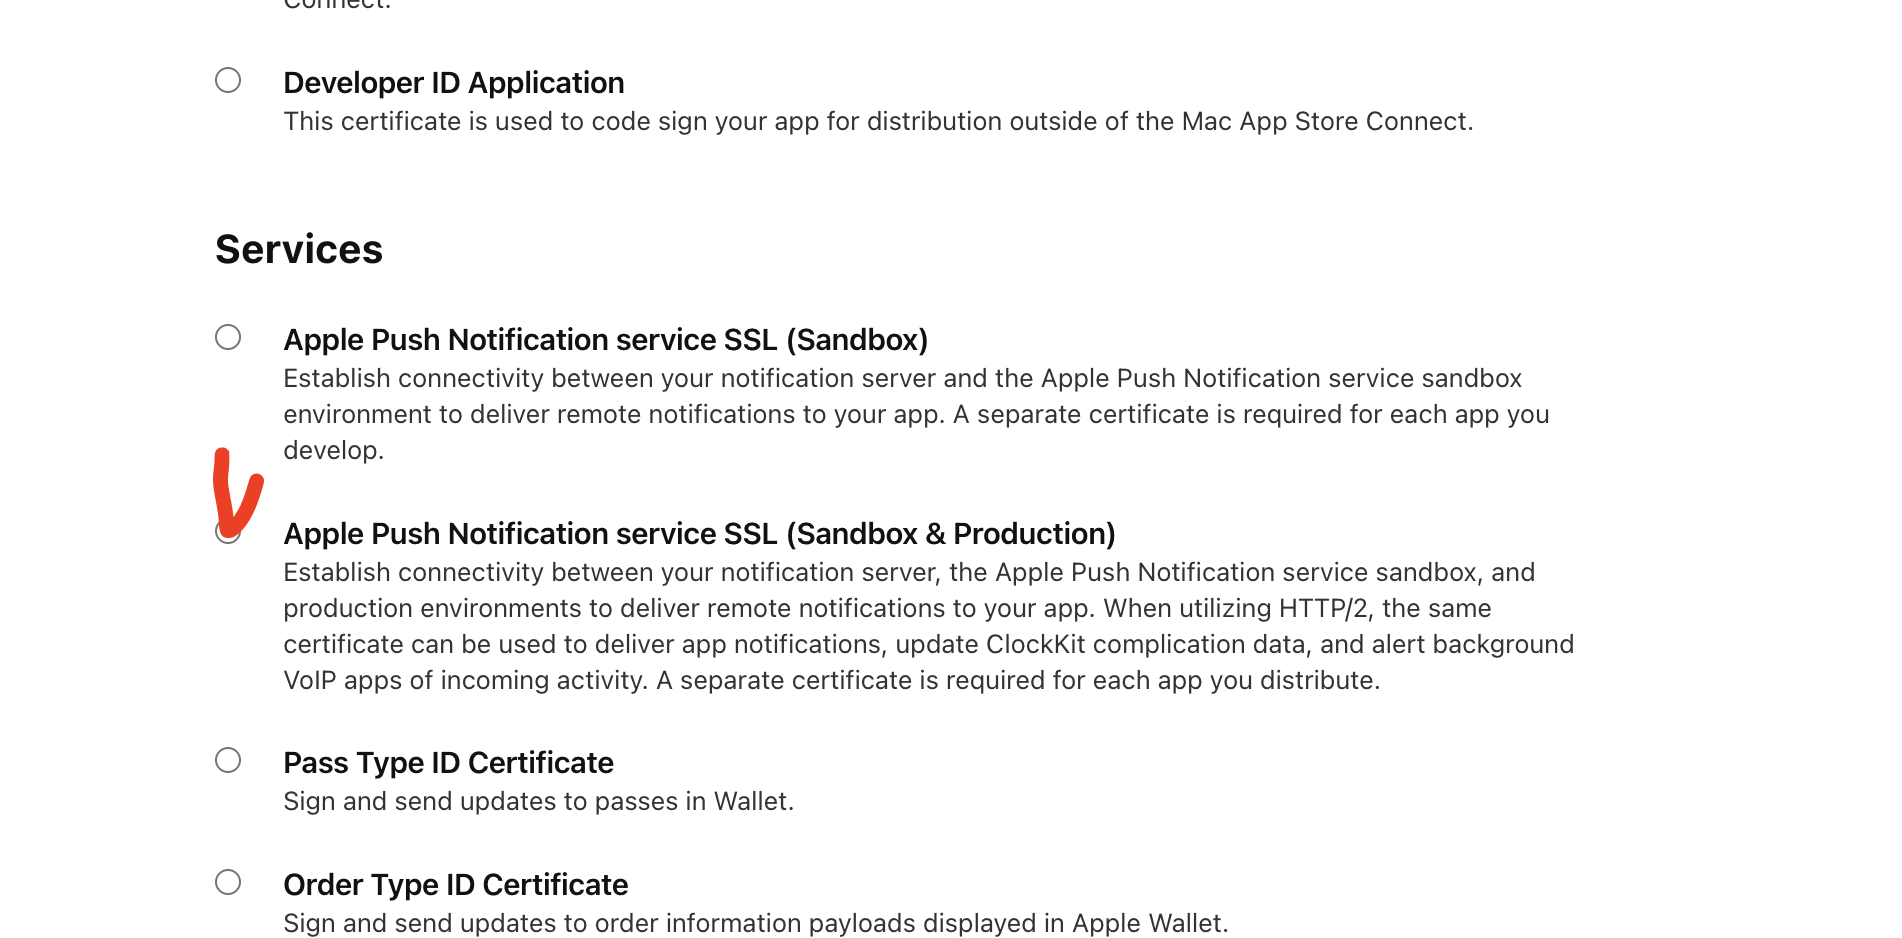
Services의 Apple Push Notification service SSL을 선택
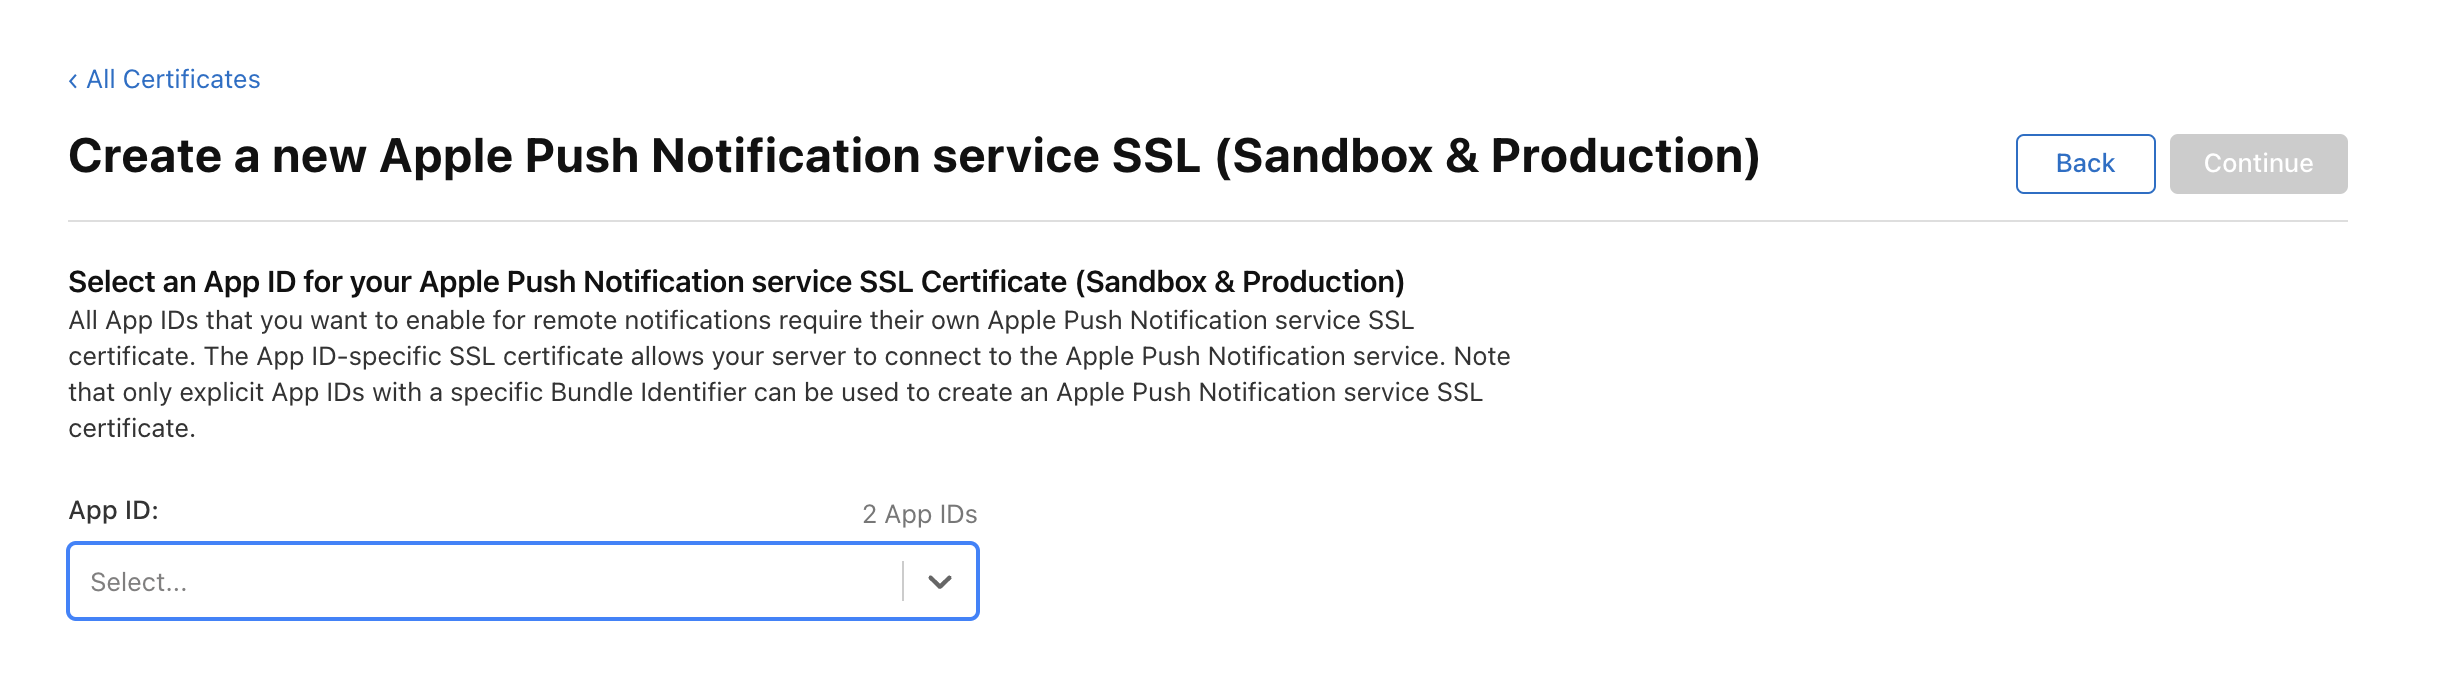
앱 ID 선택하기
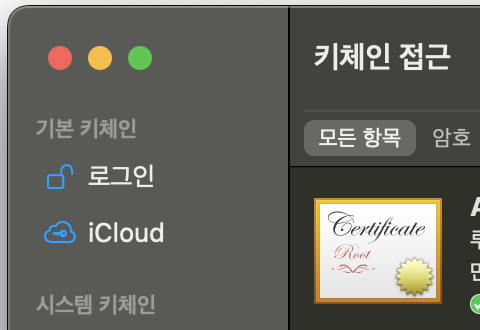
키체인 접근 프로그램 열기
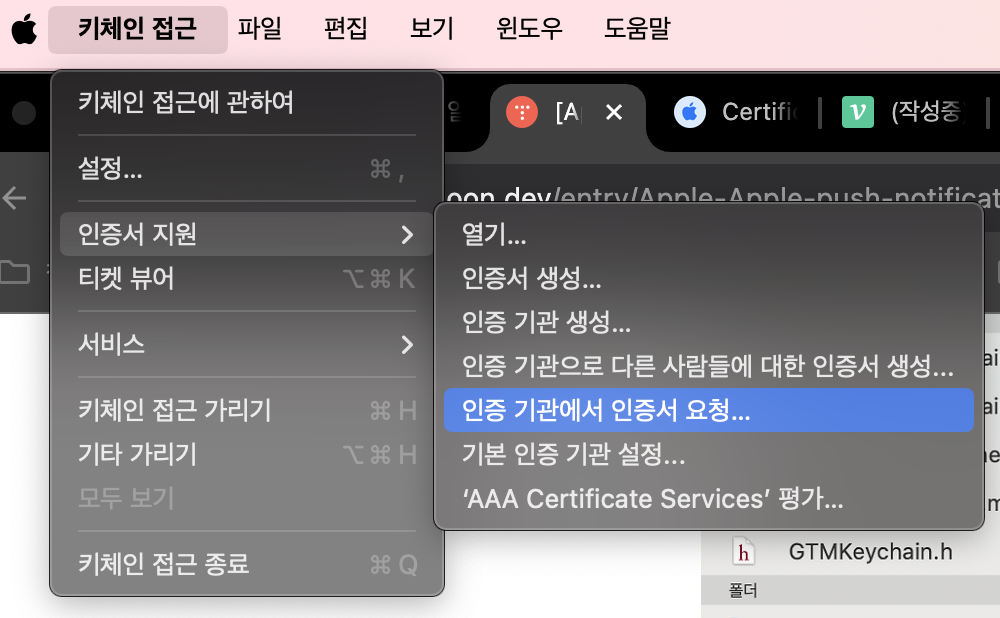
인증 기관에서 인증서 요청 클릭해서 진행하기
(dev, prod 나뉘어져있으면 두번 발급받아야함)
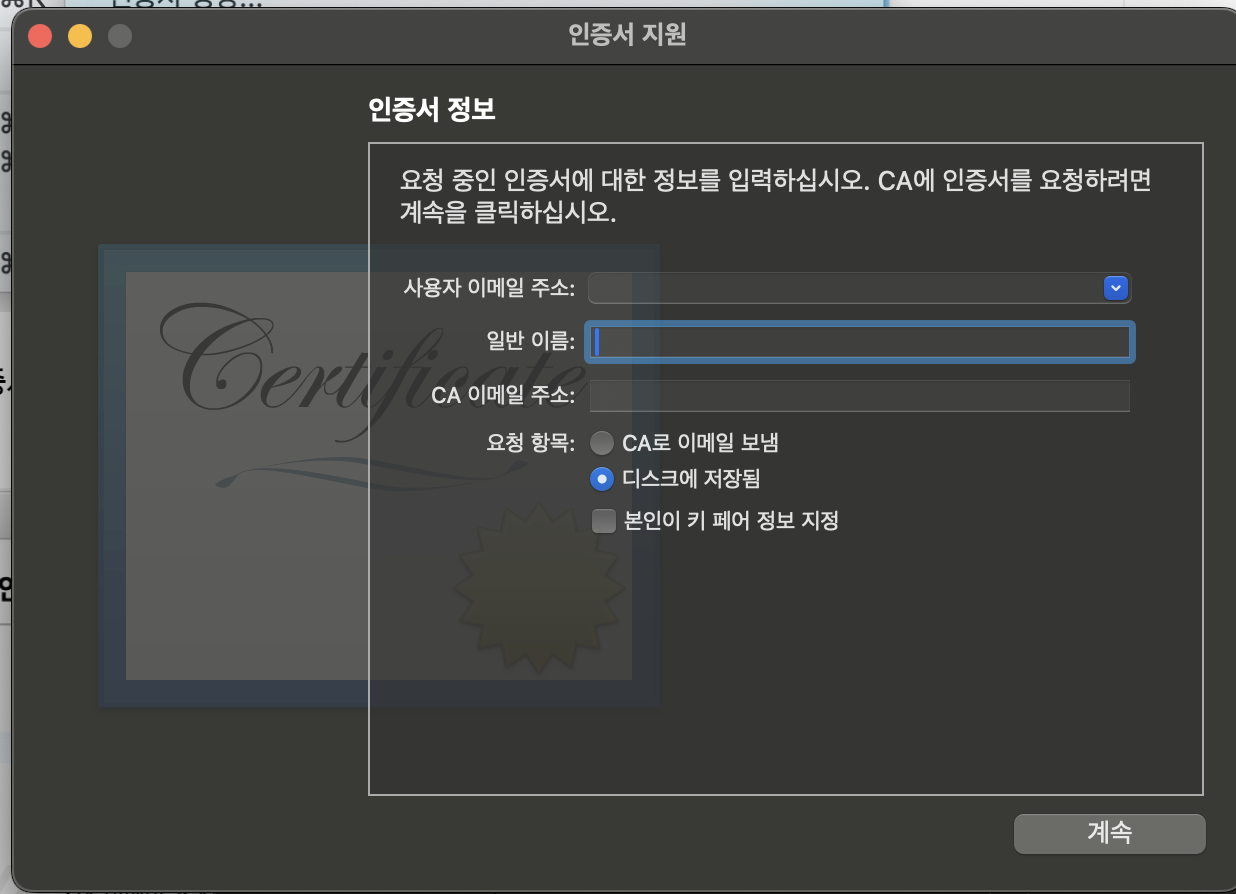
사용자 이메일주소 : apple 계정
일반 이름: 본인 앱 이름 적기 (이름_dev, 이름_prod)
CA 이메일은 안적어도되고 디스크에 저장됨 으로 선택하면 다운로드 받아짐
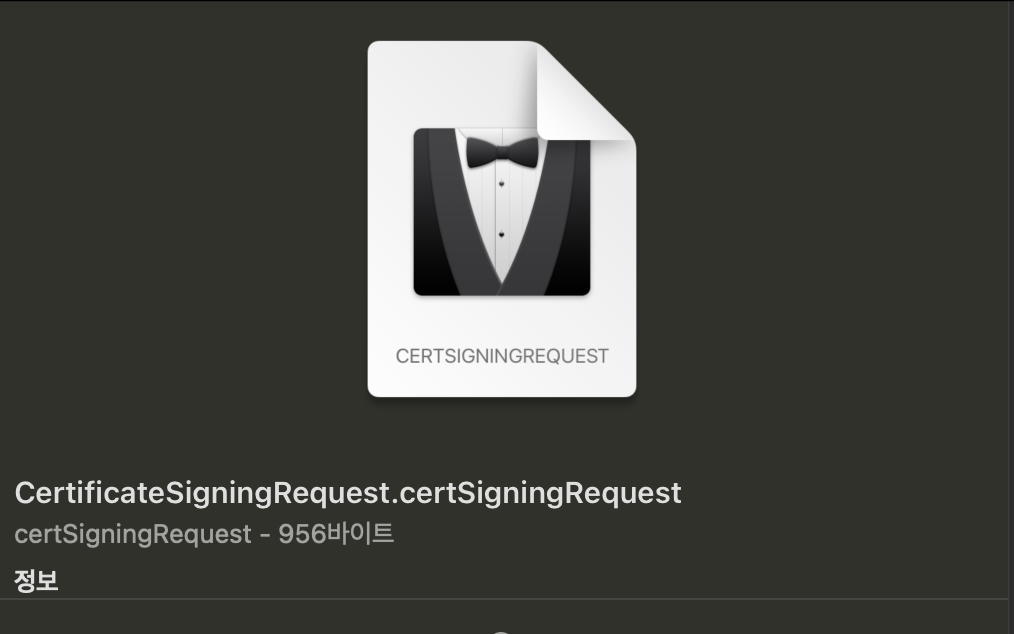
이런식으로 요청키가 받아진다
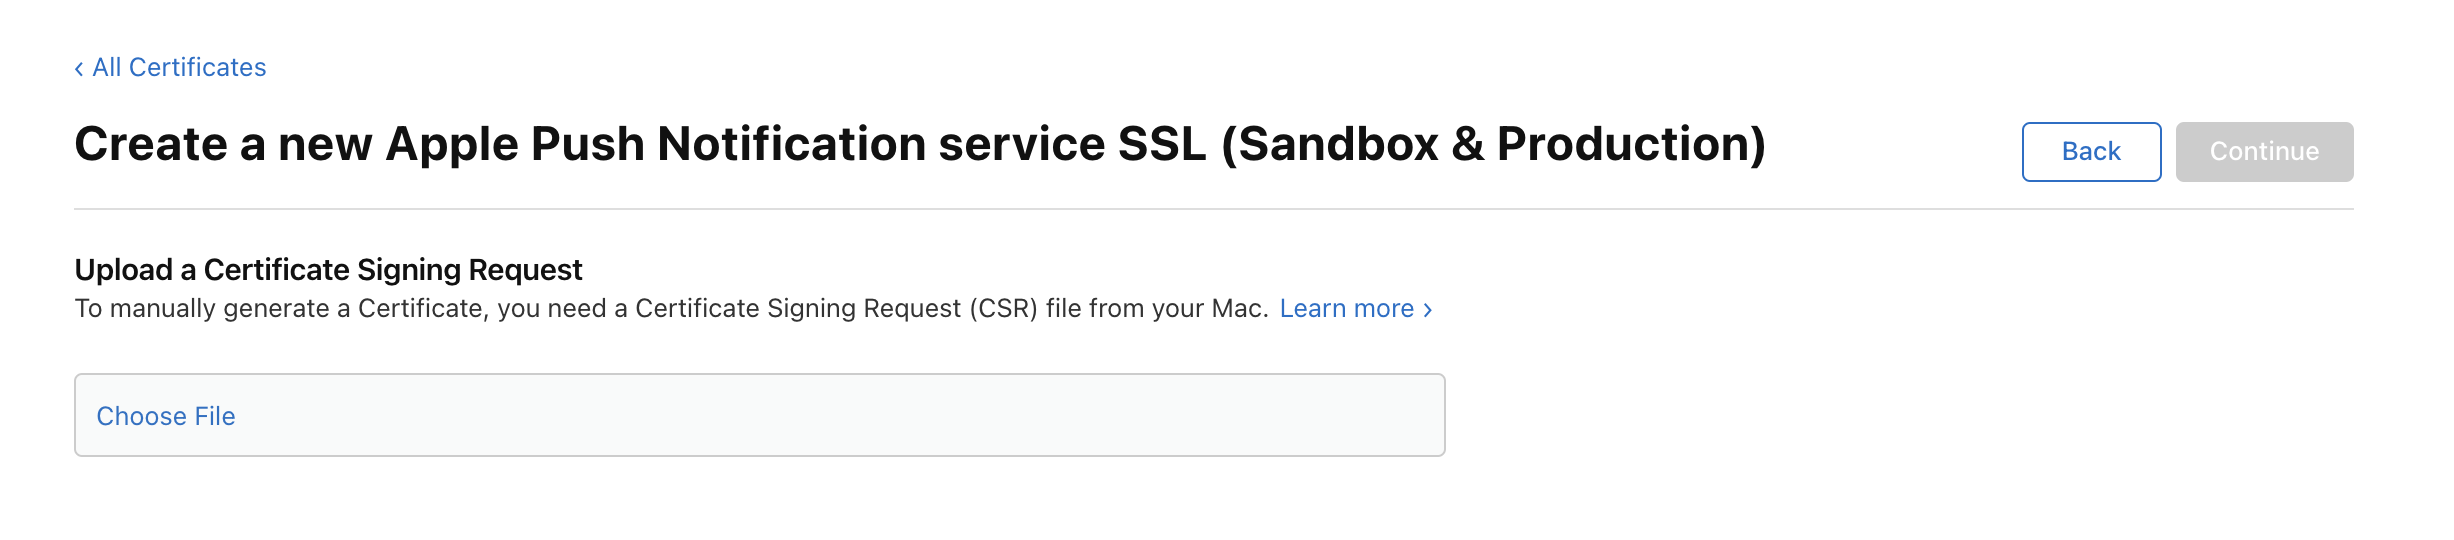
위 페이지에 요청키를 업로드한다
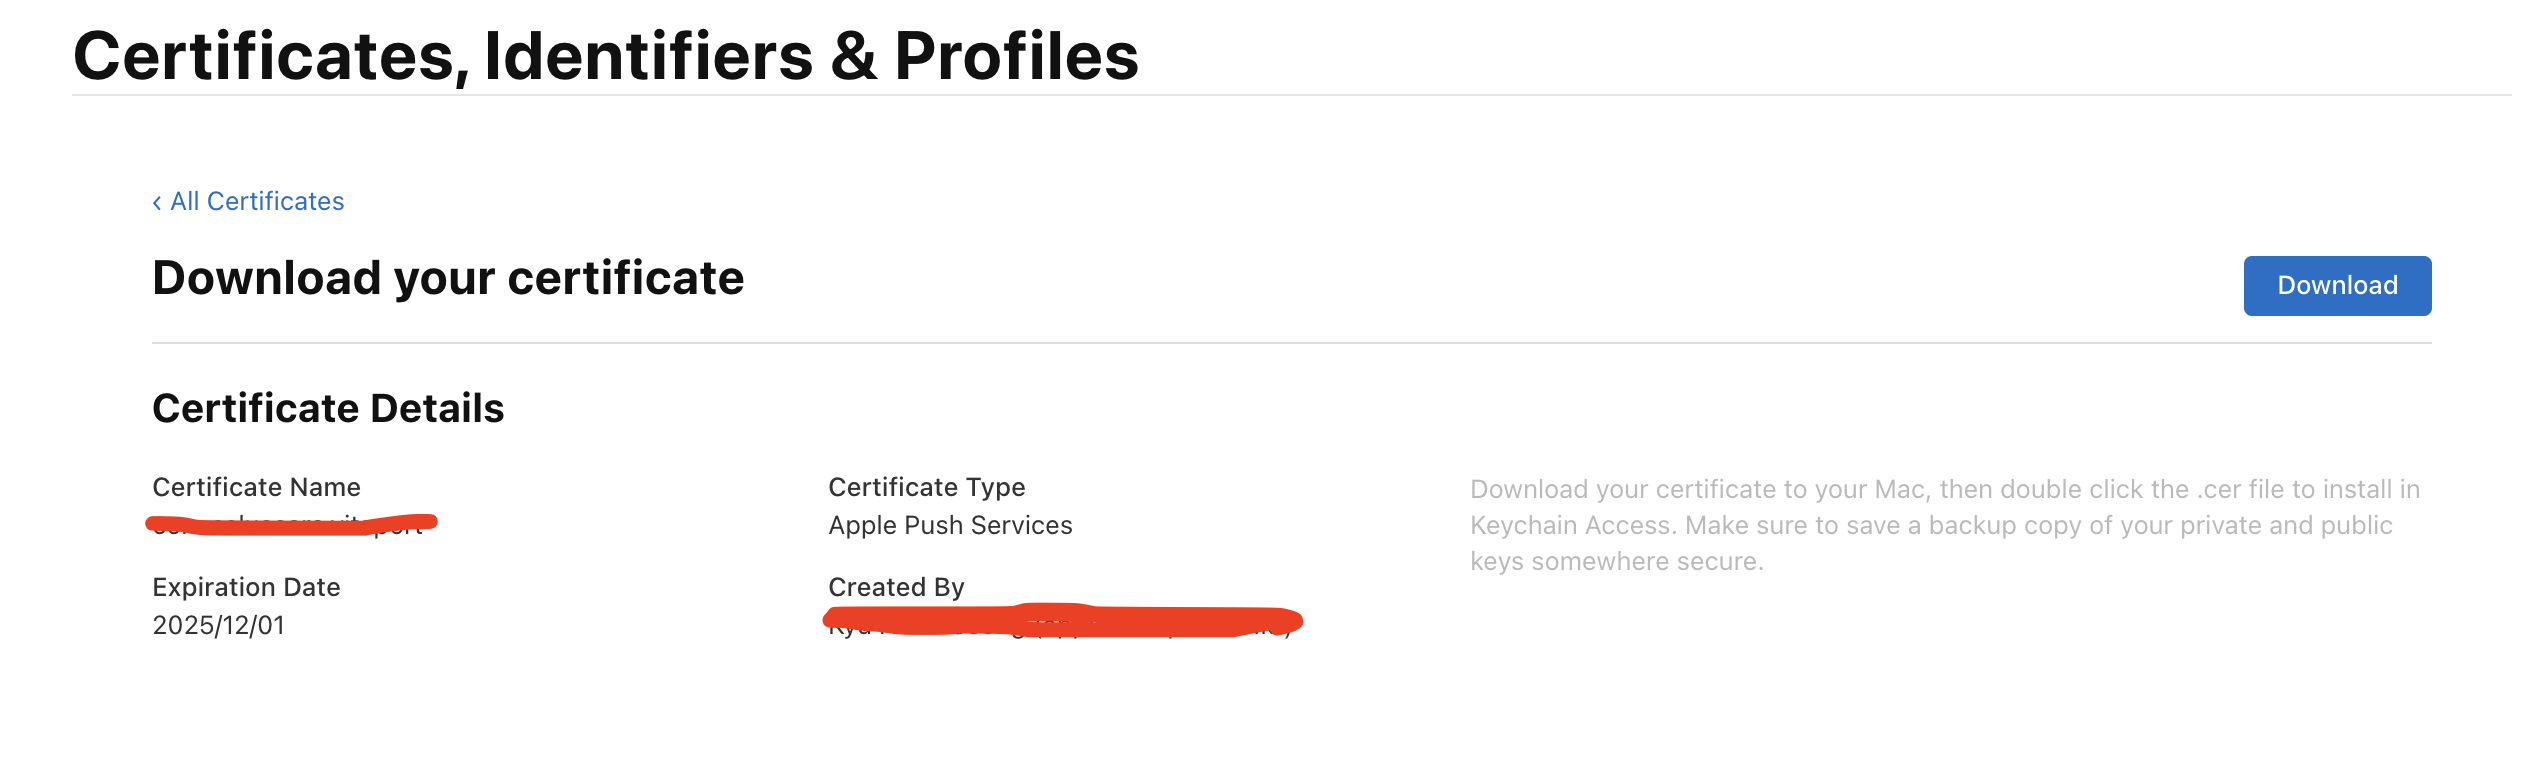
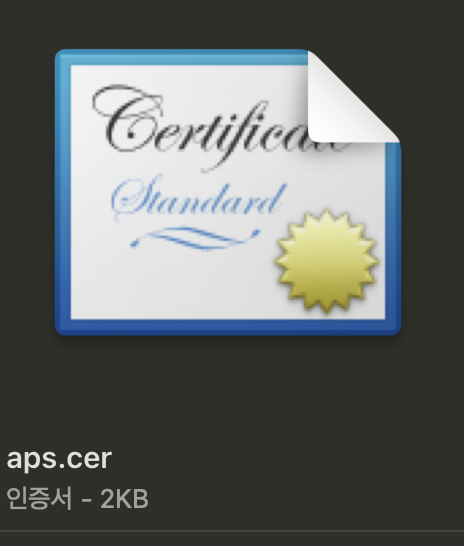
그러면 APNs 인증서가 생성되었다. Download를 눌러서 파일로 저장하자.
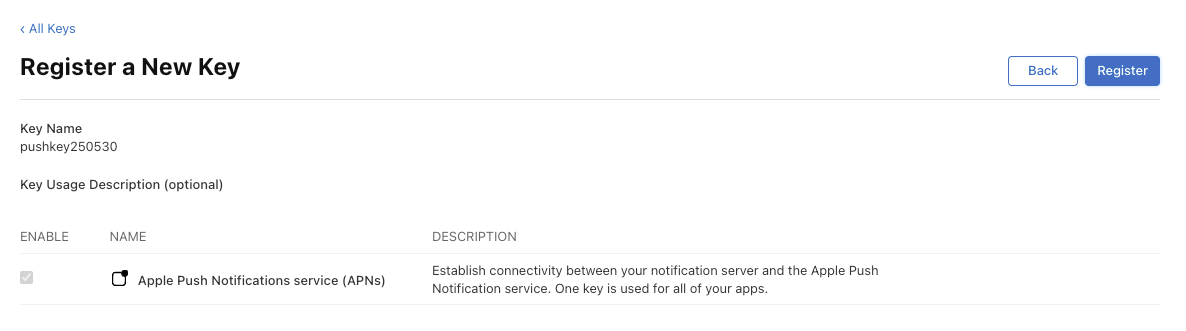
Certificates, Identifiers & Profiles > keys로 넘어가서 새로운 키 발급받기
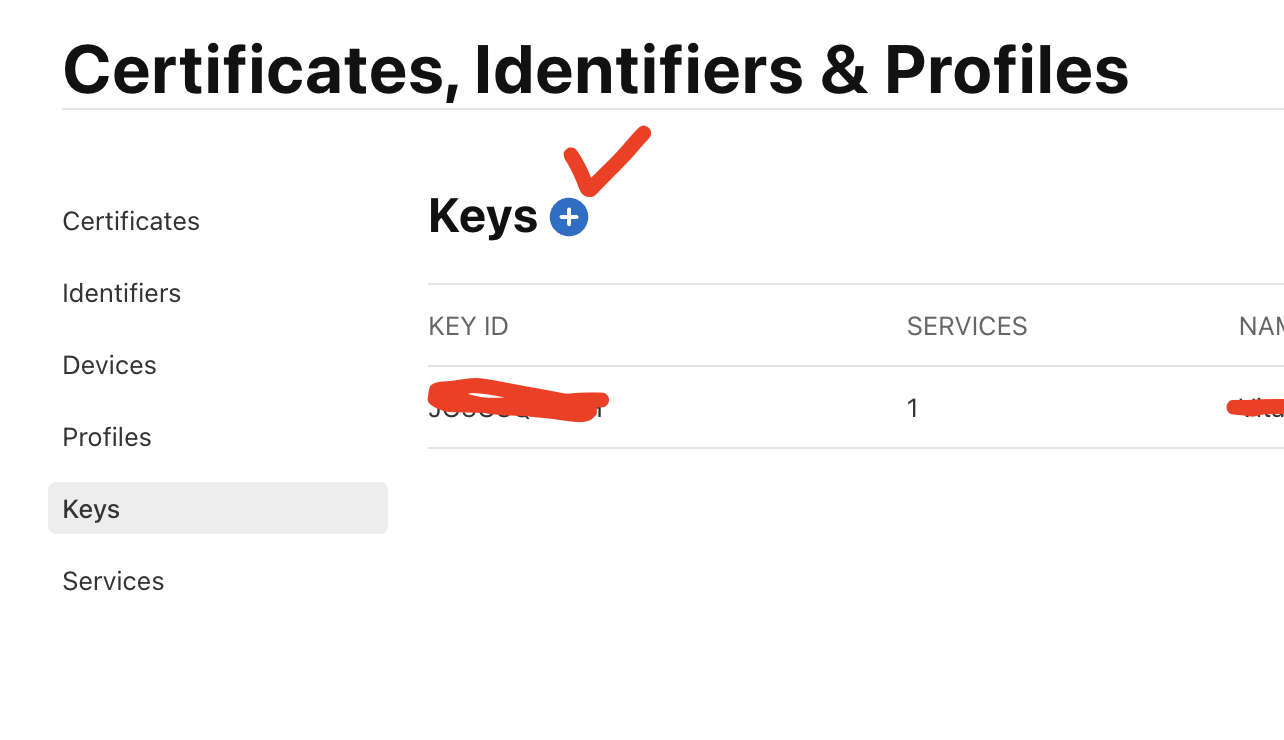

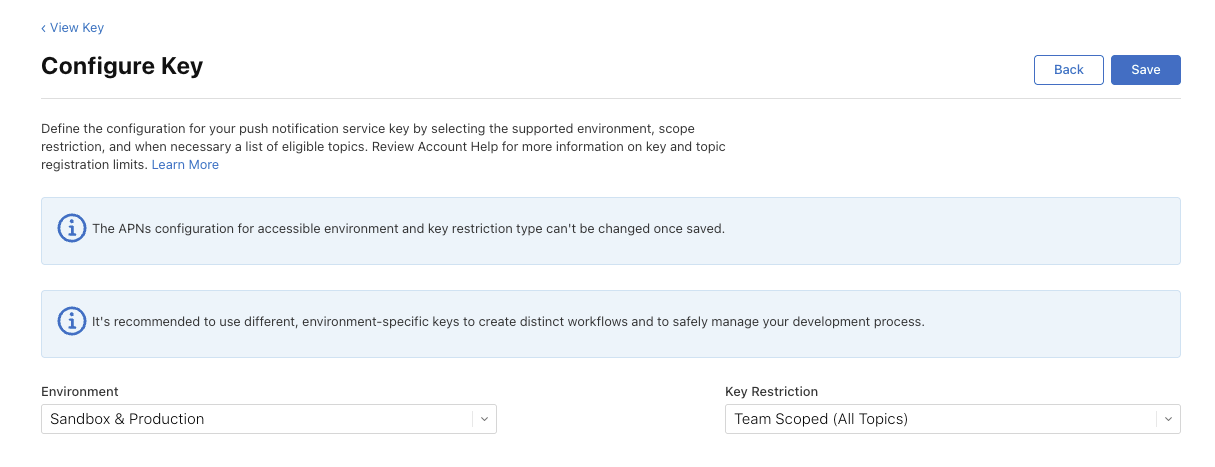
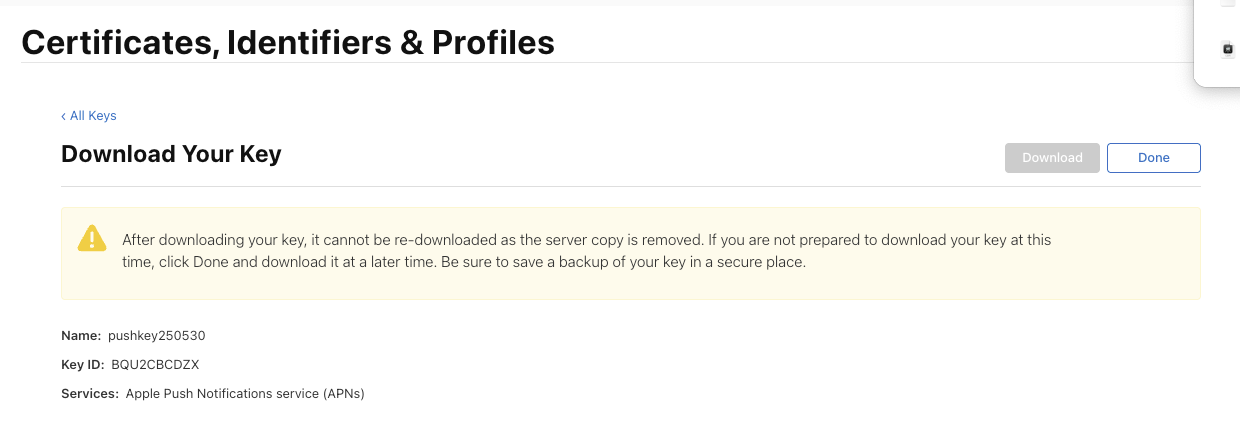
다운로드 받아서 .p8 파일 받기

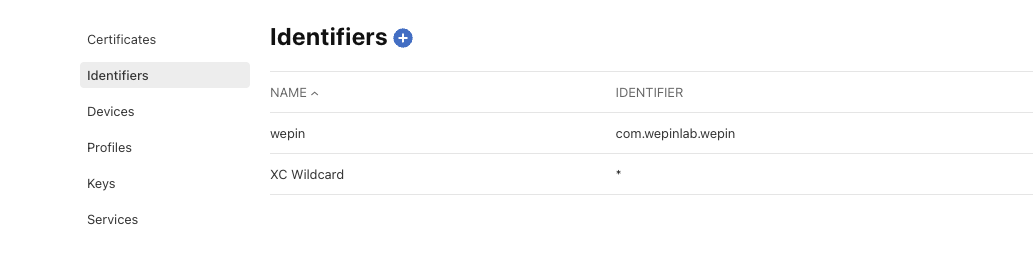
Identifiers > 앱 이름클릭 > push Notifications edit 눌러서 SSL 키 설정해주기
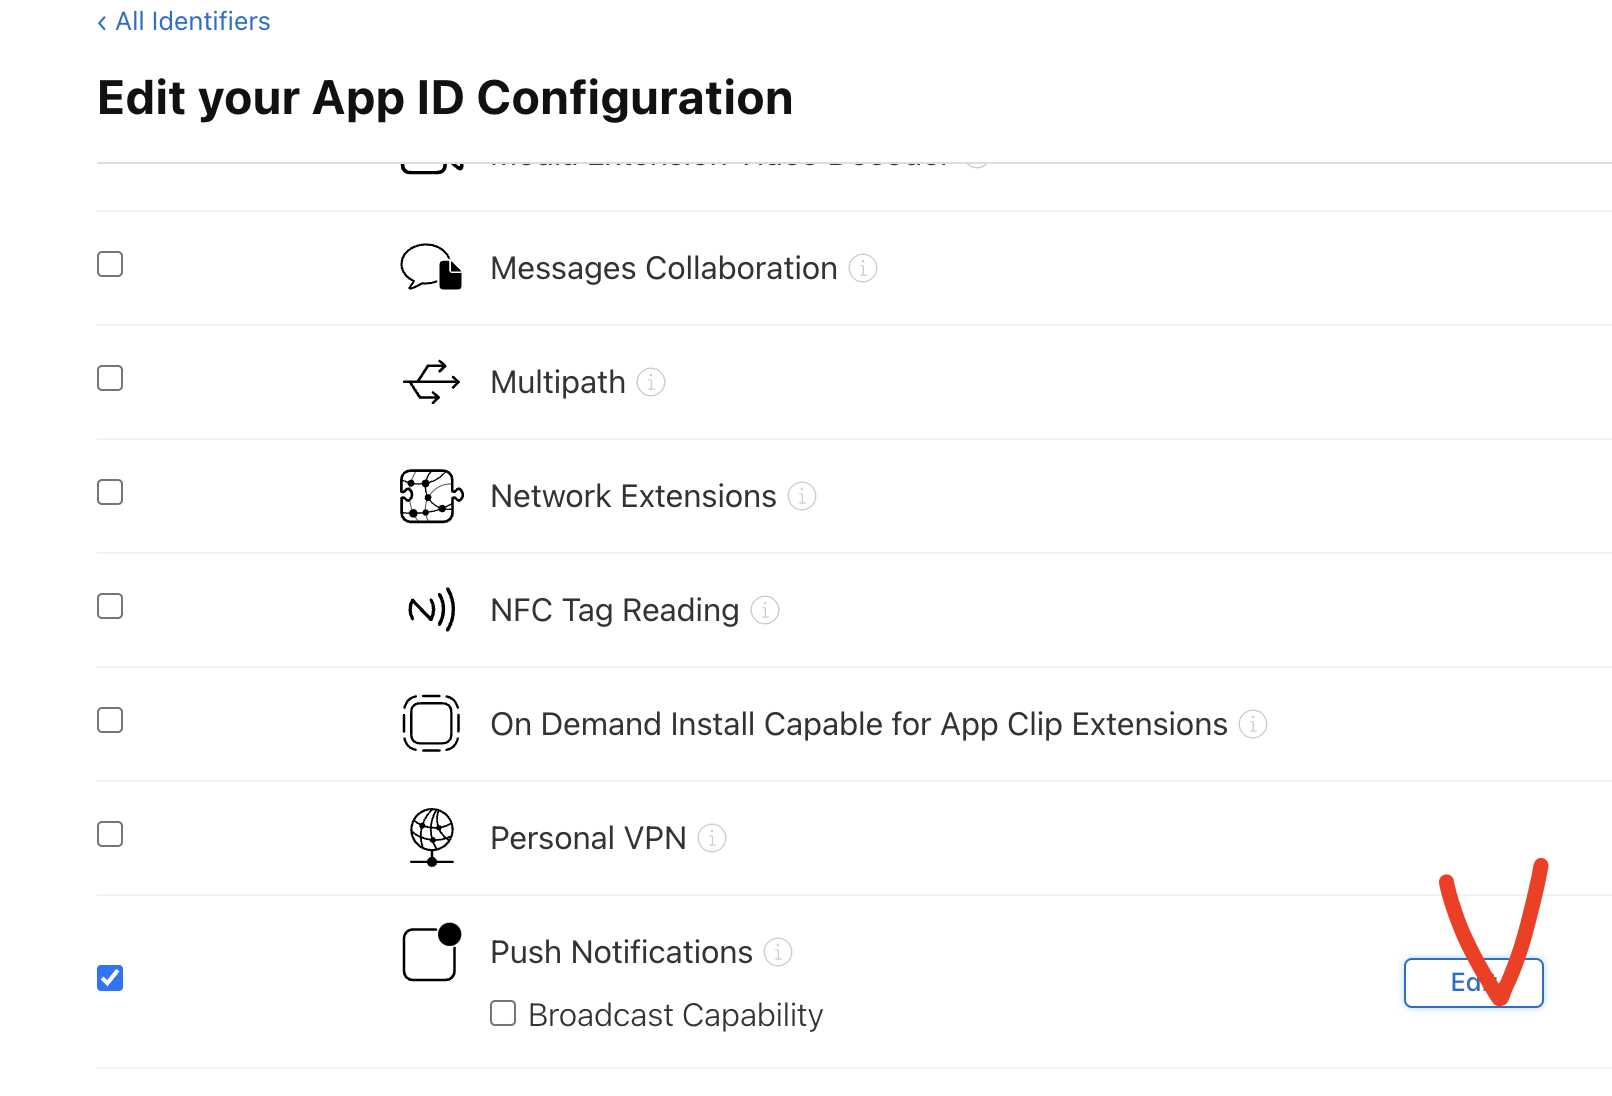
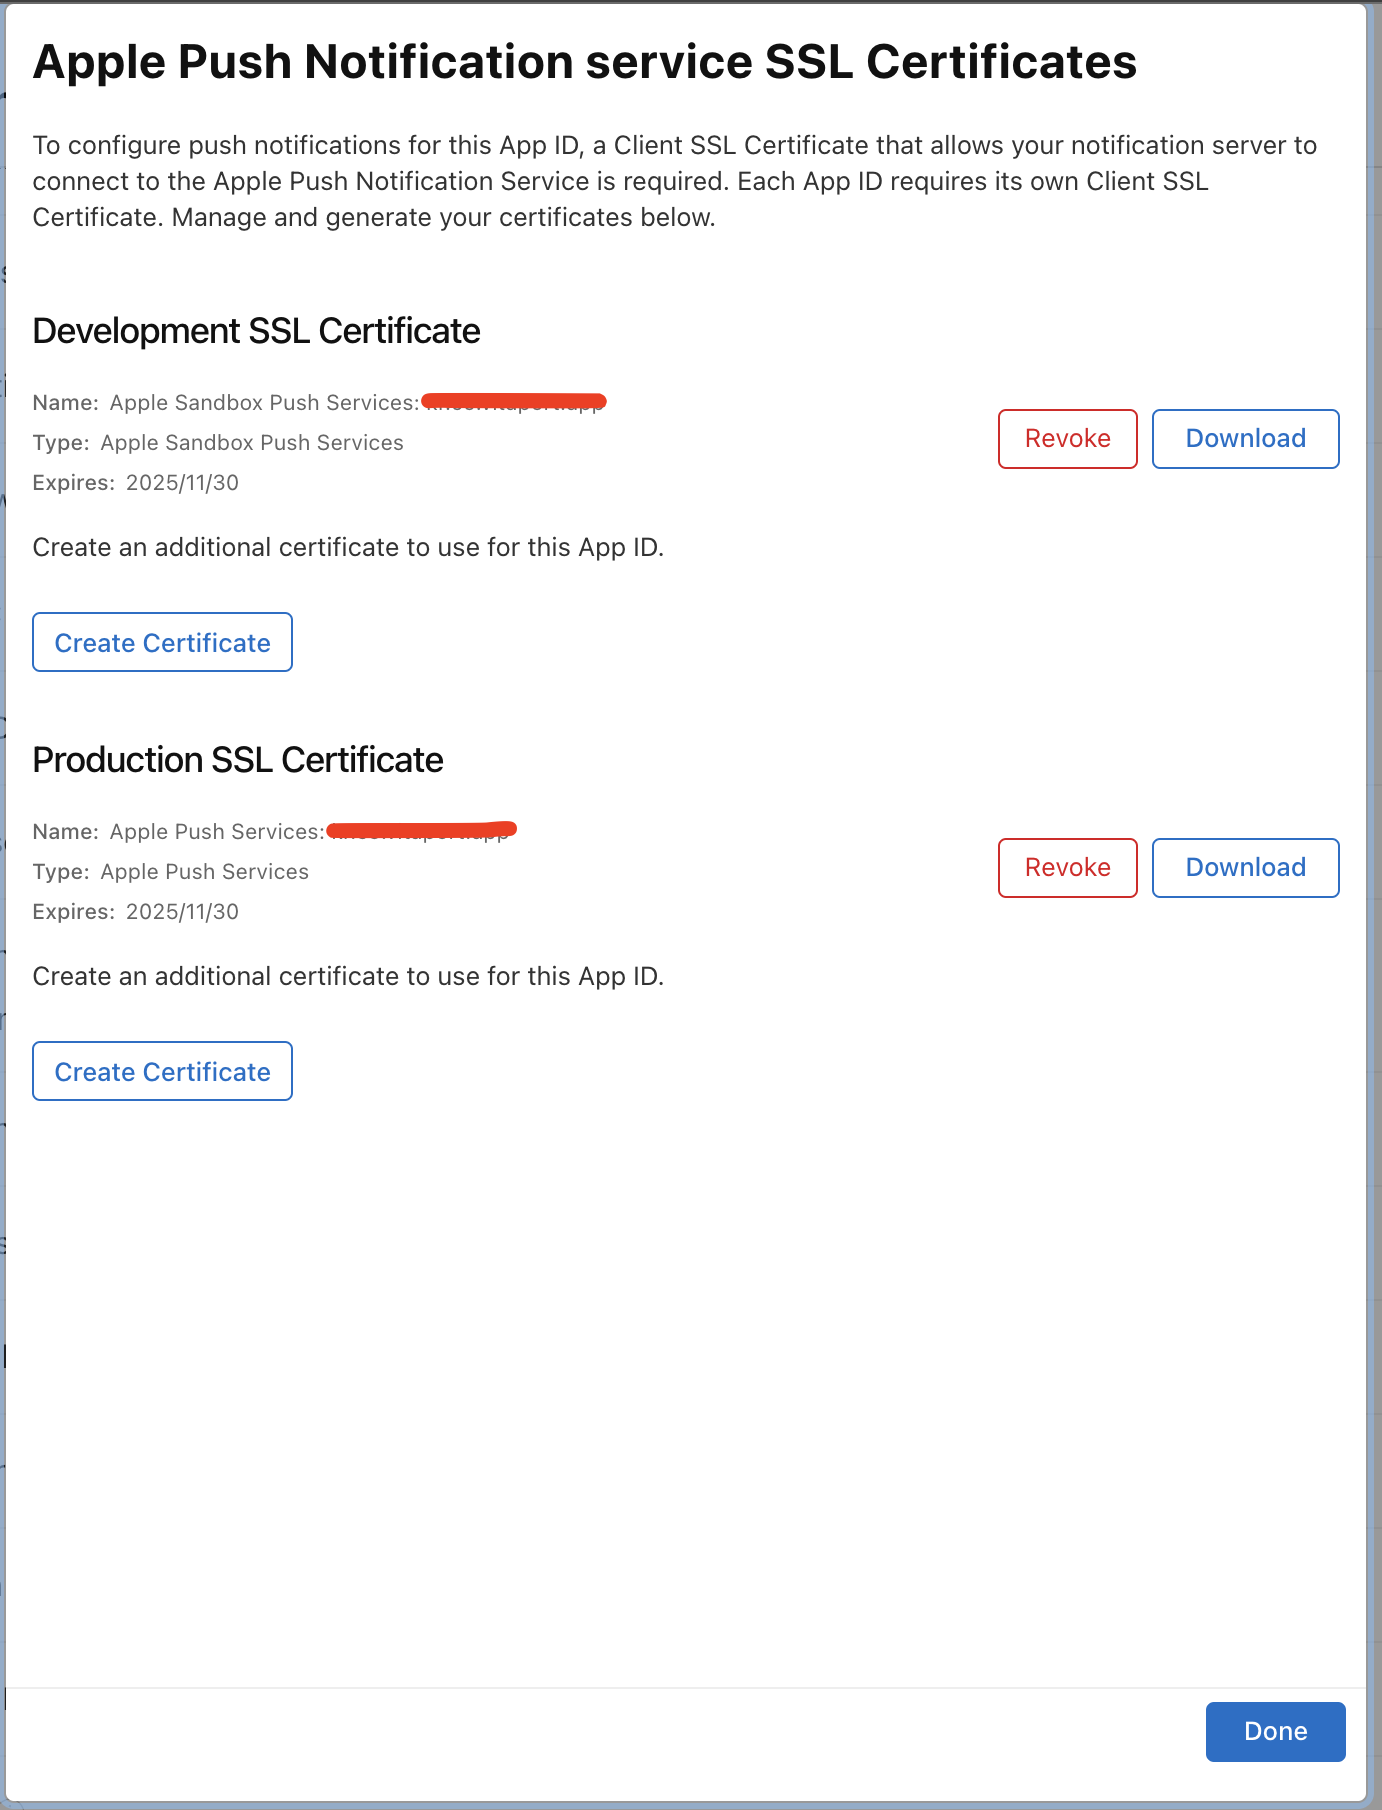
아까 다운받은 cer파일 업로드하기 (dev, prod 각각 업로드하기)
2. xcode 설정해주기
xcode > project name > target > signing & Capabilites 선택하고 +Capability 해서 Push Notification, Background Modes 추가해주기
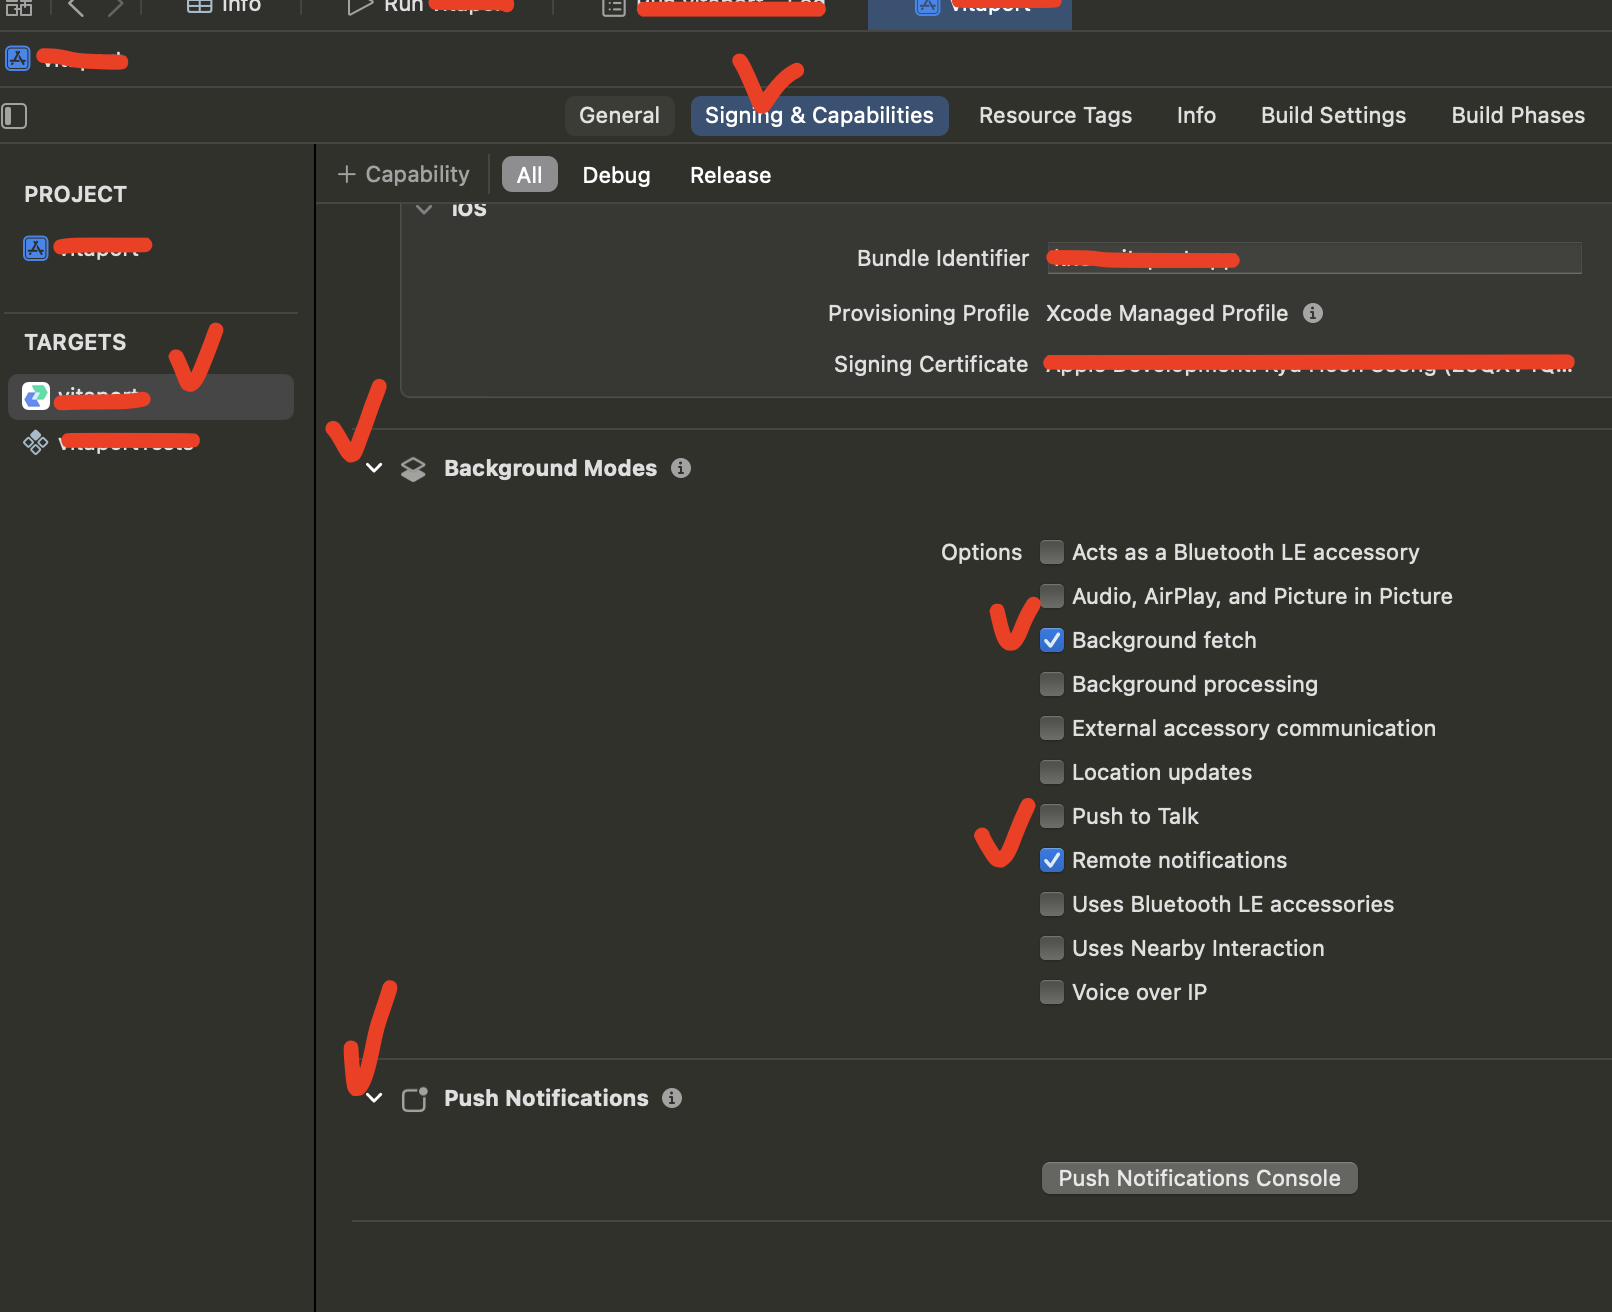
Background Modes 에 Background fetch, Remote notification 체크해주기
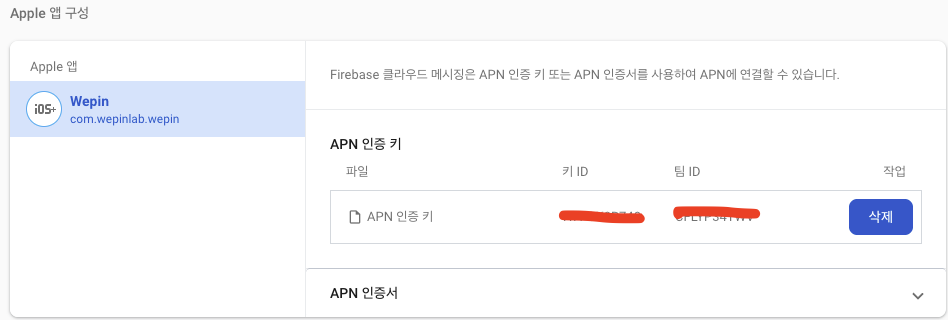
3. firebase console 에서 설정하기
firebase 콘솔 > 프로젝트 설정 > 클라우드 메시징 탭 > Apple 앱 구성에 인증키(.p8) 업로드하기
4. 코드 추가해서 메시징 처리가 잘 되는지 확인해보기
-
ios badge 카운트 처리시 사용한 라이브러리는 'notifee' 라는 라이브러리를 사용함
-
App.tsx
- foreground처리부
const unsubscribe = messaging().onMessage(async remoteMessage => {
	//console.log('get message!!!');
    Alert.alert('A new FCM message arrived!', JSON.stringify(remoteMessage));
    const channelId = await createChannel();

    await notifee.displayNotification({
        title: remoteMessage.notification?.title,
        body: remoteMessage.notification?.body,
        android: {
			channelId: channelId,
        },
    });
});- index.js
- background 처리부
messaging().setBackgroundMessageHandler(async remoteMessage => {
	await notifee.incrementBadgeCount();
    const count = await notifee.getBadgeCount();
    console.log('Badge count incremented by 1 to: ', count);
});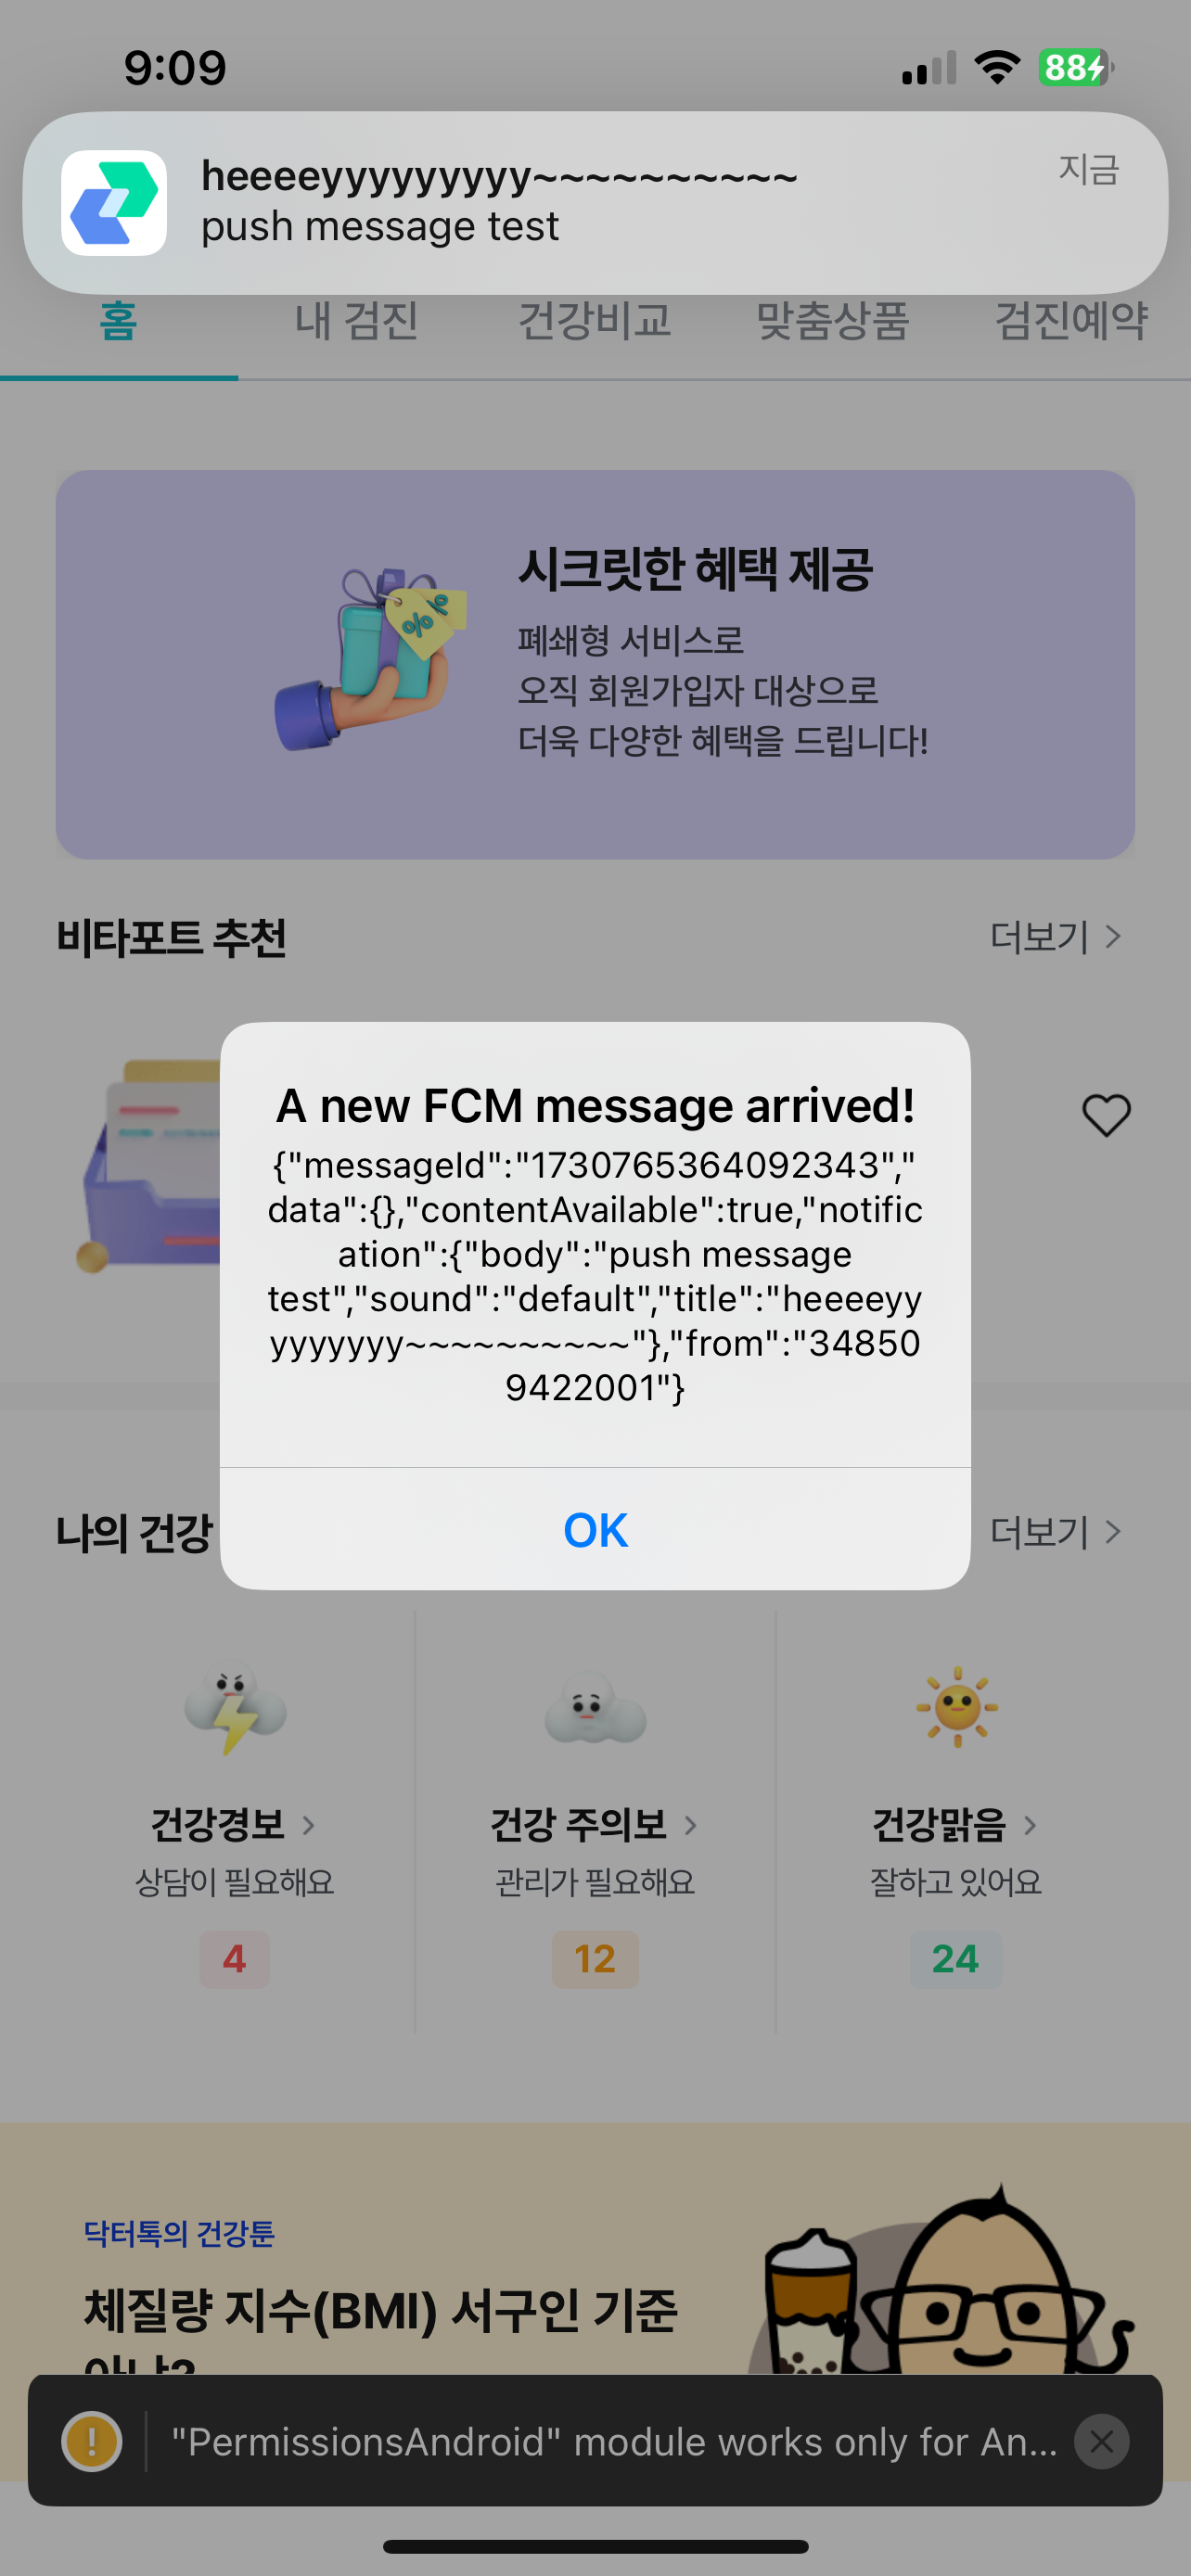
foreground
background