pushAndRemoveUntil
Navigator.of(context).pushAndRemoveUntil(
      MaterialPageRoute(
        builder: (context) => const MainNavigation(),
      ),
      (route) {
        return false;
      },
    );
push와 다르게 pushAndRemoveUntil는 이전의 Screen들을 Stack에서 모두 날려버린다.
pushAndRemoveUntil 함수는 콜백 함수로 2개를 받는데 첫번째 인자는 똑같이 Route를 받고, 두번째 인자는 bool Function(Route<dynamic>) predicate 를 받는다. true 를 리턴할 경우 이전의 페이지를 제거하지 않고, false를 리턴할 경우 모든 페이지를 제거한다. 안에는 페이지들을 제거할지 말지에 대한 로직이 들어갈 수 있다.
BottomNavigationBar
다음과 같이 내비게이션 바를 추가하려면 scaffold widget에서 BottomAppBar 대신 BottomNavigationBar를 설정하면 된다.
BottomAppBar 와 BottomNavigationBar의 차이점
하지만 앞서 소개한 BottomNavigationBar는 Material Design2를 따르기 때문에 최신 버전인
Material Design 3를 따를 것이다!!!
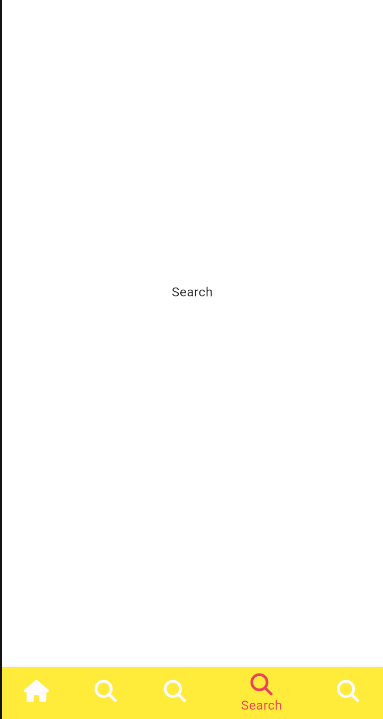
Scaffold(
      bottomNavigationBar: NavigationBar(
        labelBehavior: NavigationDestinationLabelBehavior.onlyShowSelected,
        destinations: const [
          NavigationDestination(
              icon: FaIcon(
                FontAwesomeIcons.house,
                color: Colors.teal,
              ),
              label: 'Home'),
          NavigationDestination(
              icon: FaIcon(
                FontAwesomeIcons.magnifyingGlass,
                color: Colors.amber,
              ),
              label: 'Search'),
        ],
        onDestinationSelected: _onTap,
        selectedIndex: _selectedIndex,
      ),
      body: Center(
        child: screens[_selectedIndex],
      ),
    );
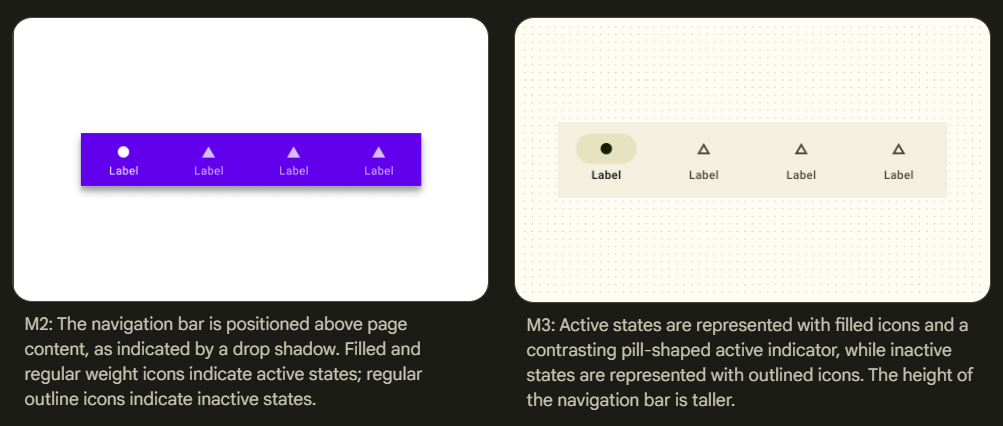
https://m3.material.io/components/navigation-bar/overview
공식 홈페이지에 나와있는 것처럼 material design 2와 3 는 차이가 있다.
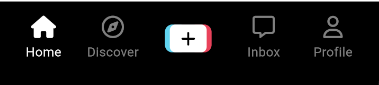
Custom NavigationBar
// main_navigation.dart
BottomAppBar(
        padding: const EdgeInsets.all(Sizes.size12),
        color: Colors.black,
        child: Row(
          mainAxisAlignment: MainAxisAlignment.spaceBetween,
          children: [
            NavTab(
              icon: FontAwesomeIcons.house,
              selectedIcon: FontAwesomeIcons.house,
              text: 'Home',
              isSelected: _selectedIndex == 0,
              onTap: () => _onTap(0),
            ),
            NavTab(
              icon: FontAwesomeIcons.compass,
              selectedIcon: FontAwesomeIcons.solidCompass,
              text: 'Discover',
              isSelected: _selectedIndex == 1,
              onTap: () => _onTap(1),
            ),
            NavTab(
              icon: FontAwesomeIcons.message,
              selectedIcon: FontAwesomeIcons.solidMessage,
              text: 'Inbox',
              isSelected: _selectedIndex == 3,
              onTap: () => _onTap(3),
            ),
            NavTab(
              icon: FontAwesomeIcons.user,
              selectedIcon: FontAwesomeIcons.solidUser,
              text: 'Profile',
              isSelected: _selectedIndex == 4,
              onTap: () => _onTap(4),
            ),
          ],
        ),
      ),
// nav_tab.dart
import 'package:flutter/material.dart';
import 'package:font_awesome_flutter/font_awesome_flutter.dart';
import 'package:tiktok_clone/constants/gaps.dart';
class NavTab extends StatelessWidget {
const NavTab({
super.key,
required this.text,
required this.isSelected,
required this.icon,
required this.onTap,
required this.selectedIcon,
});
final String text;
final bool isSelected;
final IconData icon;
final IconData selectedIcon;
final void Function() onTap;
Widget build(BuildContext context) {
return **Expanded**(
child: GestureDetector(
onTap: onTap,
child: Container(
color: Colors.red,
child: AnimatedOpacity(
duration: const Duration(milliseconds: 300),
opacity: isSelected ? 1 : 0.5,
child: Column(
mainAxisSize: MainAxisSize.min,
children: [
FaIcon(isSelected ? selectedIcon : icon, color: Colors.white),
Gaps.v5,
Text(
text,
style: const TextStyle(color: Colors.white),
),
],
),
),
),
),
);
}
}
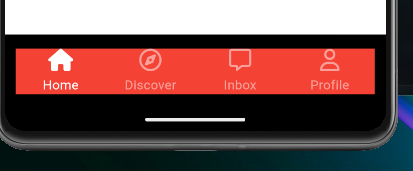
만약 nav_tab.dart에서 Expanded Widget으로 감싸지 않았다면 화면이 다음과 같이 보일 것이다.
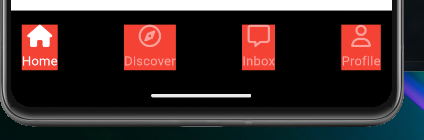
다음과 같이 정확하게 버튼당 너비가 너무 작고 클릭하기 불편하다. 그렇기 때문에 Expanded 위젯으로 감싸면 된다.
Stateful Navigation
// main_navigation.dart
final screens = [
    StfScreen(),
    StfScreen(),
    Container(),
    StfScreen(),
    StfScreen(),
  ];
// stf_screen.dart
import 'package:flutter/material.dart';
class StfScreen extends StatefulWidget {
const StfScreen({super.key});
State<StfScreen> createState() => _StfScreenState();
}
class _StfScreenState extends State<StfScreen> {
int _clicks = 0;
void _increase() {
setState(() {
_clicks++;
});
}
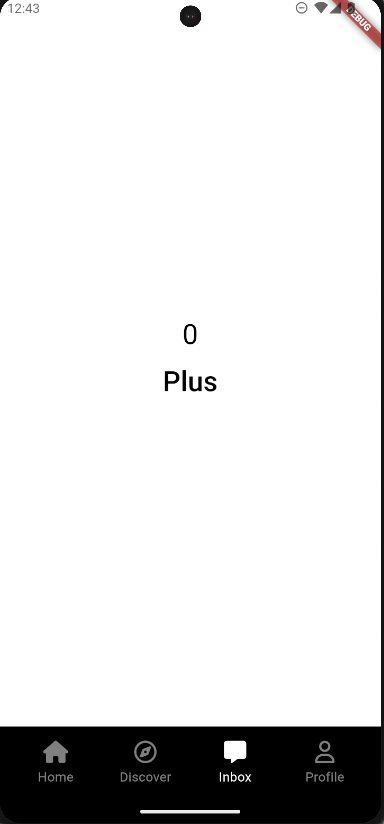
Widget build(BuildContext context) {
return Center(
child: Column(
mainAxisAlignment: MainAxisAlignment.center,
children: [
Text('$_clicks',
style: const TextStyle(
fontSize: 30,
color: Colors.black,
)),
TextButton(
onPressed: _increase,
child: const Text('Plus',
style: TextStyle(
fontSize: 30,
color: Colors.black,
)),
)
],
),
);
}
}
다음과 같이 클래스 멤버 변수로 위젯들을 리스트에 저장해놓고 scaffold에서 동적으로 다음의 위젯을 보여줄 때 문제는 click 의 숫자를 늘리고 다음 화면으로 넘어가면 거기서도 같은 click state를 공유한다는 점이다.
플러터는 내부적으로 모든 위젯 마다 Element를 생성합니다. 위젯 트리를 만드는 것처럼 Element 트리도 생성합니다. Element는 단순하게 구성되어 있습니다. 대응되는 위젯의 타입 정보와 자식 Element에 대한 참조를 가지고 있습니다. Element 트리는 플러터 앱의 골격으로 볼 수 있습니다. 앱의 구조를 보여주지만 자세한 정보는 원본 위젯에 대한 참조를 통해 확인할 수 있습니다.
위 예제에서 Row 위젯은 자식에 대한 정렬된 집합을 가지고 있습니다. Row 위젯의 자식인 Tile 위젯의 순서를 바꾸면 플러터는 Element 트리를 따라내려가면서 구조가 변경되었는지 확인합니다.
출처: https://nsinc.tistory.com/214 [NakedStrength:티스토리]
여기는 내가 참고하기 가장 좋은 블로그이다.
https://jutole.tistory.com/71
이 문제를 해결하기 위해 위젯에 key 파라미터로 GlobalKey()를 준다.
final screens = [
    StfScreen(
      key: GlobalKey(),
    ),
    StfScreen(
      key: GlobalKey(),
    ),
    Container(),
    StfScreen(
      key: GlobalKey(),
    ),
    StfScreen(
      key: GlobalKey(),
    ),
  ];
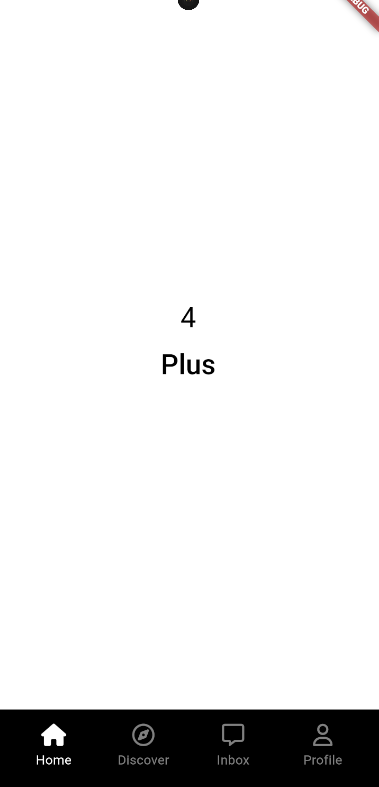
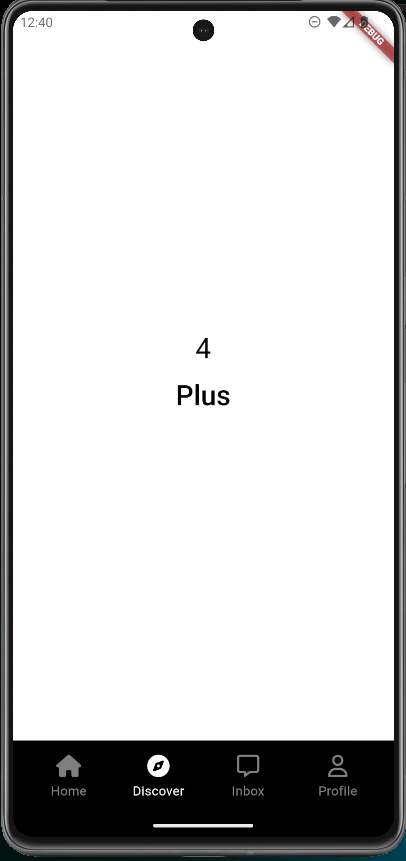
이렇게 하면 화면마다 click수가 다르다.
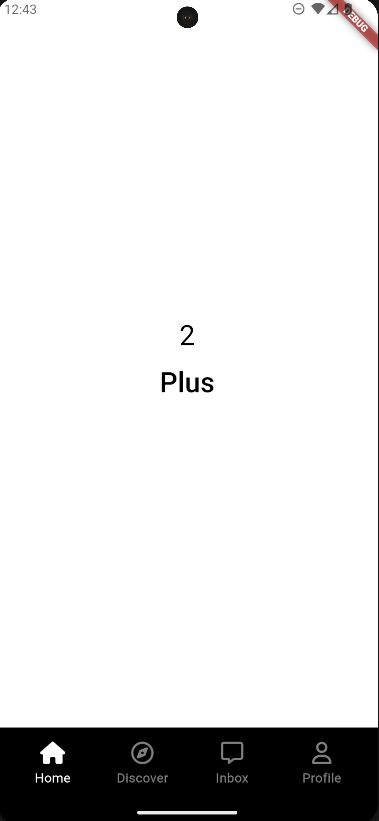
하지만 이렇게 하면 다시 Home 화면으로 돌아왔을 때 click수가 리셋되어서 0이 되어있는 현상이 발생한다. 그 이유는 flutter 에서 위젯이 화면에서 사라지면 자동으로 dispose돼서 state가 사라지기 때문에 다시 돌아왔을 때 리셋되어 있는 것이다.
인스타그램이나 페이스북 같은 어플에서는 사용자가 피드들을 스크롤하다가 profile 페이지에 갔다가 다시 피드 탭으로 돌아오면 우리가 그 전에 스크롤 했던 위치 그대로 되돌아가있다. 이것은 그 위젯의 state가 변하지 않았다는 것이다. (= widget이 dispose되지 않았다.)
그렇다면 어떻게 해결해야할까?
방법은 모든 화면을 렌더링 하긴 하지만 사용자에게 보여주지 않으면 된다.
OffStage
Stack(
    children: [
      Offstage(
        offstage: _selectedIndex != 0,
        child: const StfScreen(),
      ),
      Offstage(
        offstage: _selectedIndex != 1,
        child: const StfScreen(),
      ),
      Offstage(
        offstage: _selectedIndex != 3,
        child: const StfScreen(),
      ),
      Offstage(
        offstage: _selectedIndex != 4,
        child: const StfScreen(),
      ),
    ],
  ),
다음과 같이 Stack안에 Offstage 위젯을 넣어주면 된다.
PostVideoButton.dart
import 'package:flutter/material.dart';
import 'package:font_awesome_flutter/font_awesome_flutter.dart';
import 'package:tiktok_clone/constants/sizes.dart';
class PostVideoButton extends StatelessWidget {
const PostVideoButton({
super.key,
});
Widget build(BuildContext context) {
return Stack(
clipBehavior: Clip.none,
children: [
Positioned(
right: 20,
child: Container(
height: 30,
width: 25,
padding: const EdgeInsets.symmetric(horizontal: Sizes.size8),
decoration: BoxDecoration(
color: const Color(0xff61D4F0),
borderRadius: BorderRadius.circular(Sizes.size8),
),
),
),
Positioned(
left: 20,
child: Container(
height: 30,
width: 25,
padding: const EdgeInsets.symmetric(horizontal: Sizes.size8),
decoration: BoxDecoration(
color: Theme.of(context).primaryColor,
borderRadius: BorderRadius.circular(Sizes.size8),
),
),
),
Container(
decoration: BoxDecoration(
color: Colors.white,
borderRadius: BorderRadius.circular(Sizes.size6),
),
padding: const EdgeInsets.symmetric(
horizontal: Sizes.size12,
),
height: 30,
child: const Center(
child: FaIcon(
FontAwesomeIcons.plus,
color: Colors.black,
size: 18,
),
),
)
],
);
}
}
다음과 같은 버튼을 만들기 위해 위젯을 따로 분리해서 코드를 작성했다.
Stack 과 Positioned 위젯을 사용할 때 크기를 결정하는 것이 헷갈릴 수 있다.