23.12.04 최초 작성
1. buildroot
1.1 설치
// 필수 패키지
sudo apt-get install git-core gnupg flex bison gperf build-essential zip curl zlib1g-dev gcc-multilib g++-multilib lib32ncurses5-dev x11proto-core-dev libx11-dev libgl1-mesa-dev libxml2-utils xsltproc unzip php texinfo srecord libssl-dev
//buildroot 다운로드
git clone https://github.com/raspberrypi/buildroot
cd buildroot
git reset 39a2ff16f92a61a3e8593c394d211c18d01de8d4 --hard
//패차파일 적용 (옵션)
git am 0001-kdt-RPI-5.15.patch
//빌드 설정을 라즈베리파이로 설정
make raspberrypi4_64_defconfig
//커널 디버깅 정보 추가
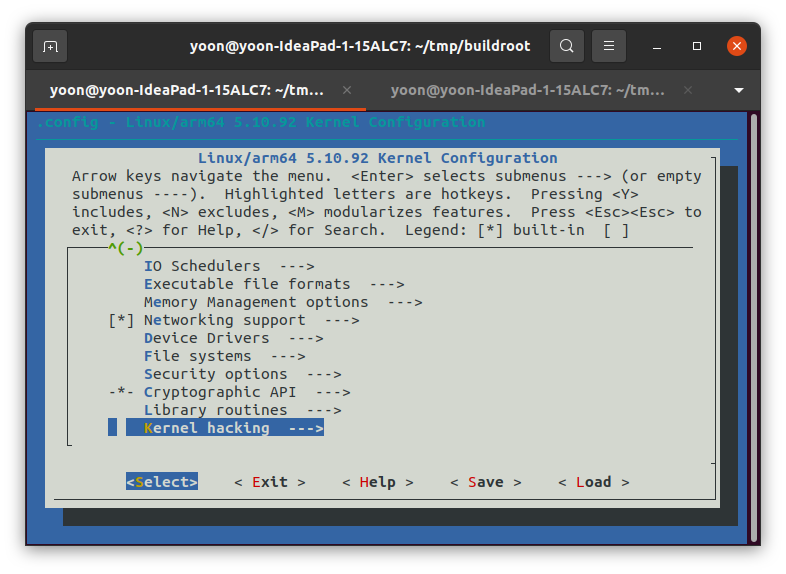
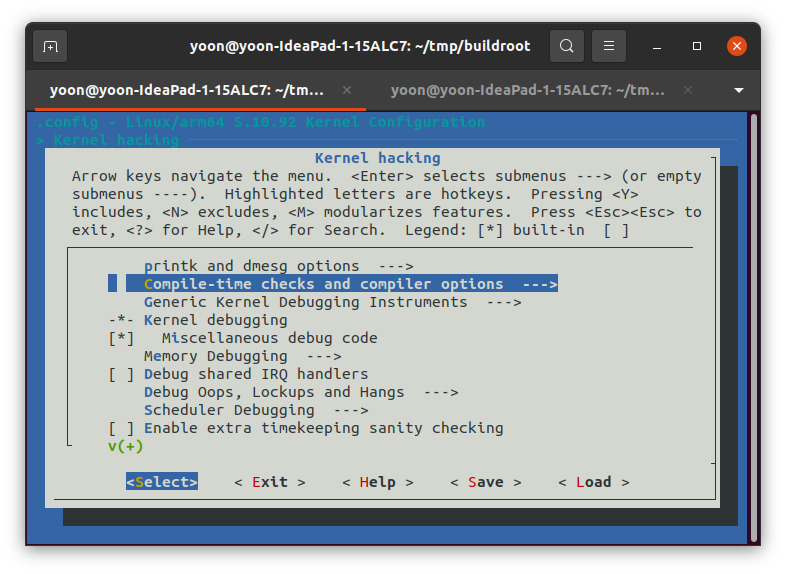
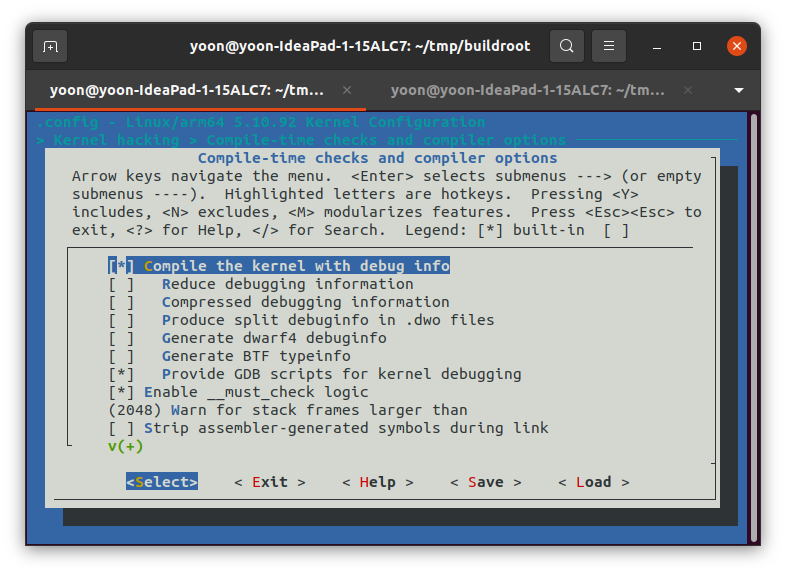
make linux-menuconfig
-> kernel hacking -> compile-time checks and compiler options -> compile the kernel with debug info
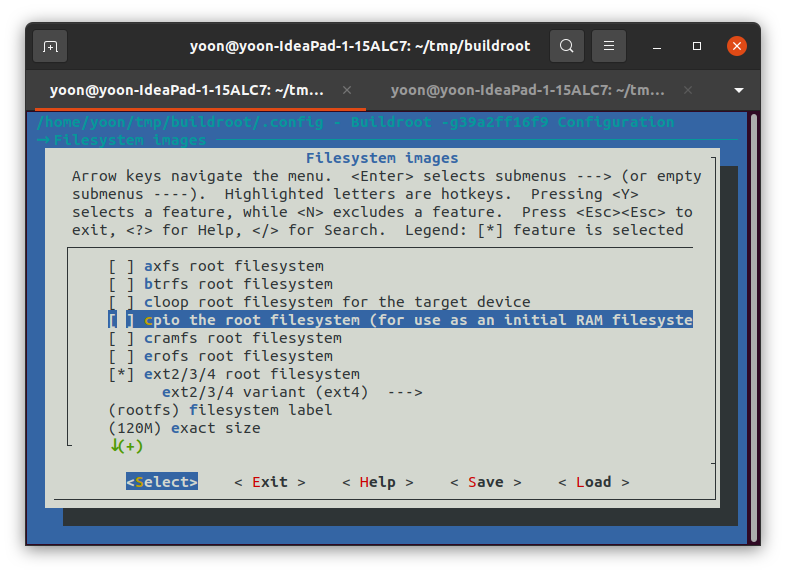
//minimal rootfs 설정 (qemu를 위한 buildroot 설정)
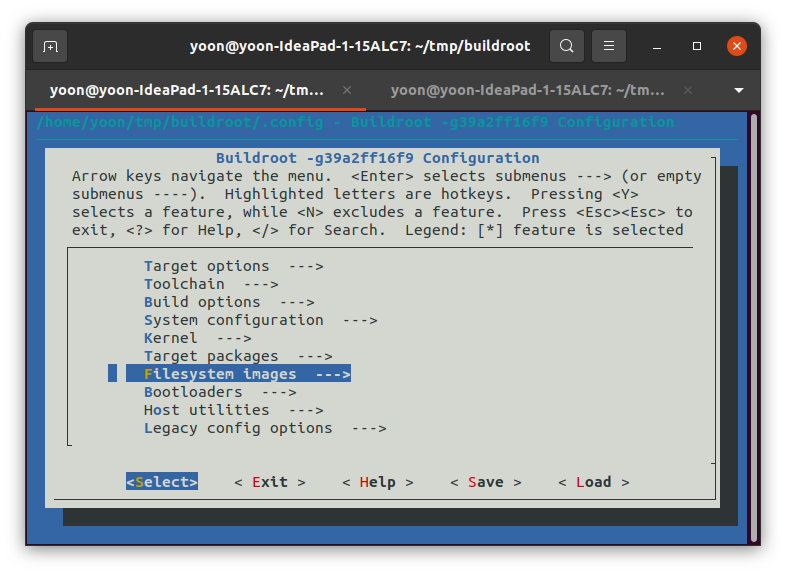
make menuconfig
-> Filesystem Image -> cpio the root file system
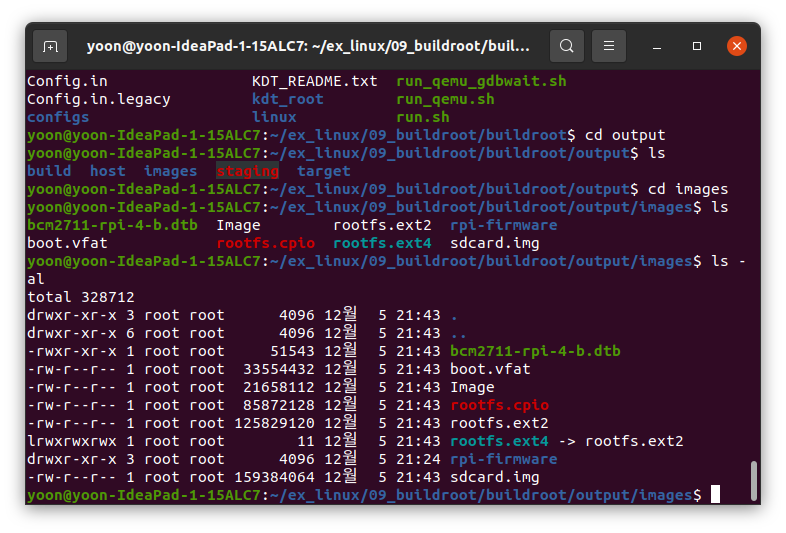
//kernel, rootfs 빌드
make
make linux-menuconfig
make menuconfig
결과
1.2 qemu 설치 및 실행
//qumu 설치
sudo apt install qemu-system-aarch64
//qemu 실행
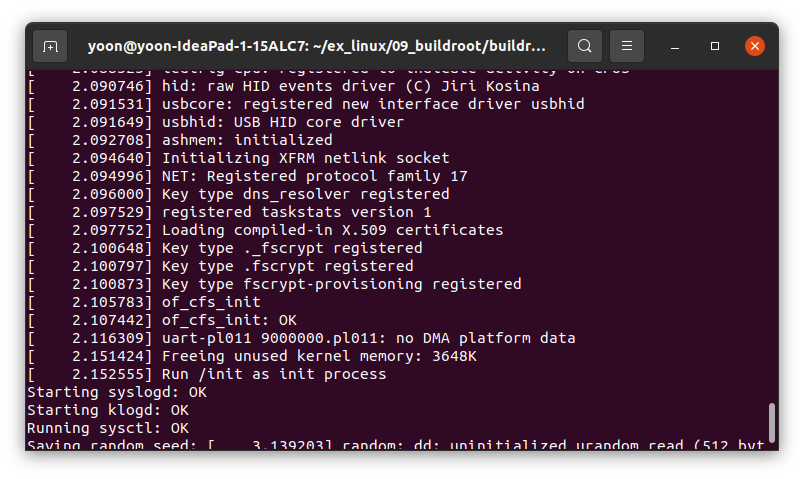
qemu-system-aarch64 -M raspi4 -machine virt -machine type=virt -cpu cortex-a72 -kernel output/build/linux-custom/arch/arm64/boot/Image -nographic -append "console=ttyAMA0 nokaslr" -m 512 -initrd output/ images/rootfs.cpio -smp 1
//초기 사용자 root실행 결과
1.2.1 raspi4b2g를 위한 qemu 설치
//다음과 같은 오류 발생 시
WARNING: Image format was not specified for 'images/rootfs.cpio' and probing guessed raw.
         Automatically detecting the format is dangerous for raw images, write operations on block 0 will be restricted.
         Specify the 'raw' format explicitly to remove the restrictions.
qemu-system-aarch64: could not load kernel 'output/build/linux-custom/arch/arm64/boot/Image'

// 해당 링크에서 파일 다운로드
git clone https://github.com/0xMirasio/qemu-patch-raspberry4

mkdir build
cd build
../configure
make
2. 디버깅
2.1 gdb를 통한 커널 디버깅
// terminal 1: -s -S 옵션 추가로 gdb wait 모드로 qemu 리눅스 부팅
qemu-system-aarch64 -M raspi4 -machine virt -machine type=virt -cpu cortex-a72 -kernel output/build/linux-custom/arch/arm64/boot/Image -nographic -append"console=ttyAMA0 nokaslr" -m 512 -initrd output/images/rootfs.cpio -smp 2 -s -S

// terminal 2 : 다음과 같이 gdb-multiarch 실행
gdb-multiarch

//terminal 2: 타겟 아키텍처 입력
set architecture aarch64

//terminal 2 : 타겟과 연결 설정
target remote :1234

//커널 시작 시 break
b start_kernel

c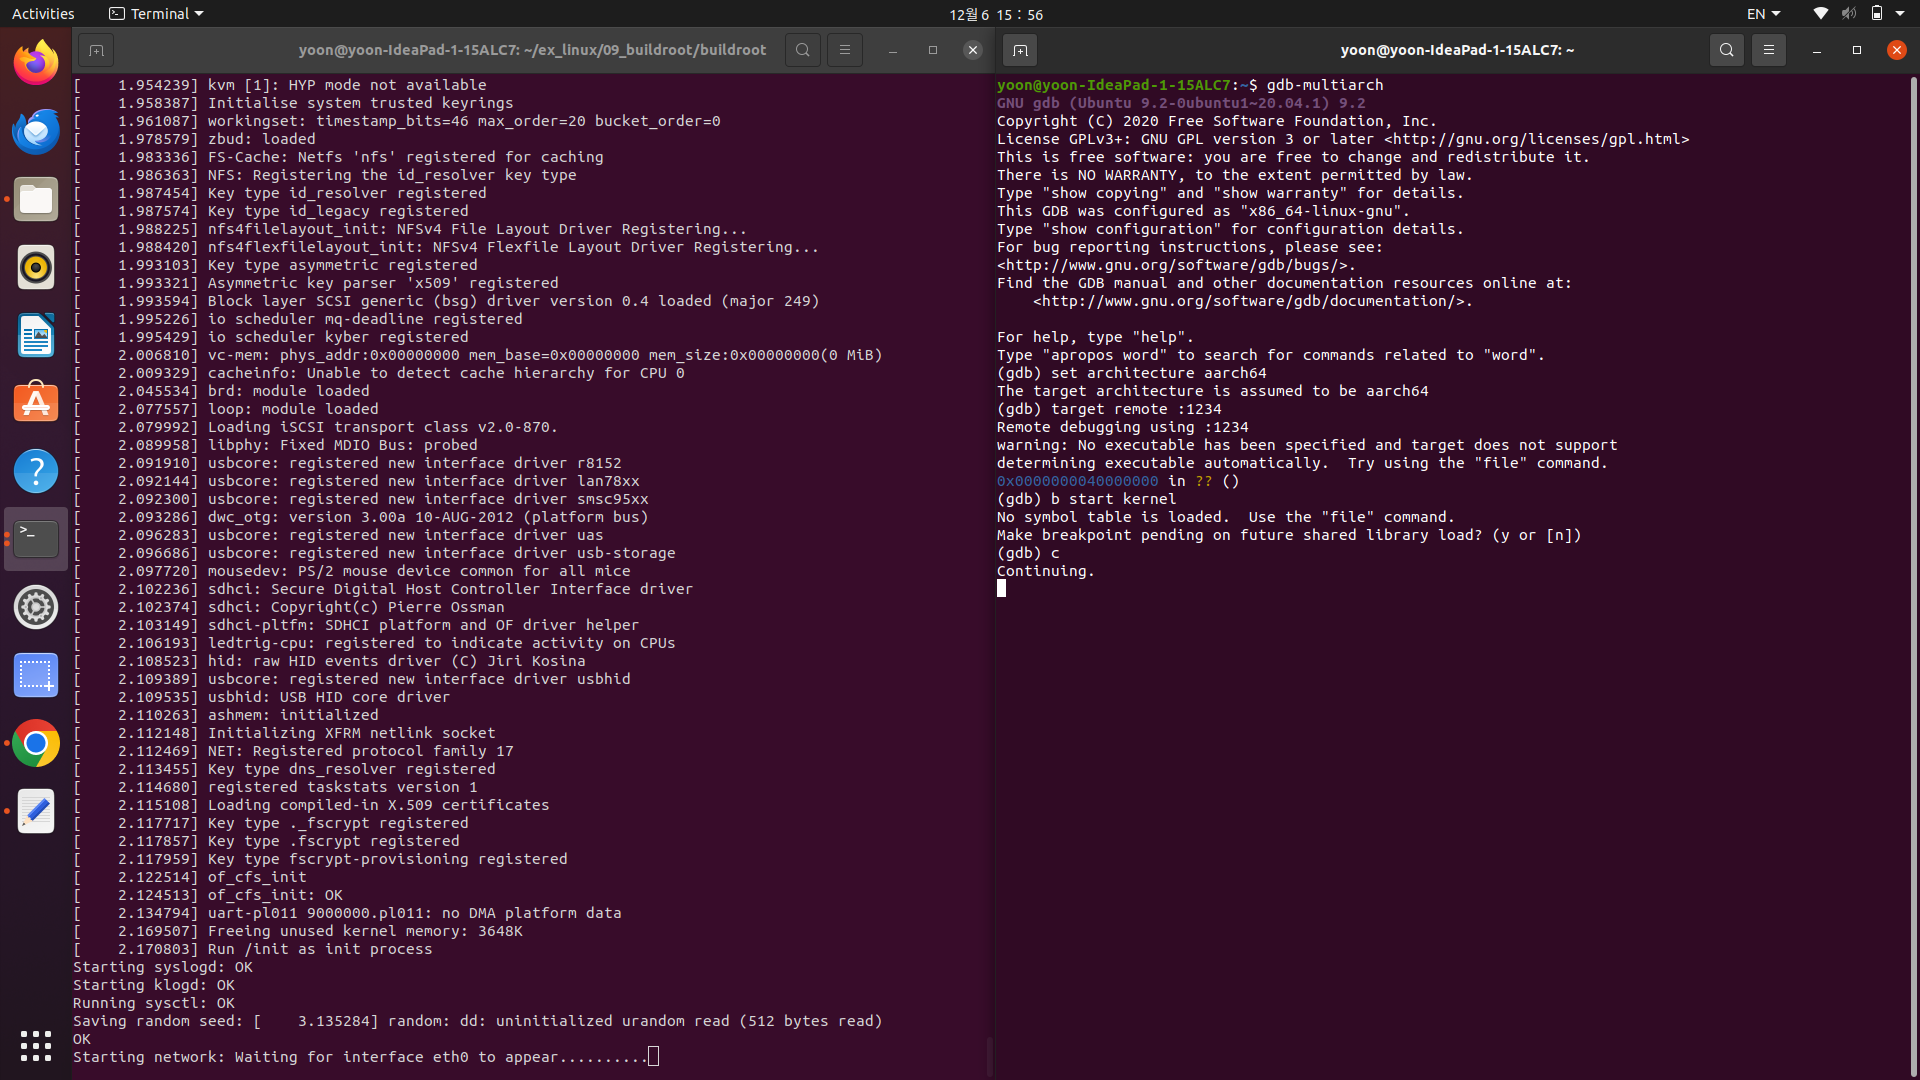
2.2 vscode에서 gdb를 통한 디버깅
// 	buildroot/output/build/linux-custom에서 vscode 실행

//	/init/main.c의 start_kernel에 break point 추가

// terminal에서 -s -S 옵션 추가로 gdb wait 모드로 qemu 리눅스 부팅
qemu-system-aarch64 -M raspi4 -machine virt -machine type=virt -cpu cortex-a72 -kernel output/build/linux-custom/arch/arm64/boot/Image -nographic -append"console=ttyAMA0 nokaslr" -m 512 -initrd output/images/rootfs.cpio -smp 2 -s -S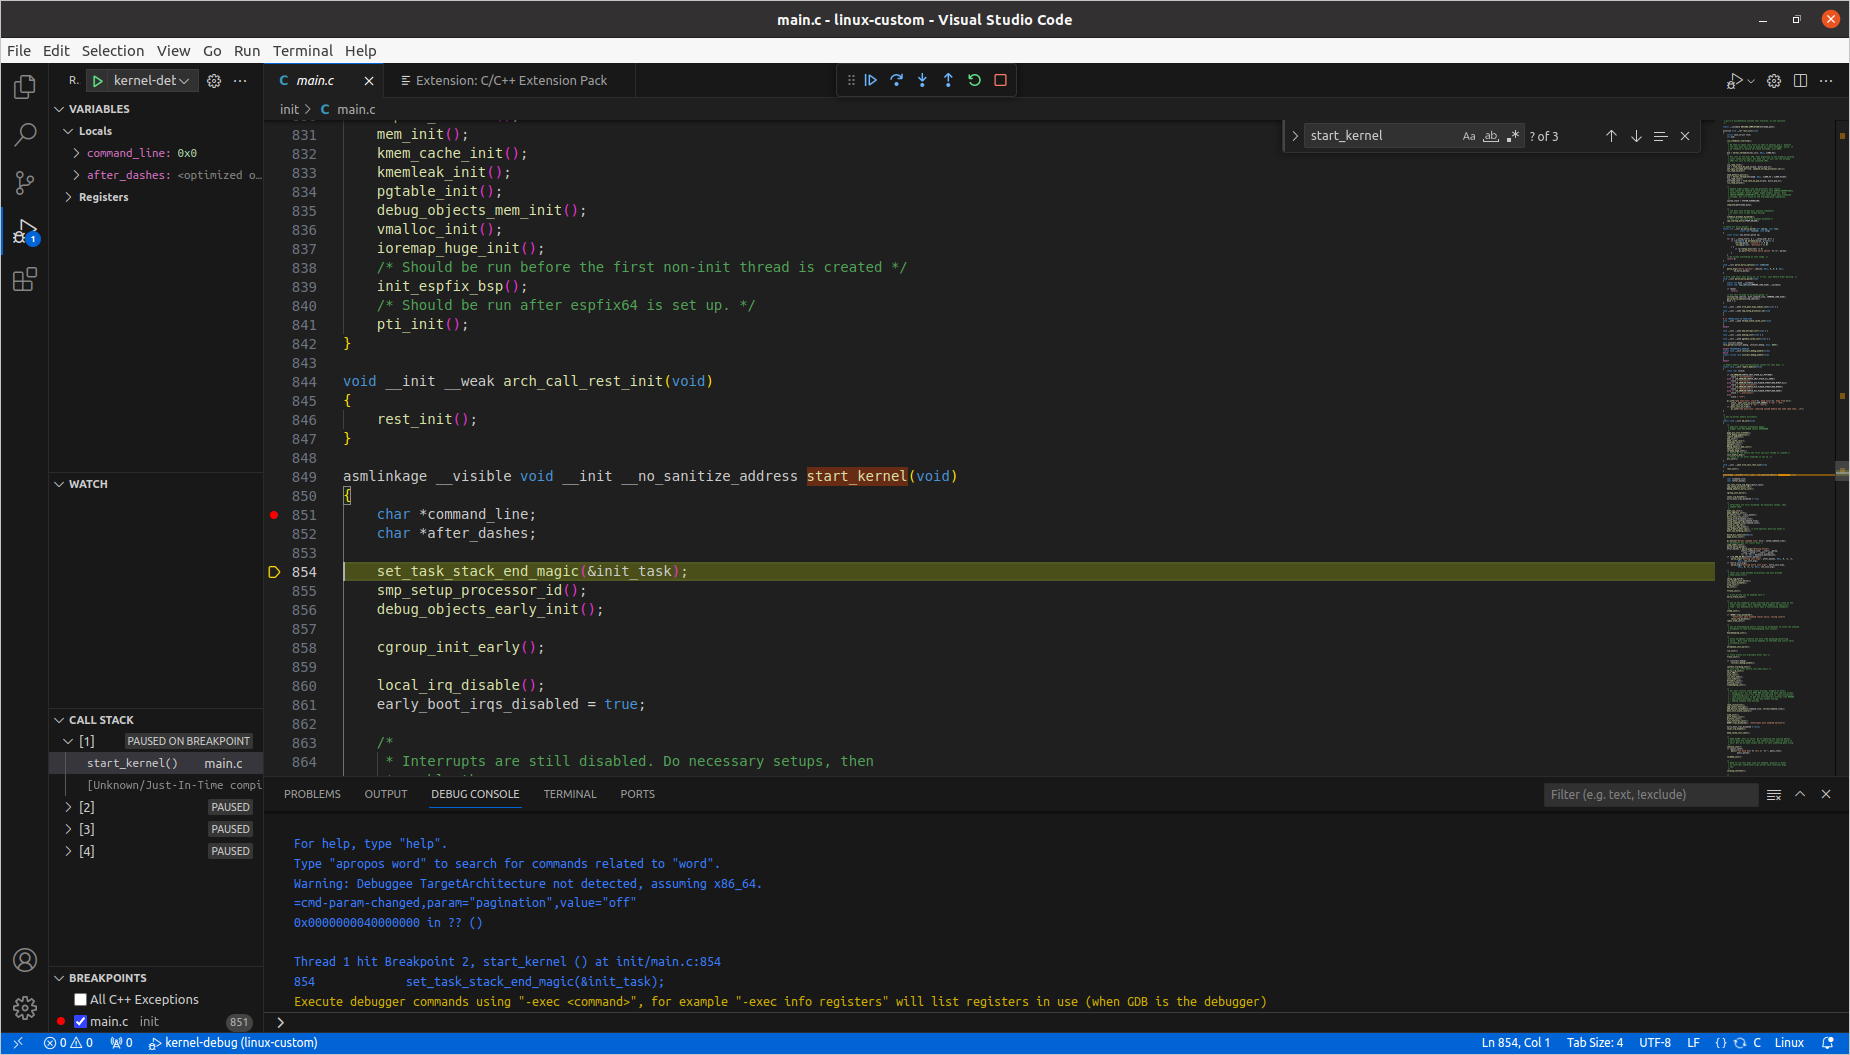
launch.json
{
    // Use IntelliSense to learn about possible attributes.
    // Hover to view descriptions of existing attributes.
    // For more information, visit: https://go.microsoft.com/fwlink/?linkid=830387
    "version": "0.2.0",
    "configurations": [
        {
            "name": "kernel-debug",
            "type": "cppdbg",
            "request": "launch",
            "miDebuggerServerAddress": "localhost:1234",
            "program": "${workspaceFolder}/vmlinux",
            "stopAtEntry": true,
            "cwd": "${workspaceFolder}",
            "MIMode": "gdb",
            "miDebuggerPath": "/usr/bin/gdb-multiarch",
            "setupCommands": [
                {
                    "description": "Enable pretty-printing for gdb",
                    "text": "-enable-pretty-printing",
                    "ignoreFailures": true
                }
            ],
        }
    ]
}