Spring Boot + Security + JWT + JPA(Mysql)를 이용한 Restful Login 사용하기 (1)

스프링부트는 무거운 스프링을 간소화하여 마이크로 서비스에 좀 더 적합한 구조를 가지고 있다.
결국 스프링 MVC 처럼 뷰를 가지고 있는것 보다, View는 React나 Vue로, Spring boot는 Restful Server로 남겨두는 경우가 많았다.
그렇기 때문에 Spring boot를 이용하여 유저 인증과 허가를 담당하는 Token 구조의 Auth 서버를 제작하려고 했다.
실제로 구글이나 깃허브에 예제가 어느정도 있지만, 스프링부트를 입문(이제 2주차)하는 입장에서는 Security를 이해하는데 많은 시행착오가 발생했는데, 이 과정을 다른사람들에게 공유하면 좋을 것 같아 글을 남긴다.
Spring Security 란?
인증(Authentication) 과 인가(Authorization)를 담당하는 스프링 프레임워크
간단하게 설명하자면
- 인증 : 사용자의 아이디와 비밀번호가 올바른지 확인하는 일련의 작업과정
- 인가 : 사용자가 서비스를 사용할 수 있는 권한
즉 사용자가 올바른 인증을 하면, 서버에서 제공하는 서비스를 이용할 수 있는 권한을 관리 한다라는 개념으로 보면 된다.
프로젝트 세팅
pom.xml
	<dependency>
		<groupId>org.springframework.boot</groupId>
		<artifactId>spring-boot-starter-test</artifactId>
		<scope>test</scope>
		<exclusions>
			<exclusion>
				<groupId>org.junit.vintage</groupId>					<artifactId>junit-vintage-engine</artifactId>
				</exclusion>
			</exclusions>
	</dependency>
    <dependency>
		<groupId>org.springframework.boot</groupId>
		<artifactId>spring-boot-starter-web</artifactId>
	</dependency>
    <dependency>
		<groupId>org.springframework.boot</groupId>
		<artifactId>spring-boot-starter-data-jpa</artifactId>
	</dependency>
	<dependency>
		<groupId>org.springframework.boot</groupId>
		<artifactId>spring-boot-starter-security</artifactId>
	</dependency>
	<dependency>
		<groupId>org.springframework.security</groupId>
		<artifactId>spring-security-test</artifactId>
		<scope>test</scope>
	</dependency>
    <dependency>
		<groupId>mysql</groupId>
		<artifactId>mysql-connector-java</artifactId>
		<scope>runtime</scope>
	</dependency>
프로젝트는 Maven으로 구성되어있으며, 다음과 같은 Dependency를 Dependencies 내에 추가시켜준다.
프로젝트 세팅 - application.properties
#Mysql Config
spring.datasource.url=jdbc:mysql://localhost:3306/[DB명]?characterEncoding=UTF-8&serverTimezone=UTC
spring.datasource.username=[Mysql 사용자 ID]
spring.datasource.password=[Mysql 사용자 PW]
spring.jpa.hibernate.ddl-auto=[create 혹은 update]
spring.jpa.database-platform=org.hibernate.dialect.MySQL8Dialect
Application.properties에 위값을 설정하는 이유는 JPA에 필요한 설정값들을 적어준다.
JPA로 사용할 DB 서버는 Mysql를 사용했고, []로 감싸진 부분은 사용자에 맞게끔 설정을 변경해주면 된다.
Entity 설정 - Member Class
프로젝트에 대한 기본적인 세팅은 끝이 났다.
이제 Database Server와 Spring boot Auth 서버에서 사용할 유저에 대한 모델을 만들어야 한다.
실제로 JPA에서는 위기능을 @Entity라는 Annotation을 통해서 수행할 수 있다.
- Member.java
@Entity
@Table(name = "Members")
public class Member {

    @Id
    @GeneratedValue
    private int seq;

    @Column(unique = true)
    @NotBlank
    private String username;
    @NotBlank
    private String password;
    @NotBlank
    private String name;
    @NotBlank
    private String email;
    @NotBlank
    private String address;

    @Column(name = "role")
    @Enumerated(EnumType.STRING)
    private UserRole role = UserRole.ROLE_NOT_PERMITTED;

    @Temporal(TemporalType.TIMESTAMP)
    @CreationTimestamp
    private Date createAt;
    @Temporal(TemporalType.TIMESTAMP)
    @UpdateTimestamp
    private Date updateAt;

    ...Getter() 생략
    ...Setter() 생략
    ...toString() 생략
- UserRole.java
public enum UserRole {
 ROLE_NOT_PERMITTED, ROLE_USER, ROLE_MANAGER, ROLE_ADMIN
}
로그인을 시도할 유저의 정보를 만들었다.
username,password,name,email,address 5가지 정보를 받는다.
Entity 구성을 완료했다. Spring 서버를 한번 구동시켜보자. 그 뒤에는 다음과 같은 DB 테이블이 만들어 져있는 것을 볼 수 있다.
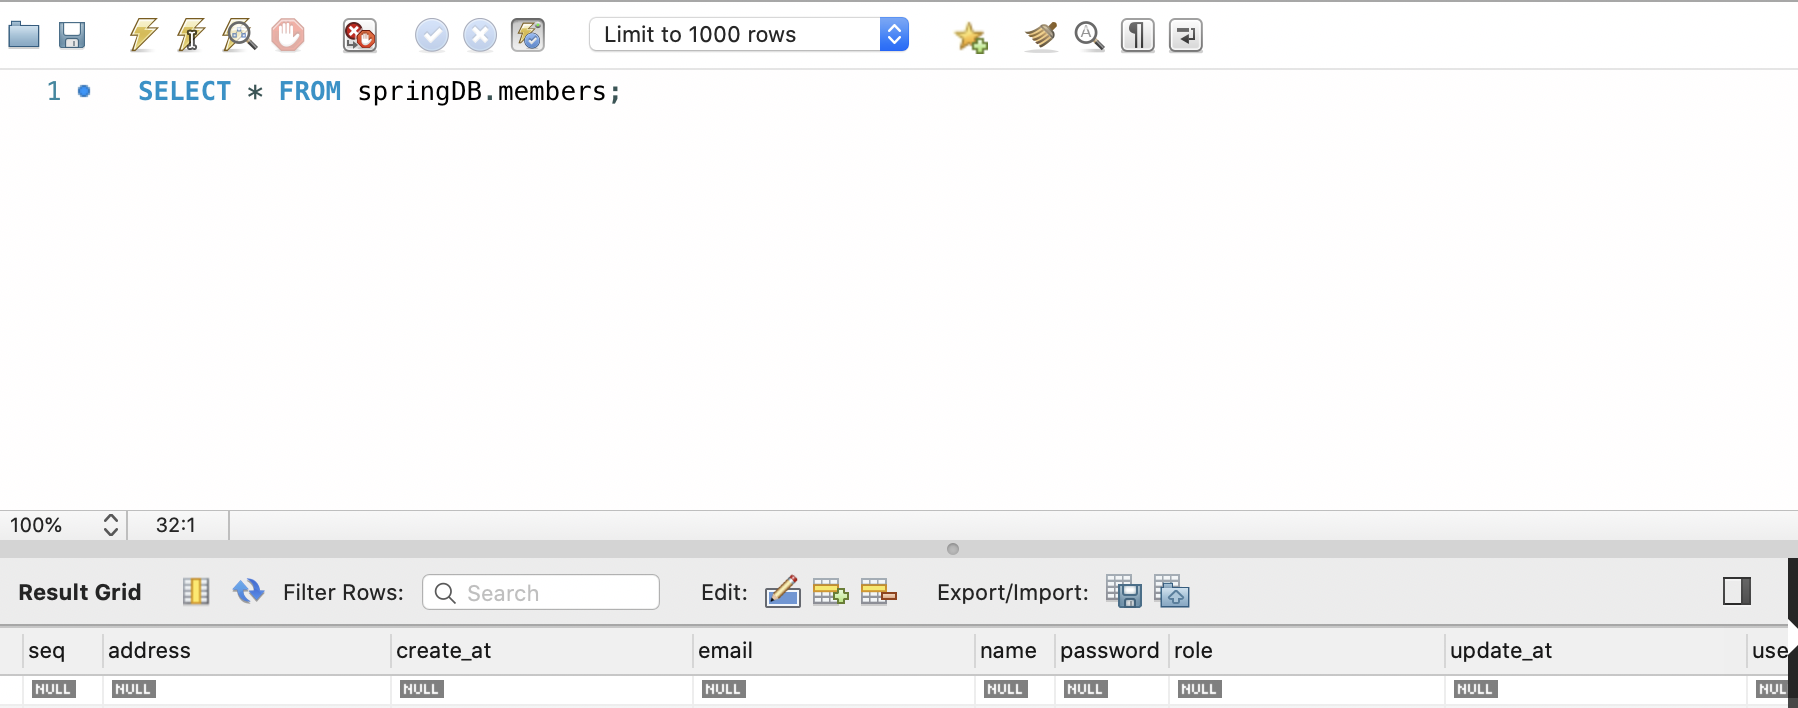
이렇게 만들어졌다면 Entity에 대한 기본적인 설정은 끝이 났다.
다음은 Jpa에 대한 간단한 설명과 Repository와 Service에 대해 설명 하도록 하겠다.