
프로젝트에서 지도 기능을 구현하기 위해 지도 API를 연동해야 했다.
초기에는 네이버 지도 API를 사용했지만, 지도 스타일 커스터마이징이나 라이브러리 활용 측면에서 제한되는 부분이 있었다.
반면 Google Maps API는 React에서 사용할 수 있는 라이브러리가 잘 구축되어 있었고, 마커나 지도 스타일을 자유롭게 커스터마이징할 수 있어 Google Maps를 사용하기로 결정하였다.
API Key 발급
먼저 Google Cloud Console에서 Maps API를 활성화한 뒤 API Key를 발급받았다.
발급받은 API Key는 환경변수로 관리하였다.
VITE_GOOGLE_MAPS_API_KEY=YOUR_GOOGLE_MAPS_API_KEY라이브러리 설치
React에서 Google Maps를 사용하기 위해 @react-google-maps/api를 설치하였다.
npm install @react-google-maps/api기본 지도 출력
LoadScript로 Google Maps API를 불러온 뒤 GoogleMap 컴포넌트를 이용하여 지도를 렌더링할 수 있다.
import {
  GoogleMap,
  LoadScript,
  MarkerF,
} from "@react-google-maps/api";
import MarkerIcon from "../../assets/images/mapPage/marker.png";
function GoogleMapPage() {
  const containerStyle = {
    width: "700px",
    height: "400px",
  };
  const center = {
    lat: 14.018,
    lng: 120.835941,
  };
  return (
    <LoadScript
      googleMapsApiKey={
        import.meta.env.VITE_GOOGLE_MAPS_API_KEY
      }
    >
      <GoogleMap
        mapContainerStyle={containerStyle}
        center={center}
        zoom={14}
      >
        <MarkerF
          position={center}
          icon={MarkerIcon}
        />
      </GoogleMap>
    </LoadScript>
  );
}
export default GoogleMapPage;
LoadScript는 Google Maps JavaScript API를 로드하는 역할을 하며, GoogleMap에서는 지도의 크기, 중심 좌표, 확대 수준 등을 설정할 수 있다.
커스텀 마커 적용
기본 마커 대신 프로젝트에서 사용하는 이미지를 마커로 사용할 수도 있다.
Google Maps API가 로드된 이후 scaledSize를 지정하여 원하는 크기의 마커를 적용하였다.
const handleOnLoad = () => {
  setCustomIcon({
    url: MarkerIcon,
    scaledSize: new window.google.maps.Size(40, 40),
  });
  setMapLoaded(true);
};
그리고 API가 모두 로드된 이후에만 지도를 렌더링하도록 구성하였다.
{
  mapLoaded && (
    <GoogleMap
      mapContainerStyle={containerStyle}
      center={center}
      zoom={14}
    >
      <MarkerF
        position={center}
        icon={customIcon}
      />
    </GoogleMap>
  );
}
이를 통해 프로젝트 디자인에 맞는 마커 이미지를 사용할 수 있었다.
지도 스타일 커스터마이징
Google Maps는 styles 옵션을 이용하여 지도의 색상과 표시 요소를 자유롭게 변경할 수 있다.
먼저 스타일 정보를 별도의 파일로 분리하였다.
// googleMapStyle.js
export const googleMapStyles = [
  ...
];
그리고 options를 통해 지도에 적용하였다.
const options = {
  styles: googleMapStyles,
  disableDefaultUI: true,
};
<GoogleMap
  mapContainerStyle={containerStyle}
  center={center}
  zoom={14}
  options={options}
>
  <MarkerF
    position={center}
    icon={customIcon}
  />
</GoogleMap>
disableDefaultUI 옵션을 함께 사용하여 확대/축소 버튼 등 기본 UI를 제거하고, 프로젝트에 맞는 깔끔한 지도 화면을 구성하였다.
결과
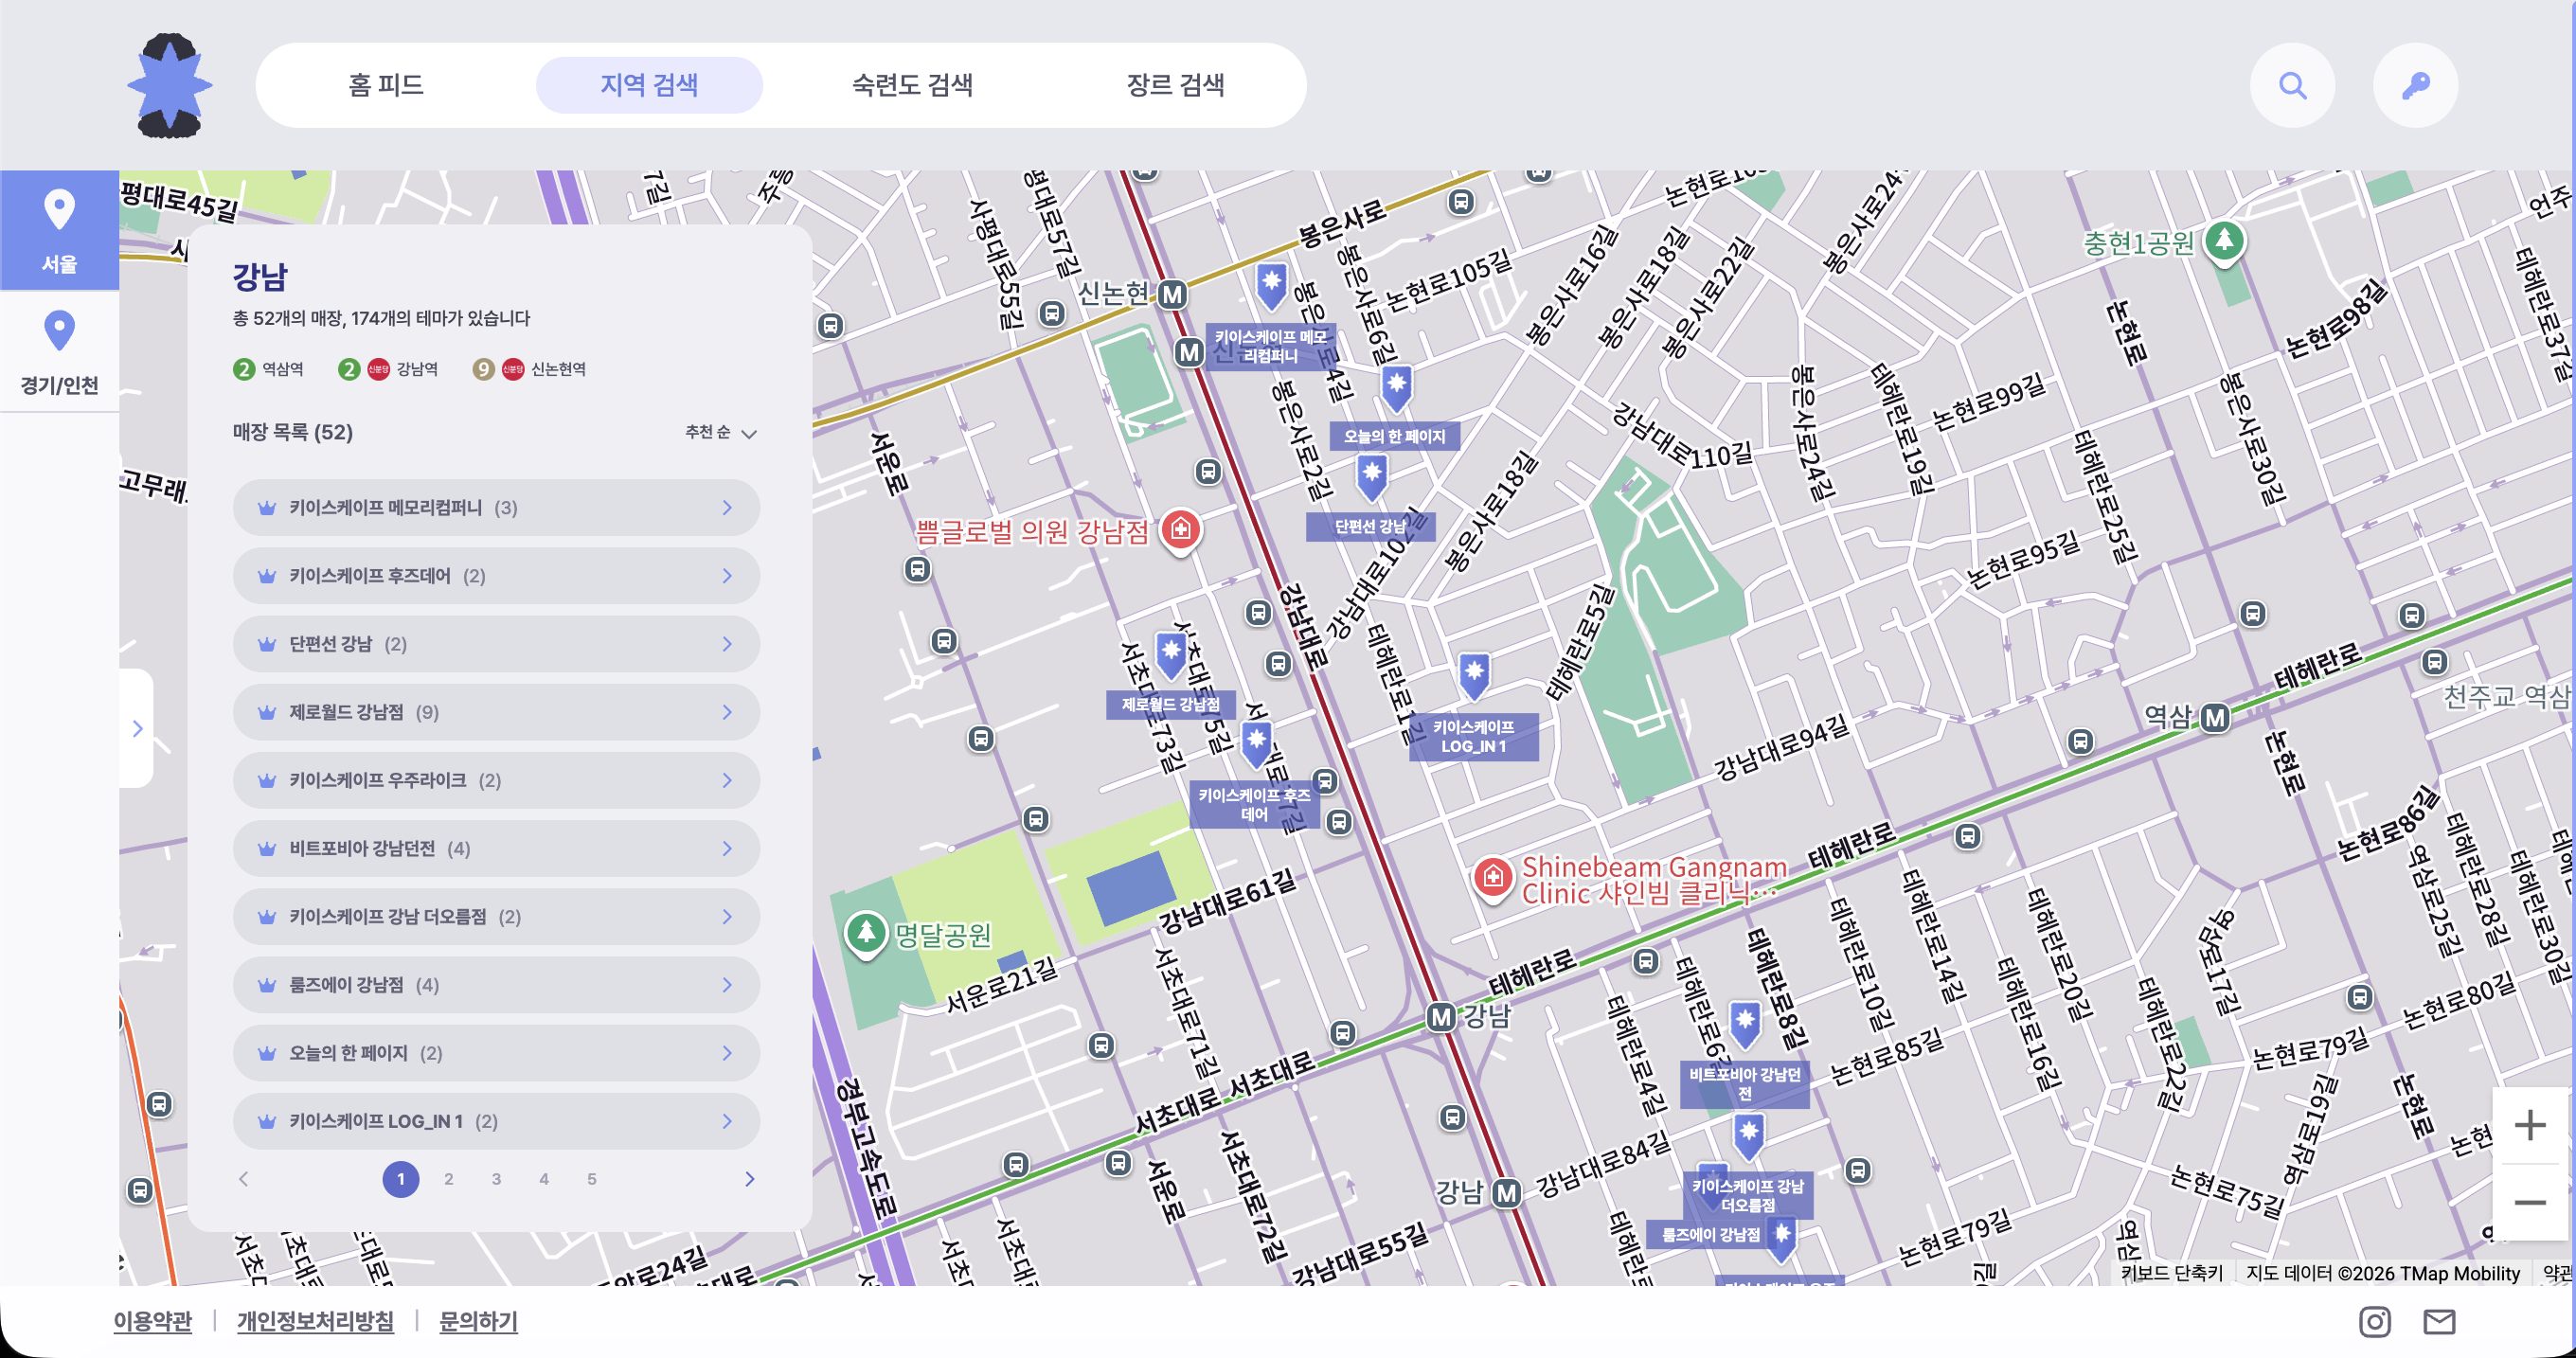
Google Maps API를 활용하여 프로젝트의 디자인 컨셉에 맞는 지도를 구현할 수 있었다.
기본 지도뿐 아니라 커스텀 마커와 지도 스타일을 함께 적용하여 원하는 UI를 구성할 수 있었으며, 스타일을 별도로 관리하도록 설계하여 유지보수도 한층 수월해졌다.
최종적으로 구현한 화면은 다음과 같다.
Reference