Shopify 커스텀 앱에서 API를 사용해 스토어 데이터를 조회하고 수정하는 방법을 상세히 알아봅니다.
들어가며
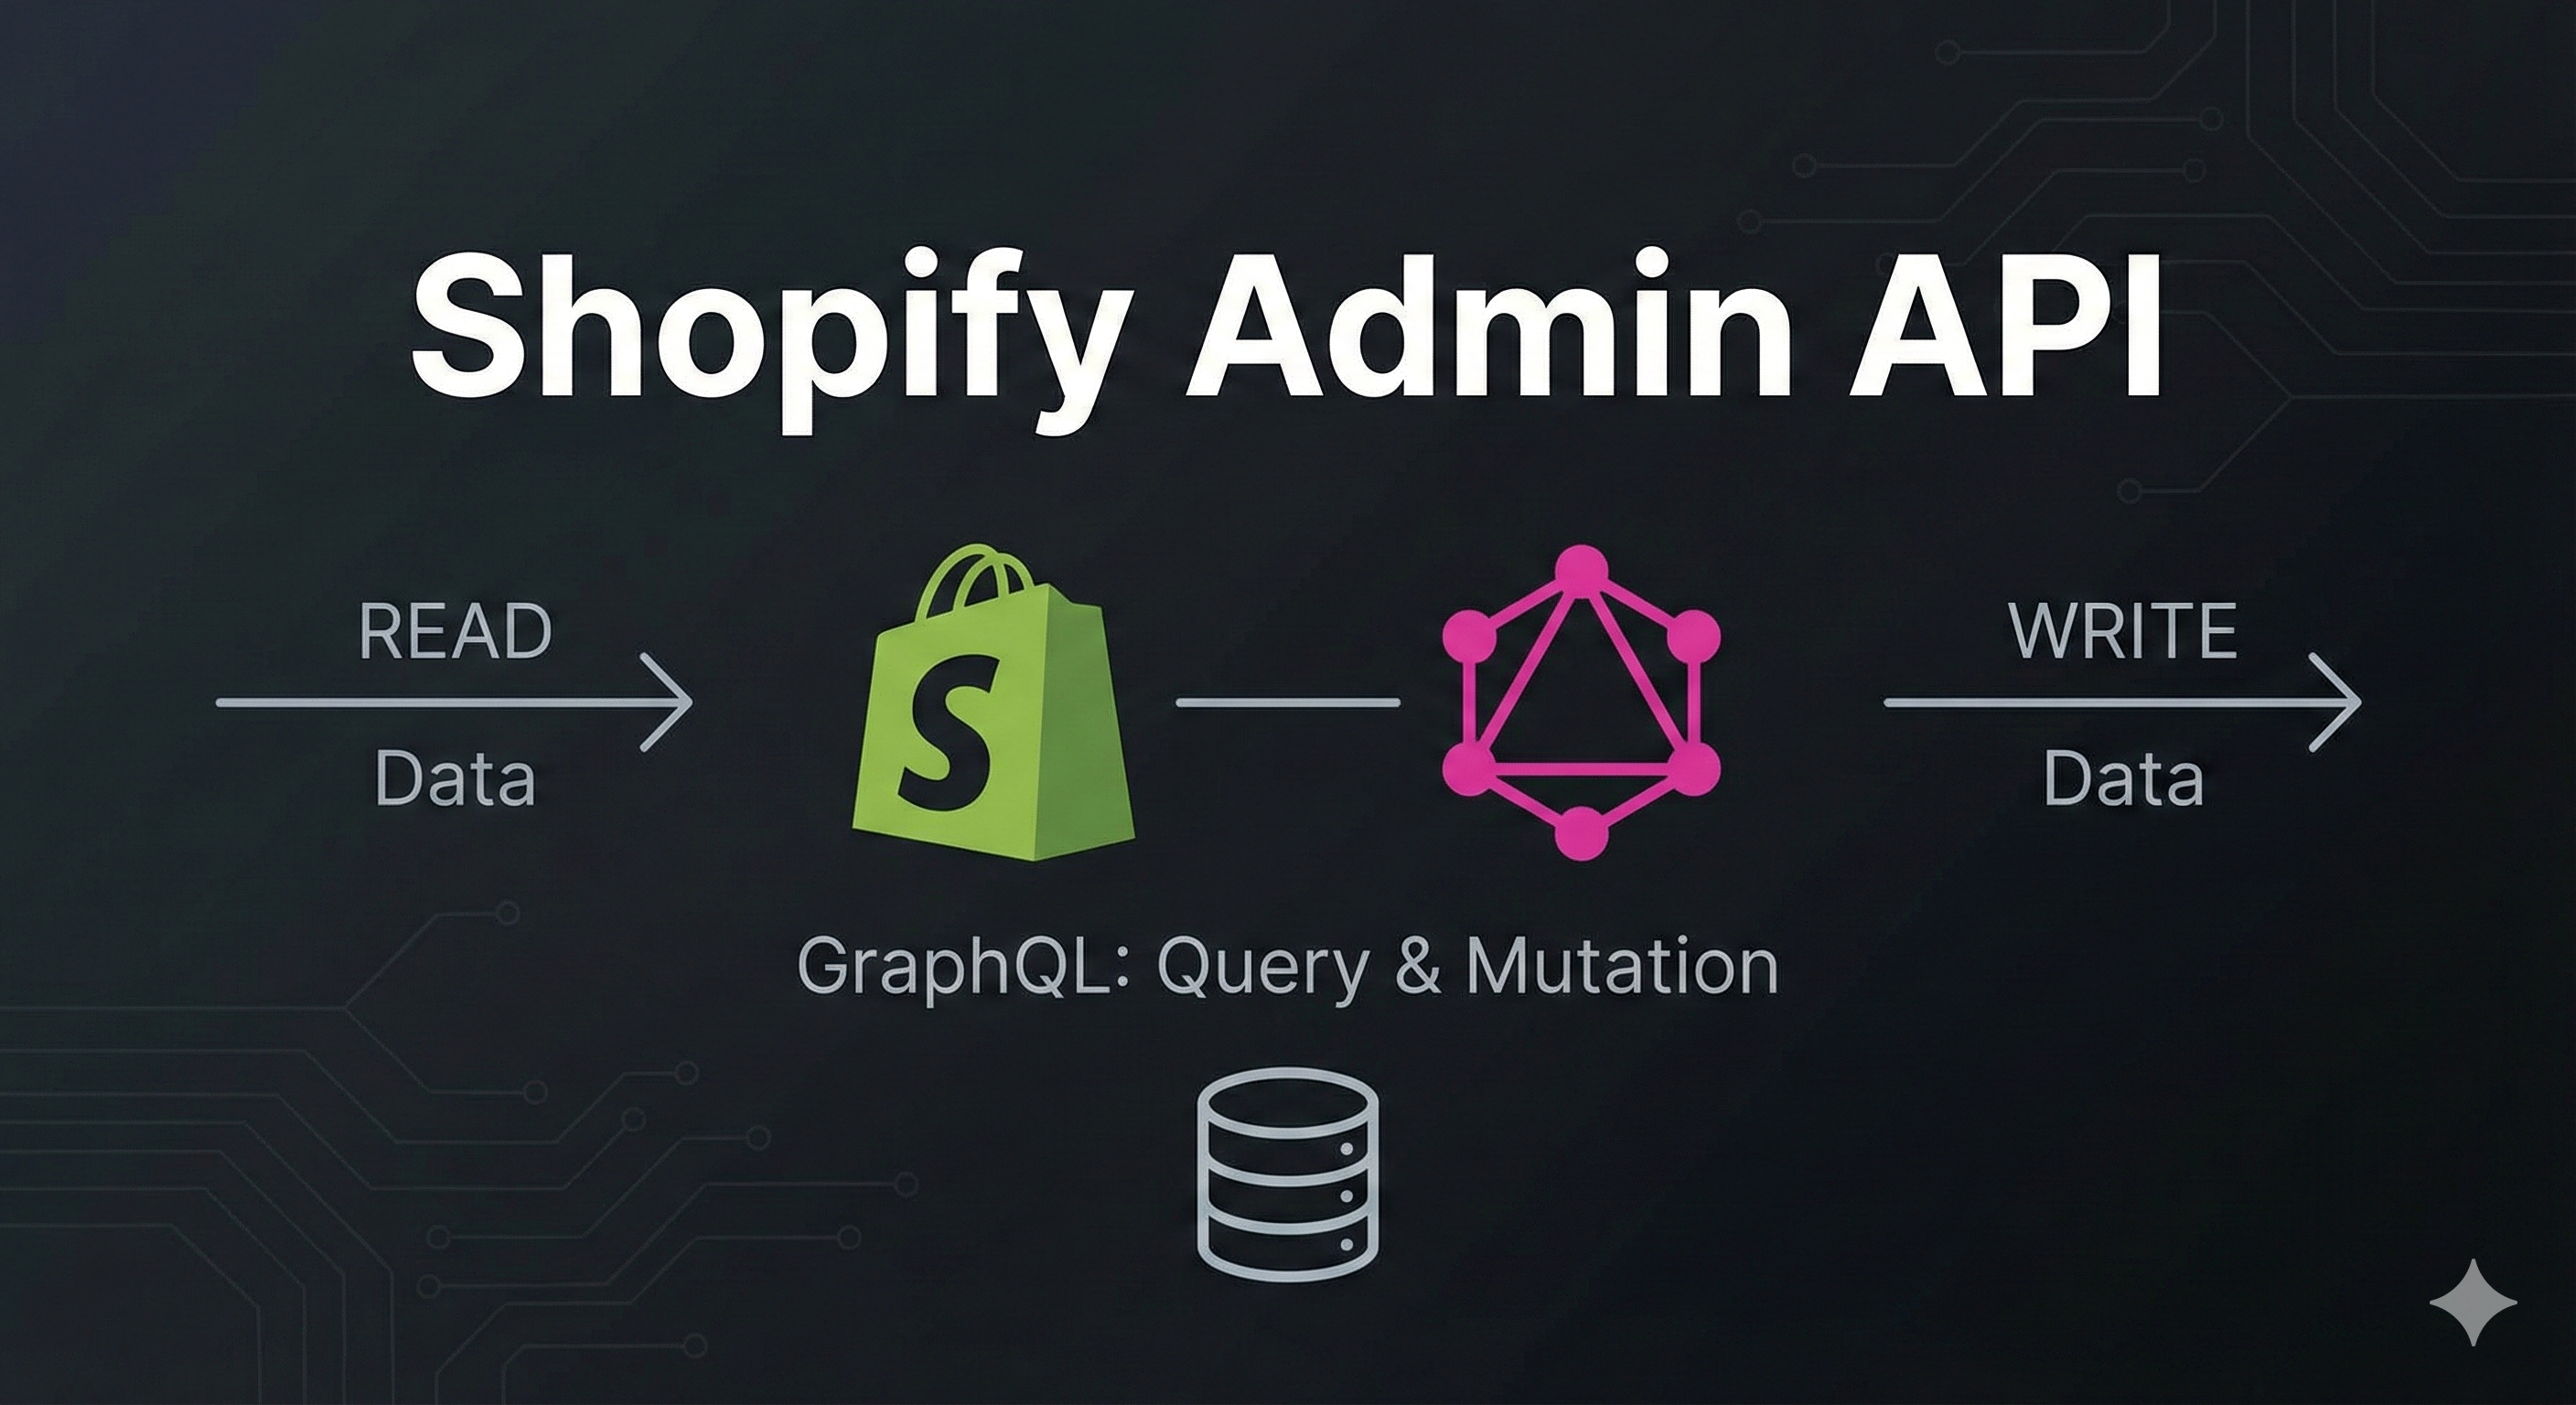
Shopify 커스텀 앱을 만들면서 가장 중요한 것은 Shopify Admin API를 이해하는 것입니다. API를 통해 제품, 주문, 고객 등 스토어의 모든 데이터에 접근할 수 있습니다.
이번 글에서는 Shopify Admin GraphQL API의 동작 원리부터 실제 사용법까지 모두 다루겠습니다.
1. Shopify Admin API란?
API의 역할
Shopify Admin API는 스토어의 데이터베이스에 접근할 수 있게 해주는 인터페이스입니다.
커스텀 앱 (React)
    ↓
API 요청 (GraphQL)
    ↓
Shopify 서버
    ↓
스토어 데이터베이스
    ↓
응답 (JSON)
    ↓
커스텀 앱에서 표시
GraphQL vs REST
Shopify는 두 가지 API를 제공하지만, GraphQL을 권장합니다:
| 특징 | REST API | GraphQL API |
|---|---|---|
| 요청 횟수 | 여러 번 필요 | 한 번으로 해결 |
| 데이터 | 전체 반환 (오버페칭) | 필요한 것만 요청 |
| 타입 안정성 | 약함 | 강함 |
| 최신 기능 | 제한적 | 우선 지원 |
예시 비교:
// REST API - 3번 요청 필요
const product = await fetch('/admin/api/2025-01/products/123.json');
const images = await fetch('/admin/api/2025-01/products/123/images.json');
const variants = await fetch('/admin/api/2025-01/products/123/variants.json');

// GraphQL - 1번 요청으로 모두 가져오기
const data = await admin.graphql(`
  query {
    product(id: "gid://shopify/Product/123") {
      title
      images(first: 10) { edges { node { url } } }
      variants(first: 10) { edges { node { price } } }
    }
  }
`);
2. API 통신 방식 이해하기
기본 구조
커스텀 앱에서 Shopify API를 호출하는 전체 플로우:
// app/routes/app.products.tsx
export const loader = async ({ request }: LoaderFunctionArgs) => {
  // ① 인증된 admin 객체 가져오기
  const { admin } = await authenticate.admin(request);

  // ② GraphQL 쿼리 실행
  const response = await admin.graphql(`
    query getProducts {
      products(first: 50) {
        edges {
          node {
            id
            title
            totalInventory
          }
        }
      }
    }
  `);

  // ③ 응답 파싱
  const responseJson = await response.json();

  // ④ 데이터 추출 및 반환
  const products = responseJson.data?.products?.edges.map(e => e.node);
  return { products };
};
실제 HTTP 요청 내부
admin.graphql() 호출 시 내부적으로 일어나는 일:
1. HTTP POST 요청 전송
   ↓
   URL: https://your-store.myshopify.com/admin/api/2025-10/graphql.json

   Headers:
     - X-Shopify-Access-Token: [accessToken from DB]
     - Content-Type: application/json

   Body:
     {
       "query": "query getProducts { products(first: 50) { ... } }"
     }

2. Shopify 서버 처리
   ↓
   - 토큰 검증
   - 권한(scopes) 확인
   - 데이터베이스 쿼리 실행

3. JSON 응답 반환
   ↓
   {
     "data": {
       "products": {
         "edges": [
           {
             "node": {
               "id": "gid://shopify/Product/123",
               "title": "멋진 티셔츠",
               "totalInventory": 100
             }
           }
         ]
       }
     }
   }
3. GraphQL 쿼리 구조 파헤치기
기본 문법
query 쿼리이름 {           # 쿼리 이름 (선택사항)
  리소스(인자들) {         # products, orders 등
    필드1                 # id, title 등
    필드2
    관계필드 {            # 중첩된 데이터
      하위필드
    }
  }
}
실전 예제: 제품 조회
query getProducts {
  products(first: 50) {          # 제품 50개 가져와
    edges {                      # GraphQL 페이지네이션 구조
      node {                     # 실제 제품 데이터
        id                       # 제품 ID
        title                    # 제품명
        description              # 설명
        status                   # ACTIVE, DRAFT, ARCHIVED
        totalInventory           # 총 재고

        # 중첩: 이미지 정보
        images(first: 5) {
          edges {
            node {
              url
              altText
            }
          }
        }

        # 중첩: 변형 정보 (사이즈, 색상 등)
        variants(first: 10) {
          edges {
            node {
              id
              title
              price
              sku
              inventoryQuantity
            }
          }
        }
      }
    }
  }
}
응답 구조
{
  "data": {
    "products": {
      "edges": [
        {
          "node": {
            "id": "gid://shopify/Product/8453618196773",
            "title": "Red Snowboard",
            "description": "A cool red snowboard",
            "status": "ACTIVE",
            "totalInventory": 100,
            "images": {
              "edges": [
                {
                  "node": {
                    "url": "https://cdn.shopify.com/...",
                    "altText": "Red snowboard front view"
                  }
                }
              ]
            },
            "variants": {
              "edges": [
                {
                  "node": {
                    "id": "gid://shopify/ProductVariant/123",
                    "title": "Medium",
                    "price": "299.99",
                    "sku": "RED-SNO-M",
                    "inventoryQuantity": 50
                  }
                }
              ]
            }
          }
        }
      ]
    }
  }
}
왜 edges와 node를 사용하나?
GraphQL Relay 스타일 페이지네이션 때문입니다:
products {
  edges {           # 배열: 각 항목을 감싸는 래퍼
    node {          # 실제 데이터
      id
      title
    }
    cursor         # 페이지네이션용 커서
  }
  pageInfo {       # 페이지 정보
    hasNextPage
    hasPreviousPage
  }
}
이 구조 덕분에 "다음 50개" 가져오기가 쉽습니다:
query {
  products(first: 50, after: "커서값") {
    edges {
      node { ... }
      cursor
    }
  }
}
4. 조회 가능한 주요 데이터
Products (제품)
query {
  products(first: 100) {
    edges {
      node {
        id
        title
        description
        descriptionHtml
        handle                # URL 슬러그
        status               # ACTIVE, DRAFT, ARCHIVED
        vendor               # 공급업체
        productType          # 제품 타입
        tags                 # 태그 배열
        createdAt
        updatedAt
        totalInventory       # 총 재고

        priceRangeV2 {       # 가격 범위
          minVariantPrice {
            amount
            currencyCode
          }
          maxVariantPrice {
            amount
            currencyCode
          }
        }

        seo {                # SEO 정보
          title
          description
        }
      }
    }
  }
}
Orders (주문)
query {
  orders(first: 100) {
    edges {
      node {
        id
        name                         # 주문 번호 (#1001)
        email
        phone
        createdAt

        # 상태
        displayFulfillmentStatus     # FULFILLED, UNFULFILLED
        displayFinancialStatus       # PAID, PENDING, REFUNDED

        # 금액
        currentTotalPriceSet {
          shopMoney {
            amount
            currencyCode
          }
        }
        currentSubtotalPriceSet {
          shopMoney { amount }
        }
        totalShippingPriceSet {
          shopMoney { amount }
        }

        # 주문 아이템
        lineItems(first: 100) {
          edges {
            node {
              title
              quantity
              variant {
                id
                title
                price
                sku
              }
              originalUnitPriceSet {
                shopMoney { amount }
              }
            }
          }
        }

        # 배송지
        shippingAddress {
          firstName
          lastName
          address1
          address2
          city
          province
          country
          zip
        }

        # 배송 추적
        fulfillments {
          id
          status
          trackingNumber
          trackingUrl
        }
      }
    }
  }
}
Shop (스토어 정보)
query {
  shop {
    id
    name                    # 스토어명
    email
    myshopifyDomain        # your-store.myshopify.com
    primaryDomain {
      url                  # 커스텀 도메인
      host
    }
    currencyCode           # KRW, USD 등
    timezoneAbbreviation   # KST

    billingAddress {
      address1
      city
      country
      zip
    }

    plan {
      displayName          # Basic, Shopify, Advanced
    }
  }
}
Inventory (재고)
query {
  inventoryItems(first: 50) {
    edges {
      node {
        id
        sku
        tracked              # 재고 추적 여부

        inventoryLevels(first: 10) {
          edges {
            node {
              available        # 사용 가능 재고
              incoming         # 입고 예정
              location {
                id
                name           # 창고명
                address {
                  city
                  country
                }
              }
            }
          }
        }
      }
    }
  }
}
Collections (컬렉션)
query {
  collections(first: 50) {
    edges {
      node {
        id
        title
        description
        handle
        productsCount

        products(first: 100) {
          edges {
            node {
              id
              title
            }
          }
        }

        image {
          url
        }
      }
    }
  }
}
Discounts (할인)
query {
  discountNodes(first: 50) {
    edges {
      node {
        id
        discount {
          ... on DiscountCodeBasic {
            title
            codes(first: 10) {
              edges {
                node {
                  code           # 할인 코드
                }
              }
            }

            customerGets {
              value {
                ... on DiscountPercentage {
                  percentage
                }
                ... on DiscountAmount {
                  amount { amount }
                }
              }
            }

            startsAt
            endsAt
            usageLimit
          }
        }
      }
    }
  }
}
5. Mutation: 데이터 생성 및 수정
조회만 하는 게 아니라 생성, 수정, 삭제도 가능합니다!
제품 생성
const response = await admin.graphql(`
  mutation createProduct($input: ProductCreateInput!) {
    productCreate(input: $input) {
      product {
        id
        title
        status
      }
      userErrors {
        field
        message
      }
    }
  }
`, {
  variables: {
    input: {
      title: "새로운 티셔츠",
      descriptionHtml: "<p>멋진 티셔츠입니다</p>",
      vendor: "내 브랜드",
      productType: "의류",
      tags: ["신상", "베스트"],
      status: "ACTIVE"
    }
  }
});
제품 수정
const response = await admin.graphql(`
  mutation updateProduct($input: ProductInput!) {
    productUpdate(input: $input) {
      product {
        id
        title
      }
      userErrors {
        field
        message
      }
    }
  }
`, {
  variables: {
    input: {
      id: "gid://shopify/Product/123",
      title: "수정된 제품명",
      tags: ["할인중"]
    }
  }
});
제품 삭제
const response = await admin.graphql(`
  mutation deleteProduct($input: ProductDeleteInput!) {
    productDelete(input: $input) {
      deletedProductId
      userErrors {
        field
        message
      }
    }
  }
`, {
  variables: {
    input: {
      id: "gid://shopify/Product/123"
    }
  }
});
가격 일괄 변경
const response = await admin.graphql(`
  mutation bulkUpdateVariants($productId: ID!, $variants: [ProductVariantsBulkInput!]!) {
    productVariantsBulkUpdate(productId: $productId, variants: $variants) {
      productVariants {
        id
        price
      }
      userErrors {
        field
        message
      }
    }
  }
`, {
  variables: {
    productId: "gid://shopify/Product/123",
    variants: [
      { id: "gid://shopify/ProductVariant/456", price: "29.99" },
      { id: "gid://shopify/ProductVariant/789", price: "39.99" }
    ]
  }
});
주문 상태 업데이트
const response = await admin.graphql(`
  mutation fulfillOrder($input: FulfillmentCreateV2Input!) {
    fulfillmentCreateV2(fulfillment: $input) {
      fulfillment {
        id
        status
        trackingInfo {
          number
          url
        }
      }
      userErrors {
        field
        message
      }
    }
  }
`, {
  variables: {
    input: {
      lineItemsByFulfillmentOrder: [{
        fulfillmentOrderId: "gid://shopify/FulfillmentOrder/123"
      }],
      trackingInfo: {
        number: "1234567890",
        url: "https://tracking.example.com/1234567890"
      }
    }
  }
});
6. 권한(Scopes) 관리
권한 설정
API를 사용하려면 적절한 권한이 필요합니다.
shopify.app.toml:
[access_scopes]
scopes = "write_products,read_orders,read_customers"
주요 권한 종류
| 권한 | 설명 | 용도 |
|---|---|---|
read_products | 제품 조회 | 제품 목록 표시 |
write_products | 제품 생성/수정/삭제 | 제품 관리 |
read_orders | 주문 조회 | 주문 내역 보기 |
write_orders | 주문 수정 | 주문 상태 변경 |
read_customers | 고객 조회 | 고객 목록 (승인 필요) |
write_customers | 고객 생성/수정 | 고객 정보 관리 (승인 필요) |
read_inventory | 재고 조회 | 재고 현황 |
write_inventory | 재고 수정 | 재고 조정 |
read_discounts | 할인 조회 | 할인 코드 보기 |
write_discounts | 할인 생성/수정 | 프로모션 관리 |
권한 변경 시 주의사항
// 1. shopify.app.toml에서 권한 추가
scopes = "write_products,read_orders"  // 기존
        ↓
scopes = "write_products,read_orders,read_inventory"  // 추가

// 2. 개발 서버 재시작
npm run dev

// 3. 개발 모드: 자동 승인
// 4. 프로덕션: 사용자가 재승인 필요!
7. Protected Customer Data (보호된 고객 데이터)
왜 고객 데이터는 특별한가?
Shopify는 고객 개인정보 보호를 위해 고객 데이터 접근을 제한합니다.
// ❌ 개발 중에는 에러 발생
const response = await admin.graphql(`
  query {
    customers(first: 10) {
      edges {
        node {
          id
          email
          firstName
        }
      }
    }
  }
`);

// Error: This app is not approved to access the Customer object.
고객 데이터 접근하려면?
- 개인정보 보호 정책 작성 및 제출
- 앱 심사 신청
- Shopify의 승인 대기
- 승인 후 사용 가능
자세한 내용: https://shopify.dev/docs/apps/launch/protected-customer-data
대안: 주문의 고객 정보
주문 데이터에는 일부 고객 정보가 포함되어 있습니다 (제한적):
query {
  orders(first: 10) {
    edges {
      node {
        email              # 주문 이메일 (허용)
        shippingAddress {  # 배송지 (허용)
          firstName
          lastName
          address1
        }
        # ✅ customer 객체는 접근 불가
      }
    }
  }
}
8. 실전 팁
1. GraphiQL로 쿼리 테스트
개발 서버 실행 중 http://localhost:3457 접속:
npm run dev
# → GraphiQL server started on port 3457
브라우저에서 직접 쿼리를 작성하고 테스트할 수 있습니다!
2. 에러 처리
const response = await admin.graphql(`
  mutation createProduct($input: ProductInput!) {
    productCreate(input: $input) {
      product { id }
      userErrors {        // ✅ 항상 userErrors 체크!
        field
        message
      }
    }
  }
`, { variables: { input: {...} } });

const data = await response.json();

if (data.data?.productCreate?.userErrors?.length > 0) {
  console.error("에러:", data.data.productCreate.userErrors);
  // 사용자에게 에러 표시
}
3. 페이지네이션
대량의 데이터는 페이지네이션으로:
let cursor = null;
let allProducts = [];

while (true) {
  const response = await admin.graphql(`
    query getProducts($cursor: String) {
      products(first: 250, after: $cursor) {
        edges {
          node { id title }
          cursor
        }
        pageInfo {
          hasNextPage
        }
      }
    }
  `, { variables: { cursor } });

  const data = await response.json();
  const edges = data.data.products.edges;

  allProducts.push(...edges.map(e => e.node));

  if (!data.data.products.pageInfo.hasNextPage) break;
  cursor = edges[edges.length - 1].cursor;
}

console.log(`총 ${allProducts.length}개 제품`);
4. 성능 최적화
여러 데이터를 한 번에:
// ❌ 나쁜 예: 3번 요청
const products = await admin.graphql(`query { products {...} }`);
const orders = await admin.graphql(`query { orders {...} }`);
const shop = await admin.graphql(`query { shop {...} }`);

// ✅ 좋은 예: 1번 요청
const response = await admin.graphql(`
  query getDashboardData {
    products(first: 50) { ... }
    orders(first: 50) { ... }
    shop { ... }
  }
`);
9. 주요 리소스
공식 문서
개발 도구
- GraphiQL: 브라우저에서 쿼리 테스트
- Shopify CLI: 앱 개발 및 배포
- GraphQL Codegen: TypeScript 타입 자동 생성
마치며
Shopify Admin API는 매우 강력합니다. GraphQL 덕분에:
✅ 필요한 데이터만 정확히 가져올 수 있습니다
✅ 한 번의 요청으로 복잡한 데이터 조회 가능
✅ 타입 안정성으로 버그 감소
✅ 실시간으로 스토어 데이터 관리
이제 API의 동작 원리를 이해했으니, 다음 단계는 실제로 유용한 기능을 만드는 것입니다!
다음 포스트에서는 이 API를 활용해 실전 기능(대시보드, 제품 관리 등)을 구현하는 방법을 다루겠습니다.
질문이나 피드백은 댓글로 남겨주세요! 💬
다음 글 예고: Shopify API로 실전 대시보드 만들기