구글 포토 API를 사용하는 방법에 대해 간단히 기록을 남기도록 한다. youtube에도 잘 설명되어있긴한데... 따라하다보니 잘 안되는 부분들이 있어서 관련 내용을 기록하는 것이 주목적이다. (2022년 2월 기준)
Google Photo API를 사용하기 위해서는 먼저 관련 API를 Enable해주고, OAuth를 통해 인증을 받아야 한다.
1. API 사용을 위한 권한 획득
다음 사이트를 참고하여 API Enable 및 OAuth 2.0 Client ID를 생성하도록 한다.
1.1 Google Photo API 활성화
- API Console으로 이동
- menu bar에서 project를 선택
- Google API library에서 Google Photos Library API를 찾고, Enable한다.
1.2 OAuth 2.0 client ID 생성하기
- Google API Console으로 이동
- API & Services > Credentials을 선택
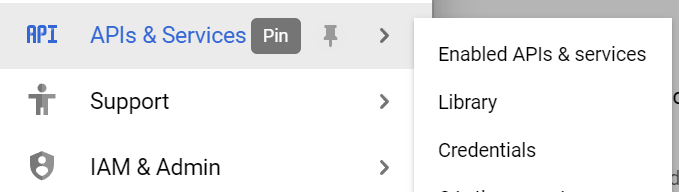
- Create Credentials > OAuth client ID를 클릭하여 client ID를 생성한다.
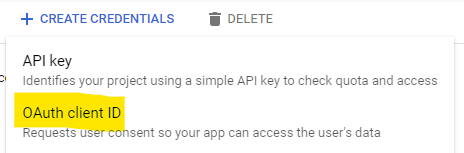
- Application type은 Desktop app을 선택, 이름은 알아서 지정, 생성되면 ClientID와 Client secret가 담긴 json을 다운로드받는다.
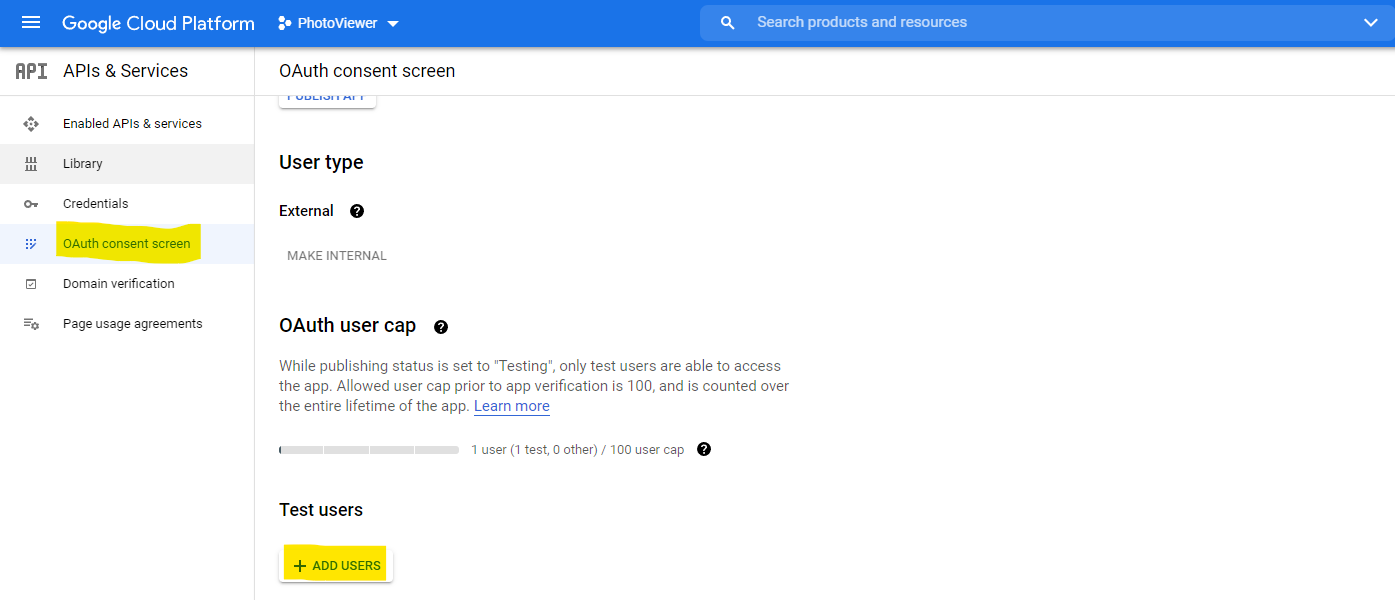
- OAuth consent screen에서 Test users에 계정을 추가한다. (참고)
2. API 사용하기
2.1 작업공간 생성
venv를 사용해서 작업공간을 만들도록 한다.
python -m venv venvvenv 작업 공간이 만들어지면 activate하도록 한다.
venv\Scripts\activate다음을 참고해서 Google API를 위한 다음 python library를 설치하도록 한다. (https://developers.google.com/sheets/api/quickstart/python)
- google-api-python-client
- google-auth-httplib2
- google-auth-oauthlib
pip install --upgrade google-api-python-client google-auth-httplib2 google-auth-oauthlib2.2 OAuth 인증
다음 코드를 통해 OAuth 인증을 받는다.
import os

from google.auth.transport.requests import Request
from google.oauth2.credentials import Credentials
from google_auth_oauthlib.flow import Flow, InstalledAppFlow
from googleapiclient.discovery import build
#from

def CreateService(clientSecretFile, apiName, apiVersion, scopes):
    print(clientSecretFile, apiName, apiVersion, scopes, sep='-')
    CLIENT_SECRET_FILE = clientSecretFile
    API_SERVICE_NAME = apiName
    API_VERSION = apiVersion

    creds = None

    credFile = f'token_{API_SERVICE_NAME}_{API_VERSION}.json'

    if os.path.exists(credFile):
        creds = Credentials.from_authorized_user_file(credFile, scopes)

    # 유효한 credential이 없다면 login하도록 한다.
    if not creds or not creds.valid:
        if creds and creds.expired and creds.refresh_token:
            creds.refresh(Request())
        else:
            flow = InstalledAppFlow.from_client_secrets_file(CLIENT_SECRET_FILE, scopes)
            creds = flow.run_local_server(port=0)
        # 성공하면 기록하도록 한다.
        with open(credFile, 'w') as token:
            token.write(creds.to_json())

    # 서비스를 생성한다.
    try:
        service = build(apiName, apiVersion, credentials=creds, static_discovery=False)
        return service

    except Exception as e:
        print('Exception: ', e)

    return None


API_NAME = 'photoslibrary'
API_VERSION = 'v1'
CLIENT_SECRET_FILE = 'client_secret.json'
SCOPES = ['https://www.googleapis.com/auth/photoslibrary.readonly']

service = CreateService(CLIENT_SECRET_FILE, API_NAME, API_VERSION, SCOPES)
CreateService 함수를 통해 서비스를 생성하도록 한다.
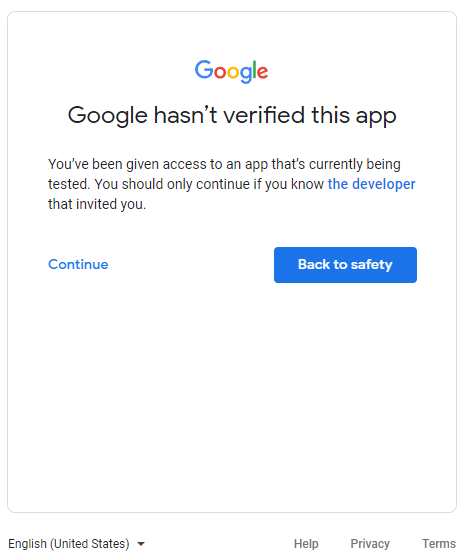
수행하면 다음과 같은 화면을 볼 수 있다.
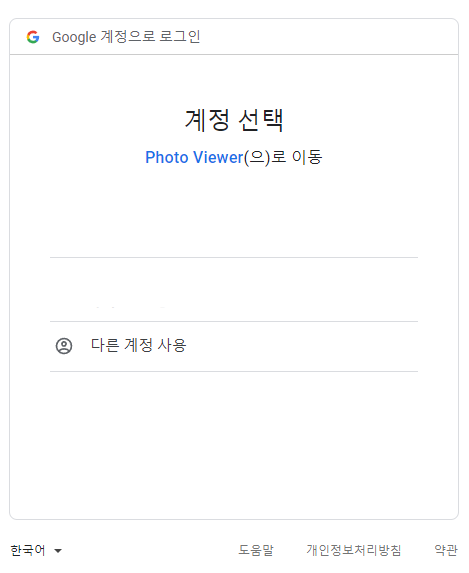
로그인하면, verify되지 않은 앱이라고 나오면 continue하도록 한다.
성공적으로 로그인이 완료되고, 관련된 token이 json 형태로 저장된다. 이후 해당 json을 읽어 사용하게 된다.
또한 서비스가 만들어져서 반환된다. 다음 장에서는 해당 서비스를 이용하여 앨범을 가져오거나 사진을 가져오는 방법에 대해 기술하도록 한다.
2.3 API 사용하기
3. 레퍼런스
- Google Photos API and Python Video: https://www.youtube.com/watch?v=dkxcd2Q3Qwo
- Google Photo API site: https://developers.google.com/photos/library/guides/overview
