클래스 및 객체 인스턴스
이번 강의에서는 클래스와 객체 인스턴스를 생성하는 방법을 배우고, random()과 조건문을 이용해 주사위 굴리기 앱을 만들어보자.
랜덤 숫자 생성 random()
IntRange는 데이터 유형의 하나로, 시작점부터 끝점까지 정수의 범위를 나타낸다.
fun main() {
    val diceRange = 1..6
    val randomNumber = diceRange.random()
    println("random number: ${randomNumber}")
}
이 코드로 1부터 6 사이의 랜덤 정수를 출력할 수 있다.
val diceRange = 1..6 여기서 자료형을 지정해주지 않았지만 시스템은 알아서
val diceRange: IntRange = 1..6 라고 해석한다.
( Java나 c++에 익숙한 나한테는 val, var로 변수 선언하는 게 어색하다... 😅 )
fun main() {
    val randomNumber = (1..6).random()
    println("random number: ${randomNumber}")
}
(1..6).random() 로 작성해도 결과는 똑같다.
Dice 클래스
Kotlin에서는 주사위에 면이 있고 랜덤 숫자를 굴릴 수 있다고 표시하는 프로그래매틱 방식의 주사위 청사진을 만들 수 있다. 이 청사진을 클래스라고 한다.
클래스는 건축가의 청사진 도면. 즉 주택을 짓는 방법에 관한 안내도이고,
주택은 청사진에 따라 만들어진 실제 사물 또는 객체 인스턴스 다.
주사위에 관한 모든 내용을 클래스로 구성하는 작업을 캡슐화라고 한다. 논리적으로 관련된 기능을 단일 위치로 묶을 수 있다는 의미!
fun main() {
    val myFirstDice = Dice()
    myFirstDice.roll()
}
class Dice{
    var sides = 6
    fun roll(){
        val randomNumber = (1..6).random()
     	  println(randomNumber)
    }
}
Kotlin에서는 class 키워드로 새 클래스를 만든다.
클래스의 이름은 파스칼 표기법으로 작성한다. 예: CustomerRecord ParkingMeter
Dice 클래스 내부에는 주사위 개념에 대한 청사진이 담겨있다. 실제 주사위를 만드려면 이 청사진을 이용해 Dice 객체 인스턴스를 생성해야 한다.
val myFirstDice = Dice() 이 처럼 Dice 객체를 생성할 수 있다.
클래스 내에는 주사위를 굴리는 함수가 있다. 클래스 내에서 정의된 함수는 메서드라고 한다.
이제 출력은 main에서, 함수는 값을 반환하도록 수정하자.
fun main() {
    val myFirstDice = Dice()
    val diceRoll = myFirstDice.roll()
    println("${myFirstDice.sides} sided dice")
    println("Dice result: ${diceRoll}")
}
class Dice{
    var sides = 6
    fun roll(): Int{
        val randomNumber = (1..6).random()
	     	return randomNumber
    }
}
// 출력 결과
// 6 sided dice
// Dice result: 3
val diceRoll = myFirstDice.roll() 함수가 반환한 값을 받을 diceRoll 변수를 선언하고, roll() 함수에 반환할 데이터 유형을 지정하고, return 문을 작성한다.
📌 주사위의 면 수 변경하기
fun main() {
    val myFirstDice = Dice()
    val diceRoll = myFirstDice.roll()
    println("${myFirstDice.sides} sided dice")
    println("Dice result: ${diceRoll}")
    myFirstDice.sides = 20
    println("${myFirstDice.sides} sided dice")
    println("Dice result: ${myFirstDice.roll()}")
}
class Dice{
    var sides = 6
    fun roll(): Int{
        val randomNumber = (1..sides).random()
	     	return randomNumber
    }
}
/* 출력 결과
6 sided dice
Dice result: 2
20 sided dice
Dice result: 11
*/
roll() 함수의 randomNumber 생성 부분을 1~6이 아닌 1~sides로 변경하고,
main에서 myFirstDice.sides = 20 로 주사위의 면 수를 변경한다.
println("Dice result: ${myFirstDice.roll()}") 그 다음 프린트문에서 다시 roll()을 실행시켜 새로운 값을 받아와 출력한다.
❗ var 와 val
여기서 sides는 var로 선언되어 있기 때문에 변경 가능하다. val로 선언된 변수는 값을 변경할 수 없다.
📌 주사위 클래스 수정하기
실제 주사위는 면의 수를 변경할 수 없다. 면 수는 구매할 때 결정하는 것이기 때문에 객체 생성시 정하고 그 뒤로는 변경할 수 없는 게 맞다.
fun main() {
    val myFirstDice = Dice(6)
    println("${myFirstDice.numSides} sided dice\nDice result: ${myFirstDice.roll()}")
    val mySecondDice = Dice(20)
    println("${mySecondDice.numSides} sided dice\nDice result: ${mySecondDice.roll()}")
}
class Dice(val numSides: Int){
    fun roll(): Int{
	    return (1..numSides).random()
    }
}
/*
6 sided dice
Dice result: 1
20 sided dice
Dice result: 11
*/
class Dice(val numSides: Int) Dice 클래스를 수정하여 생성 시 numSides 변수에 값을 넣도록 한다.
이 변수는 수정할 수 없기 때문에 main의 코드도 수정해야 한다. myFirstDice의 면을 수정하는 것이 아니라 면이 20개인 Dice 객체를 mySecondDice라는 이름으로 새롭게 생성한다.
리팩토링 과정을 통해 코드도 간결하게 수정했다. roll()의 결과값을 담을 변수를 선언하지 않고, 바로 출력하고, roll() 메소드 내부에서도 값을 바로 리턴하도록 한다.
📌 연습하기 1 주사위에 색상 속성 추가하기
fun main() {
    val myFirstDice = Dice(6, "Red")
    println("${myFirstDice.numSides} sided ${myFirstDice.color} dice\nResult: ${myFirstDice.roll()}")
    val mySecondDice = Dice(10, "Blue")
    println("${mySecondDice.numSides} sided ${mySecondDice.color} dice\nResult: ${mySecondDice.roll()}")
    val myThirdDice = Dice(20, "Green")
    println("${myThirdDice.numSides} sided ${myThirdDice.color} dice\nResult: ${myThirdDice.roll()}")
}
class Dice(val numSides: Int, val color: String){
    fun roll(): Int{
	    return (1..numSides).random()
    }
}
/*
6 sided Red dice
Result: 1
10 sided Blue dice
Result: 4
20 sided Green dice
Result: 14
*/
📌 연습하기 2 Coin 뒤집기
fun main(){
    val myFirstCoin = Coin()
    println("Result: ${myFirstCoin.flip()}")
}
class Coin(){
    fun flip(): String{
        if((0..1).random()==0){
            return "Head"
        }
        else{
            return "Tail"
        }
    }
}
// Result: Tail
❗ 코틀린에는 삼항연산자가 없다...!
대신 if((0..1).random()==0) return "Head" else return "Tail" 이렇게 사용할 수 있다.
fun main(){
    val myFirstCoin = Coin()
    println("Result: ${myFirstCoin.flip()}")
}
class Coin(){
    fun flip(): String{
        if((0..1).random()==0) return "Head" else return "Tail"
    }
}
tools:
도구 모양 아이콘이 있는 text에 내용을 작성하면
tools:text="1" 이렇게 작성된다. 평소에 작성하던 것은 app:text="1"
tools에 있는 값은 개발자의 편의를 위한 값으로 어플 실행 시 나타나지 않는다. 그렇기 때문에 resource 추출할 필요가 없다.
📌 Activity
Activity는 앱이 UI를 그리는 창을 제공한다. 일반적으로 Activity는 실행되는 앱의 전체 화면을 차지한다. 모든 앱에는 하나 이상의 activity가 존재한다.
📌 MainActivity.kt 살펴보기
class MainActivity : AppCompatActivity() {
    override fun onCreate(savedInstanceState: Bundle?) {
        super.onCreate(savedInstanceState)
        setContentView(R.layout.activity_main)
    }
}
기본적으로 빈 프로젝트를 생성했을 때 작성되어 있는 코드다.
MainActivity에는 main() 함수가 없다. Android 앱은 main() 함수를 호출하는 대신 앱이 처음 열릴 때 MainActivity의 onCreate() 메서드를 호출한다.
setContentView()로 시작 레이아웃을 MainActivity 로 설정한다.
Toast 메시지
val toast = Toast.makeText(this, "Dice Rolled!", Toast.LENGTH_SHORT)
toast.show()
// 또는
Toast.makeText(this, "Dice Rolled!", Toast.LENGTH_SHORT).show(
📌 1차로 완성된 코드
class MainActivity : AppCompatActivity() {
    override fun onCreate(savedInstanceState: Bundle?) {
        super.onCreate(savedInstanceState)
        setContentView(R.layout.activity_main)
        val rollButton: Button = findViewById(R.id.button)
        rollButton.setOnClickListener{
            rollDice()
        }
    }
    private fun rollDice() {
        val dice = Dice(6)
        val diceRoll = dice.roll()
        val resultTV: TextView = findViewById(R.id.textView)
        resultTV.text = diceRoll.toString()
    }
}
class Dice(val numSides: Int){
    fun roll(): Int{
        return (1..numSides).random()
    }
}
어플을 실행하면 버튼을 누를 때마다 랜덤한 주사위의 숫자가 랜덤하게 나오는 것을 확인할 수 있다.

Reformat Code
📌 이제 코드를 정리해보자
코드를 전부 선택(ctrl+A)하고 Code > Reformat Code 또는 ctrl+alt+L 하면 공백이나 간격 등이 형식에 알맞게 수정된다.
코드에 대한 주석도 추가한다.
/**
* 이 액티비티는 사용자가 주사위를 굴려 그 결과를 화면에 볼 수 있도록 한다.
*/
class MainActivity : AppCompatActivity() {
override fun onCreate(savedInstanceState: Bundle?) {
super.onCreate(savedInstanceState)
setContentView(R.layout.activity_main)
val rollButton: Button = findViewById(R.id.button)
rollButton.setOnClickListener { rollDice() }
}
/**
* 주사위를 굴리고 그 결과를 화면에 업데이트한다.
*/
private fun rollDice() {
// 6면 주사위를 생성한다.
val dice = Dice(6)
val diceRoll = dice.roll()
// 화면에 주사위 결과를 업데이트한다.
val resultTV: TextView = findViewById(R.id.textView)
resultTV.text = diceRoll.toString()
}
}
class Dice(val numSides: Int) {
fun roll(): Int {
return (1..numSides).random()
}
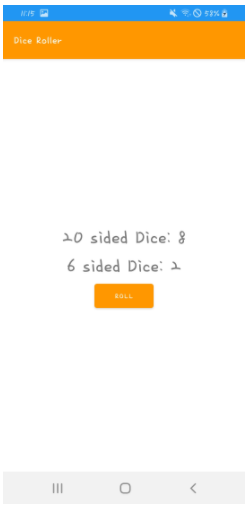
}📌 연습하기 - 주사위 2개 굴리기
/**
 * 이 액티비티는 사용자가 주사위를 굴려 그 결과를 화면에 볼 수 있도록 한다.
 */
class MainActivity : AppCompatActivity() {
    override fun onCreate(savedInstanceState: Bundle?) {
        super.onCreate(savedInstanceState)
        setContentView(R.layout.activity_main)
        val rollButton: Button = findViewById(R.id.button)
        rollButton.setOnClickListener { rollDice() }
    }

    /**
     * 주사위를 굴리고 그 결과를 화면에 업데이트한다.
     */
    @SuppressLint("SetTextI18n")
    private fun rollDice() {
        // 6면 주사위를 생성한다.
        val dice = Dice(6)
        val diceRoll = dice.roll()
        val dice2 = Dice(20)
        // 화면에 주사위 결과를 업데이트한다.
        val resultTV: TextView = findViewById(R.id.textView)
        resultTV.text = "${dice.numSides} sided Dice: "+diceRoll.toString()
        val resultTV2: TextView = findViewById(R.id.textView2)
        resultTV2.text = "${dice2.numSides} sided Dice: "+dice2.roll().toString()
    }
}

class Dice(val numSides: Int) {
    fun roll(): Int {
        return (1..numSides).random()
    }
}
@SuppressLint("SetTextI18n") 이게 뭔지는 잘 모르겠다🤔 없어도 실행은 잘 된다.
Stackoverflow 참고 하드코딩과 관련된 것 같다! 예를들어 돈을 표현할 때 나라마다 단위가 다른데 코드를 수정하지 않아도 알아서 바뀌도록?
조건문 - if
if else 조건문은 다른 언어와 거의 똑같기 때문에 실습한 코드만 첨부한다.
fun main() {
    val myFirstDice = Dice(6)
    val rollResult = myFirstDice.roll()
    val luckyNumber = 4
    if(rollResult==luckyNumber){
        println("You win:)")
    }else if(rollResult==1){
        println("You lose:( You rolled a 1. Try again!")
    }else if(rollResult==2){
        println("You lose:( You rolled a 2. Try again!")
    }else if(rollResult==3){
        println("You lose:( You rolled a 3. Try again!")
    }else if(rollResult==5){
        println("You lose:( You rolled a 5. Try again!")
    }else{
        println("You lose:( You rolled a 6. Try again!")
    }
}
class Dice (val numSides: Int) {
    fun roll(): Int {
        return (1..numSides).random()
    }
}
조건문 - When
when 문은 자바나 c++에서 사용했던 switch문과 유사하다. when()안에 있는 rollResult의 값이 어느 것에 해당하냐에 따라 실행할 코드를 작성할 수 있다.
fun main() {
    val myFirstDice = Dice(6)
    val rollResult = myFirstDice.roll()
    val luckyNumber = 4
    when(rollResult){
        luckyNumber -> println("You win:)")
        1 -> println("You lose:( You rolled a 1. Try again!")
        2 -> println("You lose:( You rolled a 2. Try again!")
        3 -> println("You lose:( You rolled a 3. Try again!")
        5 -> println("You lose:( You rolled a 5. Try again!")
        6 -> println("You lose:( You rolled a 6. Try again!")
    }
}
class Dice (val numSides: Int) {
    fun roll(): Int {
        return (1..numSides).random()
    }
}
🔗 Kotlin의 Conditions and loops 더 자세히 알아보기
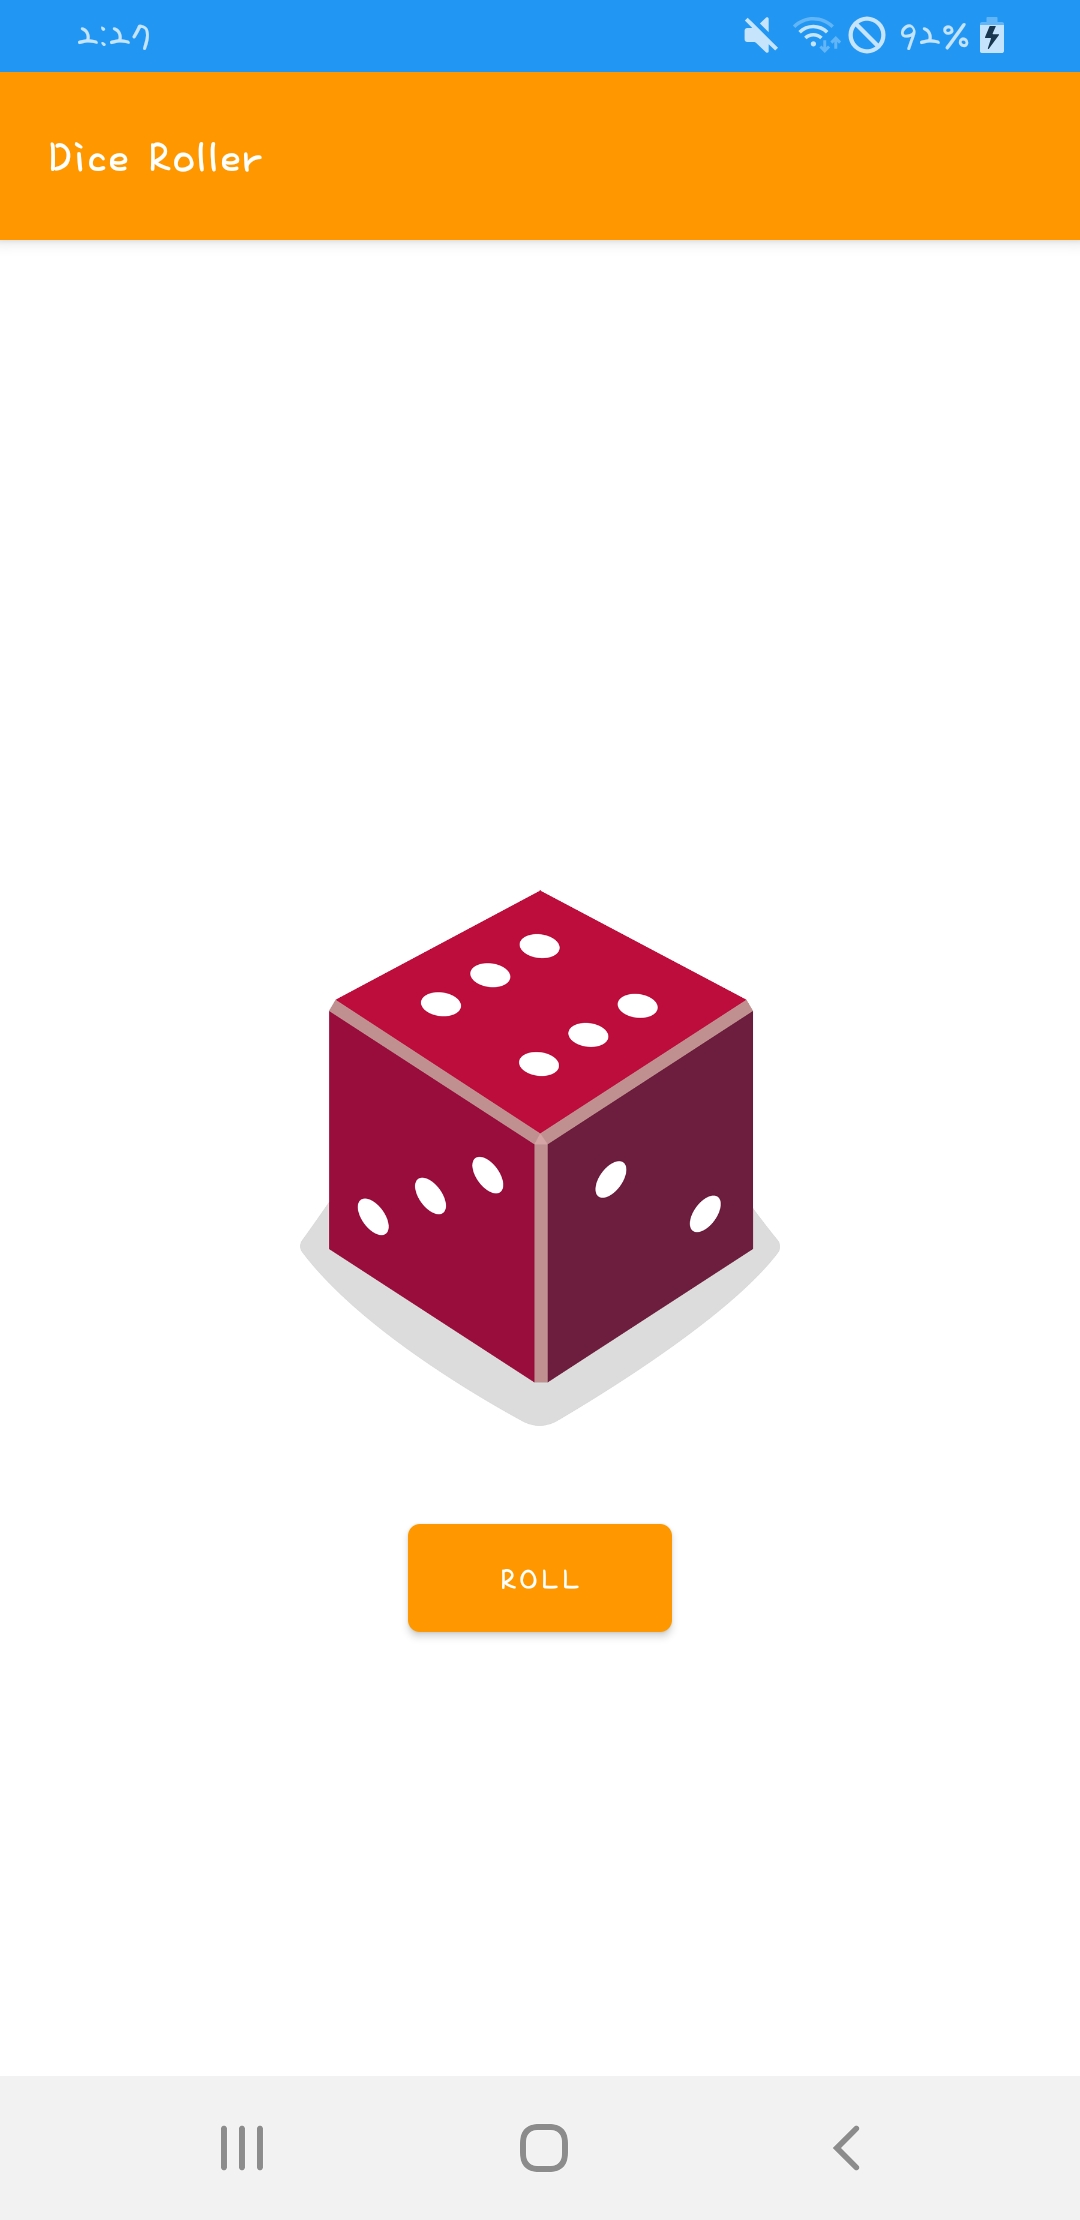
주사위 이미지 추가하기
기존 TextView를 없애고, 주사위 이미지를 담을 ImageView를 추가했다. 6개의 주사위 이미지를 drawable에 담고, MainActivity.kt 코드를 수정한다.
private fun rollDice() {
// 6면 주사위를 생성한다.
val dice = Dice(6)
val diceRoll = dice.roll()
val diceImage: ImageView = findViewById(R.id.imageView)
when(diceRoll){
1 -> diceImage.setImageResource(R.drawable.dice_1)
2 -> diceImage.setImageResource(R.drawable.dice_2)
3 -> diceImage.setImageResource(R.drawable.dice_3)
4 -> diceImage.setImageResource(R.drawable.dice_4)
5 -> diceImage.setImageResource(R.drawable.dice_5)
6 -> diceImage.setImageResource(R.drawable.dice_6)
}
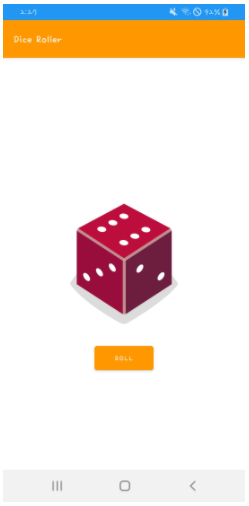
}rollDice() 함수의 코드를 작성하면 다음과 같이 주사위 앱이 완성된다.
/**
* 주사위를 굴리고 그 결과를 화면에 업데이트한다.
*/
private fun rollDice() {
// 6면 주사위를 생성하고 주사위를 굴린다
val dice = Dice(6)
val diceRoll = dice.roll()
// imageView 를 찾는다
val diceImage: ImageView = findViewById(R.id.imageView)
// 주사위를 굴린 결과에 해당하는 drawable resource 를 찾는다
val drawableResource = when(diceRoll){
1 -> R.drawable.dice_1
2 -> R.drawable.dice_2
3 -> R.drawable.dice_3
4 -> R.drawable.dice_4
5 -> R.drawable.dice_5
else -> R.drawable.dice_6
}
// Update ImageView
diceImage.setImageResource(drawableResource)
// Update content description
diceImage.contentDescription = diceRoll.toString()
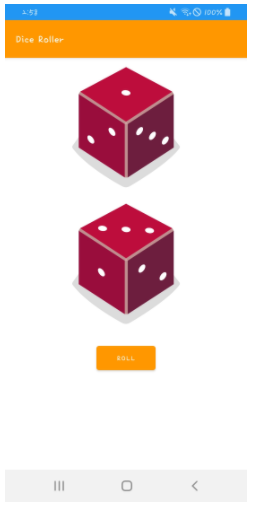
}📌 연습하기 - 주사위 2개 굴리기
단위 테스트
먼저 단위테스트는 JUnit 라이브러리를 사용할 것이다.
testImplementation 'junit:junit:4.12'test 디렉터리를 보면 ExampleUnitTest라는 코틀린 파일이 있다. 이곳에 작성된 예시 코드를 보자. 테스트 코드는 위에서 만들었던 DiceRoller 앱과는 관련이 없다.
class ExampleUnitTest {
   @Test
   fun addition_isCorrect() {
       assertEquals(4, 2 + 2)
   }
}
테스트 코드는 @Test 어노테이션을 달아야 한다. 이 어노테이션은 코드가 컴파일되는 방법을 변경할 수 있는 코드의 메타데이터 태그이다. 즉 @Test를 작성하면 컴파일러가 아래 메서드가 테스트임을 알 수 있다.
주석 다음에는 addition_isCorrect() 함수가 있다. 함수 내 코드를 보면 어설션 메서드로 비즈니스 로직을 통해 얻은 값과 실제값이 같아야 한다고 어설션한다.
JUnit 라이브러리의 어설션 메서드를 사용하여 결과와 예상이 일치하는지를 확인한다. 어설션 메서드는 다음과 같다.
- assertEquals()
- assertNotEquals()
- assertThat()
- assertTrue()
- assertFalse()
- assertNull()
- assertNotNull()
이제 DiceRoller 앱의 단위 테스트를 작성해보자.
주사위를 굴렸을 때의 랜덤값이 특정값과 동일한지 확인할 수 없으니 결과값이 특정 범위 내에 있는지를 확인한다. 테스트 코드는 다음과 같다.
@Test
fun generates_number(){
val dice = Dice(6)
val res = dice.roll()
assertTrue("Result was not between 1 and 6", res in 1..6)
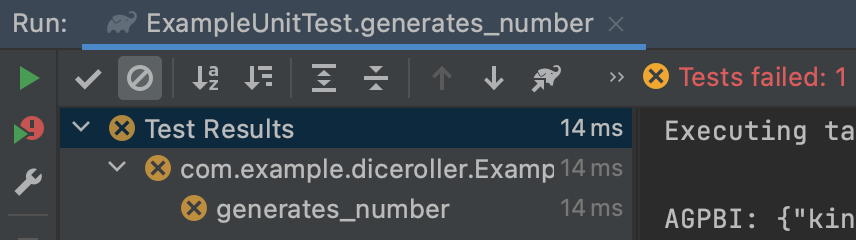
}assertTrue()의 첫 번째 메서드는 String 값으로 어설션에 실패했을 때 콘솔에 표시되는 메시지이다.
성공하면 초록 체크를 확인할 수 있고,
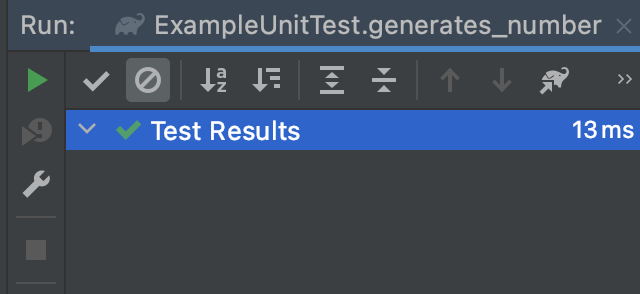
실패하면 Tests failed라고 뜬다.
디버깅 / 로그
로그 수준
- ERROR
앱이 비정상 종료된 이유 등 심각한 문제 발생 - WARN
error 보다는 덜 심각하지만 더 심각한 오류를 장지하기 위해 수정해야 하는 사항. 예를 들어 지원 중단 된 함수 호출 - INFO
성공적으로 완료된 작업과 같은 유용한 정보 제공 - DEBUG
문제를 조사할 때 도움이 될 만한 정보 - VERBOSE
가장 포괄적인 로그 수준
스택 트레이스
비정상 종료를 성명하는 오류 로그를 스택 트레이스라고 한다.
