위 사진의 블루프린트는 레벨상에 있는 코인을 전부 획득 하였을때 포탈을 생성시키는 블루프린트이다

콘텐츠에 새로운 블루프린트 폴더를 만들어준다
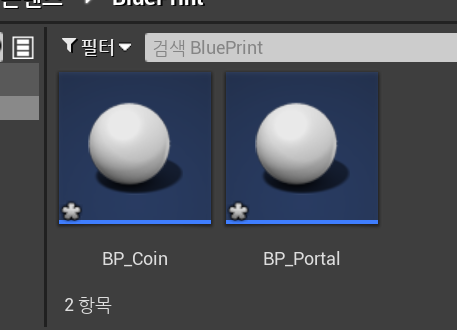
폴더에 코인과 포탈의 기능을 할 블루프린트 액터 두개를 생성해준다
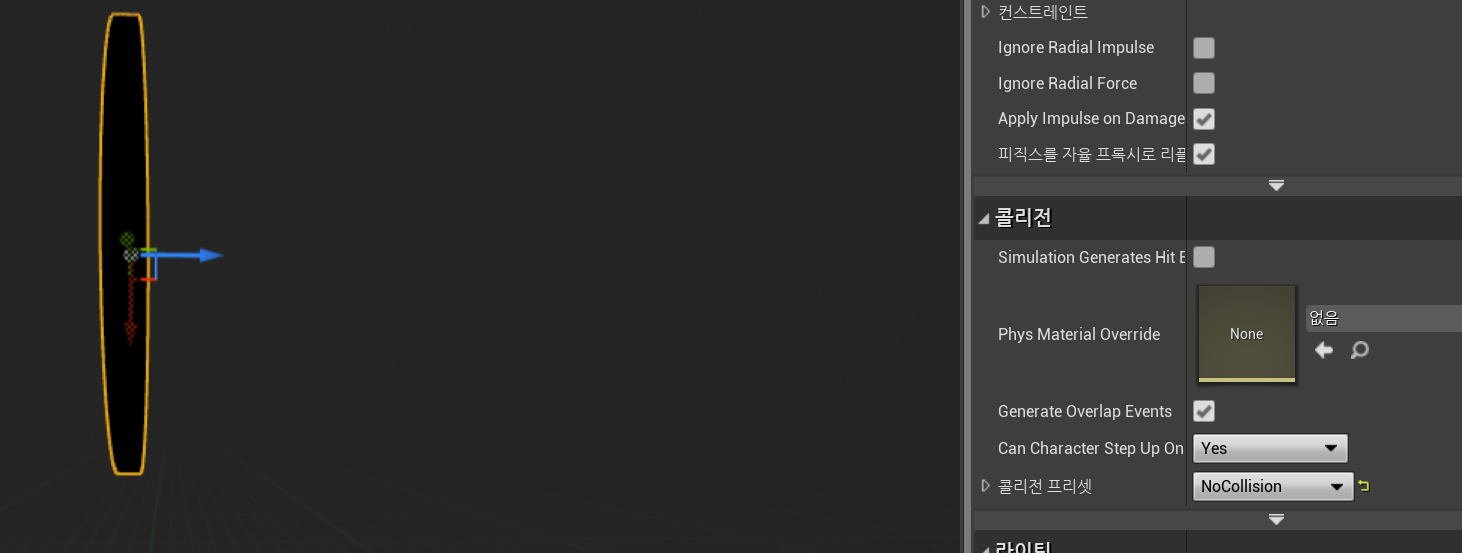
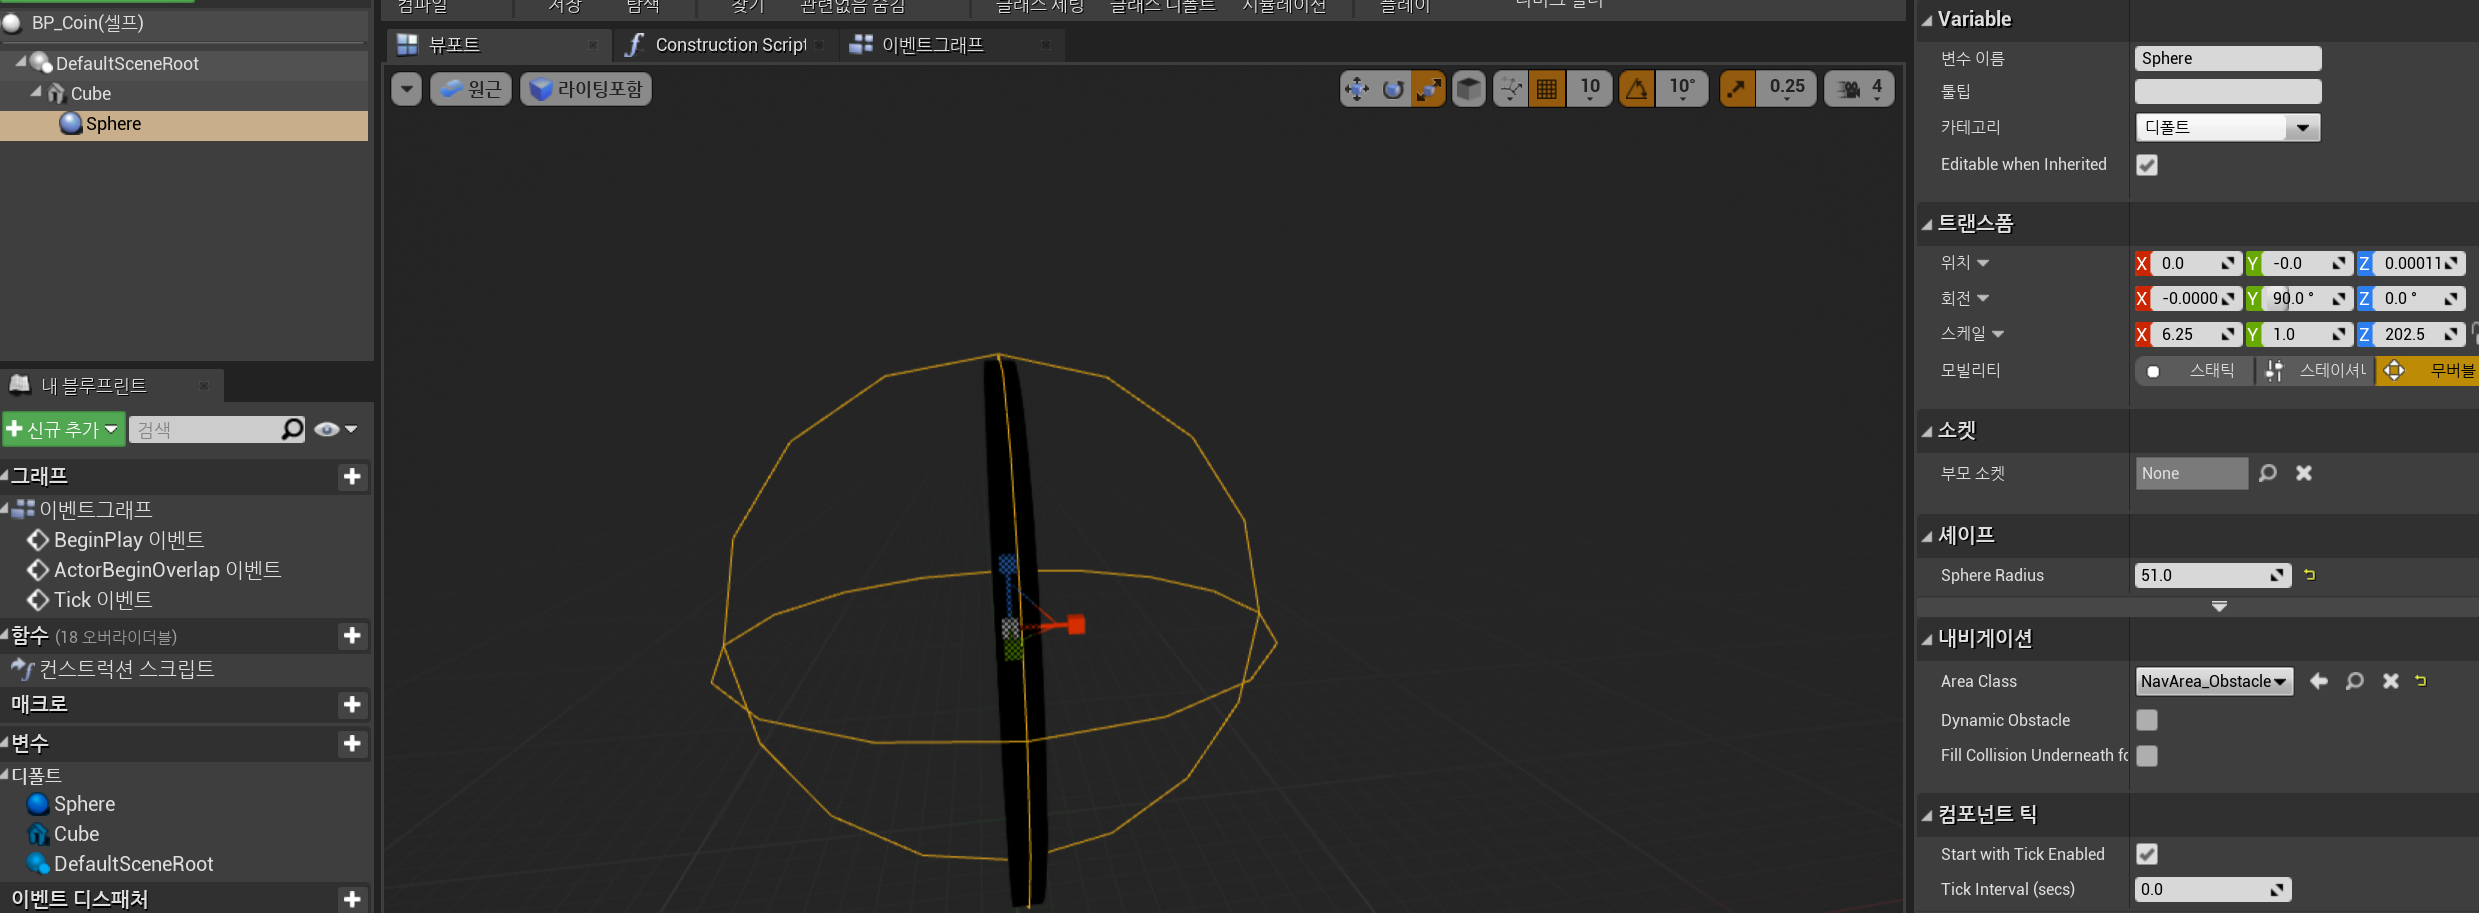
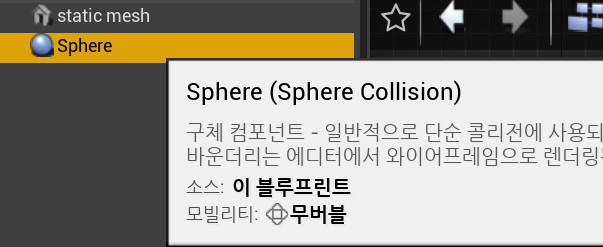
액터중 하나를 코인의 형태로 만들어주고 스피어 콜리전을 생성해 크기에 맞게 적용시켜준다
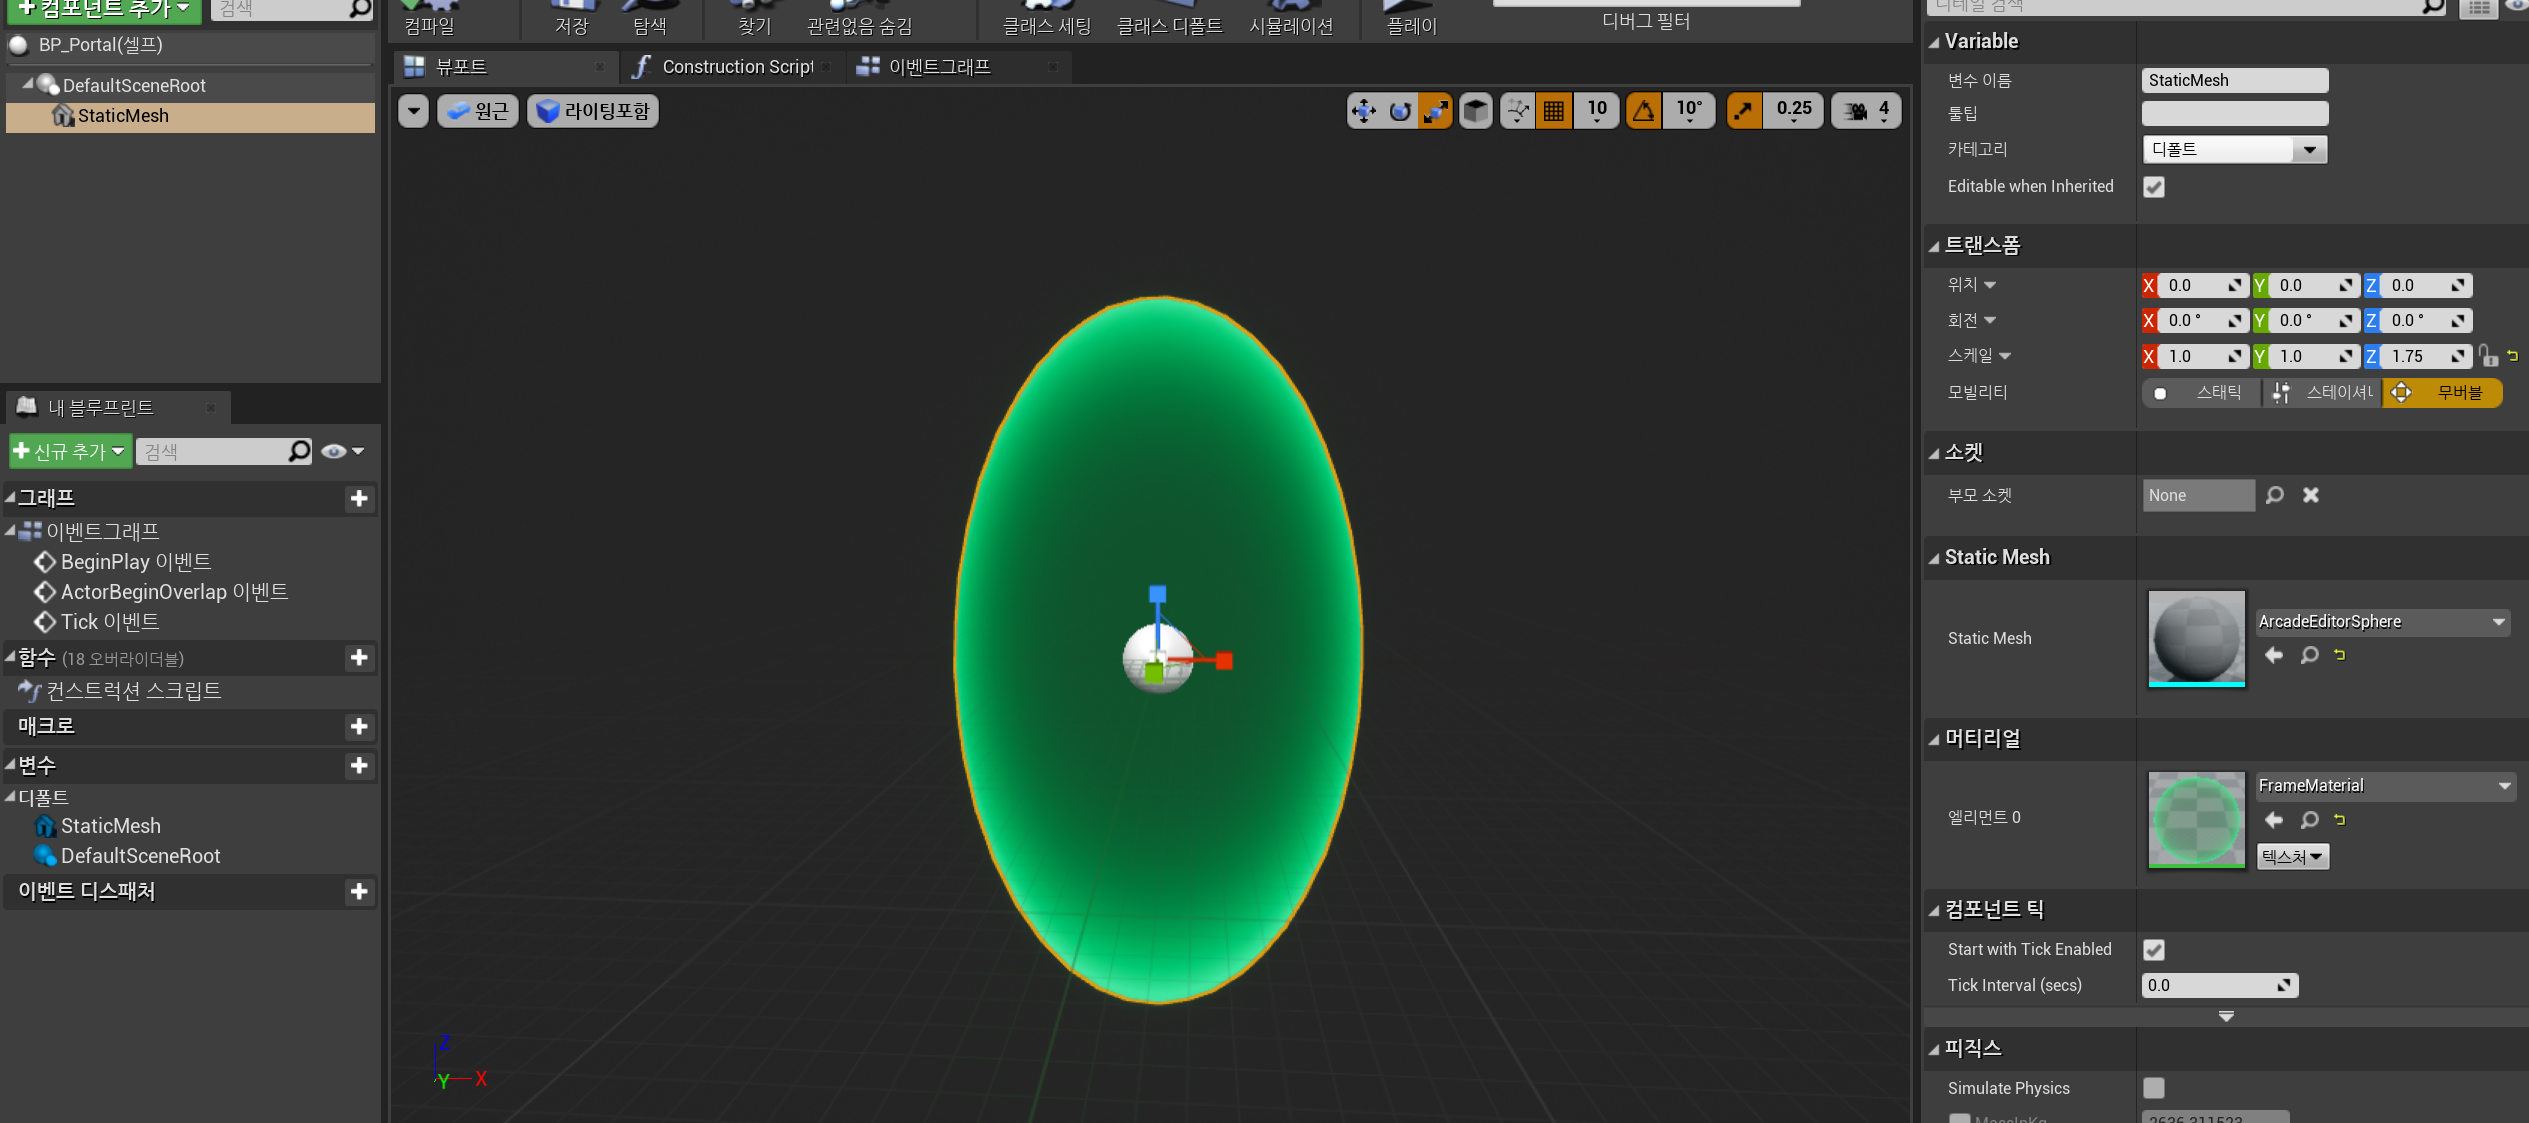
나머지 액터 하나도 포탈의 형태로 생성해준다
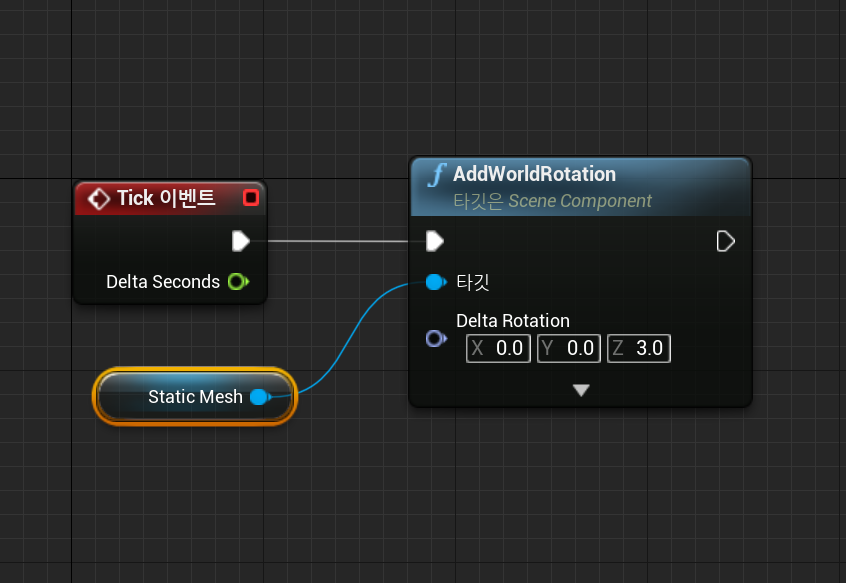
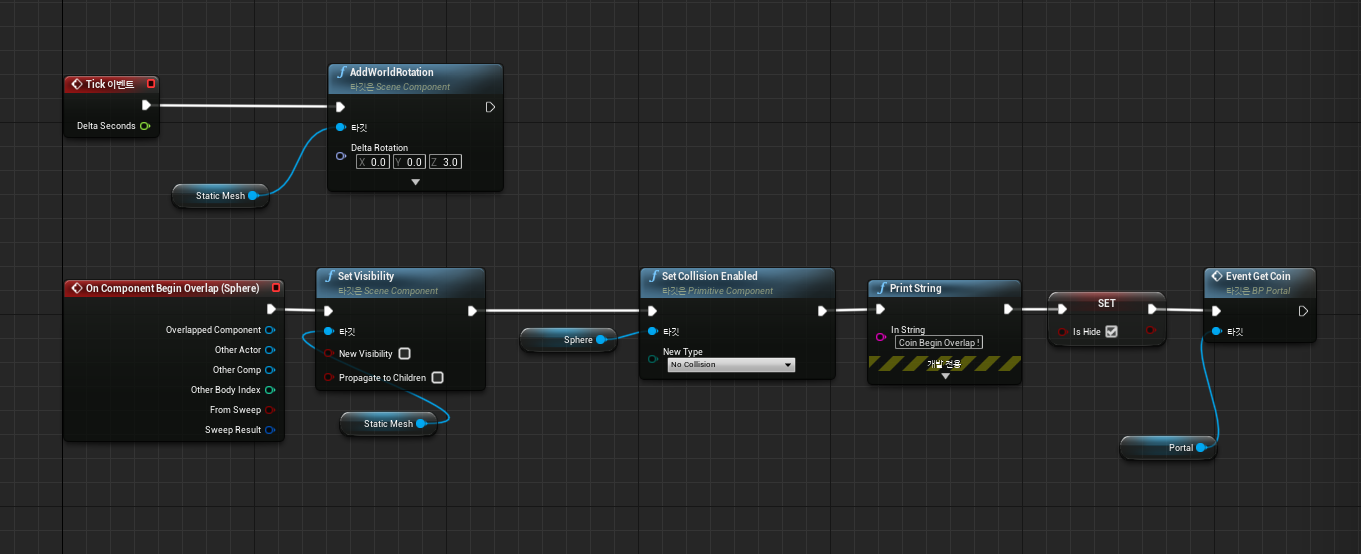
이후 코인의 블루프린트로 들어가 Event Tick에 AddWorldRotation에 static Mesh형으로 연결시켜 z축을 3도 회전하게 만들어준다
(게임속 코인처럼 회전하게 만들어주는 노드)
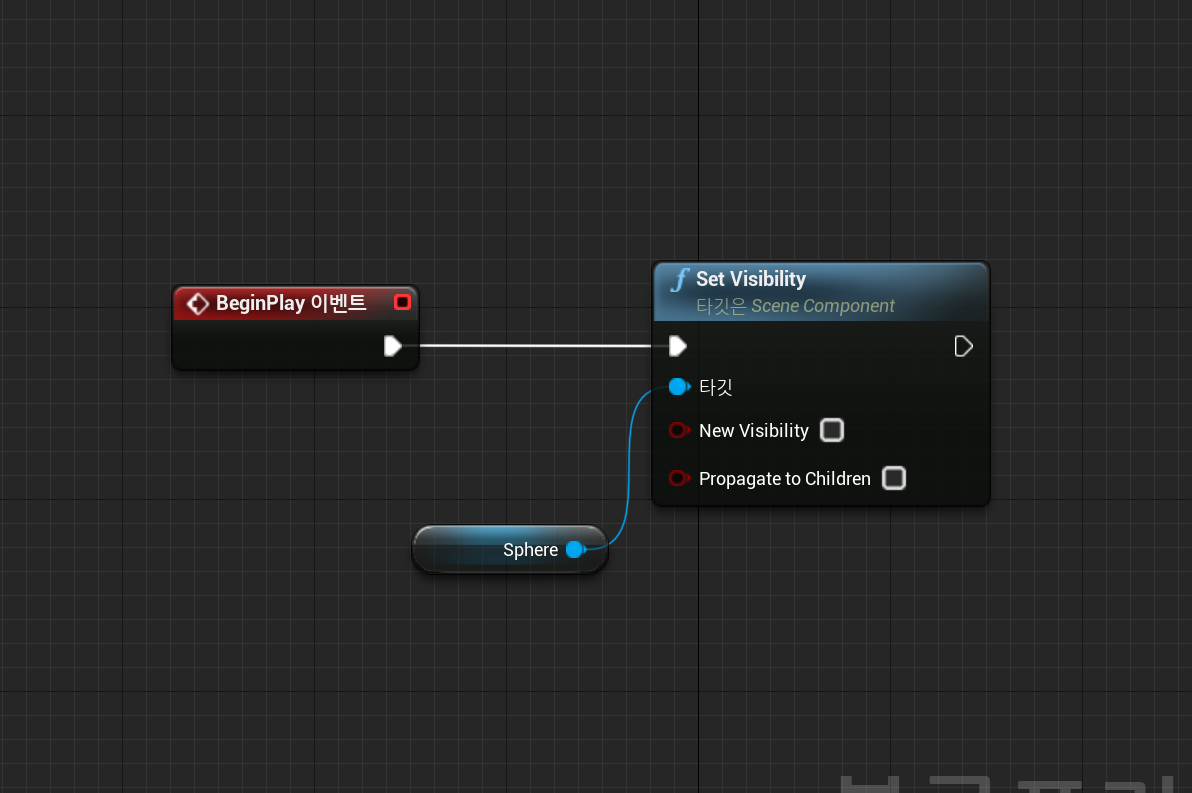
이후 포탈의 이벤트 그래프 창으로 들어가 코인이 처음 시작하면서 보이지않게 설정해주는 노드를 연결한다 begin play event에서 Set Visibility 를 Sphere 형으로 연결해준다
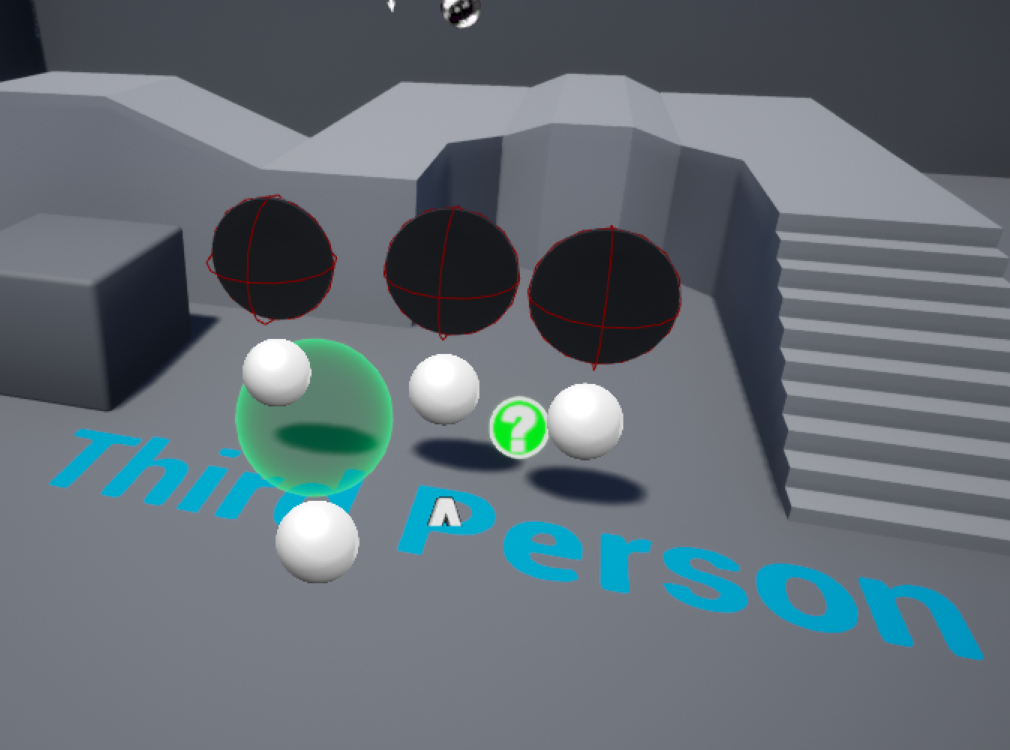
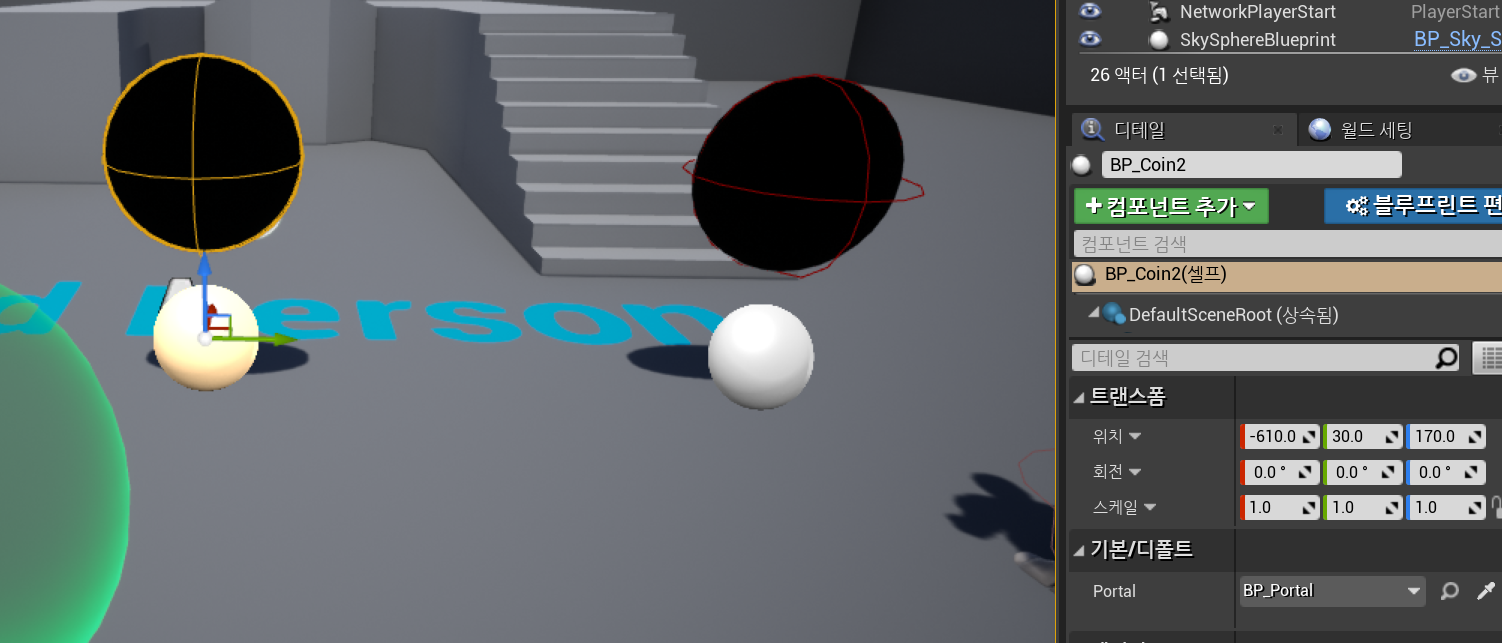
이후 레벨로 돌아와 만들어준 코인과 포탈을 배치한다 실습에서는 코인의 개수를 3개로 설정함
이제 우리는 본격적으로 레벨에 배치된 3개의 코인을 다 획득하였을 때 포탈을 생성시키는 노드를 구현할 것이다
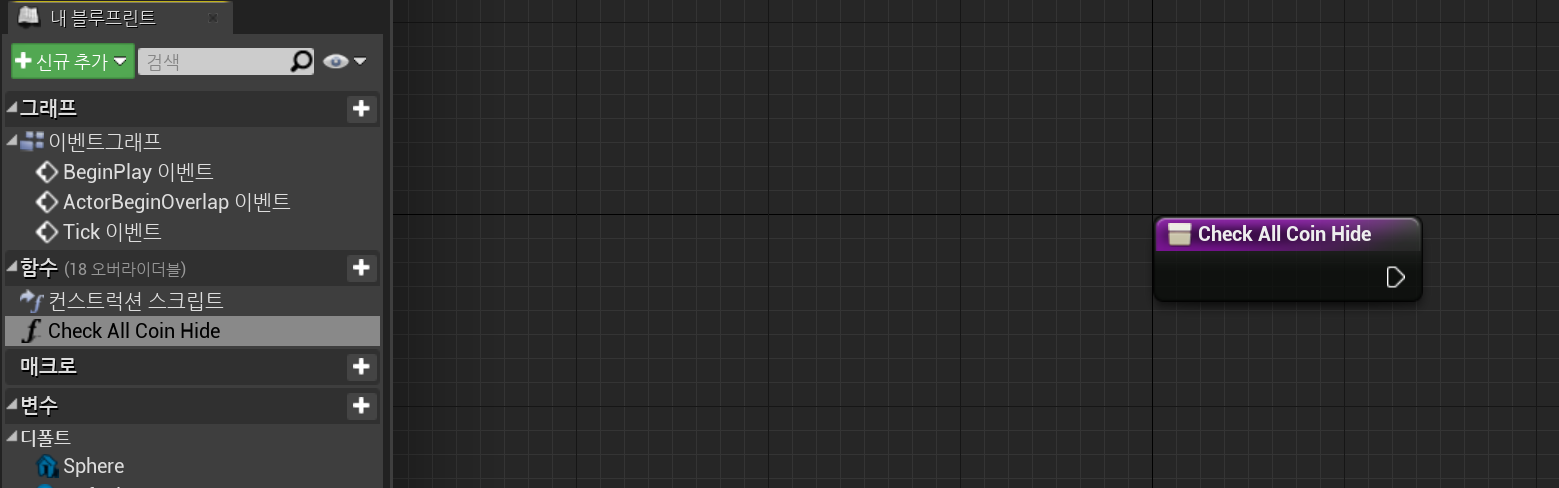
우선 포탈에 Check All Coin Hide라는 새로운 함수를 생성해준다
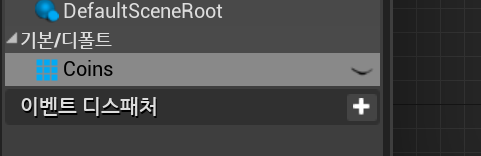
그 후 Coins라는 새로운 변수를 하나 생성해주고 배열 형태로 BP_Coin과 연결해준다
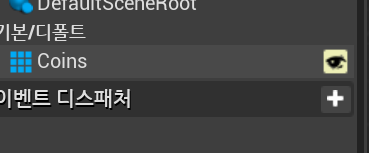
코인즈 옆에 눈을 열어주고
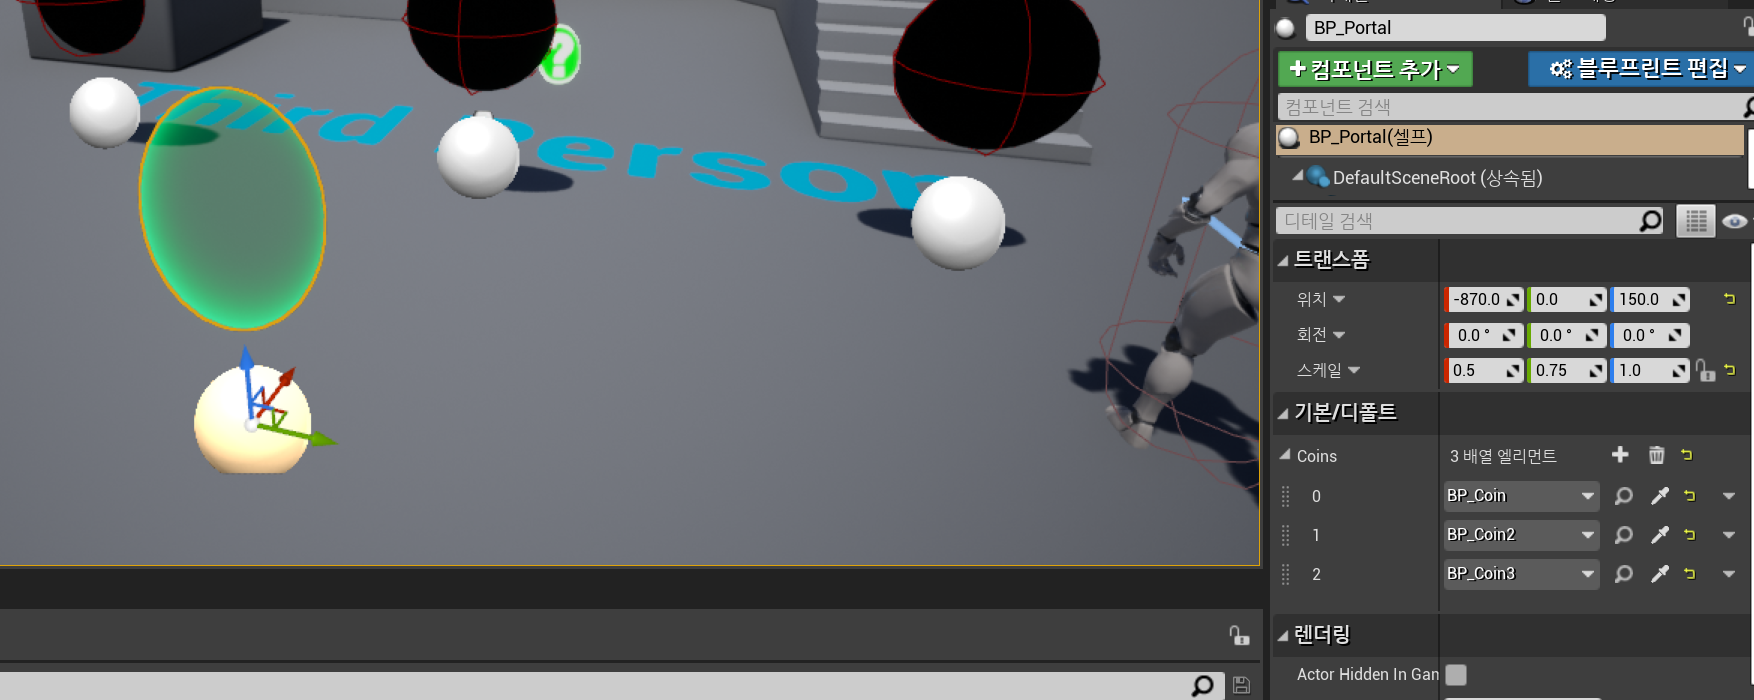
레벨로 돌아와서 기본/디폴트 패널에서 배열 3개를 만들어준다
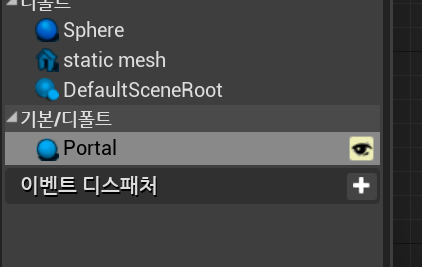
이후 포탈 블루프린트창으로 들어가서 Portal이라는 변수를 BP_portal과 연결시켜주고 coins와 마찬가지로 눈을 열어준다 (눈을 열어주면 편집 가능)
그러면 기본/디폴트 부분에 Portal이라는 항목이 생성된 걸 알 수 있고 모두 BP_Portal로 설정해준다
이렇게 설정을 하면 이제 포탈과 각 코인들이 서로 상호작용 할 수 있는 상태가 된다
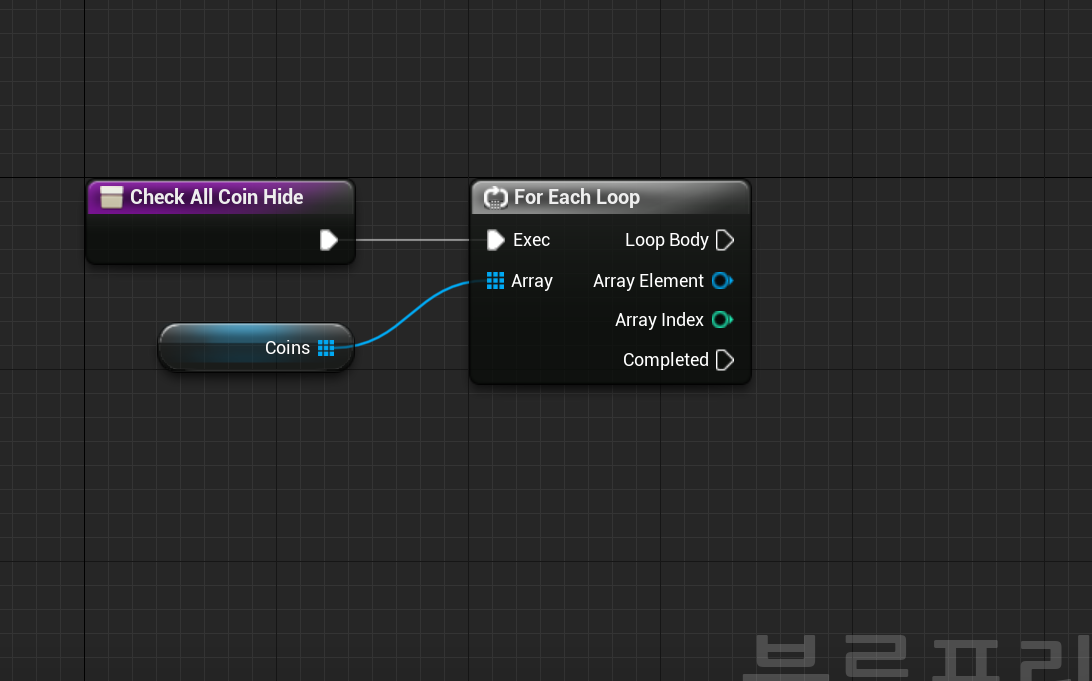
아까 만들어준 CHeck All Coin Hide 함수로 돌아와서 For Each Loop를 생성하고 Coins 변수들과 배열로 연결시켜준다
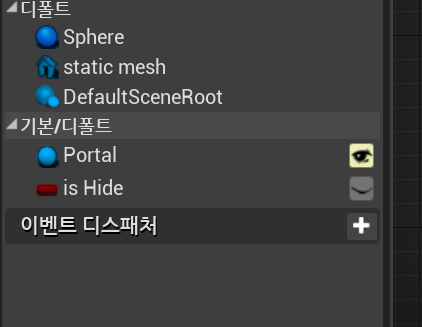
그리고 다시 Coin 블루프린트로 돌아와서 is Hide라는 bool형의 변수를 생성해준다
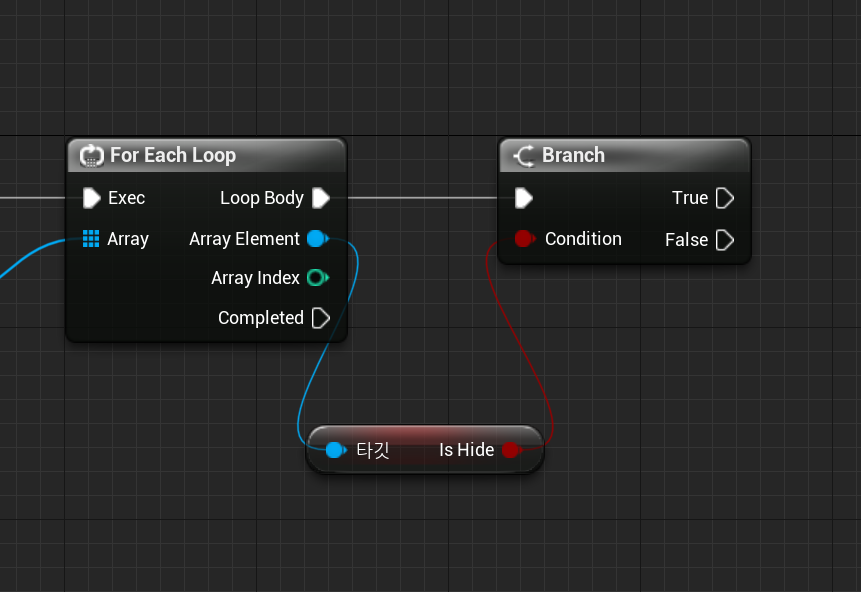
다음 Check All Coin Hide 함수로 돌아와서 For Each Loop의 Array Element를 드래그해서 Branch와 is Hide로 연결시켜준다
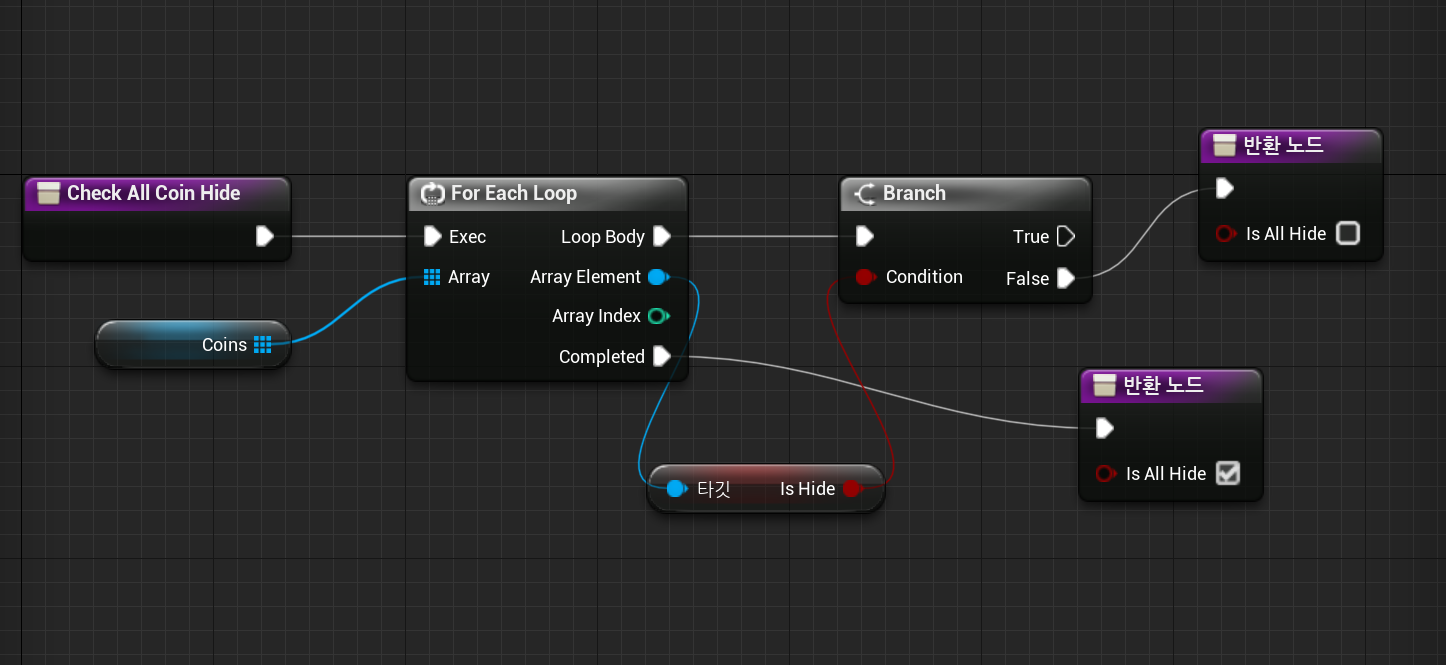
Check All Coin Hide함수의 반환 노드를 2개 생성해주고 출력 명을 is ALl Hide라고 설정해준다
이렇게 우리는 플레이어가 코인을 다 획득하였는지 확인하는 Check All Coin Hide라는 함수의 구현을 완성했다
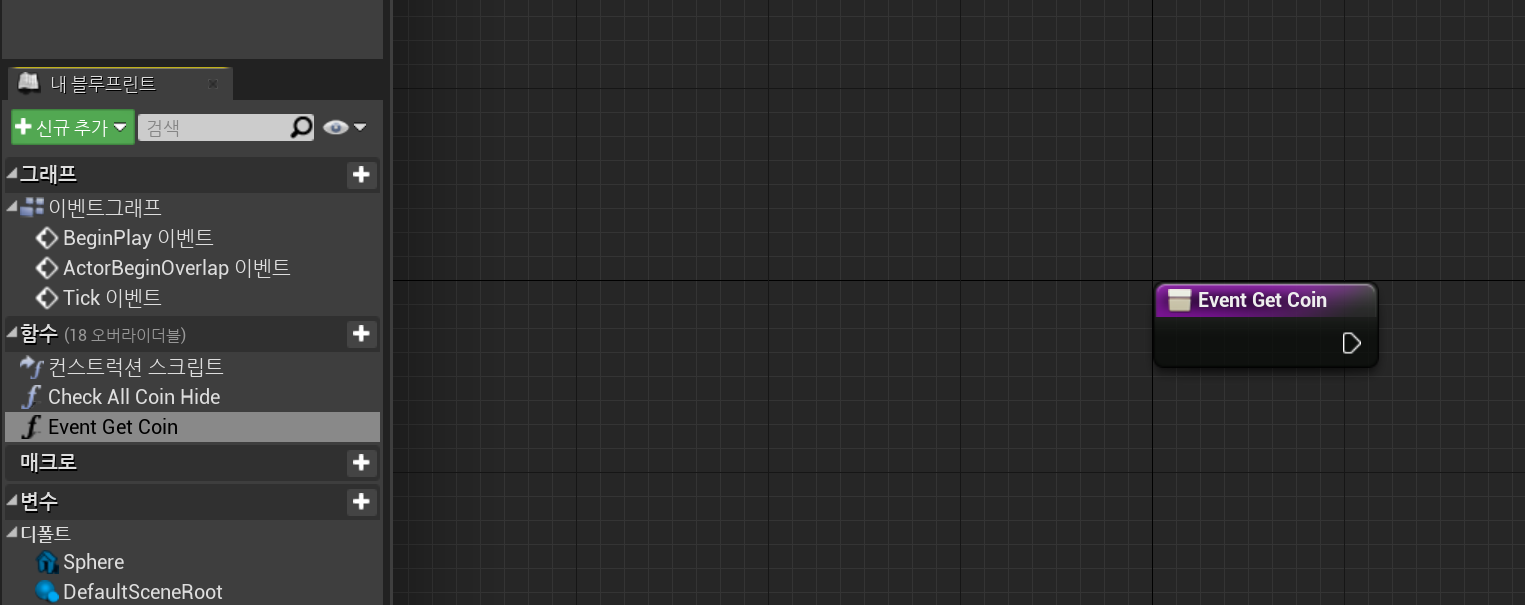
이후 다시 Event Get Coin이라는 코인을 전부 획들했을 때 포탈을 생성시키는 함수를 생성할 것이다

코인을 획득했을 때 Event Get Coin ! 이라는 문자열을 출력하게 해주고
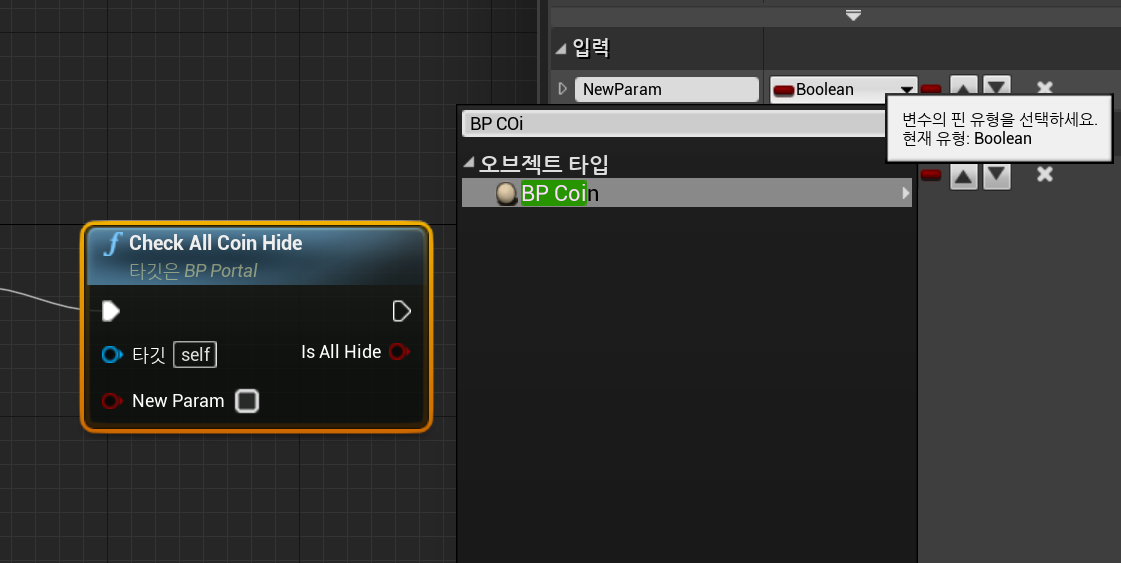
우리가 방금 만들어준 Check All Coin Hide 함수를 가져와서 입력값을 BP Coin 배열 형태로 설정해주고 coins와 연결시켜준다
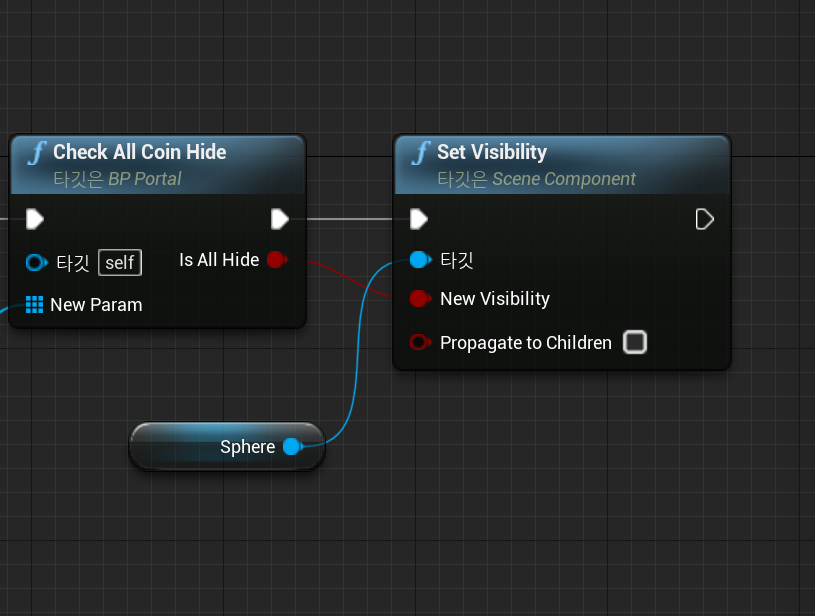
마지막으로 Set Visibility (액터를 보여줄지 말지 결정하는 노드)를 Sphere형태로 생성해주고 Check All Coin Hide의 Is All Hide와 New Visibility를 연결해준다
이제 이렇게 만들어준 함수들을 Coin 블루프린트에서 구현시켜 작동되게 만들어보자
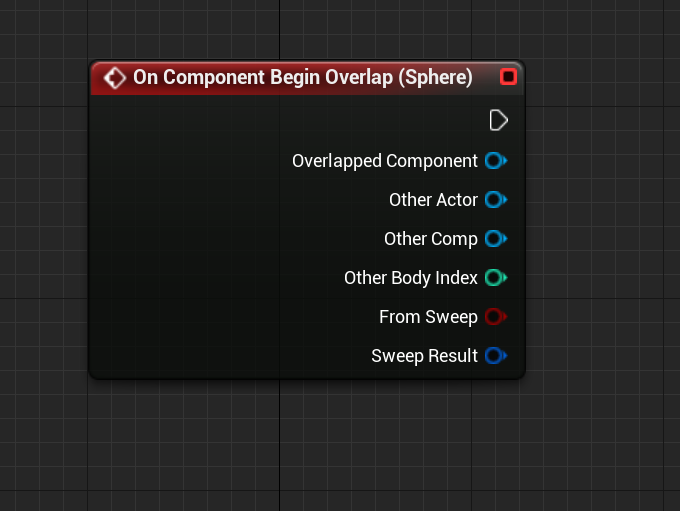
Coin 블루프린트에서 Sphere을 선택한 상태로 우측 하단의 On Component Begin Overlap을 눌러줘 생성시켜준다
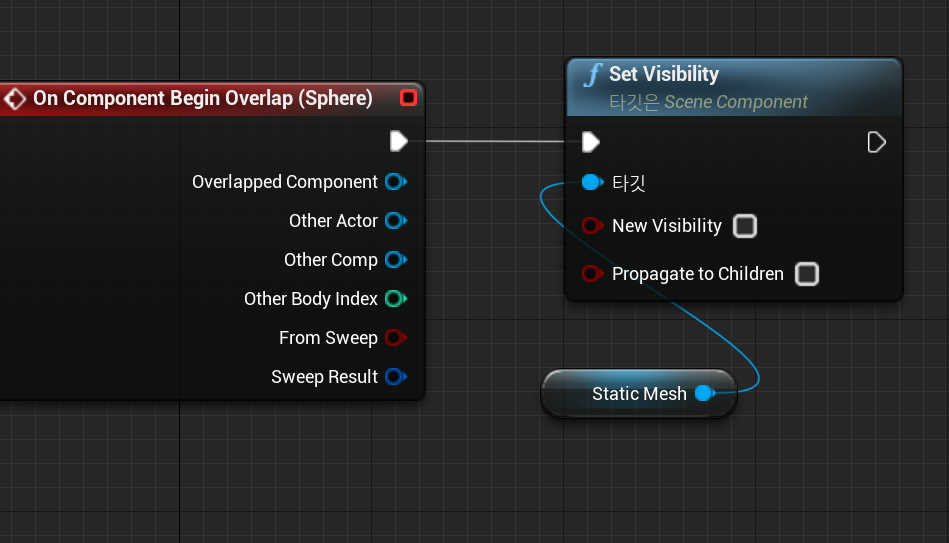
Overlap Event에 Set Visibiliy를 static Mesh형태로 연결시켜줘서 오버랩이 발생했을시 코인이 사라지게 만든다(New visibility 버튼의 체크로 설정 가능)
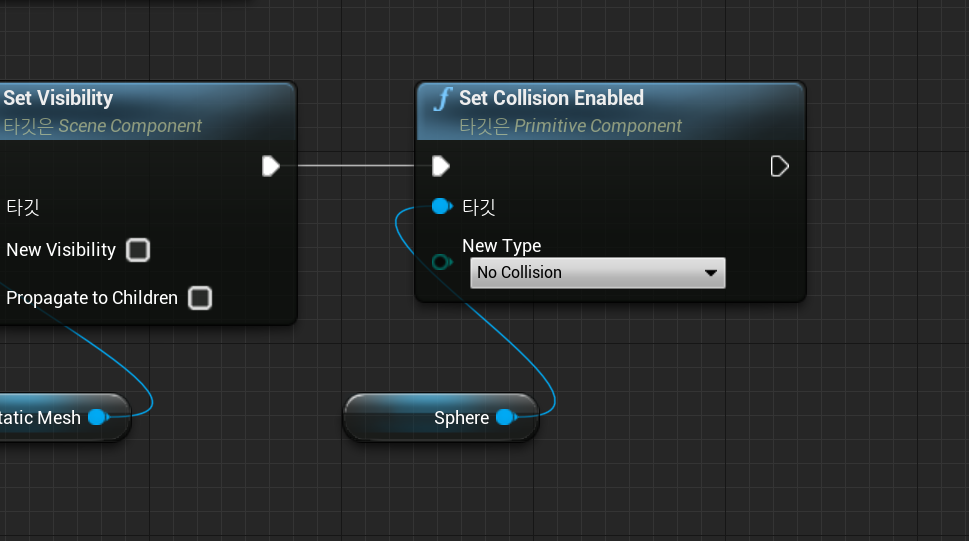
이후 Set Collision Enabled를 sphere 형태로 연결시켜주고(콜리전을 No Collision으로 설정해 일회성으로 만들어줌)
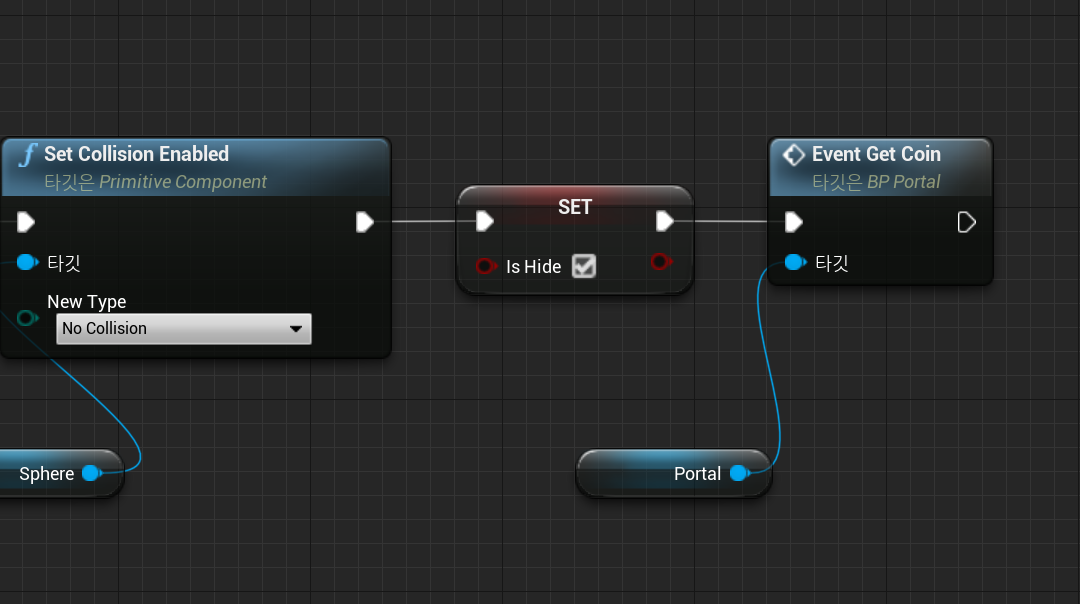
마지막으로 is Hide 변수를 Set으로 가져와서 Event Get Coin을 가져와 이어준다, Event Get Coin은 Portal의 함수이다
이제 실행시켜보면
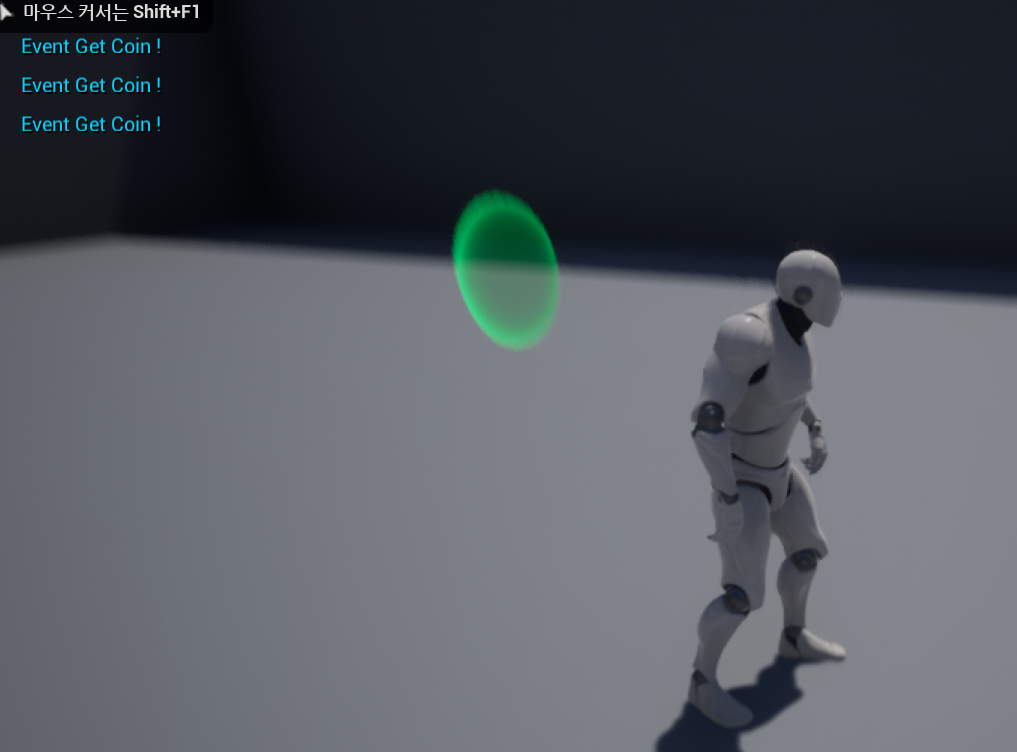
다음과 같이 코인을 획득할 때마다 Event Get Coin !을 출력하고 마지막에 포탈을 생성한 것을 확인할 수 있다
이렇게 Overlap Event를 이용한 포탈 생성 실습을 마친다

개인 공부를 정리함니다