
9.10 (화)
1. Spring-Boot
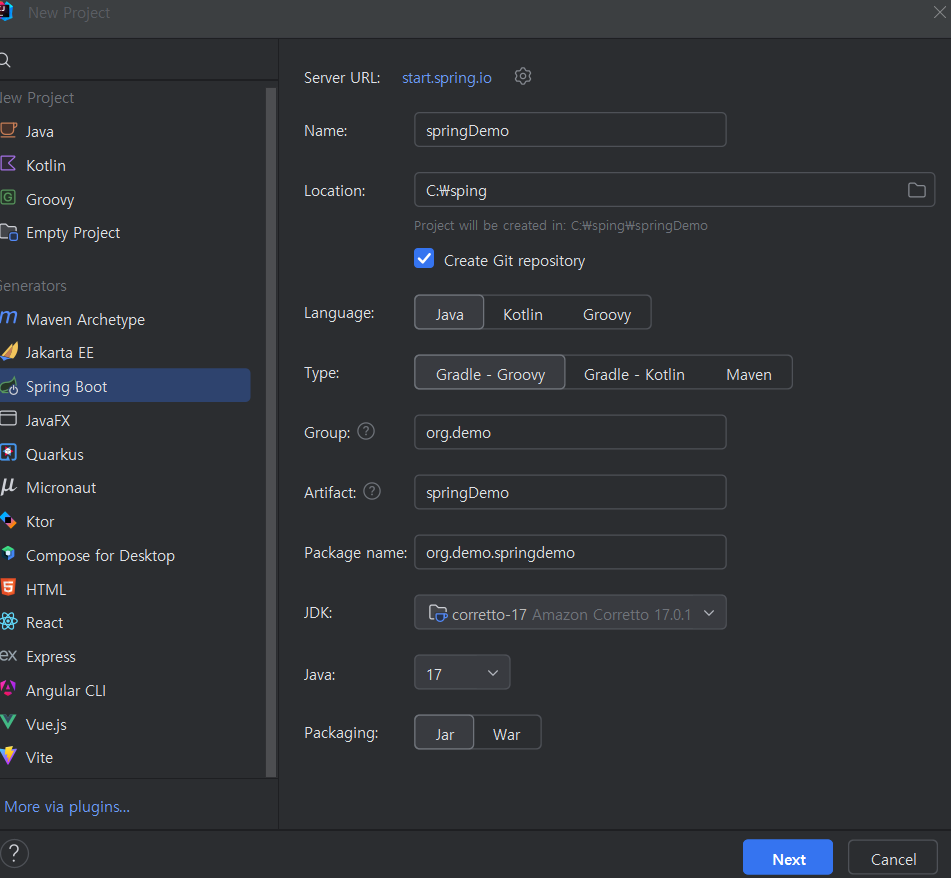
1-1. 프로젝트 생성

1-2. 기초셋팅
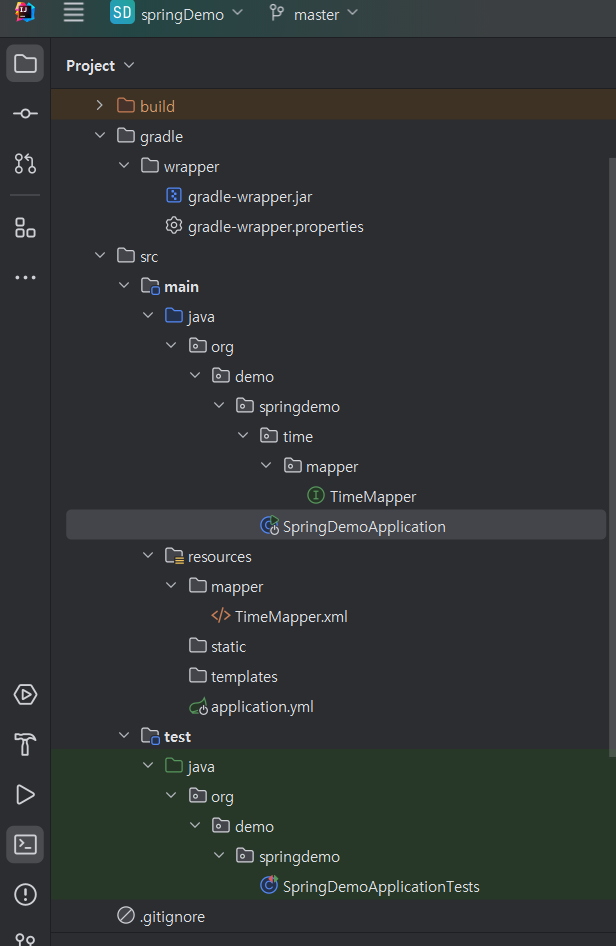
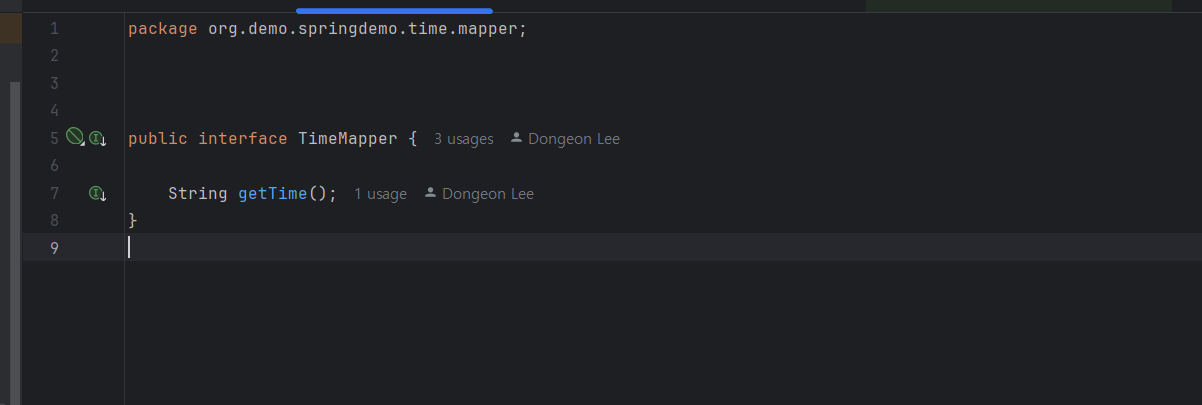
- TimeMapper.java
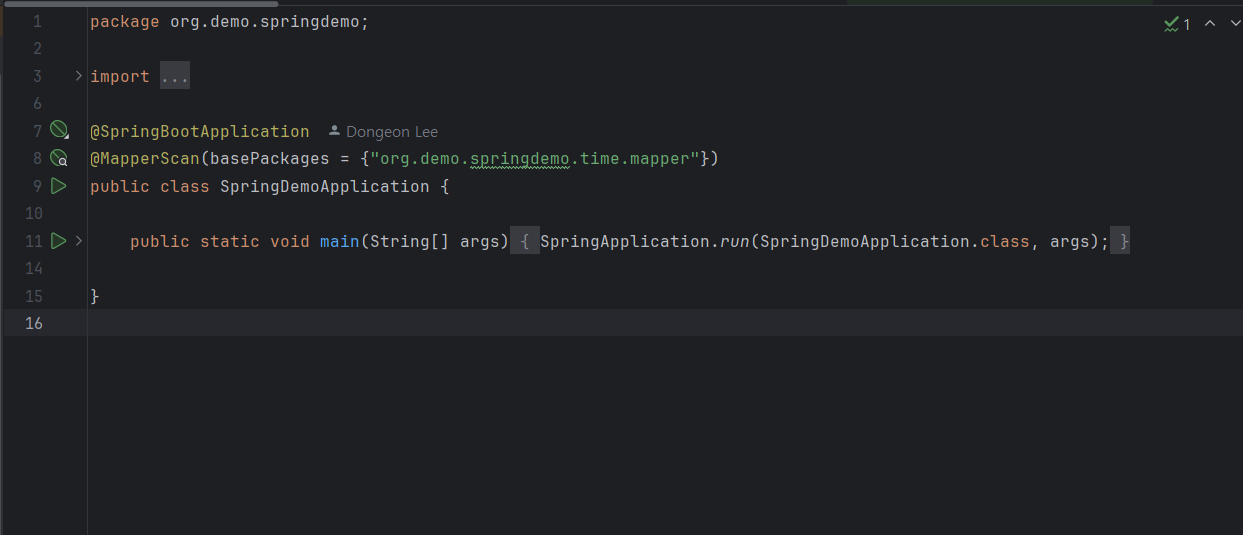
- SpringDemoApplication
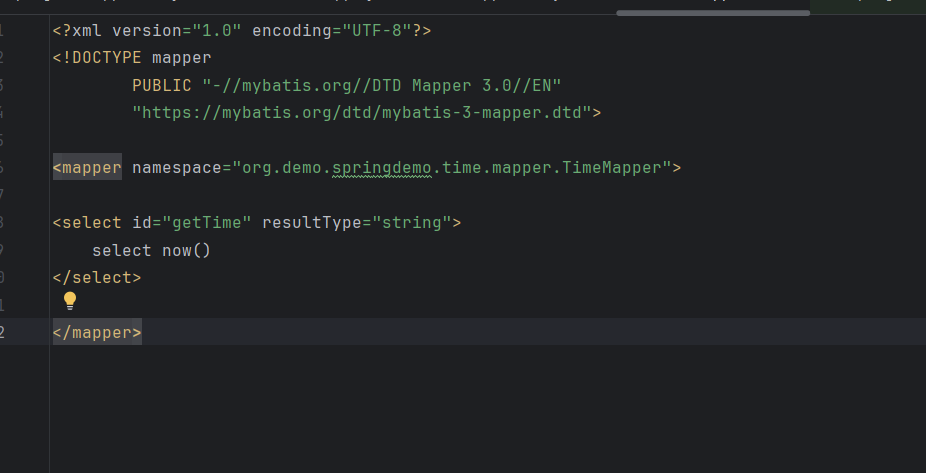
- TimeMapper.xml
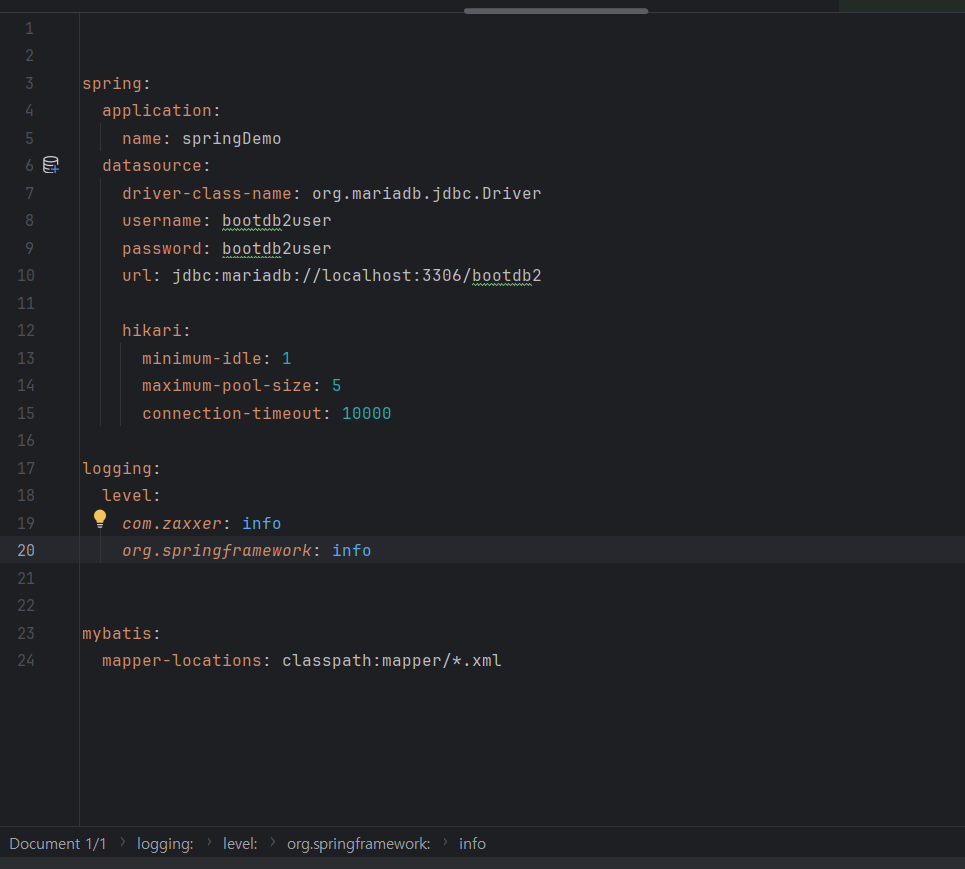
- application.yml
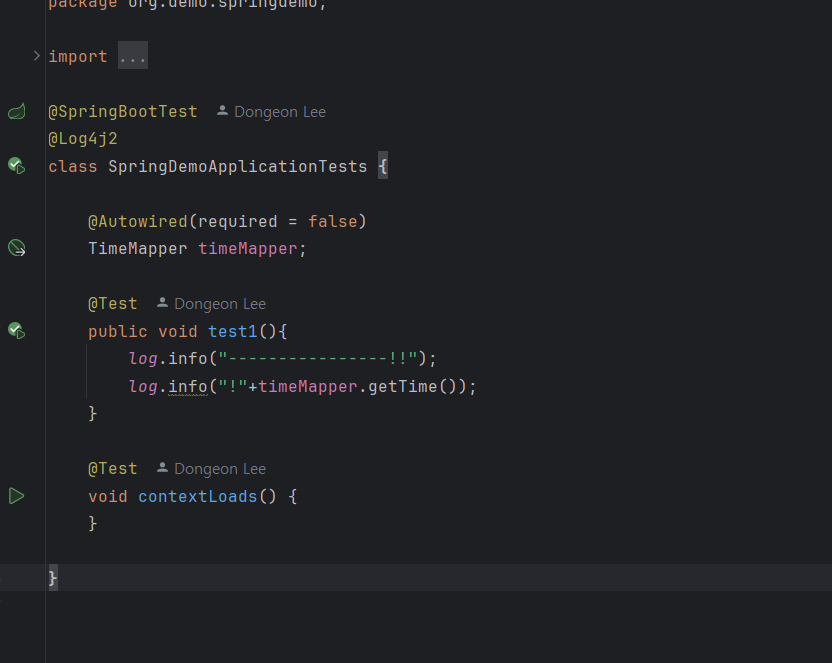
- SpringDemoApplicationTests
2. dev
2-1. application-dev.yml
spring:
  datasource:
    driver-class-name: org.mariadb.jdbc.Driver
    username: bootdb2user
    password: bootdb2user
    url: jdbc:mariadb://localhost:3306/bootdb2
👉 기존의 application.yml이 아닌 dev가 추가된 yml파일로, 해당 파일은 애플리케이션의 개발 환경에 특화된 설정을 갖는다.
2-2. SpringDemoApplicationTests
package org.demo.springdemo;

@SpringBootTest
@Log4j2
@ActiveProfiles("dev")
class SpringDemoApplicationTests {

    @Autowired(required = false)
    TimeMapper timeMapper;

    @Test
    public void test1(){
        log.info("----------------!!");
        log.info("!"+timeMapper.getTime());
    }

    @Test
    void contextLoads() {
    }

}
👉 해당코드에서 ActiveProfiles는 dev에 해당되는 yml파일인 application-dev.yml파일을 활성화 시킨다는것이다.
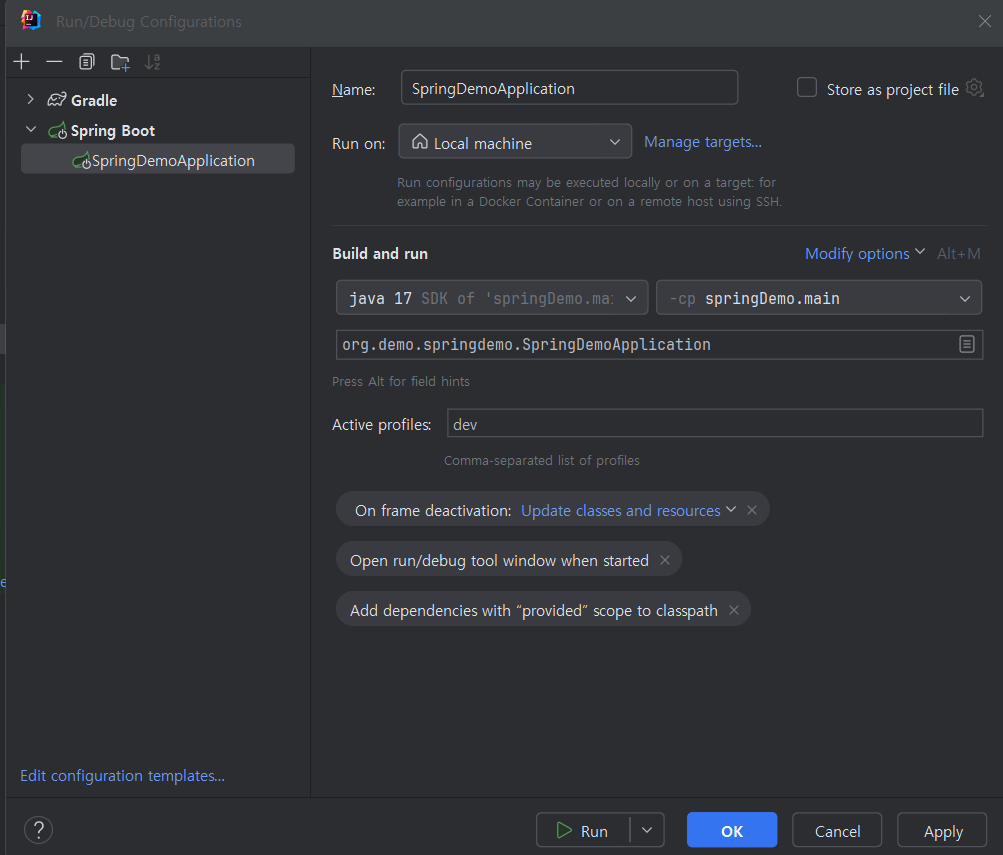
👉 해당사진에서 Active profiles에 dev를 작성하는것은 위와 비슷한 개념으로 전역에 dev의 profile을 인식하는것이라고 생각하면 된다.
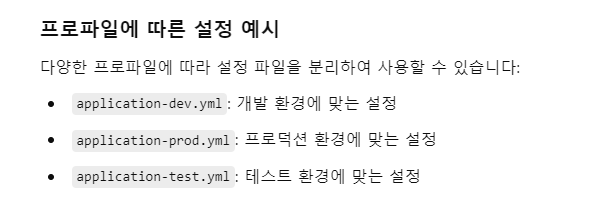
📌 dev말고 여러 설정이 존재한다.
3. SQL
👉 Spring에서는 myBatis를 이용한 mapper도 존재하지만 일반적인 sql도 존재한다.
3-1. timeBefore.sql
create table if not exists tbl_t1(
    col varchar(100)
);

insert into tbl_t1 (col) values ('aaaa');
insert into tbl_t1 (col) values ('bbbb');
insert into tbl_t1 (col) values ('cccc'),('dddd'),('eeee');
3-2. timeAfter.sql
drop table tbl_t1
;
3-3. TimeMapperTests.java
package org.demo.springdemo.time;

@SpringBootTest
@ActiveProfiles("dev")
@Log4j2
@Sql(scripts = {"classpath:sql/timeBefore.sql"}, executionPhase = Sql.ExecutionPhase.BEFORE_TEST_METHOD)
// 테스트 실행전에 실행 - sqlBefore.sql 실행
//@Sql(scripts = {"classpath:sql/timeAfter.sql"}, executionPhase = Sql.ExecutionPhase.AFTER_TEST_METHOD)
// 테스트가 끝난 이후에 실행 - sqlAfter.sql 실행
public class TimeMapperTests {

    @Test
    public void test1(){
        log.info("test1................");
        log.info("test1................");
        log.info("test1................");
    }
}
👉 test코드를 실행하기전에 Before.sql실행해서 테이블이 없다면 생성하고, values값을 만들어준이후에 test가 종료될때 After.sql이 실행되어 테이블이 종료되는 기능이다.
👉 test코드의 어노테이션을 살펴보자면, SpringBoot의 TEST를 담당하는 어노테이션과 TEST시작과 종료시점에 작동되는 SQL어노테이션이 작성되어있다.
4. Thymeleaf
4-1. cahche
  thymeleaf:
    cache: false
👉 application.yml 내부에 해당코드를 추가한다면 변경된 템플릿이 즉시 반영되므로, 매번 애플리케이션을 재시작하지 않고도 변경 사항을 테스트할 수 있다.
4-2. inline
<script th:inline="javascript">
    const list = [[${list}]]
</script>
👉 th:inline을 이용하여 list의 배열값을 Ajax사용하지 않고 json 코드와 같은 형식을 만들수있다.

5. layout
5-1 gradle 추가
implementation 'nz.net.ultraq.thymeleaf:thymeleaf-layout-dialect:3.3.0'5-2. ex2.html
<!DOCTYPE html>
<html xmlns:layout="http://www.ultraq.net.nz/thymeleaf/layout"
      layout:decorate="~{layout/basicLayout.html}">
<head>
    <meta charset="UTF-8">
    <title>Title</title>
</head>
<body>

<div layout:fragment="content">

    [[ ${list} ]]

</div>


<script th:inline="javascript">

    const list = [[${list}]]

</script>

</body>
</html>
👉 주소창에서는 board/ex2.html을 작성하게 되면 layout.html에 해당 board의 내용이 기입되어 출력된다.
👉 하여, 사용할 laydout을 html태그를 사용하여 작성하고, div layout:fragment="content" 를 사용하여 content의 부분에 list값을 삽입한다.
(Layout에 사용될 코드 div class="container-fluid" layout:fragment="content")
5-3. basicLayout.html
<!DOCTYPE html>
<html xmlns:layout="http://www.ultraq.net.nz/thymeleaf/layout">
<head>
    <meta charset="utf-8" />
    <meta name="viewport" content="width=device-width, initial-scale=1, shrink-to-fit=no" />
    <meta name="description" content="" />
    <meta name="author" content="" />
    <title>Simple Sidebar - Start Bootstrap Template</title>
    <!-- Favicon-->
    <link rel="icon" type="image/x-icon" th:href="@{/assets/favicon.ico}" />
    <!-- Core theme CSS (includes Bootstrap)-->
    <link th:href="@{/css/styles.css}" rel="stylesheet" />
</head>
<body>
<div class="d-flex" id="wrapper">
    <!-- Sidebar-->
    <div class="border-end bg-white" id="sidebar-wrapper">
        <div class="sidebar-heading border-bottom bg-light">Start Bootstrap</div>
        <div class="list-group list-group-flush">
            <a class="list-group-item list-group-item-action list-group-item-light p-3" href="#!">Dashboard</a>
            <a class="list-group-item list-group-item-action list-group-item-light p-3" href="#!">Shortcuts</a>
            <a class="list-group-item list-group-item-action list-group-item-light p-3" href="#!">Overview</a>
            <a class="list-group-item list-group-item-action list-group-item-light p-3" href="#!">Events</a>
            <a class="list-group-item list-group-item-action list-group-item-light p-3" href="#!">Profile</a>
            <a class="list-group-item list-group-item-action list-group-item-light p-3" href="#!">Status</a>
        </div>
    </div>
    <!-- Page content wrapper-->
    <div id="page-content-wrapper">
        <!-- Top navigation-->
        <nav class="navbar navbar-expand-lg navbar-light bg-light border-bottom">
            <div class="container-fluid">
                <button class="btn btn-primary" id="sidebarToggle">Toggle Menu</button>
                <button class="navbar-toggler" type="button" data-bs-toggle="collapse" data-bs-target="#navbarSupportedContent" aria-controls="navbarSupportedContent" aria-expanded="false" aria-label="Toggle navigation"><span class="navbar-toggler-icon"></span></button>
                <div class="collapse navbar-collapse" id="navbarSupportedContent">
                    <ul class="navbar-nav ms-auto mt-2 mt-lg-0">
                        <li class="nav-item active"><a class="nav-link" href="#!">Home</a></li>
                        <li class="nav-item"><a class="nav-link" href="#!">Link</a></li>
                        <li class="nav-item dropdown">
                            <a class="nav-link dropdown-toggle" id="navbarDropdown" href="#" role="button" data-bs-toggle="dropdown" aria-haspopup="true" aria-expanded="false">Dropdown</a>
                            <div class="dropdown-menu dropdown-menu-end" aria-labelledby="navbarDropdown">
                                <a class="dropdown-item" href="#!">Action</a>
                                <a class="dropdown-item" href="#!">Another action</a>
                                <div class="dropdown-divider"></div>
                                <a class="dropdown-item" href="#!">Something else here</a>
                            </div>
                        </li>
                    </ul>
                </div>
            </div>
        </nav>
        <!-- Page content-->
        <div class="container-fluid" layout:fragment="content">
            <h1 class="mt-4">Simple Sidebar</h1>
            <p>The starting state of the menu will appear collapsed on smaller screens, and will appear non-collapsed on larger screens. When toggled using the button below, the menu will change.</p>
            <p>
                Make sure to keep all page content within the
                <code>#page-content-wrapper</code>
                . The top navbar is optional, and just for demonstration. Just create an element with the
                <code>#sidebarToggle</code>
                ID which will toggle the menu when clicked.
            </p>
        </div>
    </div>
</div>
<!-- Bootstrap core JS-->
<script src="https://cdn.jsdelivr.net/npm/bootstrap@5.2.3/dist/js/bootstrap.bundle.min.js"></script>
<!-- Core theme JS-->
<script th:src="@{/js/scripts.js}"></script>

<th:block layout:fragment="script">

</th:block>
</body>
</html>