논문 검색을 할 때 구글 스칼라를 많이 사용한다.
Web of Science등 같은 학술 DB도 있지만 필자에겐 구글스칼라가 최고더라,,,
하지만 구글 스칼라도 문제가 있는데 보통 유명한 논문은 인용수가 높은데 인용수 정렬 기능이 없었다.
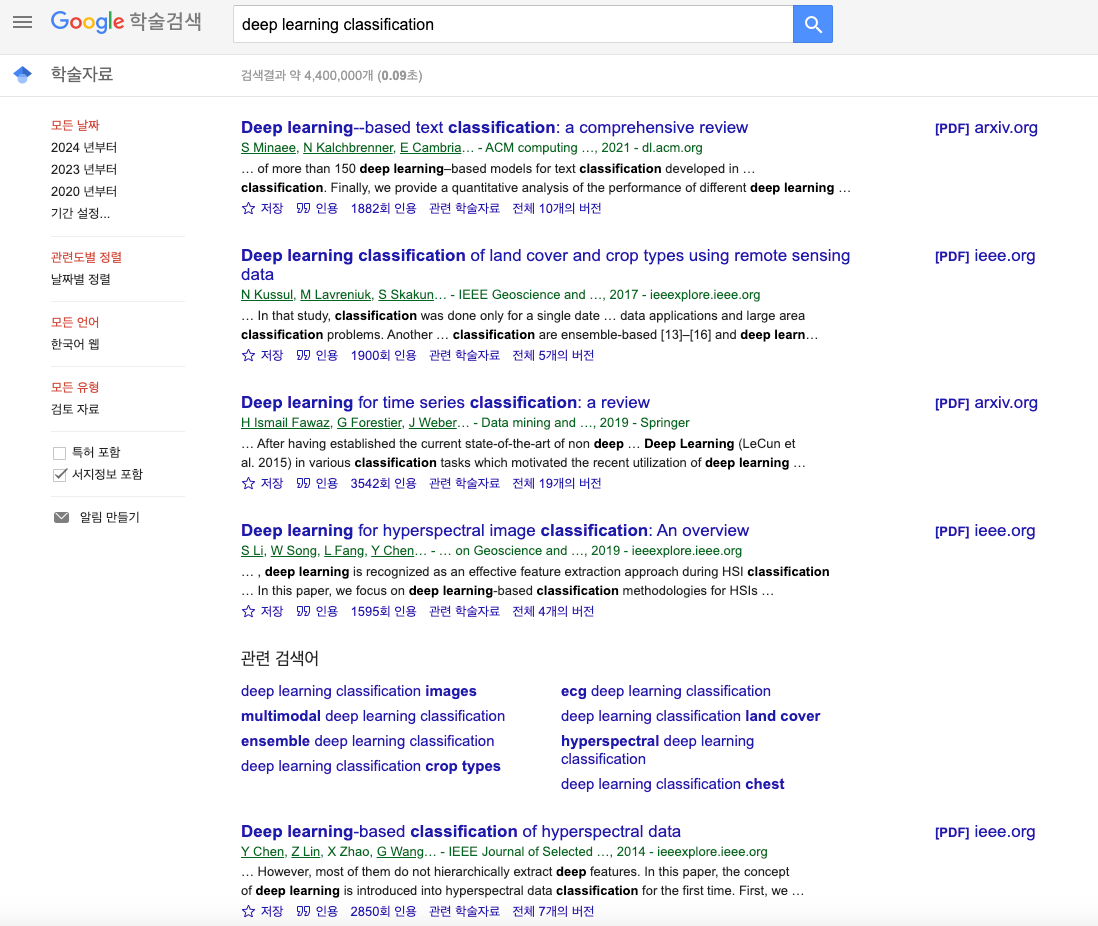
검색 결과를 보면 관련도 순으로 정렬이되어서 인용수가 뒤죽박죽이다. 물론 구글이 다 생각해서 만들었겠지만, 본인의 연구에 대한 디테일한 키워드를 입력할 수록 이 기능이 더 필요해진다.
그래서 이 기능을 Python으로 구현해놓은 깃허브 레포가 있어서 소개해보려합니다.
위 URL에 접속하면 사용방법이 모두 정리되어 있다.
설치
레포를 클론해서 내 개발환경에 굳이 셋팅하지 않아도 pip 명령어를 통해 쉽게 설치할 수 있다.
pip install sortgs실행
주피터 노트북 파일 (.ipynb) 파일 하나 만들어서 아래 명령어를 그대로 실행해서 정상적으로 실행되는지 확인해보자.
!sortgs "deep learning" --nresults 50 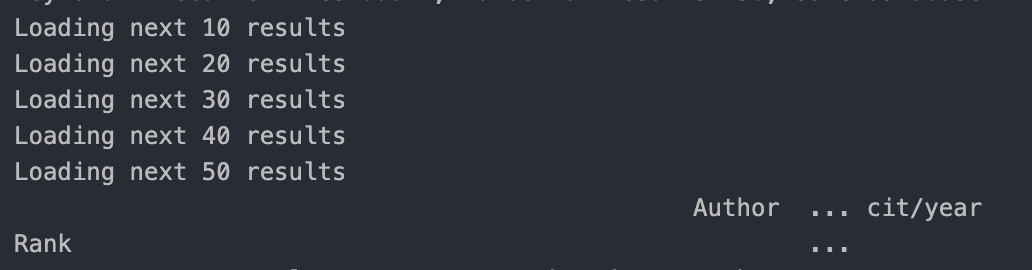
그러면 명령어가 실행되면서 위 이미지와 같은 로그가 나오고 터미널 실행경로에 deep_learning.csv라는 파일이 나올 것이다.
csv파일을 열어보면
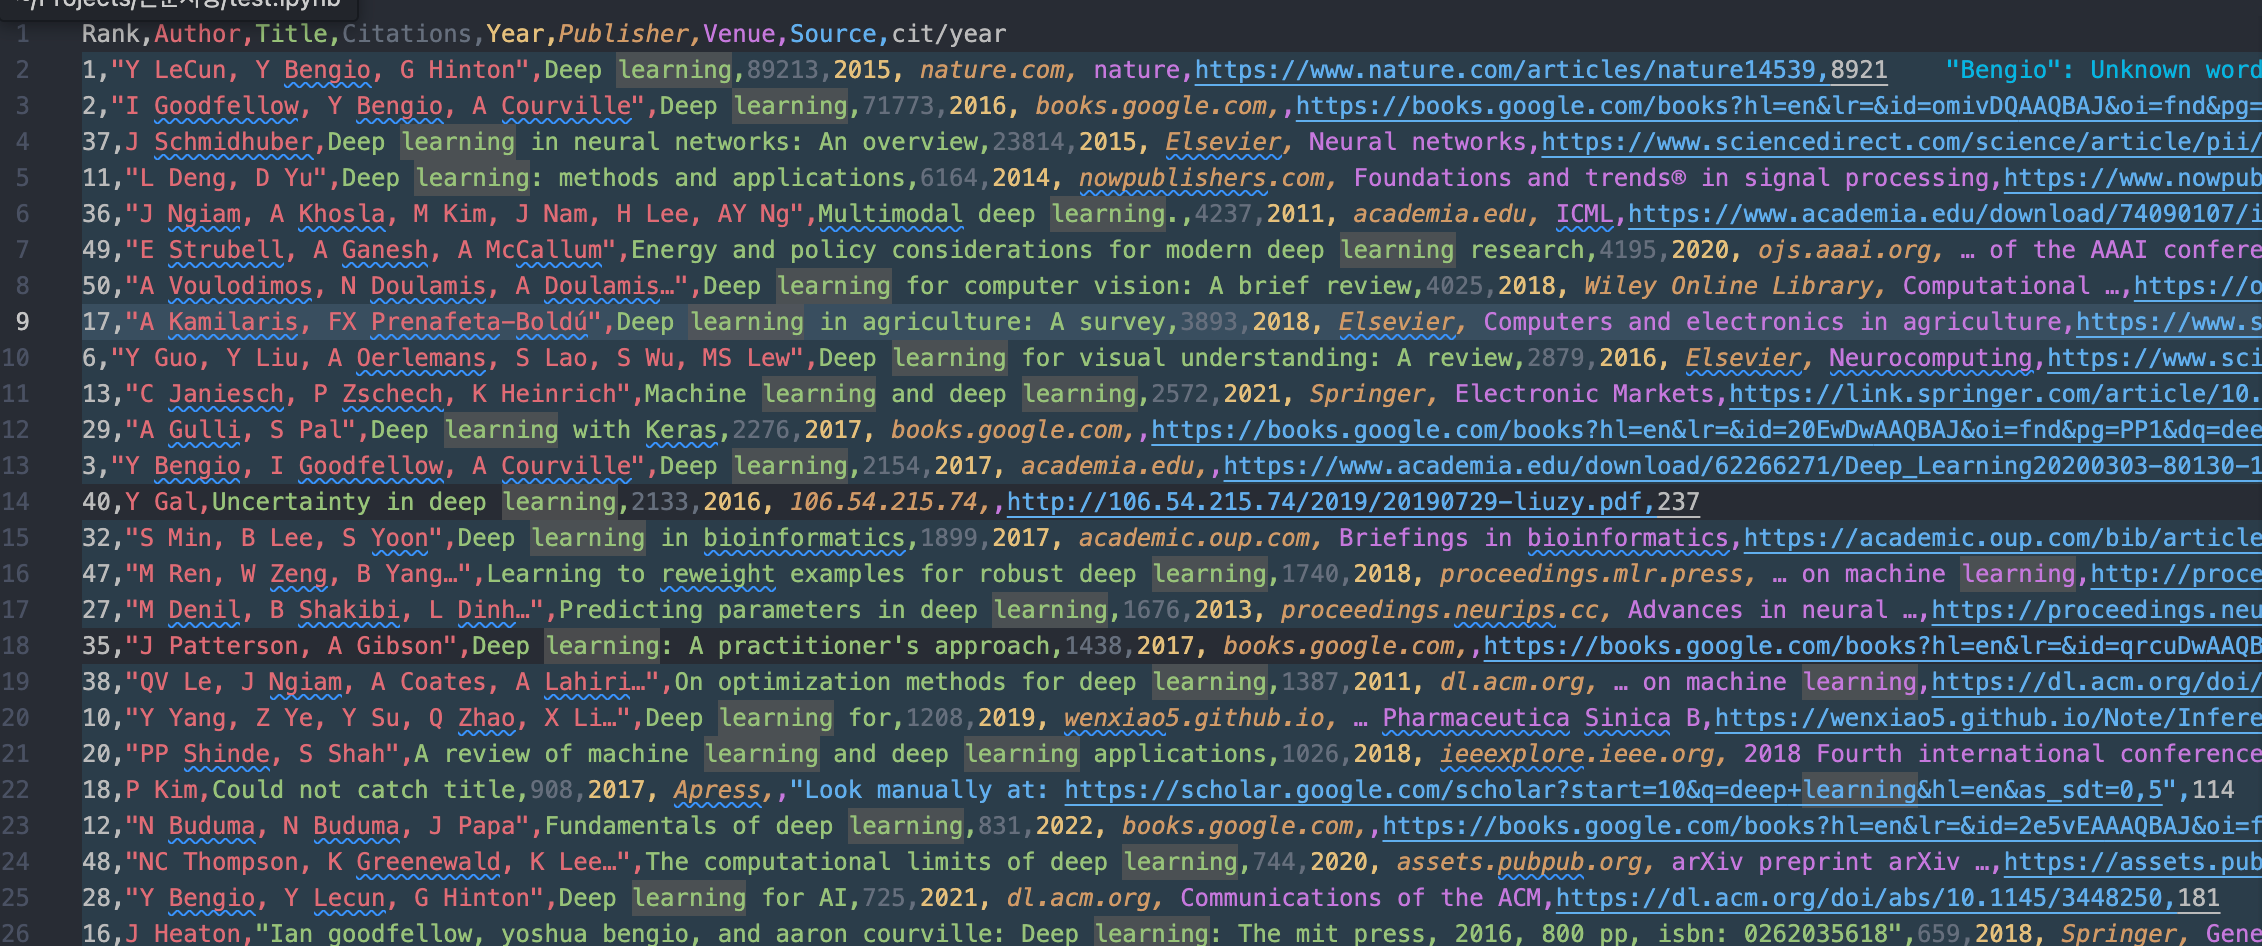
아래와 같이 Citation 내림차순으로 검색결과들이 저장된 것을 확인할 수 있다.
Command Details
usage: sortgs [-h] [--sortby SORTBY] [--nresults NRESULTS] [--csvpath CSVPATH]
              [--notsavecsv] [--plotresults] [--startyear STARTYEAR]
              [--endyear ENDYEAR] [--debug] kw

positional arguments:
  kw                    Keyword to be searched. Use double quote followed by
                        simple quote for an exact keyword.
                        Example: sortgs "'exact keyword'"

optional arguments:
  -h, --help            show this help message and exit
  --sortby SORTBY       Column to be sorted by. Default is "Citations". To sort
                        by citations per year, use --sortby "cit/year"
  --langfilter LANGFILTER [LANGFILTER ...]
                        Only languages listed are permitted to pass the filter.
                        List of supported language codes: zh-CN, zh-TW, nl, en, fr,
                        de, it, ja, ko, pl, pt, es, tr
  --nresults NRESULTS   Number of articles to search on Google Scholar. Default
                        is 100. (careful with robot checking if value is high)
  --csvpath CSVPATH     Path to save the exported csv file. Default is the
                        current folder
  --notsavecsv          By default, results are exported to a csv file. Select
                        this option to just print results but not store them
  --plotresults         Use this flag to plot results with the original rank on
                        the x-axis and the number of citations on the y-axis.
                        Default is False
  --startyear STARTYEAR
                        Start year when searching. Default is None
  --endyear ENDYEAR     End year when searching. Default is current year
  --debug               Debug mode. Used for unit testing. It will get pages
                        stored on web archive
세부 파라미터 중에 주로 사용하는 것만 정리하면 아래와 같다.
--nresults : 서칭할 논문 개수 (기본 100개)
--csvpath : csv 파일 저장할 경로 (기본은 터미널 실행경로에 저장)
--startyear : 검색 시작 연도
--endyear : 검색 종료 연도
특정 키워드 포함
!sortgs "'deep learning'" --nresults 50특정 키워드를 반드시 포함하고 싶다면 ''로 감싸주면 된다.
데이터프레임으로 확인
import pandas as pd
import numpy as np
# value 및 컬럼 생략 없게 설정
pd.set_option('display.max_columns', None)
pd.set_option('display.max_colwidth', None)

data = pd.read_csv('deep_learning.csv')
# Source 열 cit/year 열 Author열 삭제
data = data.drop(['Source', 'cit/year', "Author"], axis=1)
data
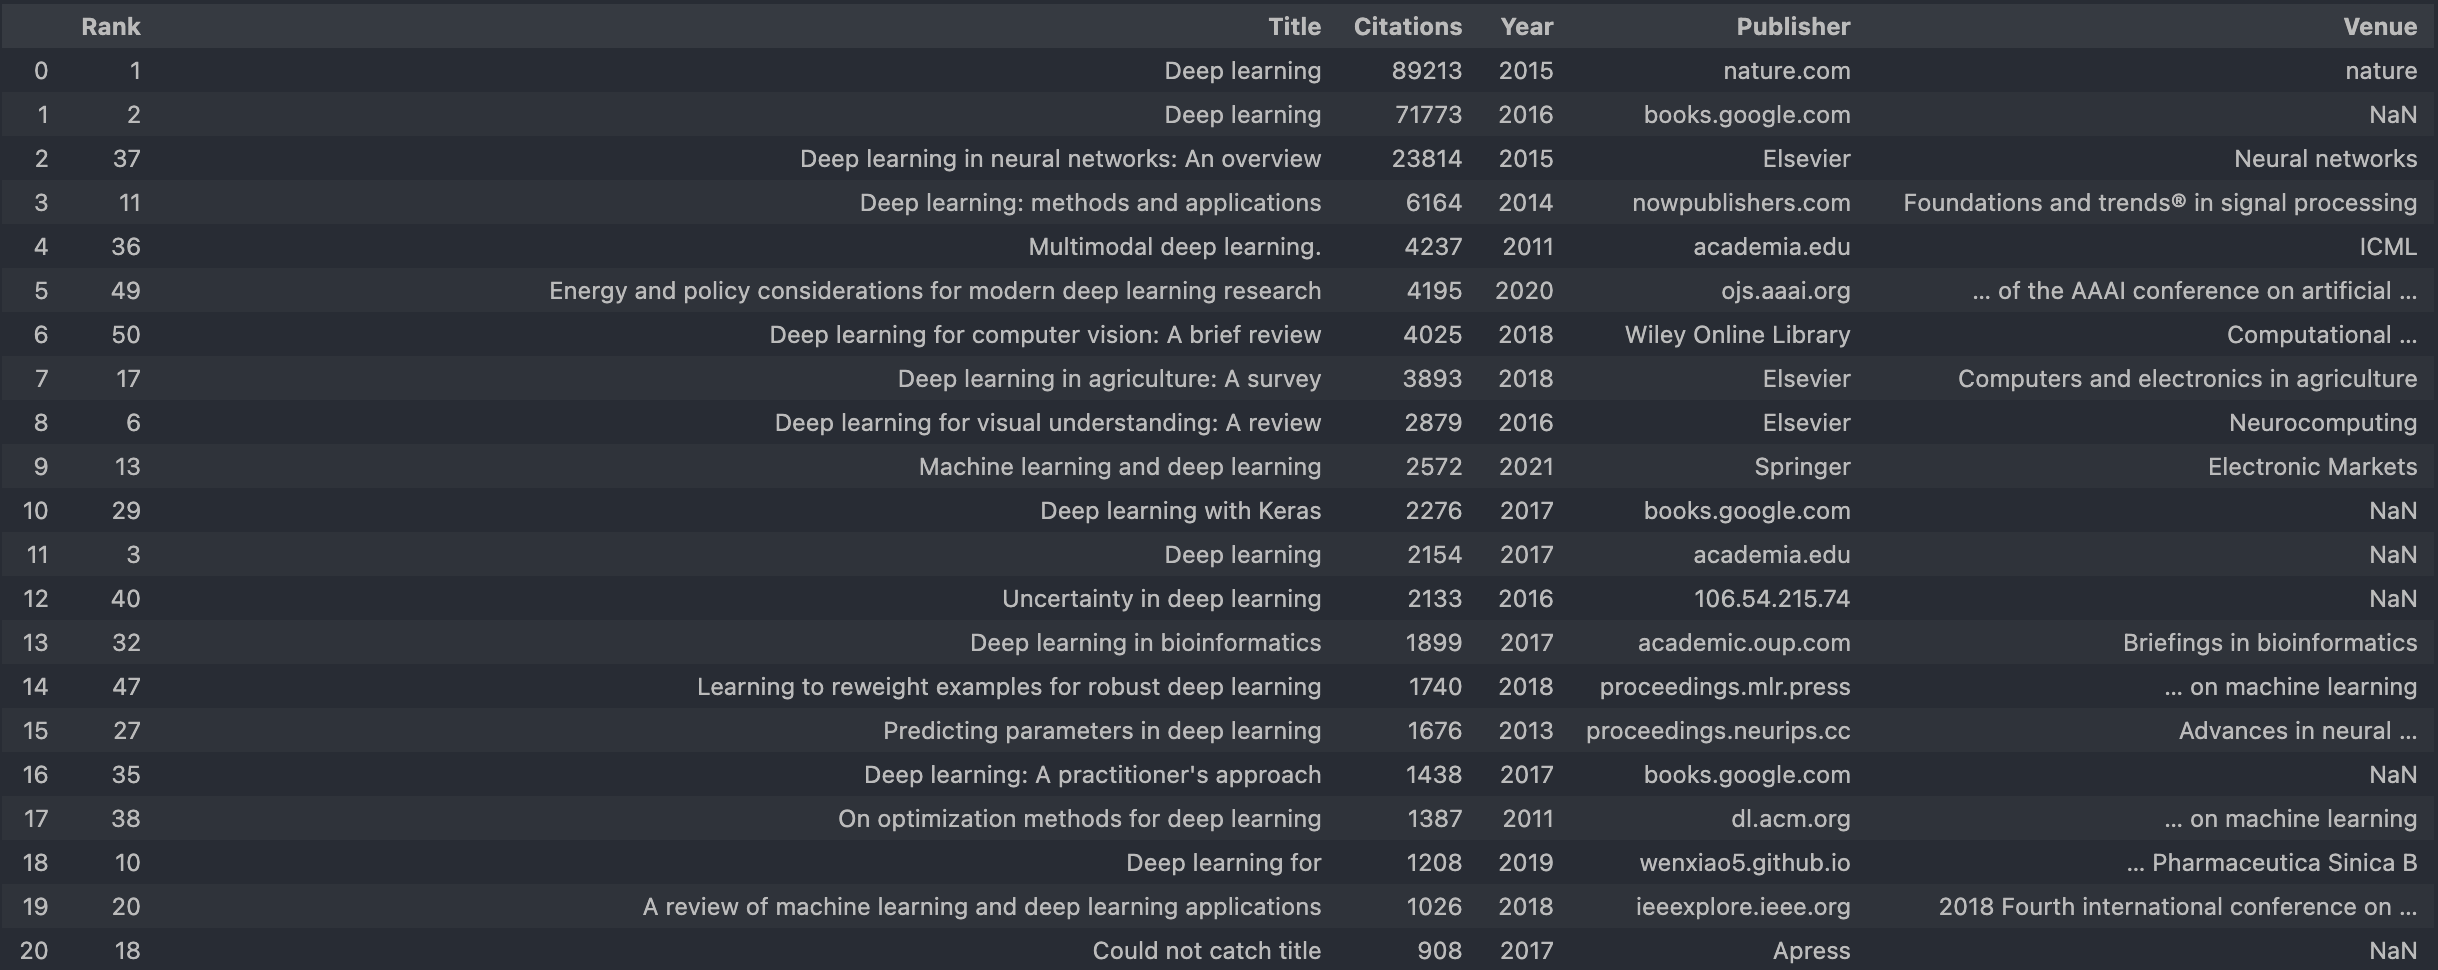
코드를 실행하면 위 이미지처럼 깔끔하게 Citation 순으로 논문 제목을 확인할 수 있다.
서칭하고 정렬까지 다른 포털들에 비해 상당히 느리다. 하지만 검색기록도 csv파일로 관리할 수 있고, 자동화코드를 덧붙여서 코드 돌려놓고 다른 업무를 봐도 되기에 유용한 깃허브 레포였다.