✨오늘의 목표
Redis를 이용해 NestJS 프레임워크로 적용
이전 포스팅에서는 캐시에 대해 알아보았는데 많은 사람들이 사용하는 storage인 redis와 redis를 이용해 NestJS framework로 어떻게 적용하는지 설명하겠습니다.
1. Redis Storage 생성
📖 Redis ?
- 인 메모리 타입(RAM)의 key-value 데이터 스토어로 오픈 소스 엔진 중 하나
- 단일 thread로 모든 요청을 순차적으로 처리합니다.
- TCP/IP 기반의 네트워크 연결을 통해 클라이언트 통신을 합니다.
💾 Storage service
- ElastiCache
- 캐시 노드 실패에서 자동 감지 및 복구를 지원
- 백업 가능(수동 백업 스냅샷, 자동 백업)
- 노드의 호스트 이름과 포트 번호에 관한 정보만 필요
- 가장 작은 용량으로도 과금이 발생
- Redis Cloud
- Redis Labs에서 제공하는 호스팅 서비스
- 실패했을 경우 백업 및 복구 가능
- JSON documents로 저장 및 검색
- free tier 제공(30MB, 1개)
✍ 선택은 ?
Redis Cloud를 사용, 우선 ElstiCache를 만든 순간 다음 달 요금이 산정되었습니다. 이 사실을 모르고 연결하려고 하다가 며칠 뒤에 알게되어 연결도 비교적 쉽고 free tier를 제공해주는 Redis cloud를 선택하였습니다.
🎁 가입 및 free tier storage 제공받기
https://redis.com/try-free/
1. Subscriptions ▶ Add New subscription ▶ Fixed plan ▶ aws ▶ Asia Pacific (Tokyo) ap-northest-1 ▶ 30MB ▶ Create subsciption
-
만들어진 DB 클릭
-
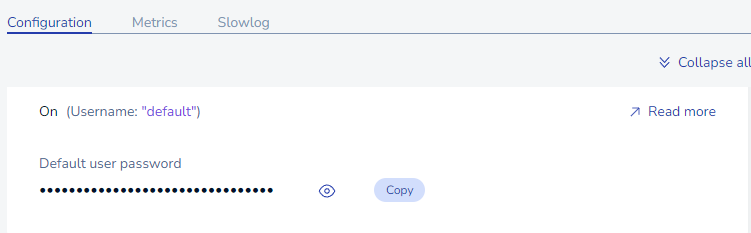
Public endpoint와 Default user password 복사 (user name은 default로 설정되어 있습니다.)

🎢 RedisInsight : Redis storage를 조회 및 관리해주는 소프트웨어
https://redis.com/redis-enterprise/redis-insight/
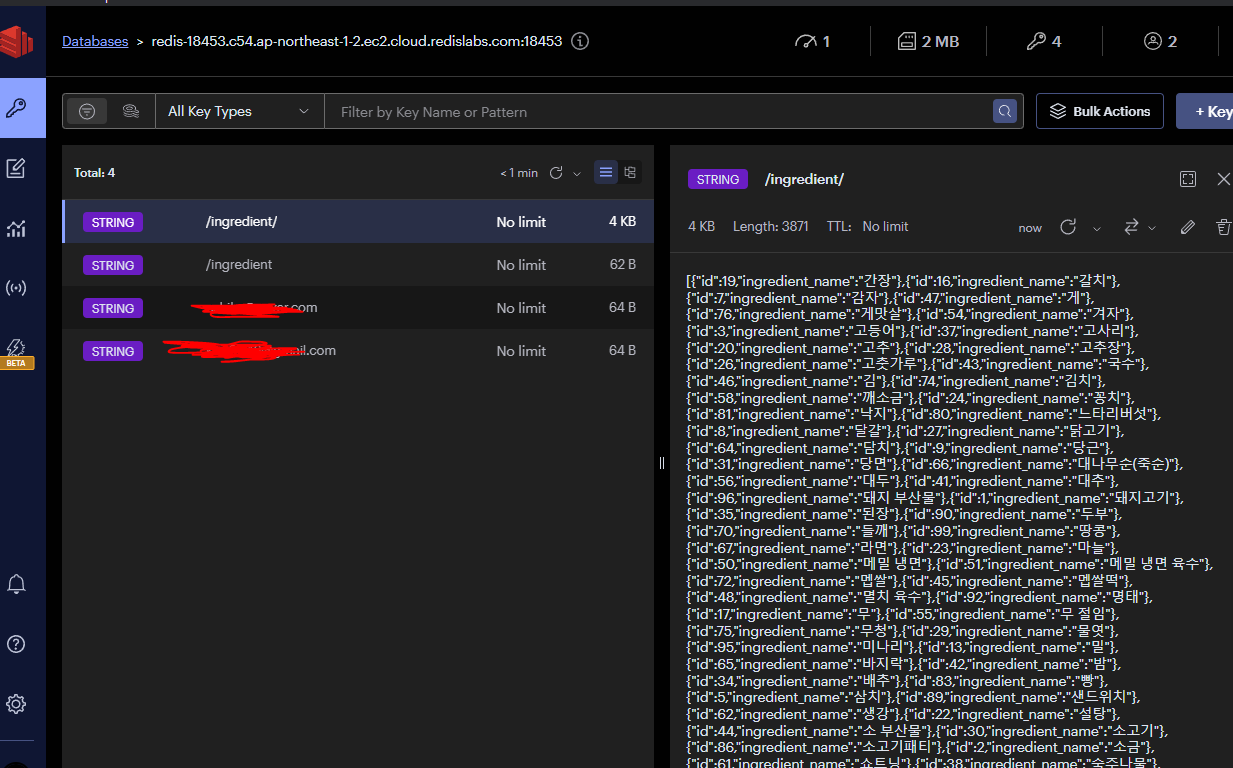
제공받은 redis storage를 연결하고 데이터를 직접 조회 및 관리가 가능합니다.

- Redis database 연결 방법
- ADD REDIS DATABASE
- Add Database Menu ▶ redis://복사해준 redis cloud의 endpoint와 password 합친 문자열을 그대로 복사 붙여넣기(앞에 redis:// 꼭 넣어야 합니다!)
2. 기존 코드 확인
현재 회원가입 시 사용하고 있는 nodemailer라는 패키지를 이용해 유저의 메일로 인증코드 네 자리를 보내주고 있습니다.
기존에 작성하여 사용하던 코드는 다음과 같습니다.
  // users.controller.ts
  // 인증번호 전송 API
  @Post('/send-code')
  async mailSend(@Body('email') email: string, code: string) {
    await this.userService.mailSend(email, code);
    return { message: '인증번호가 전송되었습니다.' };
  }

  // 메일 인증 확인 엔드포인트
  @Post('/verify-code')
  async verifyCode(@Body('email') email: string, @Body('code') code: string) {
    await this.userService.verifyCode(email, code);
    return { message: '이메일이 인증되었습니다.' };
  }
// users.service.ts
// 중복이메일 확인
async mailSend(email: string, code: string) {
const existUser = await this.userRepository.findOne({
where: { email },
});
if (existUser) {
throw new ConflictException('이미 사용 중인 이메일입니다.');
}
// 이메일 인증 상태 객체 초기화
isEmailVerified['email'] = false; // 해당 이메일의 인증 상태를 false로 설정
// 메일 전송 및 랜덤 코드 생성 및 저장
const verificationCode = this.generateVerificationCode();
await this.mailservice.sendVerificationCode(
email,
verificationCode.toString(),
);
// 랜덤 코드를 객체에 저장
codeObject['code'] = verificationCode.toString();
codeObject['email'] = email;
// 일정 시간 후에 랜덤 코드를 삭제하도록 설정
setTimeout(() => {
delete codeObject['code'];
}, 300000);
}
// 메일 인증 확인하는 코드 로직이 필요
async verifyCode(email: string, code: string) {
if (codeObject['code'] !== code || codeObject['email'] !== email) {
throw new ConflictException(
'인증 코드 및 인증 이메일이 유효하지 않습니다.',
);
} else {
isEmailVerified['email'] = true;
}
}
보시다시피 전역 변수를 사용하기 때문에 계속해서 메모리 리소스를 오랜 시간 소비하게 되므로 좋은 코드는 아닙니다.
또한 local storage나 cookie를 사용할 경우 다른 누군가가 번호를 탈취해가서 의도치 않게 다른 사람이 인증에 이용할 수 있기 때문에 이 부분의 로직에 cache를 적용하려고 합니다.
3. NestJS에서 Redis 적용
3.1 패키지 설치
https://docs.nestjs.com/interceptors#response-mapping
NestJS의 공식문서를 참고하였습니다.
npm install @nestjs/cache-manager cache-manager
npm install cache-manager-redis-store
3.2 app.module 전역에 적용
// app.module.ts
import { CacheModule, CacheStore } from '@nestjs/cache-manager';
import { redisStore } from 'cache-manager-redis-store';
import type { RedisClientOptions } from 'redis';

@Module({
  imports: [
    CacheModule.registerAsync<RedisClientOptions>({
      isGlobal: true,
      imports: [ConfigModule],
      useFactory: async (configService: ConfigService) => ({
        store: (await redisStore({
          url: configService.get('REDIS_URL'),
        })) as unknown as CacheStore,
        ttl: 0,
      }),
      inject: [ConfigService],
    }),
   ]
 })
참고 : https://github.com/dabroek/node-cache-manager-redis-store/issues/53
연결해주는 store 부분이 공식문서에 나와있는 코드와 다른데 이 부분은 패키지가 업데이트 되면서 기능이 사라져서 적용이되지 않아 as unknown as CacheStore로 storage를 연결할 수 있도록 코드를 사용하였습니다.
REDIS_URL은 환경변수 .env 파일에 redisInsight에서 database를 연결할 때와 동일하게 사용했던 주소를 사용합니다.
URL : redis://endpoint+password
이제 원하는 API에서 redis storage를 호출하고 redis 명령어를 사용할 수 있습니다.
3.3 필요한 곳에 코드 적용
  // users.service.ts
import { CACHE_MANAGER } from '@nestjs/cache-manager';
import { Cache } from 'cache-manager';

@Injectable()
export class UsersService {
  constructor(
    @InjectRepository(User) private userRepository: Repository<User>,
    @Inject(CACHE_MANAGER) private cacheManager: Cache,
    private jwtService: JwtService,
    private mailservice: MailService,
  ) {}

      // 메일 전송 및 랜덤 코드 생성 및 저장
    const verificationCode = this.generateVerificationCode();
    await this.mailservice.sendVerificationCode(
      email,
      verificationCode.toString(),
    );
    // 캐시로 랜덤 코드 저장하기
    const setCode = await this.cacheManager.set(email, verificationCode, 180);
    console.log('data set to cache', setCode);
    return '메일로 코드가 전송되었습니다.';
  }

  // 메일 인증 확인
  async verifyCode(email: string, code: string) {
    const getCacheCode = await this.cacheManager.get(email);
    console.log('data get to cache', getCacheCode);
    if (!email || getCacheCode != code) {
      throw new ConflictException(
        '인증 코드 및 인증 이메일이 유효하지 않습니다.',
      );
    } else {
      return '인증이 완료되었습니다.';
    }
  }
}


Postman으로 확인한 결과 잘 적용된 것을 볼 수 있습니다.

잘 봤습니다. 👍