
프로젝트에서 사용했더 모션 기능을 알려드릴게요.
Framer motion을 사용했는데 라이브러리가 가벼고 커스텀이 자유롭다는 장점이 있습니다.
Framer Motion을 Yarn을 사용하여 설치하고 사용하는 방법을 알려드리겠습니다.
1. Yarn으로 Framer Motion 설치
프로젝트 터미널에서 다음 명령어를 실행하여 Framer Motion을 설치합니다.
Bash
yarn add framer-motion코드를 사용할 때는 주의가 필요합니다.
2. Framer Motion 사용하기
Framer Motion은 React 컴포넌트에 애니메이션을 적용하기 위한 다양한 기능을 제공합니다. 몇 가지 예시를 통해 사용법을 알려드리겠습니다.
예시 1: 간단한 페이드 인 애니메이션
JavaScript
import { motion } from "framer-motion";

const MyComponent = () => {
  return (
    <motion.div
      initial={{ opacity: 0 }} // 초기 상태: 투명
      animate={{ opacity: 1 }} // 애니메이션 후 상태: 불투명
      transition={{ duration: 0.5 }} // 애니메이션 지속 시간: 0.5초
    >
      Framer Motion 페이드 인 애니메이션
    </motion.div>
  );
};
코드를 사용할 때는 주의가 필요합니다.
예시 2: Hover 효과
JavaScript
import { motion } from "framer-motion";

const MyComponent = () => {
  return (
    <motion.div
      whileHover={{ scale: 1.1, rotate: 10 }} // hover 상태: 1.1배 확대, 10도 회전
      transition={{ type: "spring", stiffness: 400, damping: 10 }} // 스프링 효과 적용
    >
      Hover me!
    </motion.div>
  );
};
코드를 사용할 때는 주의가 필요합니다.
예시 3: 페이지 전환 애니메이션
JavaScript
import { motion, AnimatePresence } from "framer-motion";

const Page = ({ isVisible }) => {
  return (
    <AnimatePresence>
      {isVisible && (
        <motion.div
          initial={{ opacity: 0, x: 100 }} // 초기 상태: 투명, 오른쪽으로 100px 이동
          animate={{ opacity: 1, x: 0 }} // 애니메이션 후 상태: 불투명, 원래 위치
          exit={{ opacity: 0, x: -100 }} // 페이지 나갈 때 상태: 투명, 왼쪽으로 100px 이동
          transition={{ duration: 0.5 }}
        >
          페이지 내용
        </motion.div>
      )}
    </AnimatePresence>
  );
};
코드를 사용할 때는 주의가 필요합니다.
실제 사용 코트
import { motion } from 'framer-motion';
const MotionDiv = ({ children, delay = 0 }) => {
return (
<motion.div
initial={{ opacity: 0, y: 100 }}
animate={{ opacity: 1, y: 0 }}
exit={{ opacity: 0, y: -100 }}
transition={{ duration: 1, delay: delay }}
>
{children}
</motion.div>
);
};
export default MotionDiv;
/////////////////////
return (
<div className="flex flex-col mx-5 my-5 md:mx-28">
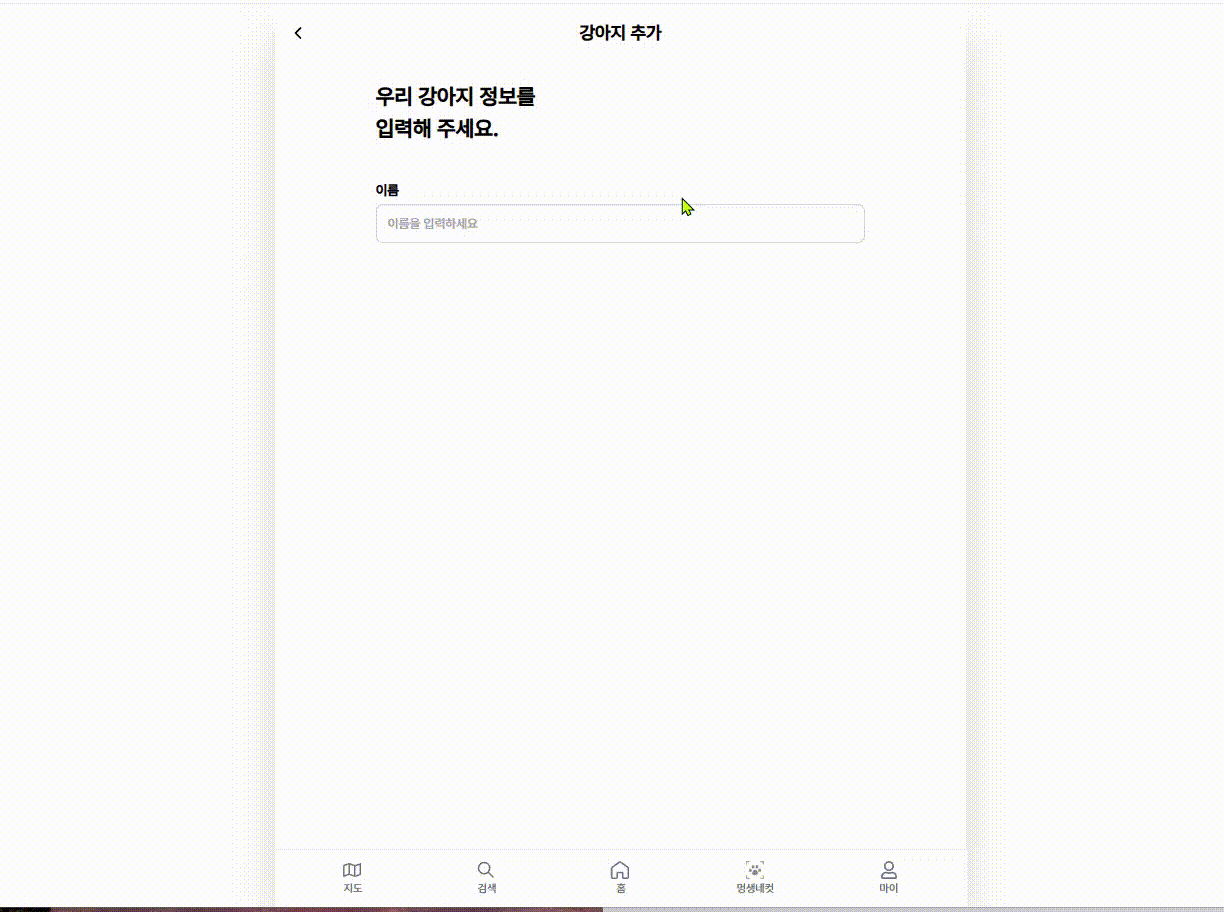
<div className="flex w-full text-2xl font-semibold leading-normal">
우리 강아지 정보를
</div>
<div className="flex w-full mb-5 text-2xl font-semibold leading-normal">
{title}
</div>
<form onSubmit={handleSubmit} className="flex flex-col gap-3 md:gap-6 ">
<div className="text-red">
<BasicInput
label="이름"
id="name"
placeholder="이름을 입력하세요"
onChange={(e) => setPuppyName(e.target.value)}
value={puppyName}
required
/>
</div>
{puppyName && (
<MotionDiv>
<label className="w-20 cursor-pointer">
<div className="mb-1 text-[15px] font-bold">사진</div>
<input
type="file"
onChange={handleFileChange}
accept="image/*"
className="hidden peer"
/>
<div className="w-20 h-20 bg-[#F5F5F5] border rounded-lg border-inputGray overflow-hidden flex items-center justify-center">
{previewUrl ? (
<img
src={previewUrl}
alt="등록사진 미리보기"
className="object-cover w-full h-full"
/>
) : (
<img
src={petgray}
alt="이미지 파일 선택"
className="object-cover w-full h-full"
/>
)}
</div>
</label>
</MotionDiv>
)}
{puppyName && (
<MotionDiv>
<BreedsPanel
onBreedSelect={handleBreedSelect}
...
Framer Motion 주요 기능
- 다양한 애니메이션 속성: 위치, 크기, 회전, 불투명도, 색상 등 다양한 CSS 속성에 애니메이션을 적용할 수 있습니다.
- Variants:
variants를 사용하여 애니메이션의 여러 상태를 정의하고 쉽게 전환할 수 있습니다. - Gestures: 드래그, 스와이프, 호버 등 사용자 제스처에 반응하는 인터랙티브한 애니메이션을 구현할 수 있습니다.
- Layout animations: 컴포넌트의 레이아웃 변경 시 자연스러운 애니메이션 효과를 제공합니다.
- Shared layouts: 여러 컴포넌트 간에 애니메이션을 동기화하여 일관된 사용자 경험을 제공합니다.
더 자세히 알아보기
Framer Motion 공식 문서: https://www.framer.com/motion/
Framer Motion은 React 애플리케이션에 풍부하고 매력적인 애니메이션을 쉽게 추가할 수 있도록 도와주는 강력한 라이브러리입니다. 공식 문서에서 더 많은 예제와 사용법을 확인하고, 원하는 애니메이션 효과를 구현해보세요.

방구석 개발자