
기초 공사 🪛
font
구글 폰트보다 내가 좋아하는 폰트가 많은 눈누 폰트 이용.
https://noonnu.cc/
App.css
@font-face {
  font-family: "Humanbumsuk";
  src: url("https://cdn.jsdelivr.net/gh/projectnoonnu/noonfonts_2210-2@1.0/Humanbumsuk.woff2")
    format("woff2");
  font-weight: normal;
  font-style: normal;
}
그리고 App.js 에서import "./App.css"; 하면 끝!
갖다 쓰고 싶은 곳에 font-family: "Humanbumsuk"쓰면 된당
images
나의 감정표시 아이콘이다.
보름달일수록 매우 기분 좋은 상태 :D !

<img src={process.env.PUBLIC_URL + `/assets/emotion1.png`} />
<img src={process.env.PUBLIC_URL + `/assets/emotion2.png`} />
<img src={process.env.PUBLIC_URL + `/assets/emotion3.png`} />
<img src={process.env.PUBLIC_URL + `/assets/emotion4.png`} />
<img src={process.env.PUBLIC_URL + `/assets/emotion5.png`} />
import 를 이용하여 가져올 수도 있지만, 너무 많고 상대로 적기 싫어하는 사람 (나야나) 이 있기 때문에...
아무튼..
public 이라는 폴더 안에 자료가 있다면,
html 에서는 %PUBLIC_URL%
js 에서는 process.env.PUBLIC_URL 쓰면 됨!
Button
MyButton.js
const MyButton = ({ text, type, onClick }) => {
  // positive, negative, default 외의 다른 타입의 버튼 생성시에는 default로
  const btnType = ["positive", "negative"].includes(type) ? type : "default";

  return (
    <button
      className={["MyButton", `MyButton_${btnType}`].join(" ")}
      onClick={onClick}
    >
      {text}
    </button>
  );
};

MyButton.defaultProps = {
  type: "default",
};

export default MyButton;
타입명이 positive, negative가 아닐 경우에는 모두 default로.
App.js
<MyButton
          text={"BUTTON"}
          onClick={() => alert("버튼 클릭")}
          type={"positive"}
        />
        <MyButton
          text={"BUTTON"}
          onClick={() => alert("버튼 클릭")}
          type={"negative"}
        />
        <MyButton
          text={"BUTTON"}
          onClick={() => alert("버튼 클릭")}
          type={"asdf아무거나 이름지어"}
        />
        <MyButton text={"BUTTON"} onClick={() => alert("버튼 클릭")} />

3,4번째 버튼은 type명이 "asdf아무거나 이름지어", 이거나 아니면 type이 없는데, 확인해보면 default로 잘 들어와있음을 알 수 있다!
  /* 버튼 내 글자가 짤려서 두 줄이 되지 않게 함 */
  white-space: nowrap;
공통 components
Header, Button을 만들어 본다.
MyHeader.js
const MyHeader = ({ headtext, leftchild, rightchild }) => {
  return (
    <header>
      <div className="head_btn_left">{leftchild}</div>
      <div className="head_text">{headtext}</div>
      <div className="head_btn_right">{rightchild}</div>
    </header>
  );
};

export default MyHeader;
App.js
        <MyHeader
          headtext={"App"}
          leftchild={
            <MyButton text={"LEFT"} onClick={() => alert("왼쪽 클릭")} />
          }
          rightchild={
            <MyButton text={"RIGHT"} onClick={() => alert("오른쪽 클릭")} />
          }
        />
기본 공사 👷🏻♂️
상태 관리 로직
전반적으로 쓰게 될 상태관리 로직 구현
useReducer를 이용한다.
App.js
import React, { useReducer, useRef } from "react";
..
const reducer = (state, action) => {
let newState = [];
switch (action.type) {
case "INIT": {
return action.data;
}
case "CREATE": {
// const newItem = {
// ...action.data,
// };
// newState = [newItem, ...state];
newState = [action.data, ...state];
break;
}
case "REMOVE": {
newState = state.filter((it) => it.id !== action.targetId);
break;
}
case "EDIT": {
newState = state.map((it) =>
it.id === action.data.id ? { ...action.data } : it
);
}
// eslint-disable-next-line no-fallthrough
default:
return state;
}
return newState;
};
function App() {
const [data, dispatch] = useReducer(reducer, []);
const dataId = useRef(0);
// CREATE
const onCreate = (date, content, emotion) => {
dispatch({
type: "CREATE",
data: {
id: dataId.current,
date: new Date(date).getTime(),
content,
emotion,
},
});
dataId.current++;
};
// REMOVE
const onRemove = (targetId) => {
dispatch({ type: "REMOVE", targetId });
};
// EDIT
const onEdit = (targetId, date, content, emotion) => {
dispatch({
type: "EDIT",
data: {
id: targetId,
date: new Date(date).getTime(),
content,
emotion,
},
});
};
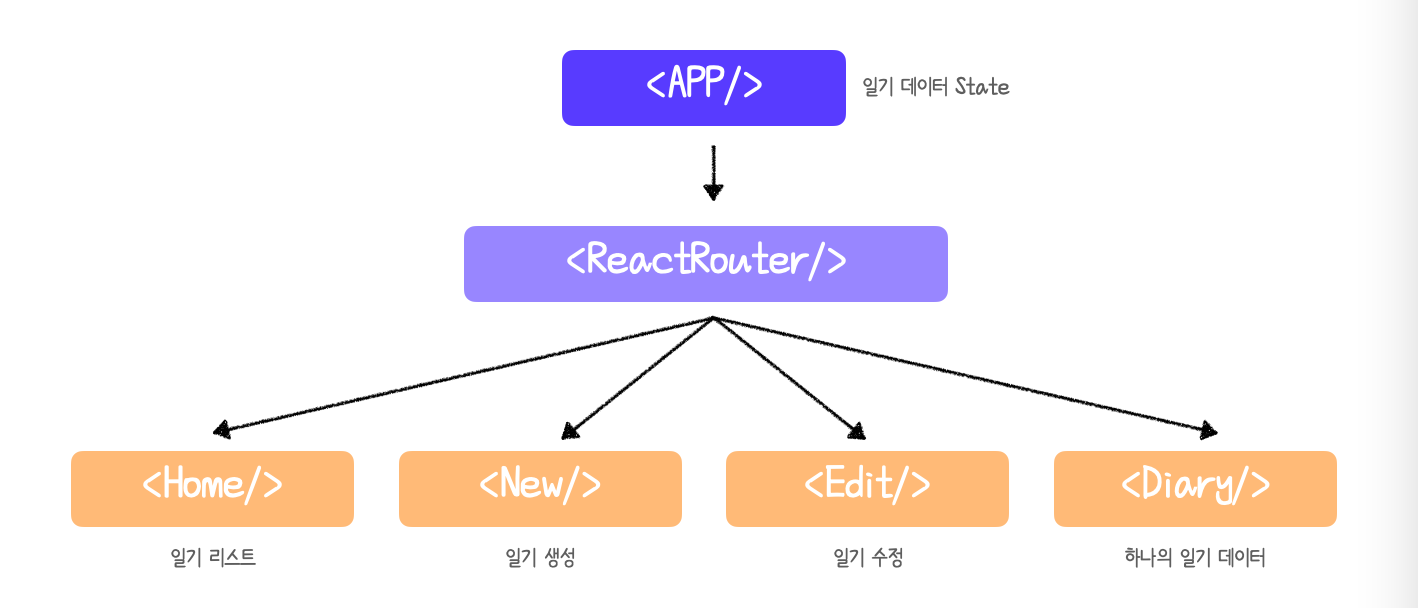
return (...참고 : https://www.zerocho.com/category/React/post/5fa63fc6301d080004c4e32b
state context
프로젝트 state context 세팅하기
일기 데이터 state 를 공급할 context를 만들고, provider로 공급한다.
// data state를 컴포넌트 트리 전역에 공급
export const DiaryStateContext = React.createContext();

...

return (
  // 전역에 주기 위해서 provider 로 감싸준다.
  <DiaryStateContext.Provider value={data}>
  	...
  </DiaryStateContext.Provider>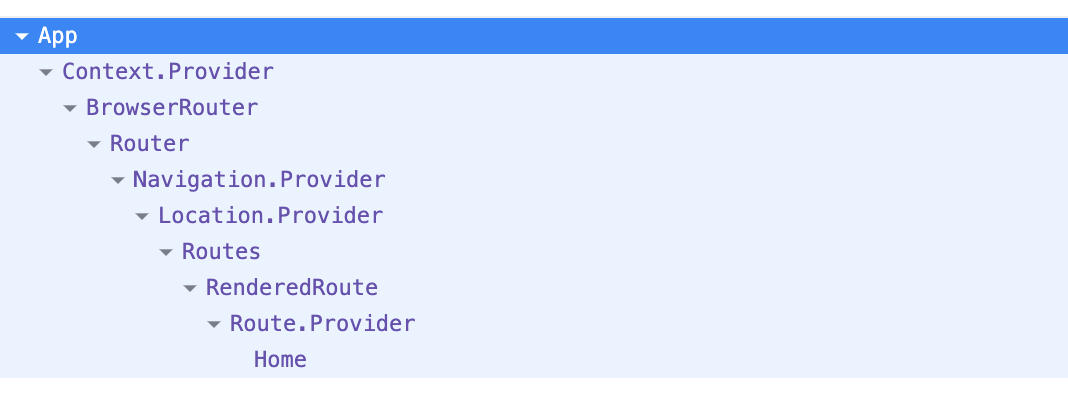

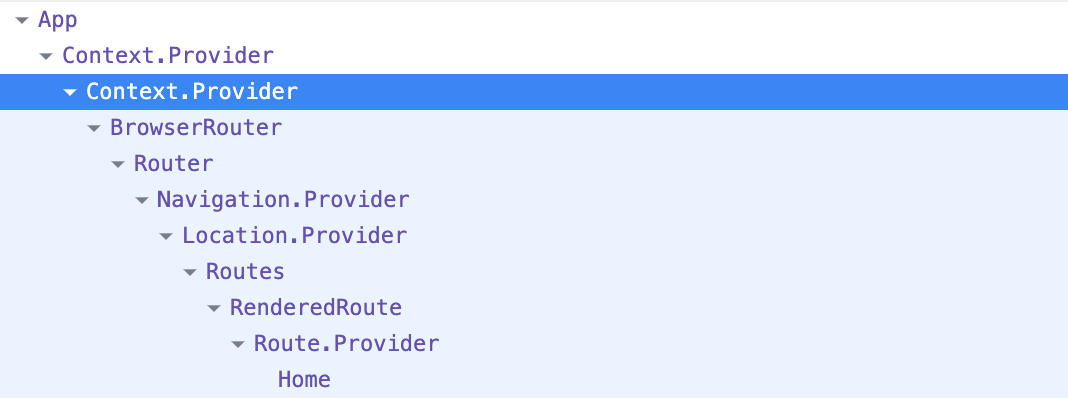
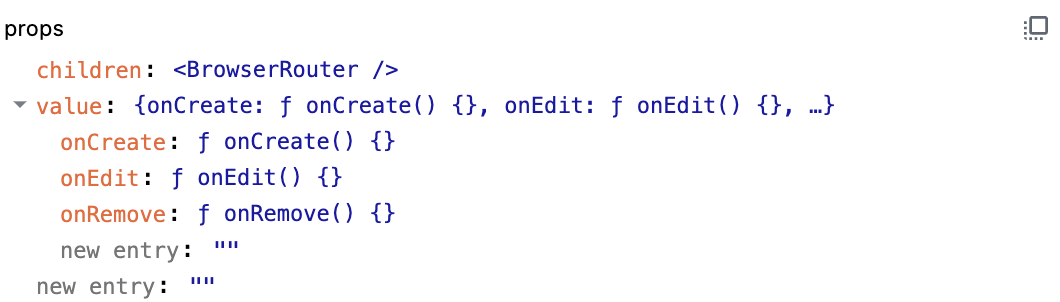
Dispatch context
일기 state 의 dispatch함수를 공급할 context를 만들고 provider로 공급
(state context 안에 공급한당)
//dispatch 함수들도 context로 공급
export const DiaryDispatchContext = React.createContext();

...

return (
  <DiaryDispatchContext.Provider value={{ onCreate, onEdit, onRemove }}>
 	 ...
  </DiaryDispatchContext.Provider>


context이용해서 상태관리하셨네용 만들어지는 프로젝트도 귀염뽀짝할거같아요
html 에서는 %PUBLIC_URL%
js 에서는 process.env.PUBLIC_URL 이부분 몰랐는데 감사합니당!