
React -> Flutter
1주차 회고에서 밝혔던 Flutter 사용 욕심을 결국 실현해버렸다...
Flutter 도입을 주장한 이유는 다음과 같았다.
- 모바일 UI로 구현된 WireFrame
- React 보다 더 쉬운 모바일 UI 구현
- Flutter 강의 스터디를 통한 Flutter 숙련도
- 친절한 공식 문서
또한 기존 React 로 나갔던 진도가 너무 없어서 미련없이 갈아엎기로 하였다.
디렉토리 협의
이 글을 참고하여

이런식으로 디렉토리를 구성하기로 협의하였다.
BottomNavBar 구현
https://api.flutter.dev/flutter/material/BottomNavigationBar-class.html
공식문서를 활용하여 하단의 Navigation 바를 구현하였다.
아직 UI 로직과 데이터 부분을 분리하지 않아서 코드가 조금 길다.
추후 분리할 예정이다.
- 구현
var _selectedIndex = 0;
  static const List<Widget> _widgetOptions = <Widget>[
    ItemList(),
    Category(),
    Chat(),
    MyPage(),
  ];

  void _onItemTapped(int index) {
    setState(() {
      _selectedIndex = index;
    });
  }
일단 index에 맞는 위젯을 보여주는 것이라고 한줄 요약할 수 있다.
이를 위해 위젯 리스트와, 유저가 들어가려는 위젯에 해당하는 인덱스를 setState 함수에 넣어 관리한다.
AppBar(
        title: Text(
          (_selectedIndex == 0
              ? "Home"
              : _widgetOptions.elementAt(_selectedIndex).toString()),
          style: const TextStyle(color: Colors.black),
        ),
        backgroundColor: Colors.white,
        shadowColor: Colors.transparent,
      ),
      body: Center(
        child: _widgetOptions.elementAt(_selectedIndex),
      ),
      bottomNavigationBar: BottomNavigationBar(
        items: const <BottomNavigationBarItem>[
          BottomNavigationBarItem(
            icon: Icon(
              Icons.home,
              color: Colors.grey,
            ),
            label: 'Home',
          ),
          BottomNavigationBarItem(
            icon: Icon(
              Icons.category,
              color: Colors.grey,
            ),
            label: 'Category',
          ),
// 이하 생략
        ],
        currentIndex: _selectedIndex,
        selectedItemColor: Colors.grey[800],
        onTap: _onItemTapped,
      ),
그래서 기본값인 0번일때는 Home.dart를, 나머지 일땐 그에 맞는 위젯을 보여주도록 설계 하였다.
bottomNavigation 옵션이 아예 따로 있어서, 공식문서 따라서 편하게 구현하였다.
ItemList 구현 with Postman
Postman
postman으로 mockServer 를 만들어서 아이템 리스트의 내용을 가져오고자 하였다.
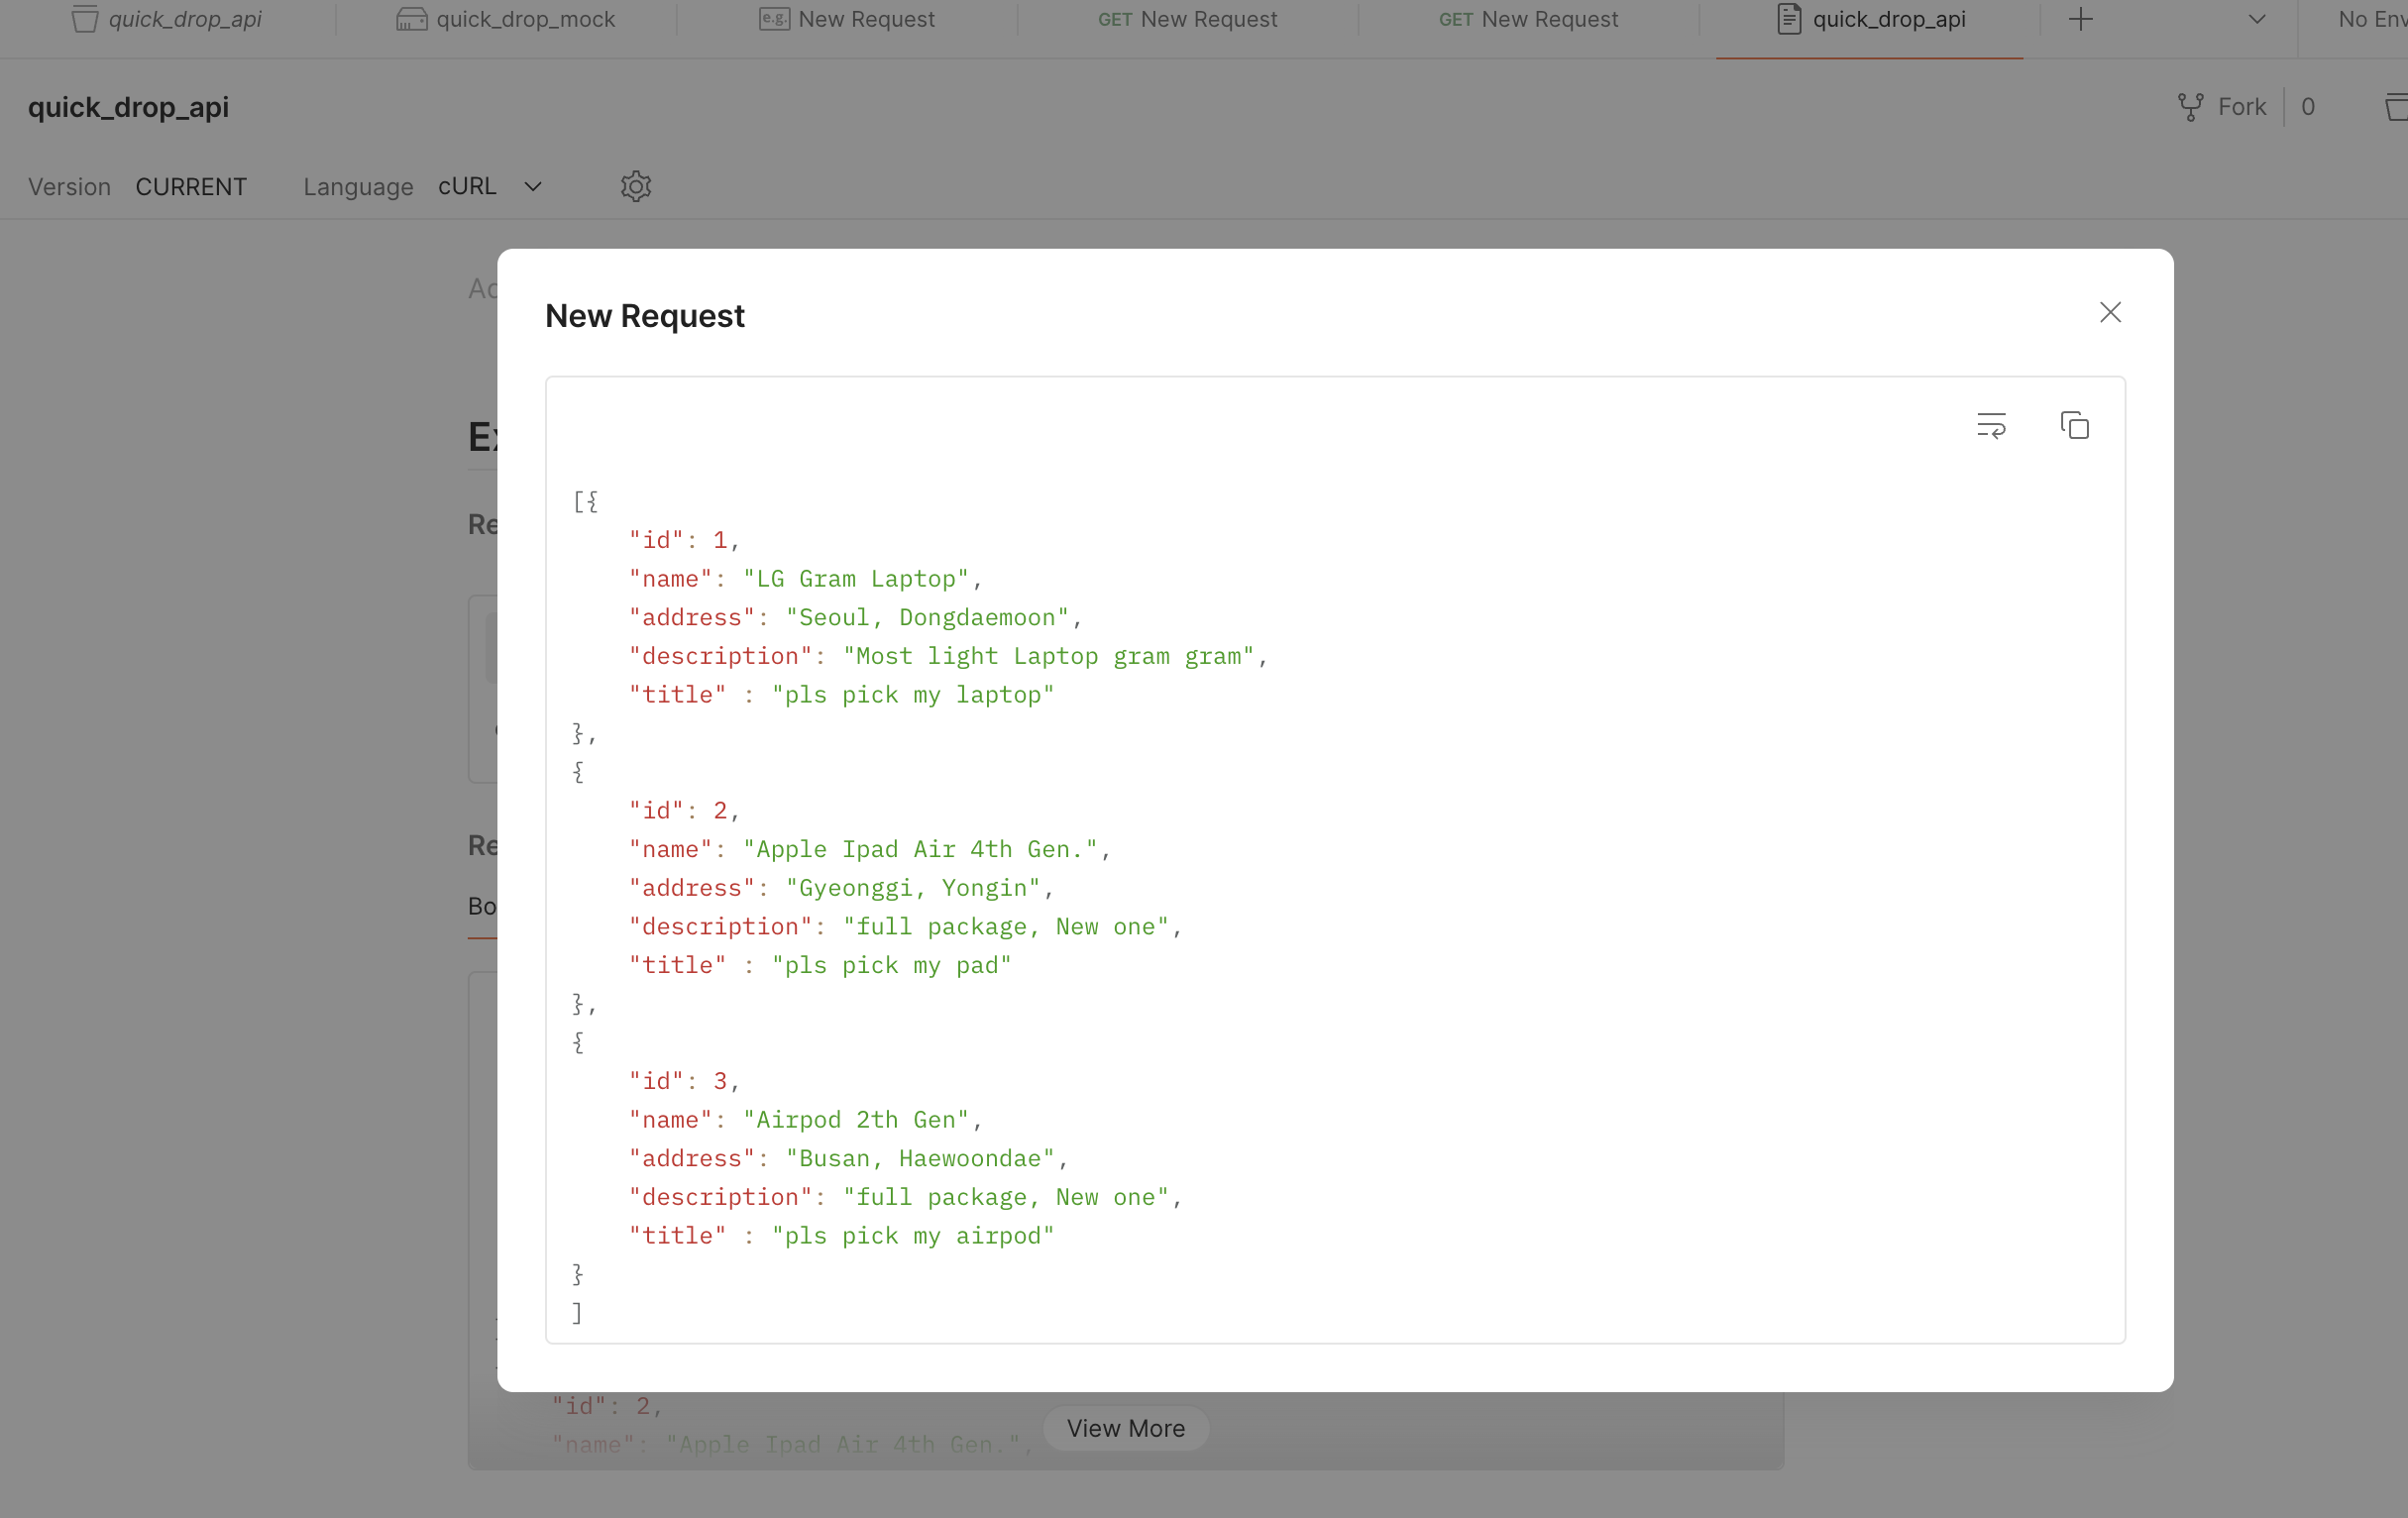
이런식으로 대충 데이터를 만들고,
product_info_api
import 'dart:convert';
import 'package:http/http.dart' as http;

class ProductInfo {
  final int id;
  final String name;
  final String title;
  final String description;
  final String address;

  ProductInfo({
    required this.id,
    required this.name,
    required this.title,
    required this.description,
    required this.address,
  });

  factory ProductInfo.fromJson(Map<String, dynamic> json) {
    if (!json.containsKey('id') ||
        !json.containsKey('name') ||
        !json.containsKey('title') ||
        !json.containsKey('description') ||
        !json.containsKey('address')) {
      throw Exception('Invalid JSON data');
    }
    return ProductInfo(
      id: json["id"],
      name: json["name"],
      title: json["title"],
      description: json["description"],
      address: json["address"],
    );
  }
}

class ItemListApi {
  static Future<List<ProductInfo>> fetchItemList() async {
    final response = await http.get(Uri.parse(
        'https://url.mock.pstmn.io/list'));

    if (response.statusCode == 200) {
      final List<dynamic> jsonData = jsonDecode(response.body);
      return jsonData.map((item) => ProductInfo.fromJson(item)).toList();
    } else {
      throw Exception('Failed to load Item List');
    }
  }
}
나는 아이템 여러개를 가져올 거기 때문에 List 자료형을 활용, map 함수로 데이터를 가져왔다.
item_list.dart
import 'package:flutter/material.dart';
import '../../services/product_info_api.dart';
class ItemList extends StatefulWidget {
const ItemList({super.key});
State<ItemList> createState() {
return _ItemListState();
}
}
class _ItemListState extends State<ItemList> {
late Future<List<ProductInfo>> _productInfoList;
void initState() {
super.initState();
_productInfoList = ItemListApi.fetchItemList();
}
Widget build(BuildContext context) {
return Scaffold(
body: FutureBuilder<List<ProductInfo>>(
future: _productInfoList,
builder: (context, snapshot) {
if (snapshot.hasData) {
final List<ProductInfo> productInfoList = snapshot.data!;
return ListView.builder(
itemCount: productInfoList.length,
itemBuilder: (context, index) {
final productInfo = productInfoList[index];
return ListTile(
title: Text(productInfo.name),
subtitle: Text(productInfo.description),
trailing: Text(productInfo.address),
);
},
);
} else if (snapshot.hasError) {
return const Center(
child: Text('Sth went Wrong'),
);
} else {
return const Center(
child: CircularProgressIndicator(),
);
}
},
),
);
}
}ListView.builder를 활용하여 UI 로직을 구성하였다.
또한 데이터를 가져올 동안에는 Loading 중이란 것을 알 수 있게 조건을 만들어
CircularProgressIndicator를 보여주도록 하였다.
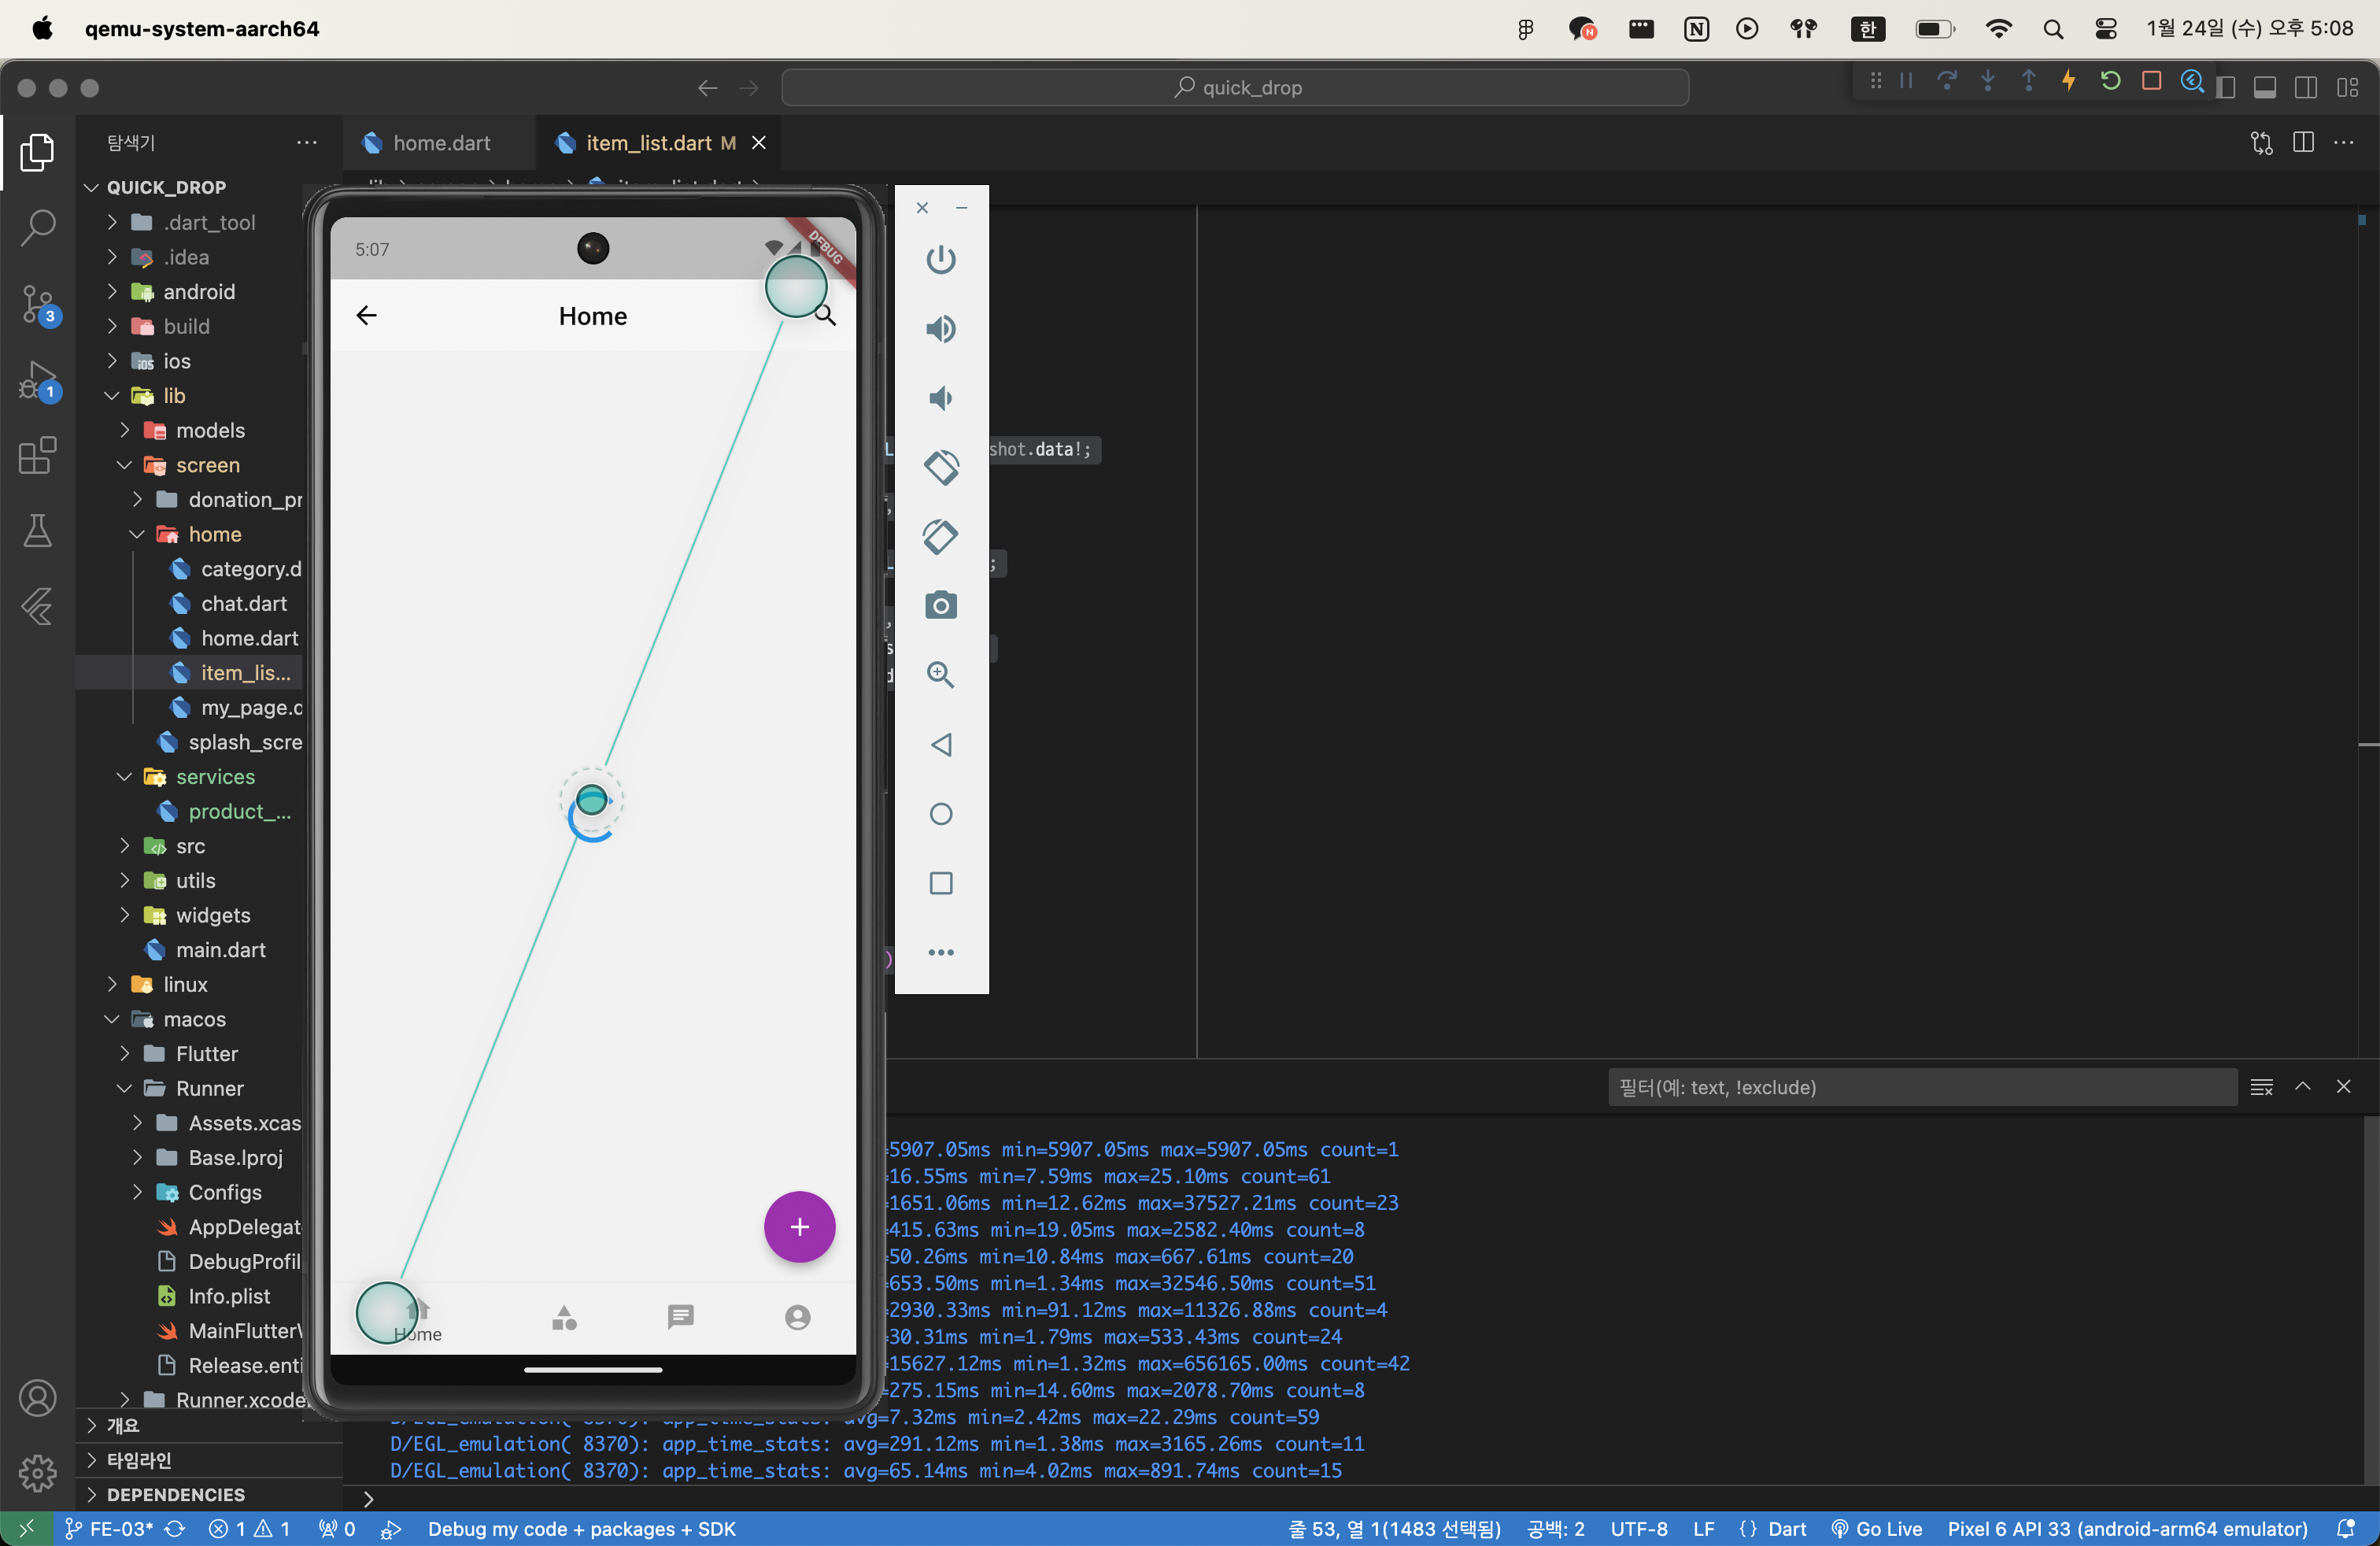
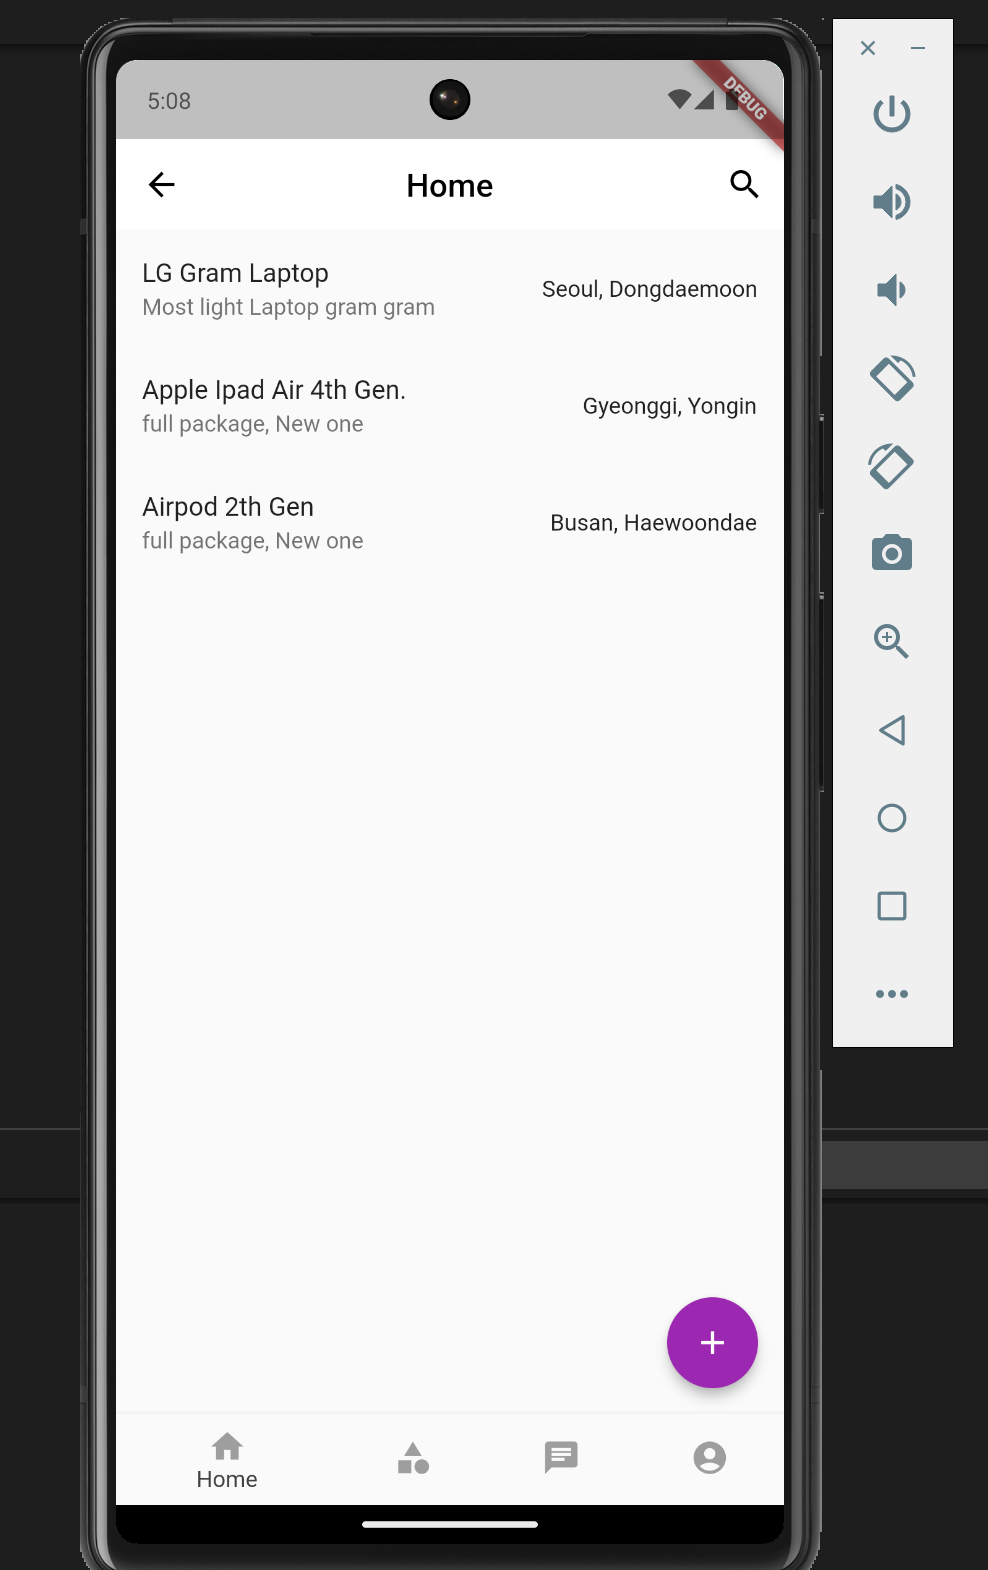
최종 결과
TroubleShooting
import 경로
같이 프론트 담당하시는 팀원분이 에러가 발생해서,
발생한 원인이 최상위 폴더가 달라서 그런것 같다고 말씀해주셨다.
나는 quick_Drop 폴더가 상위인데 팀원분은 다른 곳에 pull을 받으셔서 그런지 경로가 달라서
에러가 발생하였다.
플러터에는 import 3종류가 있는데
import 'dart:html';
import 'package:flutter/material.dart';
import '../../services/product_info_api.dart';
이중 상대 경로를 사용하는 마지막 방식을 활용하기로 하였다.
경로까지 협업할때 생각해야하는 구나 하는 깨달음을 얻었다.