계속된 리팩토링
- 리팩토링 이전(donation_upload.dart)
 const Row(
                      mainAxisAlignment: MainAxisAlignment.spaceBetween,
                      children: [
                        Text('Name of Brand'),
                        Text('Han-ssam'),
                      ],
                    ),
                    Row(
                      mainAxisAlignment: MainAxisAlignment.end,
                      children: [
                        const Flexible(
                          child: Text(
                            'If the auto-description doesn’t work enough,you can edit it by yourself',
                            style: TextStyle(fontSize: 11),
                          ),
                        ),
                        IconButton(
                            onPressed: () {}, icon: const Icon(Icons.mode_edit))
                      ],
                    )
                  ]),
            ),
원래는 각 Row에 TextformField로 입력을 받아야 했는데
일단 UI 구현이 우선이란 생각에 텍스트 위젯으로 채워 넣었다.
- 리팩토링 이후 + TextformField로 전환
              const SizedBox(height: 8),
              buildRow('Name of Brand', "Ex.Apple", brandNameController),
              buildRow('Date of Manufacture', "2023.11.11",
                  dateOfManufactureController),
              buildRow('color', "Ex.black", colorController),
              buildRow('category', "Ex.Electronics", categoryController),
              Container(
                height: 64,
                alignment: Alignment.bottomLeft,
                child: TextButton.icon(
                  onPressed: () {
                    // See more Details
                  },
                  label: const Text('See more Details'),
                  icon: const Icon(Icons.chevron_right),
                ),
              ),
            ]),
      ),
    );
  }
Widget buildRow(String text, String hintText, controller) {
return Row(
mainAxisAlignment: MainAxisAlignment.spaceBetween,
children: [
Text(text),
SizedBox(
width: 70,
height: 20,
child: buildTextFormField(hintText, controller),
),
],
);
}
TextFormField buildTextFormField(String hintText, controller) {
return TextFormField(
controller: controller,
decoration: InputDecoration(
hintText: hintText,
hintStyle: const TextStyle(fontSize: 14),
isDense: true,
border: InputBorder.none,
contentPadding: EdgeInsets.zero,
),
);
}아예 분리 시켜버렸다.
Flutter & dart 언어의 특성상 디자인 요소코드가 붙기 때문에 리팩토링을 해도 코드가 읽기가 힘들지만, 어쨌든 일반 ui만 있는 코드에 기능을 달다보면 TextFormField 하나 구현하는데 몇십줄 나오게 된다.
이렇게 각 기능별로 분리하여 UI와 기능을 구현하면 추후에 기능 보완할때 수정이 용이해진다.
Postman Post 성공
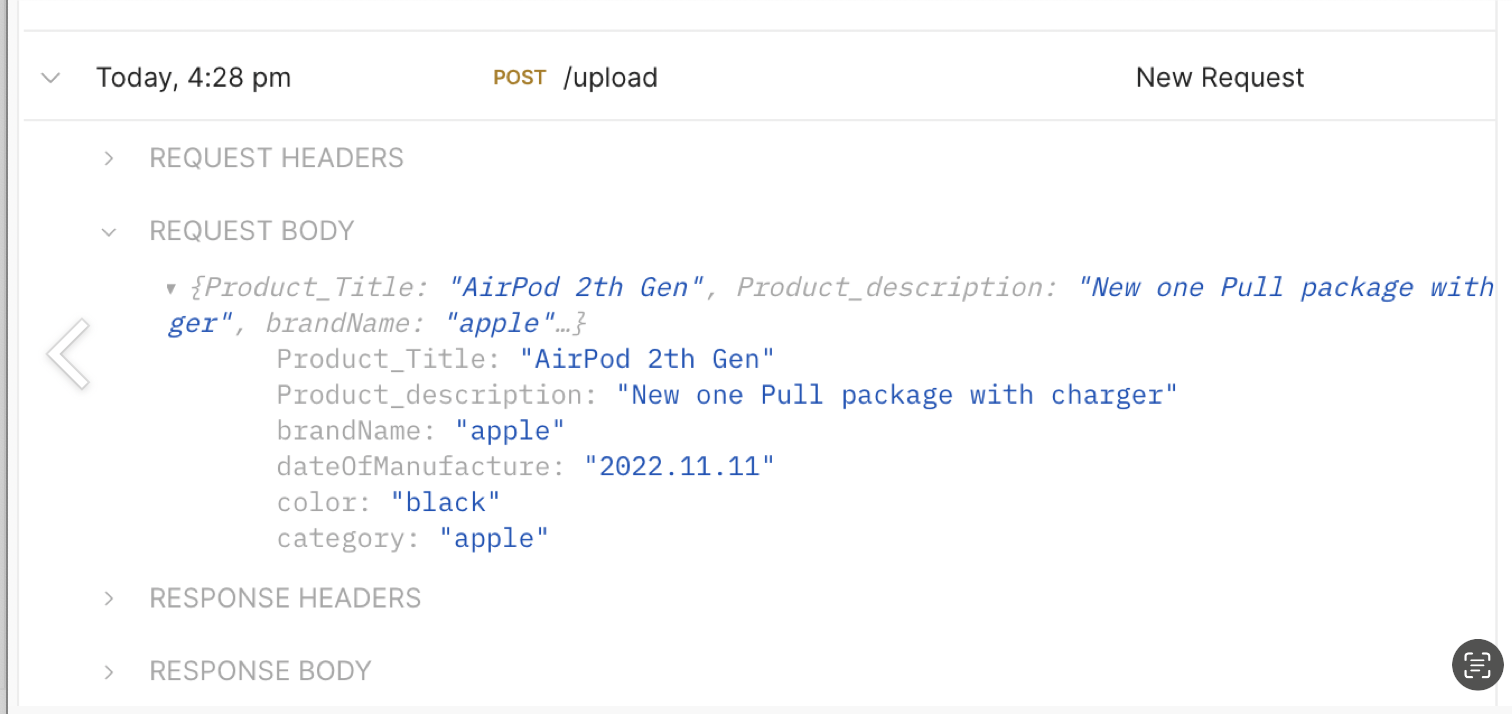
- 코드
void sendPostRequest() async {
    final response = await http.post(
      Uri.parse(
          '.../upload'),
      headers: <String, String>{
        'Content-Type': 'application/json; charset=UTF-8',
      },
      body: jsonEncode(<String, String>{
        'Product_Title': productInfo['Product Title']['controller'].text,
        'Product_description':
            productInfo['Product description']['controller'].text,
        'brandName': brandNameController.text,
        'dateOfManufacture': dateOfManufactureController.text,
        'color': colorController.text,
        'category': categoryController.text,
      }),
    );
처음에 headers 없이 Post를 보내니
서버에 아무런 반응이 없어서 당황 했다.
사진은 또 이렇게 보내면 안되고 dio라는 패키지를 이용해서 보내야 한다니
이건 다음주에 구현하기로 하자...
그리고 각 TextInputForm에 달려있는 controller 를 이용해야하는 것도 배우게 되었더 한 주.
이제 마감까지 2주 정도 남았는데
1. Imagepicker 구현과 이미지 get/post 구현
2. 실제 BE 서버와 연결
3. 코드 리팩토링
만 하면 얼추 플젝이 마무리 될거 같다.
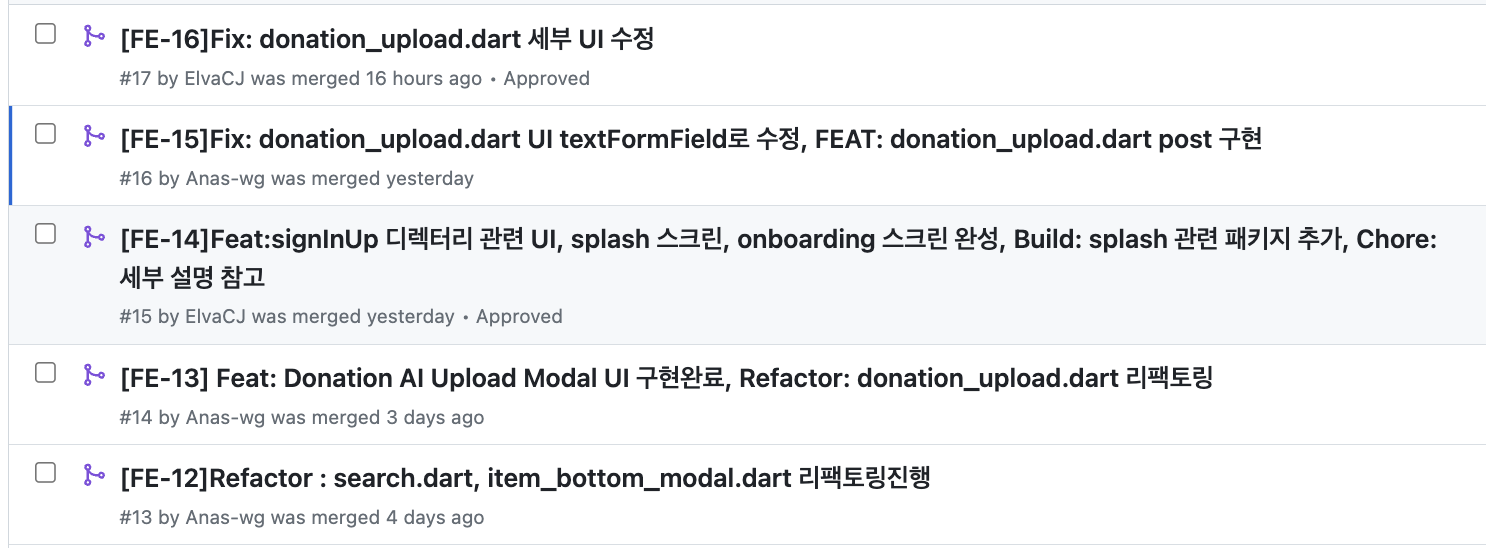
반드시 pull을 하고 올리자
우리 팀의 Gitflow 전략은 기능을 추가할때마다 FE-13,FE-14 이런식으로로 브랜치를 파고,올린 PR을 확인하고 main으로 머지하는 방법을 사용중이다.
머지하고 main으로 옮겨서 pull을 했어야 하는데
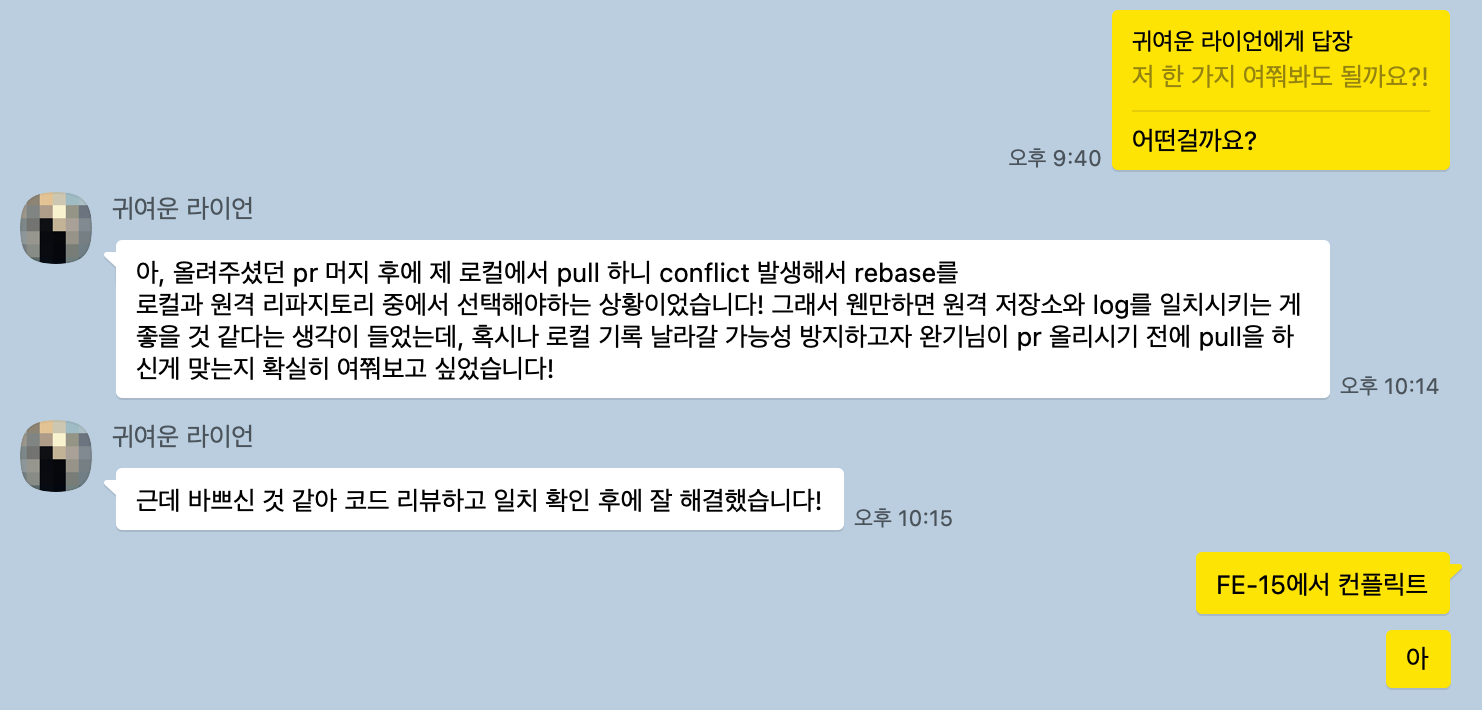
그거 안하고 FE-15 만들고 바로 푸시 해버려서 같이 협업하시는 분에게
Conflict 가 발생해 버린 것...
죄송합니다... 다시는 그러지 않을게요

제 Velog에 오신 모든 분들이 작더라도 인사이트를 얻어가셨으면 좋겠습니다 :)