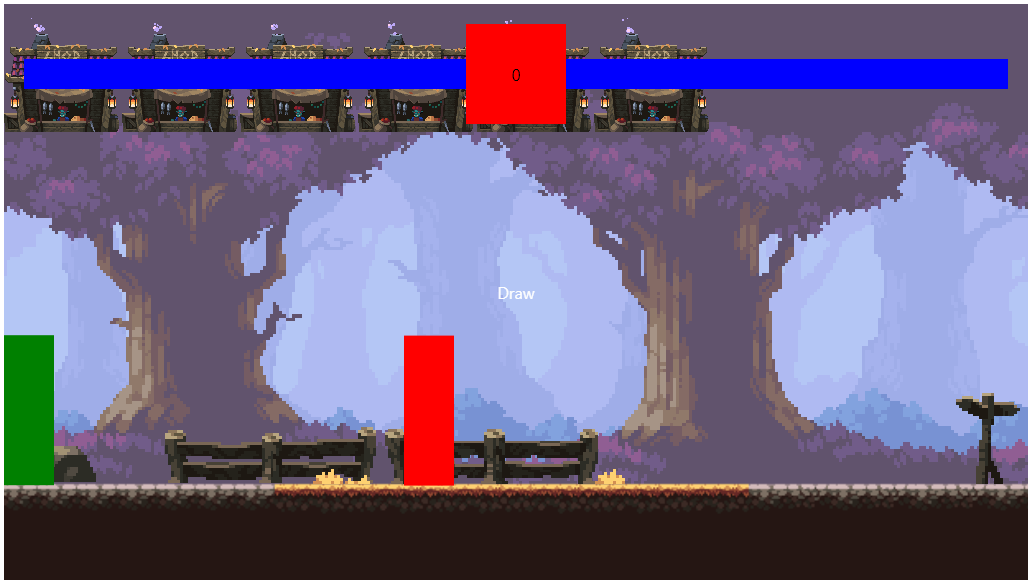
저번에 이어 배경에 다른 요소를 추가해 볼건데 그려주는 방법은 이전의 배경과 거의 유사하다.
const shop = new Sprite({
position: {
x: 0,
y: 0,
},
imageSrc: "./img/shop.png",
});
...
function animate() {
window.requestAnimationFrame(animate);
c.fillStyle = "black";
c.fillRect(0, 0, canvas.width, canvas.height);
background.update();
shop.update();
player.update();
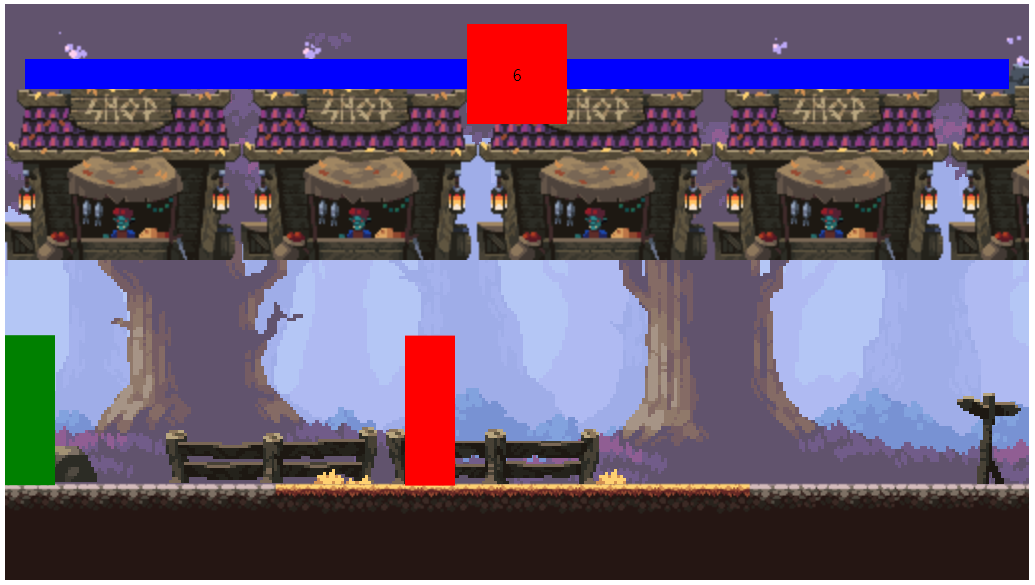
enemy.update();배경과 같이 Sprite로 shop을 선언해주고 animate에 update하면
shop의 이미지가 나타난다.
크기와 위치가 좀 이상한데 먼저 크기를 조절해주자.
Sprite클래스에 고정값으로 추가해서 조정할 수도 있겠지만 배경에도 영향을 주니 프로퍼티와 파라미터를 추가하는 방법으로 해결해보자.
class Sprite {
  constructor({ position, imageSrc, scale = 1 }) {
    this.position = position;
    this.width = 50;
    this.height = 150;
    this.image = new Image();
    this.image.src = imageSrc;
    this.scale = scale
  }

  draw() {
    c.drawImage(
      this.image,
      this.position.x,
      this.position.y,
      this.image.width * this.scale,
      this.image.height * this.scale
    );
  }

  update() {
    this.draw();
  }
}
scale을 추가하였고 기본으로 1을 준 상태에서 받아오는 image에 scale을 파라미터로 받아 그만큼 곱하는 방식이다.
const shop = new Sprite({
  position: {
    x: 0,
    y: 0,
  },
  imageSrc: "./img/shop.png",
  scale: 1.5,
});
scale을 추가하고 나서 보면 이전보다 사이즈가 커져있는걸 볼 수 있다.
이제 position과 scale을 적절히 바꿔주면
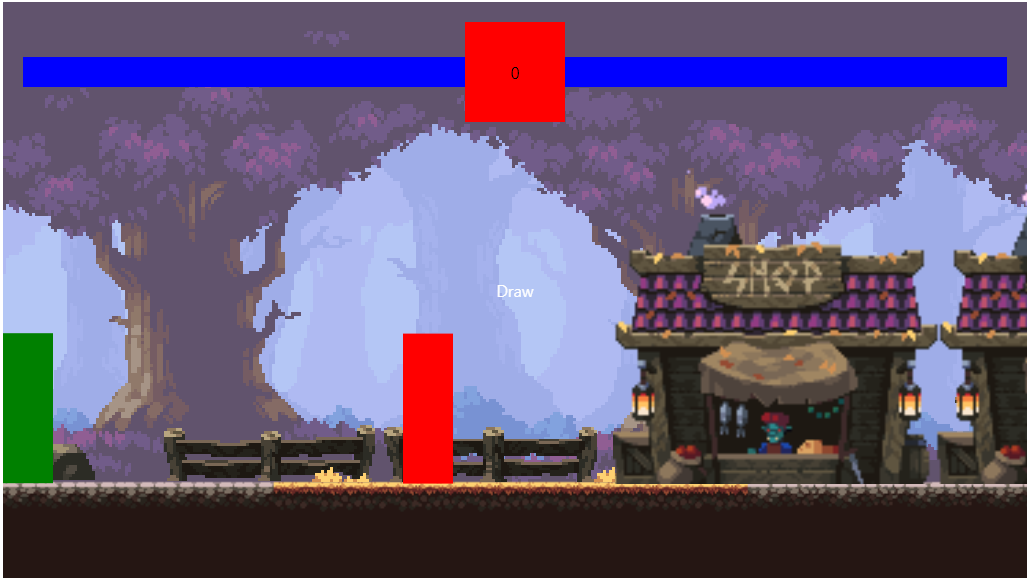
위치가 잘 잡힌것 같다.
이제 상점이미지 중 1/6에 해당하는 부분만 보여줘야 하는데 잘라내기를 사작할 x, y좌표와 잘라내기 할 등분값을 더해서 아규먼트에 추가하면
  draw() {
    c.drawImage(
      this.image,
      0,
      0,
      this.image.width / 6,
      this.image.height,
      this.position.x,
      this.position.y,
      (this.image.width / 6) * this.scale,
      this.image.height * this.scale
    );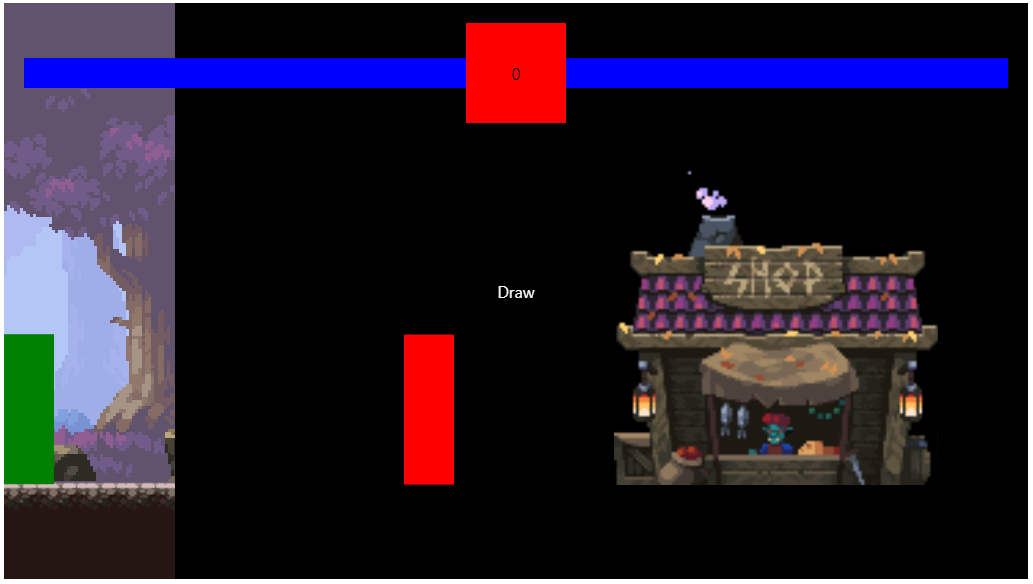
화면이 좀 이상하지만 상점 이미지는 잘 나온다 이것도 scale과 동일한 방법으로 해결할 수 있다.
파라미터로 framesMax를 추가하고 프로퍼티에도 넣은뒤 고정값이던 6을 framesMax로 바꾸고 shop을 그려줄 때 이 값을 추가하면
class Sprite {
  constructor({ position, imageSrc, scale = 1, framesMax = 1 }) {
    this.position = position;
    this.width = 50;
    this.height = 150;
    this.image = new Image();
    this.image.src = imageSrc;
    this.scale = scale;
    this.framesMax = framesMax
  }

  draw() {
    c.drawImage(
      this.image,
      0,
      0,
      this.image.width / this.framesMax,
      this.image.height,
      this.position.x,
      this.position.y,
      (this.image.width / this.framesMax) * this.scale,
      this.image.height * this.scale
    );
  }
const shop = new Sprite({
position: {
x: 610,
y: 130,
},
imageSrc: "./img/shop.png",
scale: 2.75,
framesMax: 6,
});
shop만 잘 잘려서 그려지고있다.
이제 이 shop의 애니메이션 효과를 위해선 6개로 이어진 shop들을 각각 잘라서 보여줘야 하는데 x축만 이동하면 되므로 이전에 설정한 프로퍼티 중 x에 해당하는 첫 0을 수정하자
class Sprite {
  constructor({ position, imageSrc, scale = 1, framesMax = 1 }) {
    this.position = position;
    this.width = 50;
    this.height = 150;
    this.image = new Image();
    this.image.src = imageSrc;
    this.scale = scale;
    this.framesMax = framesMax;
    this.framesCurrent = 0;
  }

  draw() {
    c.drawImage(
      this.image,
      this.framesCurrent * (this.image.width / this.framesMax),
      0,
      this.image.width / this.framesMax,
      this.image.height,
      this.position.x,
      this.position.y,
      (this.image.width / this.framesMax) * this.scale,
      this.image.height * this.scale
    );
  }

  update() {
    this.draw();
    if (this.framesCurrent < this.framesMax - 1) {
      this.framesCurrent++;
    } else {
      this.framesCurrent = 0;
    }
  }
}
배경화면에는 영향을 주지 않도록 framesCurrent라는 아규먼트를 추가해 기본값을 0으로 주고 update에서 framesMax-1 보다 작을때 framesCurrent를 ++해 배경에서는 잘라내는 지점에 변화가 없게 하였다.

상점 애니메이션이 너무 빠른것 같으니 수정해주자.
class Sprite {
  constructor({ position, imageSrc, scale = 1, framesMax = 1 }) {
    ...
    this.framesElapsed = 0;
    this.framesHold = 10;
  }

...

  update() {
    this.draw();
    this.framesElapsed++;
    if (this.framesElapsed % this.framesHold === 0) {
      if (this.framesCurrent < this.framesMax - 1) {
        this.framesCurrent++;
      } else {
        this.framesCurrent = 0;
      }
    }
  }
}
framesElapsed, framesHold 두 프로퍼티를 추가해주고 framesCurrent++가 있는 부분을 if조건문으로 한번 더 감싸면 된다.
이 조건문은 framesElapsed가 계속 증가하는데 이 값을 framesHold로 나누었을 때 나머지가 없으면 기존 framesCurrent++를 실행하도록 하여 지금과 같이 framesHold가 10일 때 기존 속도의 1/10으로 프레임을 바꿔주는 효과를 낸다.
배경은 이정도면 완벽한듯 하다.
다음 포스팅에선 캐릭터들을 만져보도록 하자.