이번 포스팅에선 enemy를 구성해보자 player와 기본적으로 같은 구조이므로 player에서 썼던 것들을 그대로 가져오자.
const enemy = new Fighter({
  position: {
    x: 400,
    y: 100,
  },
  velocity: {
    x: 0,
    y: 0,
  },
  color: "red",
  offset: {
    x: 50,
    y: 0,
  },
  imageSrc: "./img/kenji/Idle.png",
  framesMax: 4,
  scale: 2.5,
  offset: {
    x: 215,
    y: 157,
  },
  sprites: {
    idle: {
      imageSrc: "./img/kenji/Idle.png",
      framesMax: 4,
    },
    run: {
      imageSrc: "./img/kenji/Run.png",
      framesMax: 8,
    },
    jump: {
      imageSrc: "./img/kenji/Jump.png",
      framesMax: 2,
    },
    fall: {
      imageSrc: "./img/kenji/Fall.png",
      framesMax: 2,
    },
    attack1: {
      imageSrc: "./img/kenji/Attack1.png",
      framesMax: 4,
    },
  },
});
...
function animate() {
  window.requestAnimationFrame(animate);
  ...
  enemy.update();
각각의 파일명과 framesMax만 맞게 수정해 주고 주석처리를 풀어주면
땅에 좀 가라앉아 있으니 position을 좀 수정해주고 player와 동일하게 animate메소드 부분을 수정해주면 된다.
  //enemy movement
  if (keys.ArrowLeft.pressed && enemy.lastKey === "ArrowLeft") {
    enemy.velocity.x = -4;
    enemy.switchSprite("run");
  } else if (keys.ArrowRight.pressed && enemy.lastKey === "ArrowRight") {
    enemy.velocity.x = 4;
    enemy.switchSprite("run");
  } else {
    enemy.switchSprite("idle");
  }

  //jump
  if (enemy.velocity.y < 0) {
    enemy.switchSprite("jump");
  } else if (enemy.velocity.y > 0) {
    enemy.switchSprite("fall");
  }
그런데 캐릭터의 공격이 동작하지 않는데 확인을 위해 attackBox를 다시 표시해보자.
  update() {
    ...
    c.fillRect(
      this.attackBox.position.x,
      this.attackBox.position.y,
      this.attackBox.width,
      this.attackBox.height
    );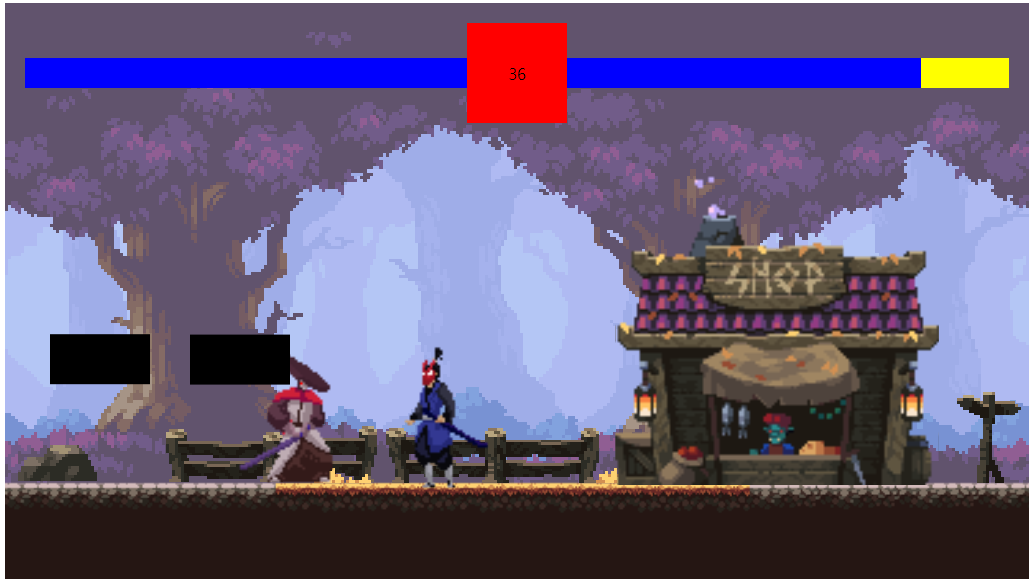
아니나 다를까 이상한 위치에 있었다.
Fighter 클래스에서 attackBox를 다시 잡아주자고
class Fighter extends Sprite {
  constructor({
    ...
    attackBox = { offset: {}, width: undefined, height: undefined },
  }) {
    ...
    this.attackBox = {
      position: {
        x: this.position.x,
        y: this.position.y,
      },
      offset: attackBox.offset,
      width: attackBox.width,
      height: attackBox.height,
    };
player와 enemy에 값을 넣어주고 refresh해가면서 값을 조정하자
const player = new Fighter({
  ...
  attackBox: {
    offset: {
      x: -80,
      y: 0,
    },
    width: 178,
    height: 150,
  },
});
y값이 조정이 안되었는데 update메소드에 y offset 적용을 안했었다 적용해주자.
update() {
    this.draw();
    this.animateFrames();

    //attack box
    this.attackBox.position.x = this.position.x - this.attackBox.offset.x;
    this.attackBox.position.y = this.position.y - this.attackBox.offset.y;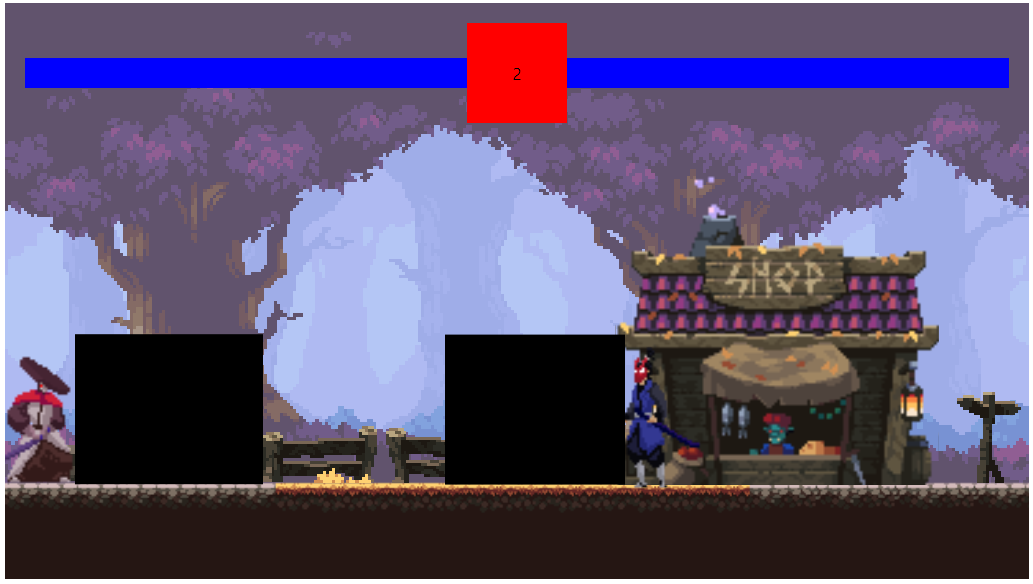
합리적인 공격범위가 완성되었다.
그런데 공격해보면 키를 누르자마자 그러니까 공격모션이 닿지도 않았는데 체력이 닳는다.
공격프레임 중간에 체력이 닳도록 하자
  //detect collision
  if (
    rectangularCollision({ rectangle1: player, rectangle2: enemy }) &&
    player.isAttacking && player.framesCurrent === 4
  ) {
    player.isAttacking = false;
    enemy.health -= 20;
    document.querySelector("#enemyHealth").style.width = enemy.health + "%";
    console.log("player attack");
  }
플레이어의 공격중 현재 프레임이 4프레임 일때 충돌이 일어나도록 하면 된다.
그런데 이 경우 데미지가 아예 들어가지 않는데 프레임이 도는 시간이 attack메소드에 setTimeout한 시간보다 길기때문에 공격판정이 일어나기 전에 isAttacking이 false가 되기 때문이다.
  attack() {
    this.switchSprite("attack1");
    this.isAttacking = true;
  }
타임아웃을 지우면 또 문제가 생기는데 허공에 공격을 한 뒤 attackBox가 닿으면 또 데미지가 들어간다.
플레이어가 공격을 맞추지 못했을 때의 경우도 잡아주자.
  //if player misses
  if (player.isAttacking && player.framesCurrent === 4) {
    player.isAttacking = false;
  }
위 과정을 enemy쪽에도 동일하게 해주면

판정이 모션에 잘 맞는다.
이제 참고차 그려둔 attackBox를 지워주면 된다.
다음 포스팅에선 피격시 애니메이션을 추가해보자.