Swagger?
- 간단하게 생각하면 api문서를 자동으로 만들어주는 라이브러리이다.
Swagger 모듈 설치
npm install --save @nestjs/swagger swagger-ui-expressSwagger모듈을 설치할때 주의할점
- nestjs버전이 7버전이라면 swagger버전을 4버전으로 다운그레이드 해야합니다.
npm i --save @nestjs/swagger@4사용예시
- main.ts에서 설정을 해준다.
const config = new DocumentBuilder()
    .setTitle('C.I.C')
    .setDescription('cat')
    .setVersion('1.0.0')
    .build();
  const document: OpenAPIObject = SwaggerModule.createDocument(app, config);
  SwaggerModule.setup('docs', app, document);
//setup에 첫번째 인자는 앤드포인트를 입력해 주면된다.
//localhost:8000/docs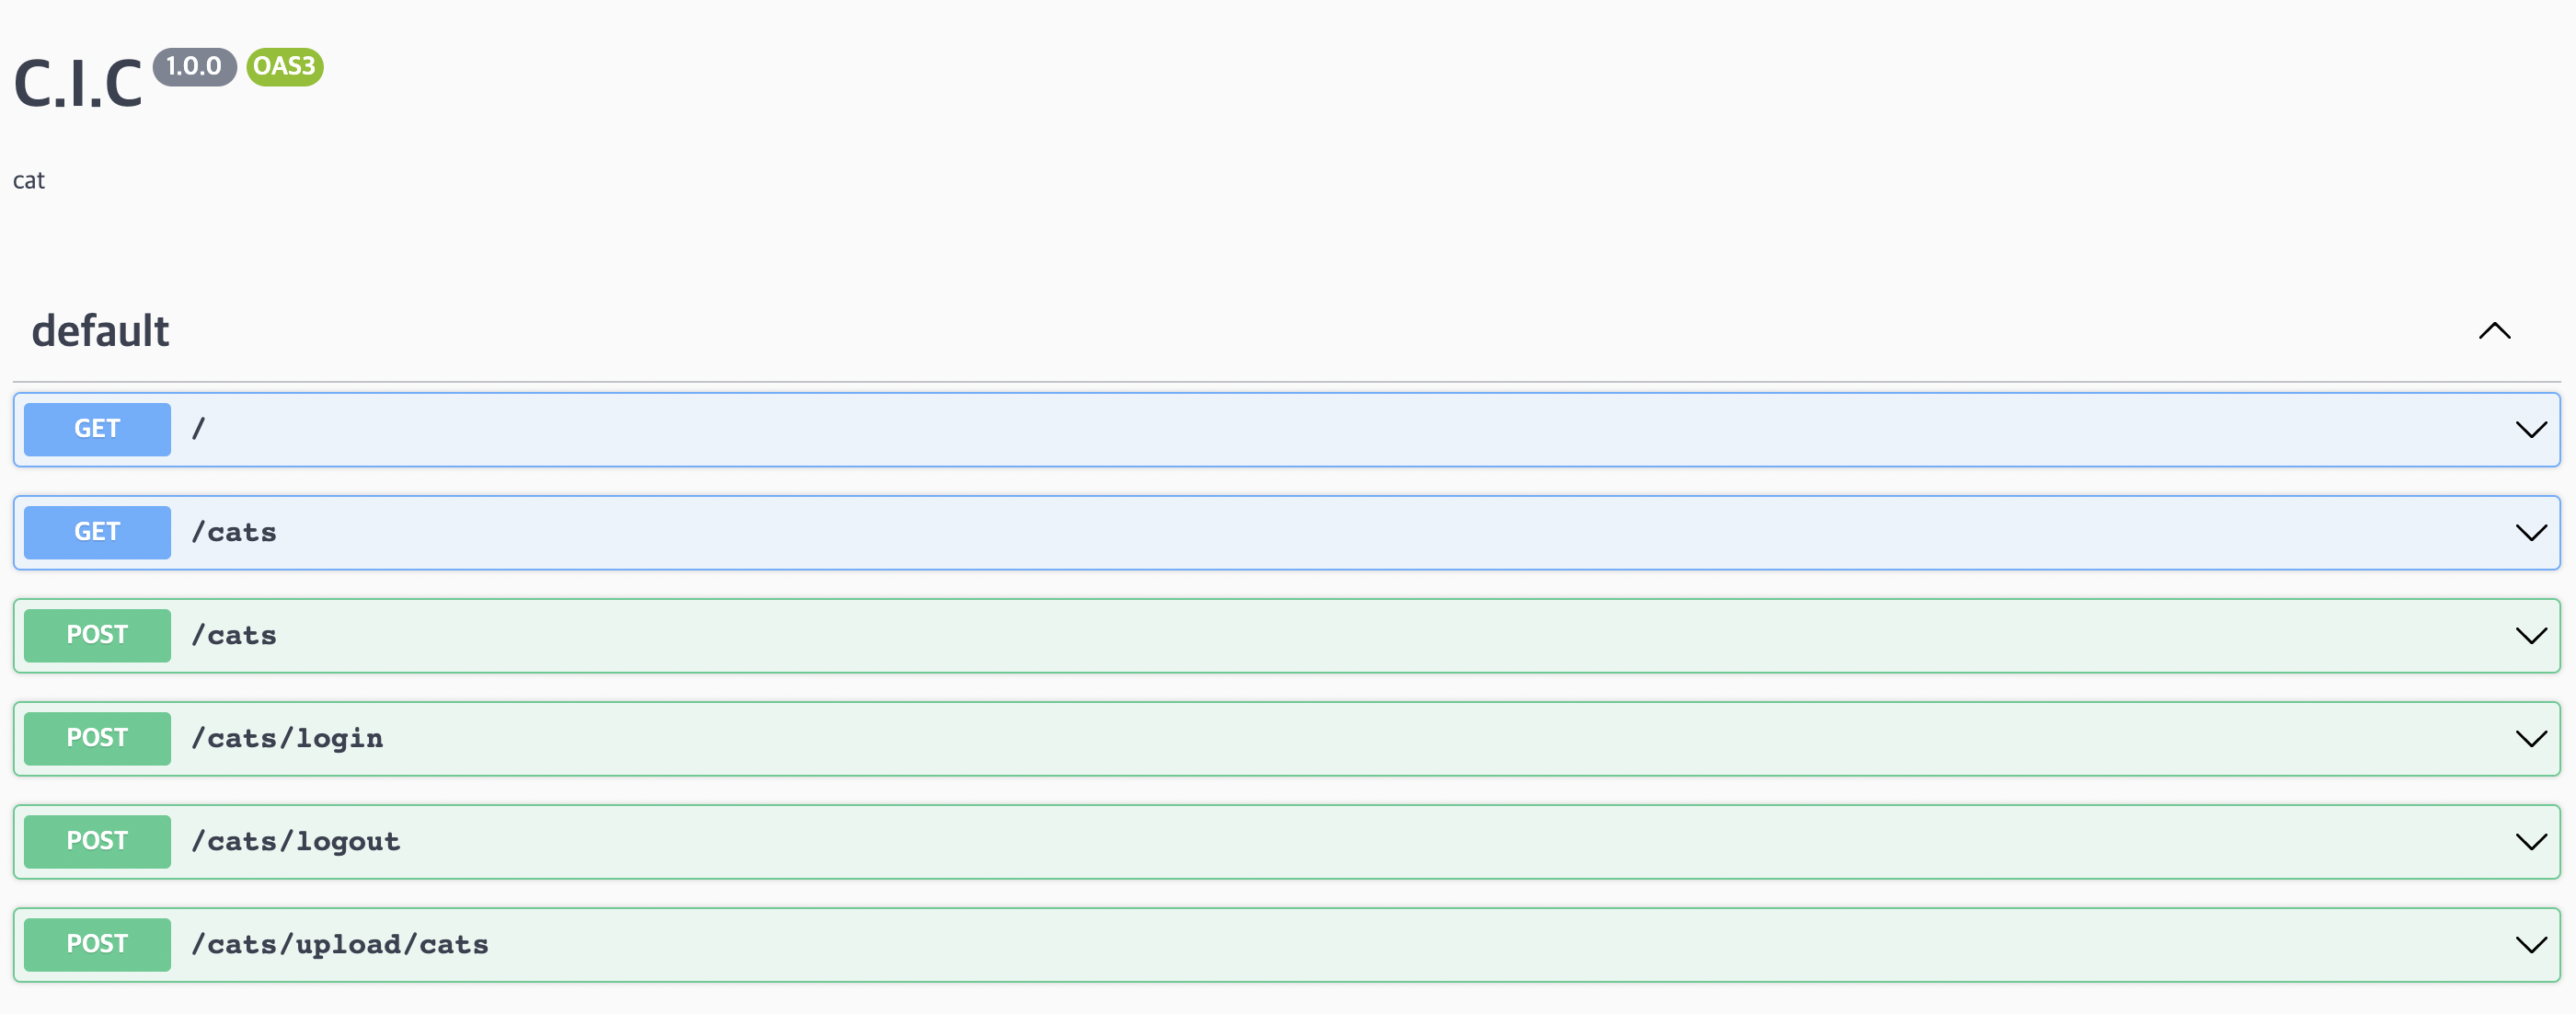
이렇게 문서가 있어야 협업을할때 소통이 원활하게 이루어 진다.
api문서 디테일하게 수정하기
- @ApiOperation({summary: '회원가입'})
- 다음과같은 데코레이션을 사용하면 해당 컨트롤러의 기능을 명시할 수 있습니다.
- swagger의 장점중 하나가 해당 api가 request데이터를 어떻게 줘야하는지에 대해서 명시 해 줄 수있다.
- 사용예시
 @ApiProperty({
    example: 'asdf@nate.com',
    description: 'email',
    required: true,
  })
email: string;-
위와같이 apiProperty를 사용해서 명시 해 준다.
-
@ApiResponse
-
apiProperty가 reqeust데이터의 명시였다면 ApiResponse는 response데이터의 명시이다.
- 사용예시
//걸고 싶은 컨트롤러 위에다가 정의해 주면 된다.
@ApiResponse({
    status: 500,
    description: '서버 오류..',
    type: ReadOnlyCatDto,//응답dto를 만들었다.
  })
이렇게 하면 postman처럼 테스트를 해 볼수 있다.
dto에 대한 팁(pickType)
- dto를 만들때 계속 필드를 적는것이 귀찮고 반복적인 일이다.
- 이럴때 pickType을 활용하면 좋다.
export class CatRequestDto extends PickType(Cat, [
  'email',
  'name',
  'password',
] as const) {}- 위와같이 스키마를 명시해준 모델에서 필요한 필드만 가져오겟다고 설정하면 된다.

애기 개발자