Calendar API는 Google Calender, Naver, Kakao 등등이 있다.
하지만 DB의 데이터와 연동해서 단순히 사용자에게 정보를 알려주는 용도로는 Fullcalender API가 적합할 것 같아 사용해 보았다.
사이트에 접속해서 fullcalendar-6.1.10.zip을 다운 받았다.
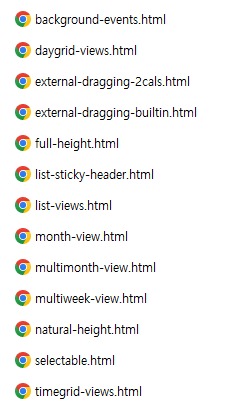
zip형태의 압축파일을 해제하면 예시 HTML파일들과 자바 스크립트 파일이 들어있는데,
마음에 드는 예시로 가져와서 사용하면 될 것 같다.

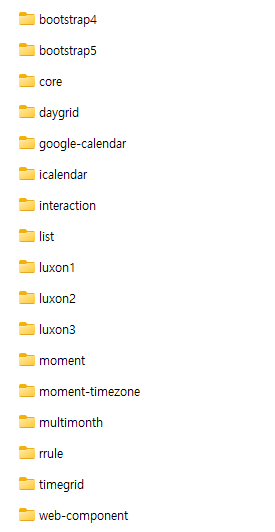
이 폴더도 같이 추가해 주었다.
그리고 자바 스크립트 파일이 들어있는 폴더들을 내 프로젝트에 옮겨 주었다.
예시에 있던 html파일중에 아무거나 가져와서 js경로와 calendar 객체를 생성해주고
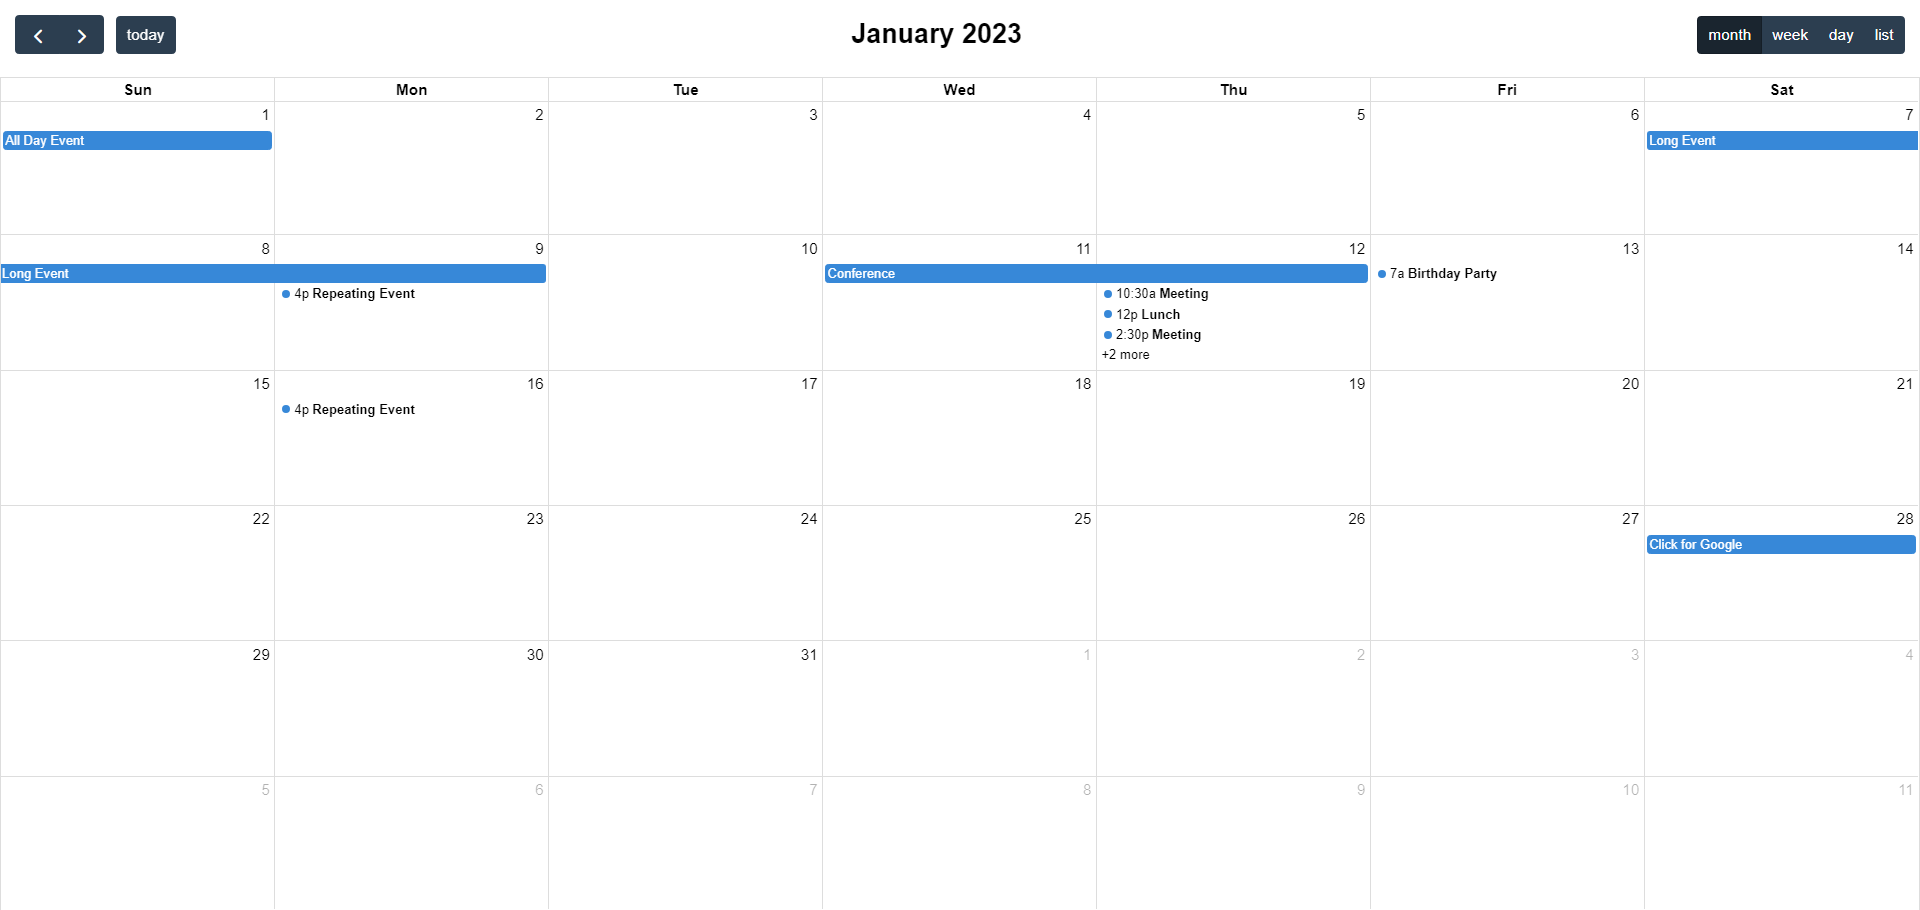
<div id='calendar'></div>에 calendar를 만들어 보았다.

손쉽게 달력을 만든 모습이다.
이제 DB있는 데이터와 연동을 하려면 calendar객체의 events요소에 값을 넣어주면 될 거 같다.
간단한 테스트를 하기 위해 사용하던 테스트 table을 사용하였다. 필요한 컬럼은 title과 date가 필요할 것 같다.
Fullcalendar에는 start와 end요소가 있는데 각각 시작일과 종료일을 의미한다. 해당 API는 날짜를 ISO 8601 문자열로 인식하기 때문에 데이터를 가져올 때 형식에 맞게 가져올 수 있도록 주의하자.
// selectCalList 함수 수정
    function selectCalList() {
        $.ajax({
            url: '<%=request.getContextPath()%>/selectMoimCal.do',
            type: 'GET',
            data: {
                currentMonth: currentMonth
            },
            async: false,
            success: function (response) {
            	var events = [];

                // 서버에서 받은 데이터(response)를 이벤트 객체로 변환하여 배열에 추가
                for (var i = 0; i < response.length; i++) {
                    var res = response[i];
                    var event = {
                        title: res.title,
                        start: res.start
                    };

                    events.push(event);
                }

                console.log('Events:', events); // 콘솔 로그로 이벤트 확인
                initializeFullCalendar(events);
            },
            error: function () {
                // 에러 처리
                console.log('Failed to fetch data from the server.');
            }
        });
    }
서블릿과 통신하여 event배열을 만드는 함수이다. 데이터 베이스에서 정보를 가져와 json형식으로 만든 후에 fullcalender에 맞는 형식으로 배열을 생성했다.
데이터를 받는 것에 성공하면 event배열을 만들어 calender를 생성하는 함수에 보내준다.
function initializeFullCalendar(event1) {
        calendar = new FullCalendar.Calendar(calendarEl, {
            initialView: 'dayGridMonth',
            headerToolbar: {
                start: 'prev next today',
                center: 'title',
                end: 'dayGridMonth,dayGridWeek,dayGridDay'
            },
            titleFormat: function (date) {
                return date.date.year + '년 ' + (parseInt(date.date.month) + 1) + '월';
            },
            selectable: true,
            droppable: true,
            navLinks: true,
            editable: true,
            nowIndicator: true,
            locale: 'ko',
            events: event1, // 초기화 시 events 배열 사용
            datesSet: function (info) {
                currentMonth = info.view.title;
                calendar.refetchEvents(); // FullCalendar에 이벤트 업데이트

            }
        });

        calendar.render();
    }
event배열을 받아와서 <div id='calendar'></div> 에 출력하기만 하면 된다.

이렇게 DB와 연동해서 calendar에 표시해보았다.
다음에 사용하게되면 클릭이벤트를 추가해서 좀 더 다양한 커스텀을 해봐야겠다.