react-testing-library를 사용한 리액트 컴포넌트 테스트

react-testing-library에서는 Enzyme과 달리 모든 테스트를 컴포넌트의 props나 state를 조회하는 일 없이 DOM 위주로 진행합니다. 컴포넌트를 리팩토링하게 될 때에는, 주로 내부 구조 및 네이밍은 많이 바뀔 수 있어도 실제 작동 방식은 크게 바뀌지 않습니다. react-testing-library는 이 점을 중요시 여겨서, 컴포넌트의 기능이 똑같이 작동한다면 컴포넌트의 내부 구현 방식이 많이 바끼더라도 테스트가 실패하지 않도록 설계되었습니다.
추가적으로 Enzyme은 엄청나게 다양한 기능을 제공하는 반면, react-testing-library에는 정말 필요한 기능들만 지원을 해주기 때문에 매우 가볍고, 개발자들이 일관성 있고 좋은 관습을 따르는 테스트 코드를 작성할 수 있도록 유도해줍니다.
리액트 프로젝트 만들기
CRA를 통하여 새 프로젝트를 만든다.
$ npx create-react-app rtl-tutorial설치
@testing-library/react를 프로젝트 내 설치합니다. (아마 이미 설치되어있을 수도 있습니다.)
$ yarn add @testing-library/react -D
# npm install --save-dev @testing-
library/react
$ yarn add @testing-library/jest-dom -D
# jest-dom도 설치해주세요.
npx create-react-app을 이용하여 설치하는 경우, src 디렉토리에 setupTests.js 파일이 생성되어 있습니다. 또한,jest도 설치되어 있습니다.
src/setupTests.js
import "@testing-library/jest-dom";첫번째 테스트 코드
username과 name을 props로 넣어주면 이를 렌더링해주는 Profile 컴포넌트를 만들어 봅시다.
src/Profile.js
import React from "react";
const Profile = ({ username, name }) => {
return (
<div>
<b>{username}</b>
<span>{name}</span>
</div>
);
};
export default Profile;
해당 컴포넌트가 렌더링이 잘되는지 먼저 확인해보겠습니다.
import Profile from "./Profile";
function App() {
return (
<div className="App">
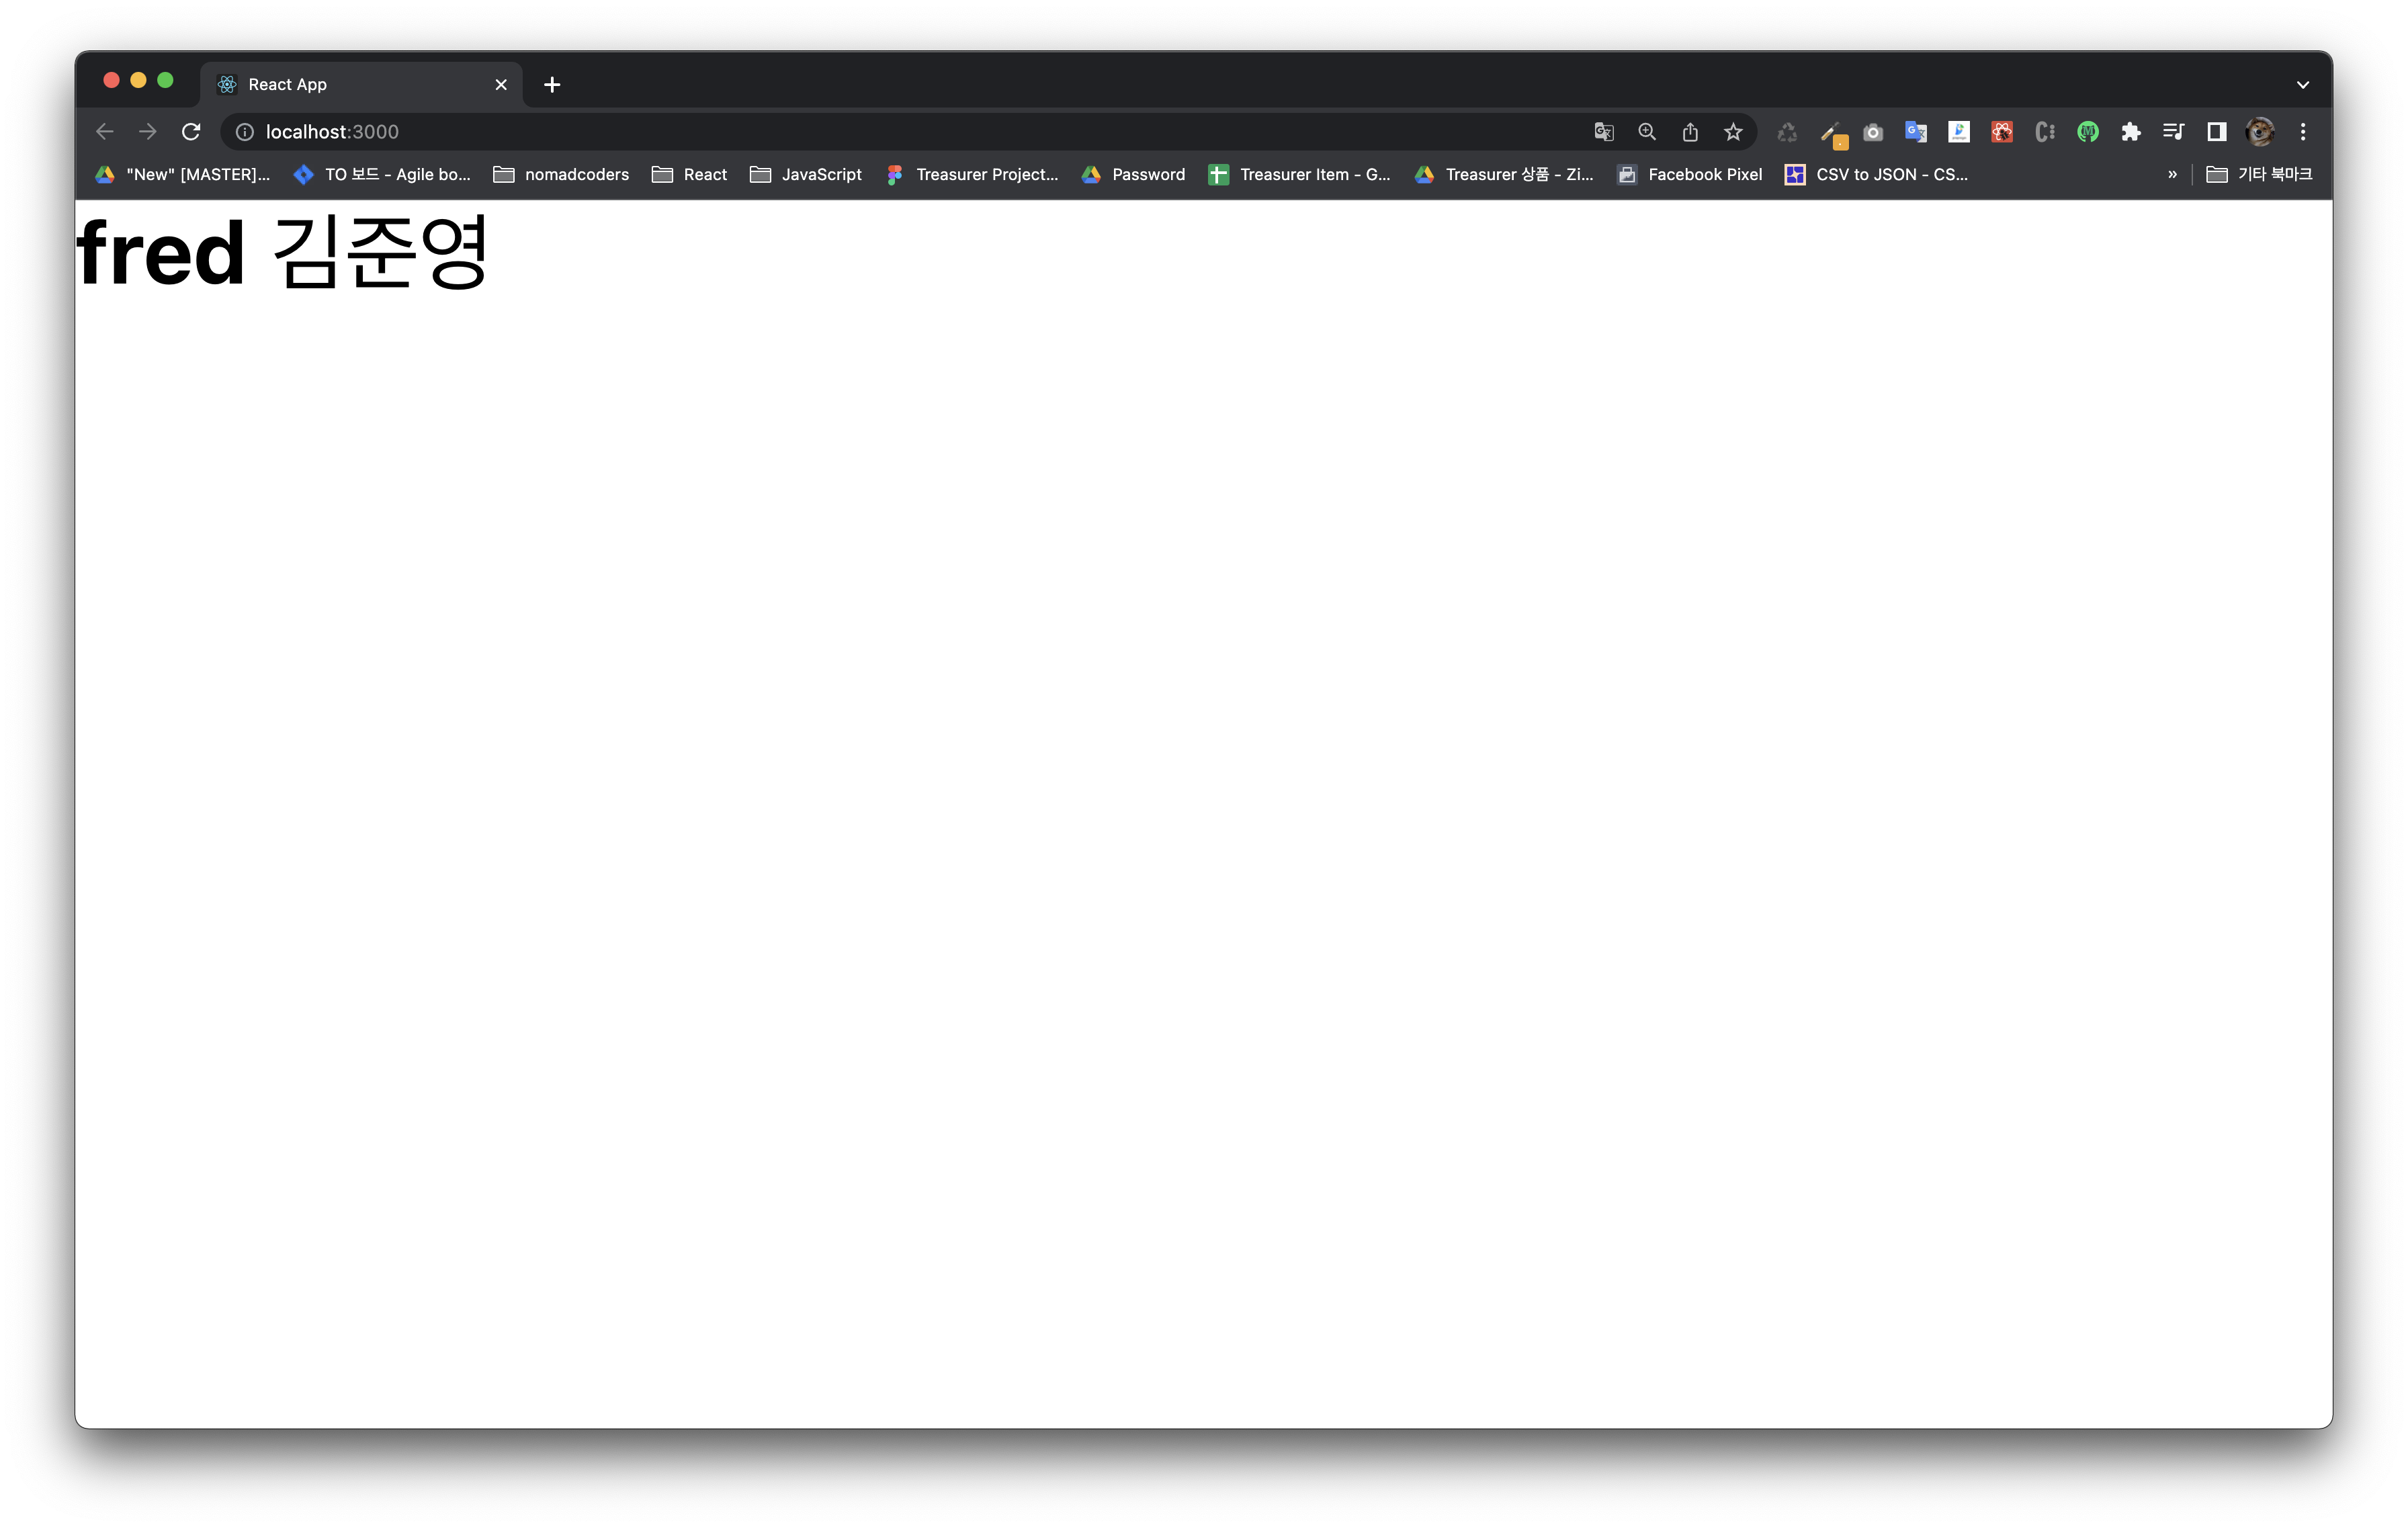
<Profile username="fred" name="김준영" />
</div>
);
}
export default App;
App.js에 Profile.js를 import 해준 후, yarn start 혹은, npm start를 입력하여 결과가 아래와 같이 나오는지 확인해주세요.
그리고, Profile 컴포넌트를 위한 테스트 코드를 작성해봅니다.
src/Profile.test.js
import React from "react";
import { render, screen } from "@testing-library/react";
import Profile from "./Profile";

describe("<Profile />", () => {
  it("matches snapshot", () => {
    const utils = render(<Profile username="fred" name="김준영" />);
    expect(utils.container).toMatchSnapshot();
  });
  it("shows the props correctly", () => {
    render(<Profile username="fred" name="김준영" />);
    screen.getByText("fred"); // fred 라는 텍스트를 가진 엘리먼트가 있는지 확인
    screen.getByText("김준영"); // (김준영) 이라는 텍스트를 가진 엘리먼트가 있는지 확인
    screen.getByText(/김/); // 정규식 /김/ 을 통과하는 엘리먼트가 있는지 확인
  });
});
yarn test 혹은 npm test를 실행하여 테스트 코드가 잘 통과하는지 확인해주세요. (아래와 같은 텍스트가 노출되어야 합니다.)
 PASS  src/Profile.test.js
  <Profile />
    ✓ matches snapshot (13 ms)
    ✓ shows the props correctly (15 ms)

Test Suites: 1 passed, 1 total
Tests:       2 passed, 2 total
Snapshots:   1 passed, 1 total
Time:        0.491 s, estimated 1 s
Ran all test suites related to changed files.

Watch Usage: Press w to show more.
기본적으로 있는
App.test.js는 삭제해주세요.
@testing-library/react에서 컴포넌트를 렌더링 할 때에는 redner()라는 함수를 사용합니다. 이 함수가 호출되면 그 결과물에는 DOM을 선택할 수 있는 다양한 쿼리들과 container가 포함되어있는데, 여기서 container는 해당 컴포넌트 최상위 DOM을 가리킵니다. 이를 가지고 스냅샷 테스팅을 할 수도 있습니다.
그리고, 하단의 getByText는 쿼리함수라고 부르는데, 이 함수를 사용하면 텍스트를 선택하여 원하는 DOM에 접근할 수 있습니다.
스냅샷 테스팅
스냅샷 테스팅이란, 렌더링된 결과가 이전에 렌더링한 결과와 일치하는지 확인하는 작업을 의미합니다.
코드를 저장하면 src/__snapshots__/Profile.test.js.snap이라는 파일이 다음과 같이 만들어집니다.
// Jest Snapshot v1, https://goo.gl/fbAQLP

exports[`<Profile /> matches snapshot 1`] = `
<div>
  <div>
    <b>
      fred
    </b>

    <span>
      김준영
    </span>
  </div>
</div>
`;
컴포넌트가 렌더링됐을 때 이 스냅샷과 일치하지 않으면 테스트가 실패합니다. 만약에 스냅샷을 업데이트 하고싶다면 테스트가 실행되고 있는 콘솔 창에서 u 키를 누르면 됩니다.
다양한 쿼리
render 함수를 실행하고 나면 그 결과물 안에는 다양한 쿼리 함수들이 있는데요, 이 쿼리 함수들은 react-testing-library 의 기반인 dom-testing-library 에서 지원하는 함수들입니다.
이 쿼리 함수들은 Variant 와 Queries 의 조합으로 네이밍이 이루어져있는데요, 우선 Varient 에는 어떤 종류들이 있는지 봅시다.
Variant
getBy
getBy* 로 시작하는 쿼리는 조건에 일치하는 DOM 엘리먼트 하나를 선택합니다. 만약에 없으면 에러가 발생합니다.
getAllBy
getAllBy* 로 시작하는 쿼리는 조건에 일치하는 DOM 엘리먼트 여러개를 선택합니다. 만약에 하나도 없으면 에러가 발생합니다.
queryBy
queryBy* 로 시작하는 쿼리는 조건에 일치하는 DOM 엘리먼트 하나를 선택합니다. 만약에 존재하지 않아도 에러가 발생하지 않습니다.
queryAllBy
queryAllBy* 로 시작하는 쿼리는 조건에 일치하는 DOM 엘리먼트 여러개를 선택합니다. 만약에 존재하지 않아도 에러가 발생하지 않습니다.
findBy
findBy* 로 시작하는 쿼리는 조건에 일치하는 DOM 엘리먼트 하나가 나타날 때 까지 기다렸다가 해당 DOM 을 선택하는 Promise 를 반환합니다. 기본 timeout 인 4500ms 이후에도 나타나지 않으면 에러가 발생합니다.
findAllBy
findBy* 로 시작하는 쿼리는 조건에 일치하는 DOM 엘리먼트 여러개가 나타날 때 까지 기다렸다가 해당 DOM 을 선택하는 Promise 를 반환합니다. 기본 timeout 인 4500ms 이후에도 나타나지 않으면 에러가 발생합니다.
Queries
ByLabelText
ByLabelText 는 label 이 있는 input 의 label 내용으로 input 을 선택합니다.
<label for="username-input">아이디</label>
<input id="username-input" />

const inputNode = getByLabelText('아이디');
ByPlaceholderText
ByPlaceholderText 는 placeholder 값으로 input 및 textarea 를 선택합니다.
<input placeholder="아이디" />;

const inputNode = getByPlaceholderText('아이디');
ByText
ByText는 엘리먼트가 가지고 있는 텍스트 값으로 DOM 을 선택합니다.
<div>Hello World!</div>;

const div = getByText('Hello World!');
참고로, 텍스트 값에 정규식을 넣어도 작동합니다.
const div = getByText(/^Hello/);ByAltText
ByAltText 는 alt 속성을 가지고 있는 엘리먼트 (주로 img) 를 선택합니다.
<img src="/awesome.png" alt="awesome image" />;

const imgAwesome = getByAltText('awesomse image');
ByTitle
ByTitle 은 title 속성을 가지고 있는 DOM 혹은 title 엘리먼트를 지니고있는 SVG 를 선택 할 때 사용합니다.
title 속성은 html 에서 툴팁을 보여줘야 하는 상황에 사용하곤 합니다.
<p>
  <span title="React">리액트</span>는 짱 멋진 라이브러리다.
</p>

<svg>
  <title>Delete</title>
  <g><path/></g>
</svg>

const spanReact = getByTitle('React');
const svgDelete = getByTitle('Delete');
ByDisplayValue
ByDisplayValue 는 input, textarea, select 가 지니고 있는 현재 값을 가지고 엘리먼트를 선택합니다.
<input value="text" />;

const input = getByDisplayValue('text');
ByRole
ByRole은 특정 role 값을 지니고 있는 엘리먼트를 선택합니다.
<span role="button">삭제</span>;

const spanRemove = getByRole('button');
ByTestId
ByTestId 는 다른 방법으로 못 선택할때 사용하는 방법인데요, 특정 DOM 에 직접 test 할 때 사용할 id 를 달아서 선택하는 것을 의미합니다.
<div data-testid="commondiv">흔한 div</div>;

const commonDiv = getByTestId('commondiv');
주의:
camelCase가 아닙니다. 값을 설정할때data-testid="..."이렇게 설정하셔야합니다. 추가적으로, ByTestId 는 다른 방법으로 선택할 수 없을때에만 사용해야합니다.
어떤 쿼리를 사용해야 할까?
쿼리의 종류가 정말 많죠? 그렇다면, 어떤 쿼리를 우선적으로 사용해야 할까요? 매뉴얼 에서는 다음 우선순위를 따라서 사용하는것을 권장하고있습니다.
- getByLabelText
- getByPlaceholderText
- getByText
- getByDisplayValue
- getByAltText
- getByTitle
- getByRole
- getByTestId
Counter 컴포넌트 테스트 코드 작성하기
이번에는 Counter 컴포넌트를 만들고, 이를 위한 테스트 코드를 작성해봅시다.
먼저 Counter.js 파일을 생성해서 다음 코드를 작성하세요.
src/Counter.js
import React, { useState, useCallback } from 'react';

const Counter = () => {
  const [number, setNumber] = useState(0);

  const onIncrease = useCallback(() => {
    setNumber(number + 1);
  }, [number]);

  const onDecrease = useCallback(() => {
    setNumber(number - 1);
  }, [number]);

  return (
    <div>
      <h2>{number}</h2>
      <button onClick={onIncrease}>+1</button>
      <button onClick={onDecrease}>-1</button>
    </div>
  );
};

export default Counter;
그리고, 이 컴포넌트를 App 에서 렌더링하여 잘 작동하는지 확인해보세요.
import React from 'react';
import Counter from './Counter';

const App = () => {
  return <Counter />;
};

export default App;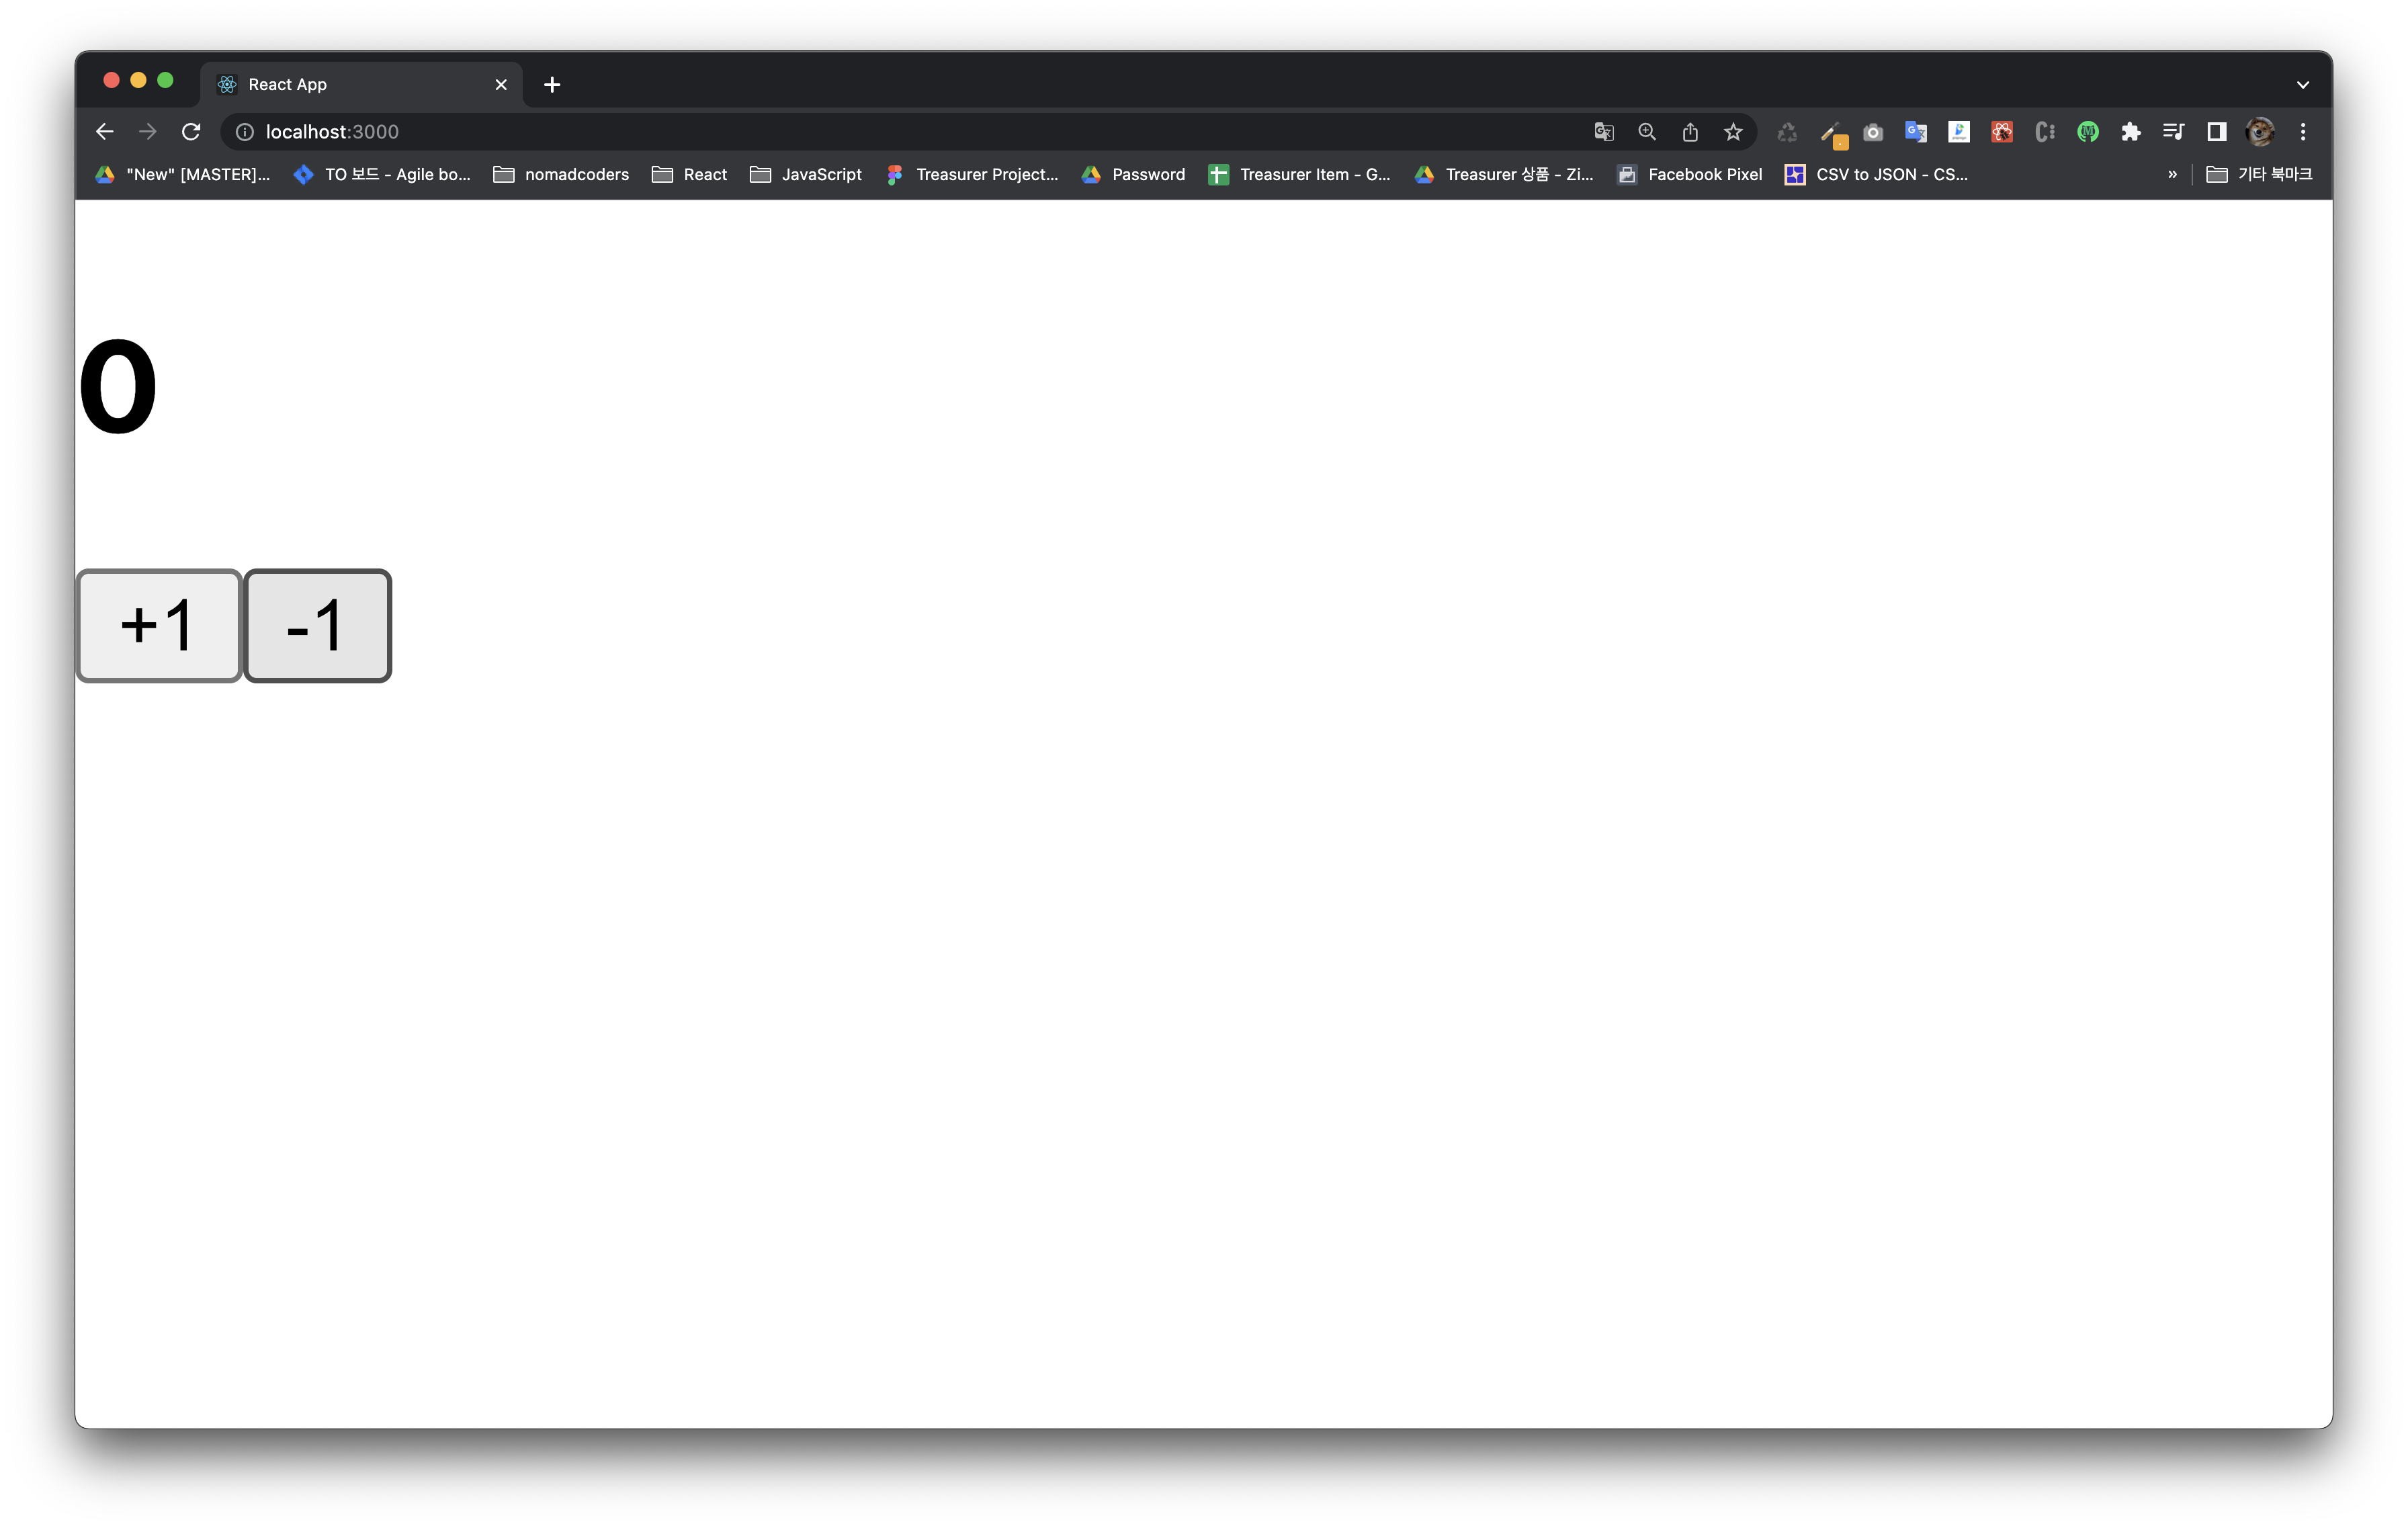
위와 같이 잘 보여지시나요?
Counter를 위한 테스트 코드를 작성해보겠습니다.
src/Counter.test.js
import React from "react";
import { render, fireEvent, screen } from "@testing-library/react";
import Counter from "./Counter";

describe("<Counter />", () => {
  it("matches snapshot", () => {
    const utils = render(<Counter />);
    expect(utils.container).toMatchSnapshot();
  });
  it("has a number and two buttons", () => {
    render(<Counter />);
    // 버튼과 숫자가 있는지 확인
    screen.getByText("0");
    screen.getByText("+1");
    screen.getByText("-1");
  });
  it("increases", () => {
    render(<Counter />);
    const number = screen.getByText("0");
    const plusButton = screen.getByText("+1");
    // 클릭 이벤트를 두번 발생시키기
    fireEvent.click(plusButton);
    fireEvent.click(plusButton);
    expect(number).toHaveTextContent("2"); // jest-dom 의 확장 matcher 사용
    expect(number.textContent).toBe("2"); // textContent 를 직접 비교
  });
  it("decreases", () => {
    render(<Counter />);
    const number = screen.getByText("0");
    const plusButton = screen.getByText("-1");
    // 클릭 이벤트를 두번 발생시키기
    fireEvent.click(plusButton);
    fireEvent.click(plusButton);
    expect(number).toHaveTextContent("-2"); // jest-dom 의 확장 matcher 사용
  });
});
이벤트 다루기
여기서 fireEvent()라는 함수를 불러와서 사용했는데요, 이 함수는 이벤트를 발생시켜줍니다. 사용법은 다음과 같습니다.
fireEvent.이벤트이름(DOM, 이벤트객체);클릭 이벤트의 경우엔 이벤트객체를 따로 넣어주지 않아도 되지만, 예를 들어서 change 이벤트의 경우엔 다음과 같이 해주어야합니다.
fireEvent.change(myInput, { target: { value: 'hello world' } });