
네스트JS 컨트롤러의 요청 데코레이터 정리
서비스 로직 분리 전 이해를 돕기 위해 작성한 코드
import {
Body,
Controller,
Delete,
Get,
Param,
Patch,
Post,
Put,
Query,
} from '@nestjs/common';
import { AppService } from './app.service';
@Controller('user')
export class AppController {
constructor(private readonly appService: AppService) {}
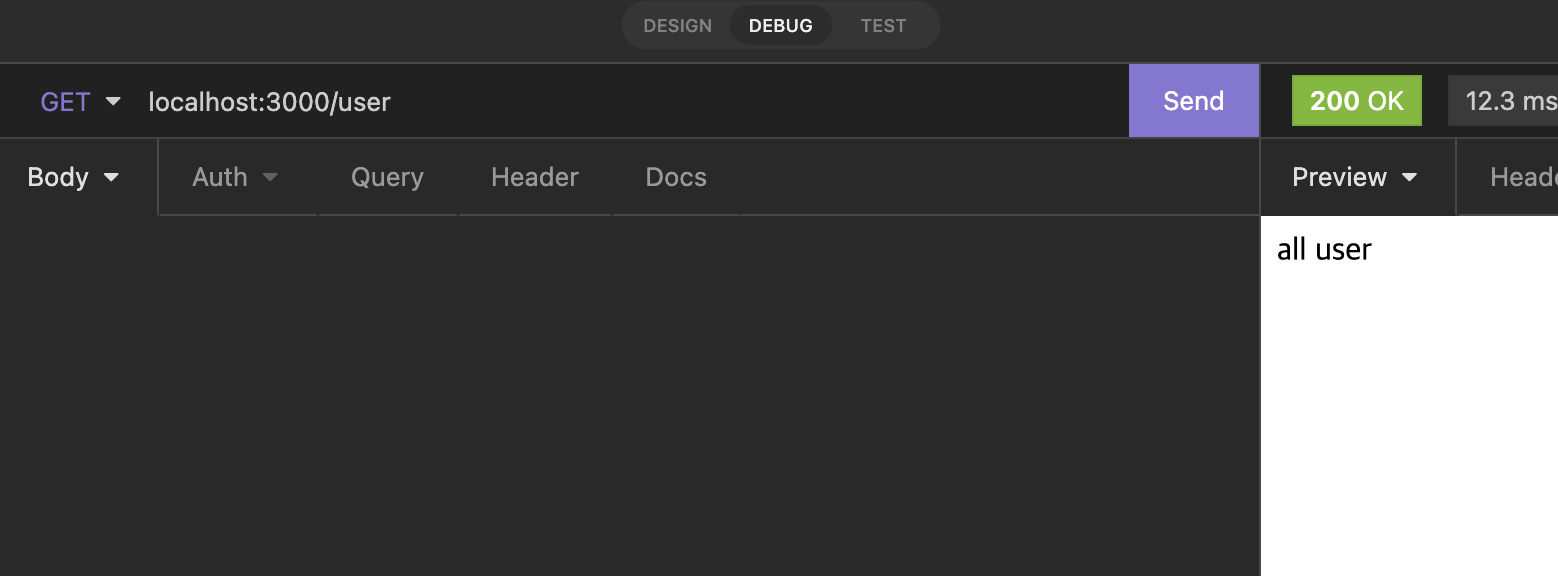
@Get()
getAllUser(): string {
return 'all user';
}
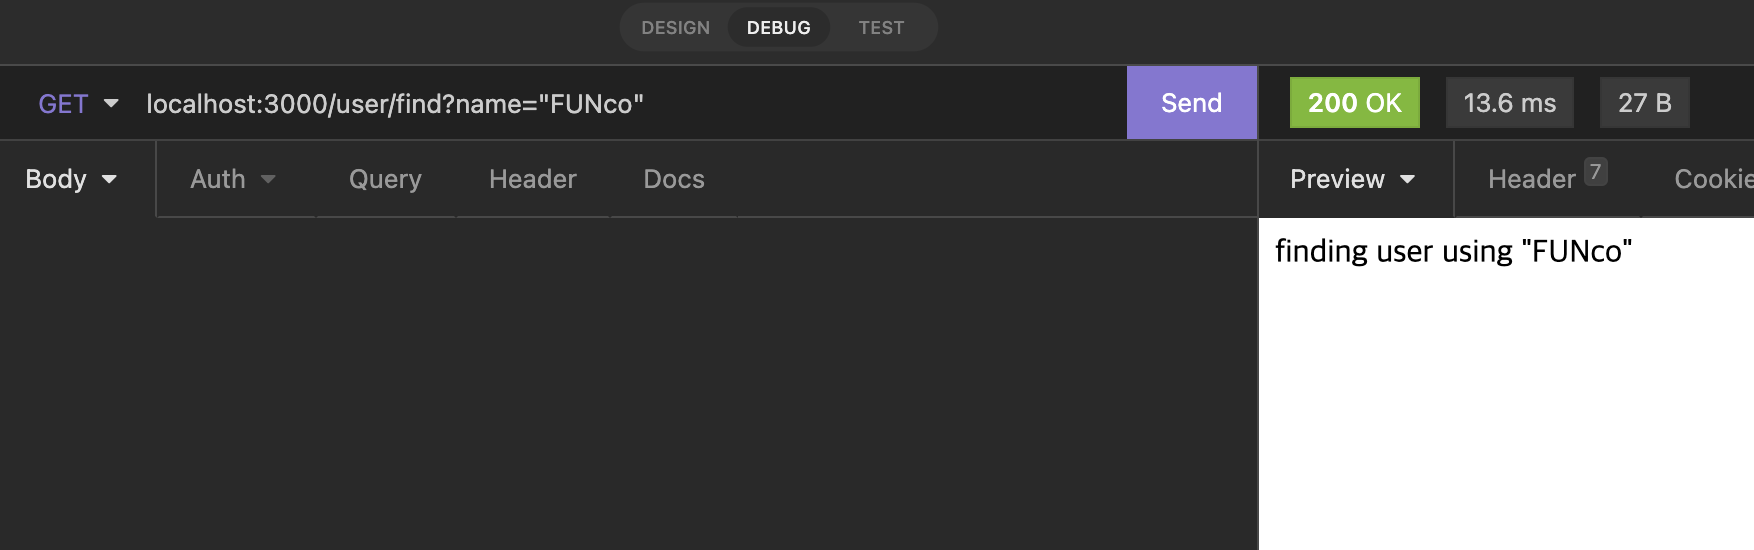
@Get('/find')
findUserId(@Query('name') queryKey): string {
return `finding user using ${queryKey} `;
}
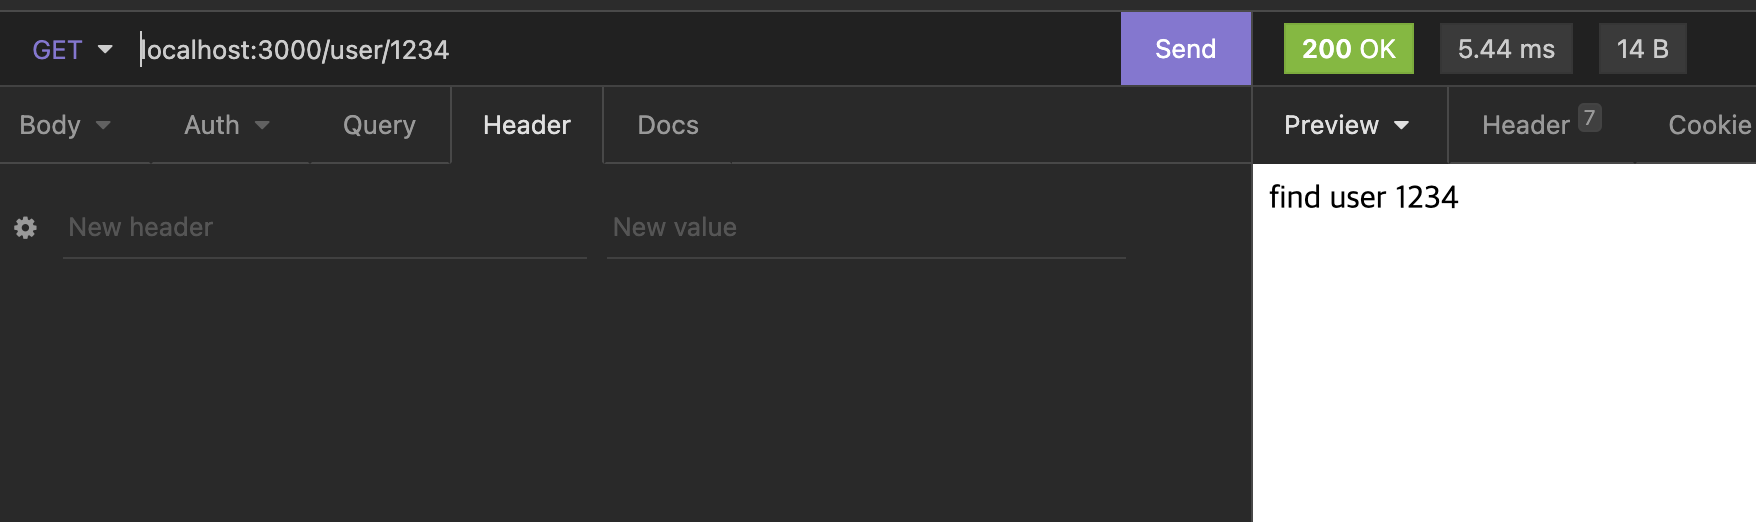
@Get('/:id')
getOneUser(@Param('id') userId: string): string {
return `find user ${userId}`;
}
@Post('/register')
createUser(@Body() newUser): string {
return `user ${newUser.name} created`;
}
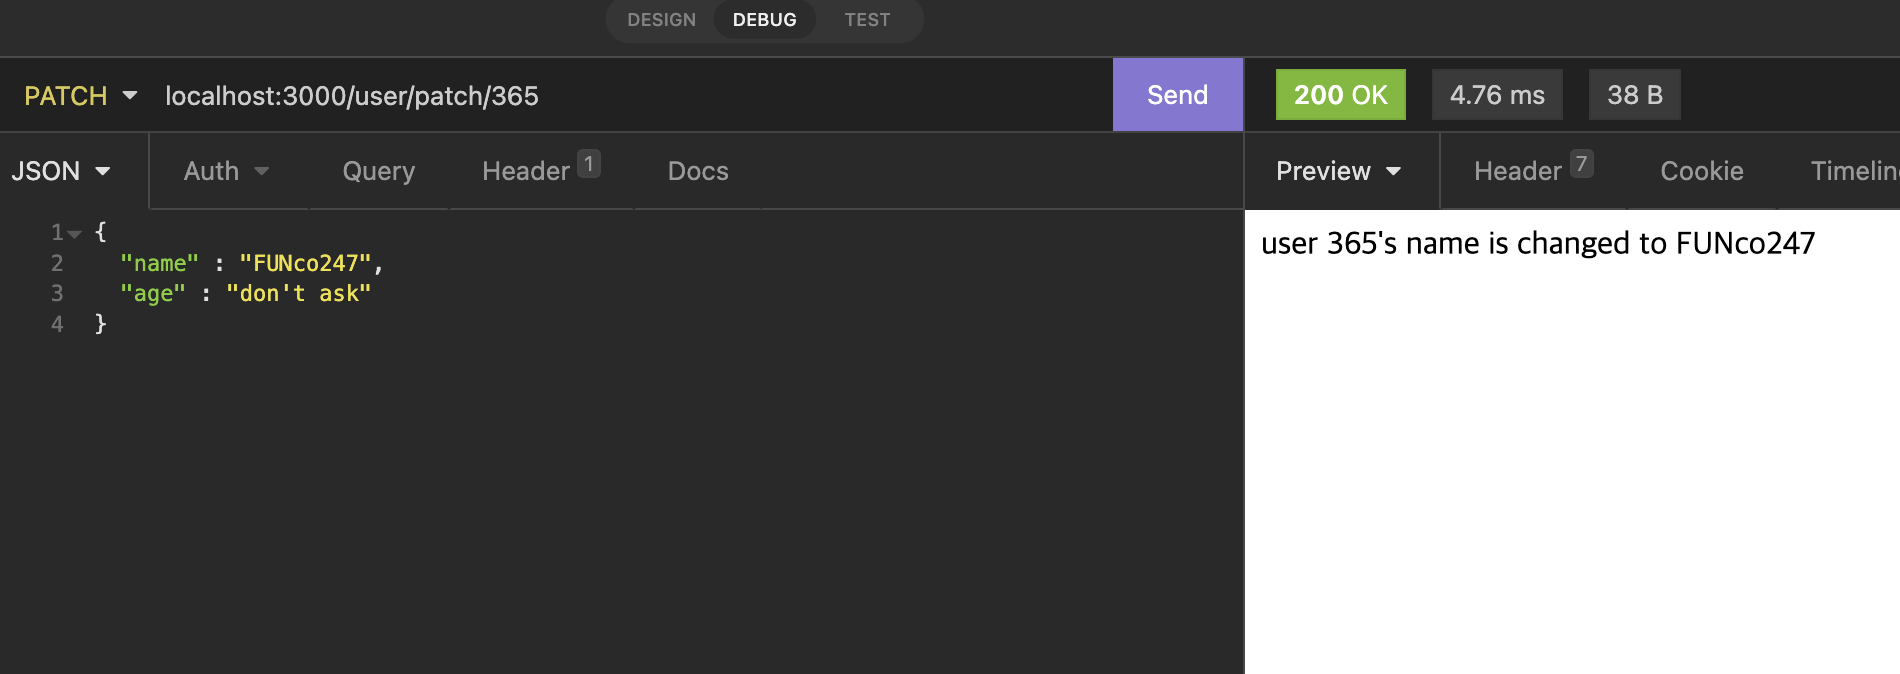
@Patch('/patch/:id')
patchUser(@Param('id') userId: string, @Body() updatedUser): string {
return `user ${userId}'s name is changed to ${updatedUser.name}`;
}
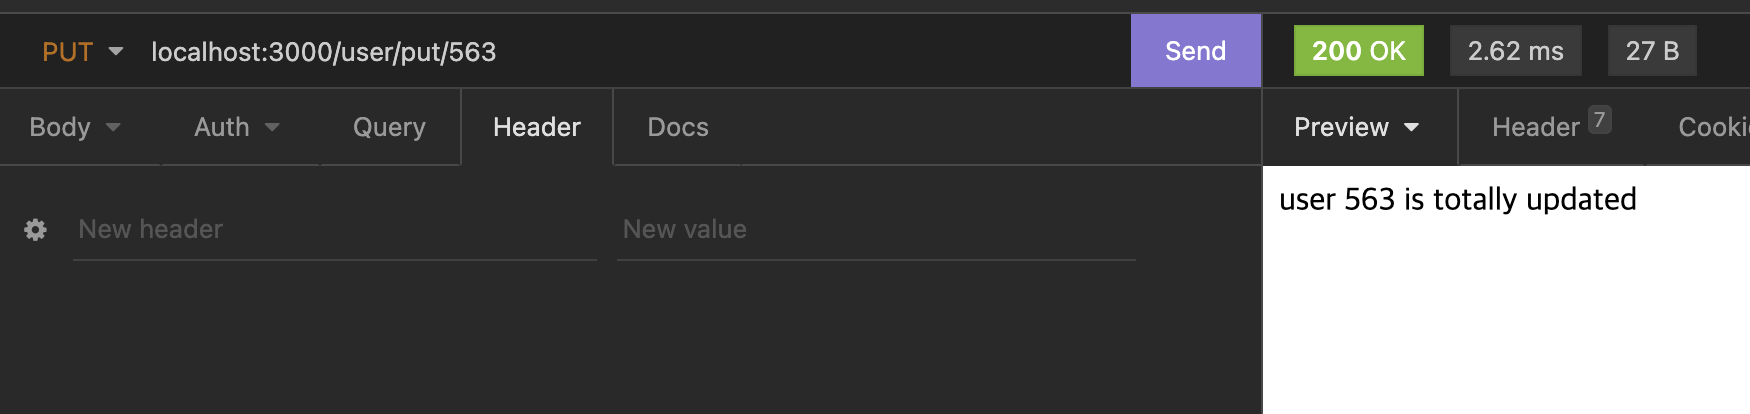
@Put('/put/:id')
putUser(@Param('id') userId: string): string {
return `user ${userId} is totally updated`;
}
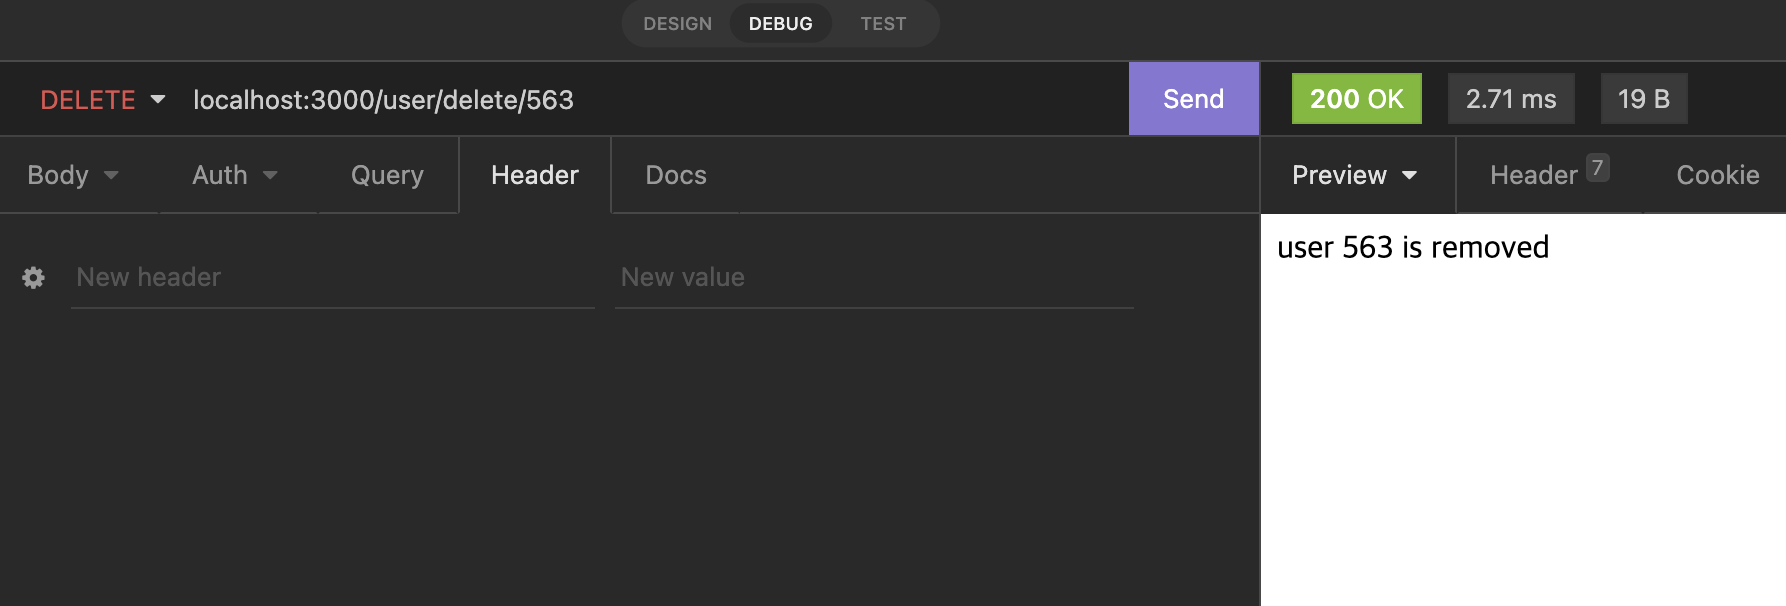
@Delete('/delete/:id')
deleteUser(@Param('id') userId: string): string {
return `user ${userId} is removed`;
}
}
user를 다루는 라우터 및 핸들러를 만든다고 가정한다. 컨트롤러의 첫 줄에 의해 이 요청 URL은 /user에 그룹화 되어있다.
그럼 각각 요청 URL과 처리 결과를 보면서 이해해보자.
-
getAllUser
-
findUserId
-
getOneUser
-
createUser

-
patchUser
-
putUser
-
deleteUser

T.T