컨테이너에 프로그램을 띄울 수 있다고 했는데, 컨테이너끼리 통신을 해야 하는 경우도 있습니다. 그 전에 Reverse Proxy 를 써보겠습니다. 대표적으로 Nginx 를 도커에서 컨테이너로 띄워보겠습니다.
-
nginx 설정파일을 작성하는 방법부터 알아보겠습니다. 작업 폴더에서 nginx 라는 폴더를 만들고, config 파일을 만들어줍니다. linux 의 경우, /etc/nginx/conf.d 폴더에 이 파일을 넣으면 끝입니다. 그럼 자동으로 config 파일을 덮어씌워 줄 것입니다.
// nginx/myconfig1.conf

server {
        listen 80;
        location / {
            proxy_pass http://localhost:8080;
            proxy_set_header Host $host;
            proxy_set_header X-Real-IP $remote_addr;
            proxy_set_header X-Forwarded-For $proxy_add_x_forwarded_for;
            proxy_set_header X-Forwarded-Proto $scheme;
        }
}
-
위처럼 설정해주면, nginx.conf 라는 디폴트 파일에서는 아래의 코드처럼 될 것입니다.
// nginx.conf

http{
    server {
        listen 80;
        location / {
            proxy_pass http://localhost:8080;
            proxy_set_header Host $host;
            proxy_set_header X-Real-IP $remote_addr;
            proxy_set_header X-Forwarded-For $proxy_add_x_forwarded_for;
            proxy_set_header X-Forwarded-Proto $scheme;
        }
    }
}
-
그런데 자동생성파일이 우리가 생성한 파일보다 우선 적용될 수도 있습니다. 그래서 삭제하거나 덮어 쓰고, 아래의 터미널을 입력하면 nginx가 실행됩니다.
// /etc/nginx/conf.d/default.conf

(자동생성파일)
nginx -g daemon off;
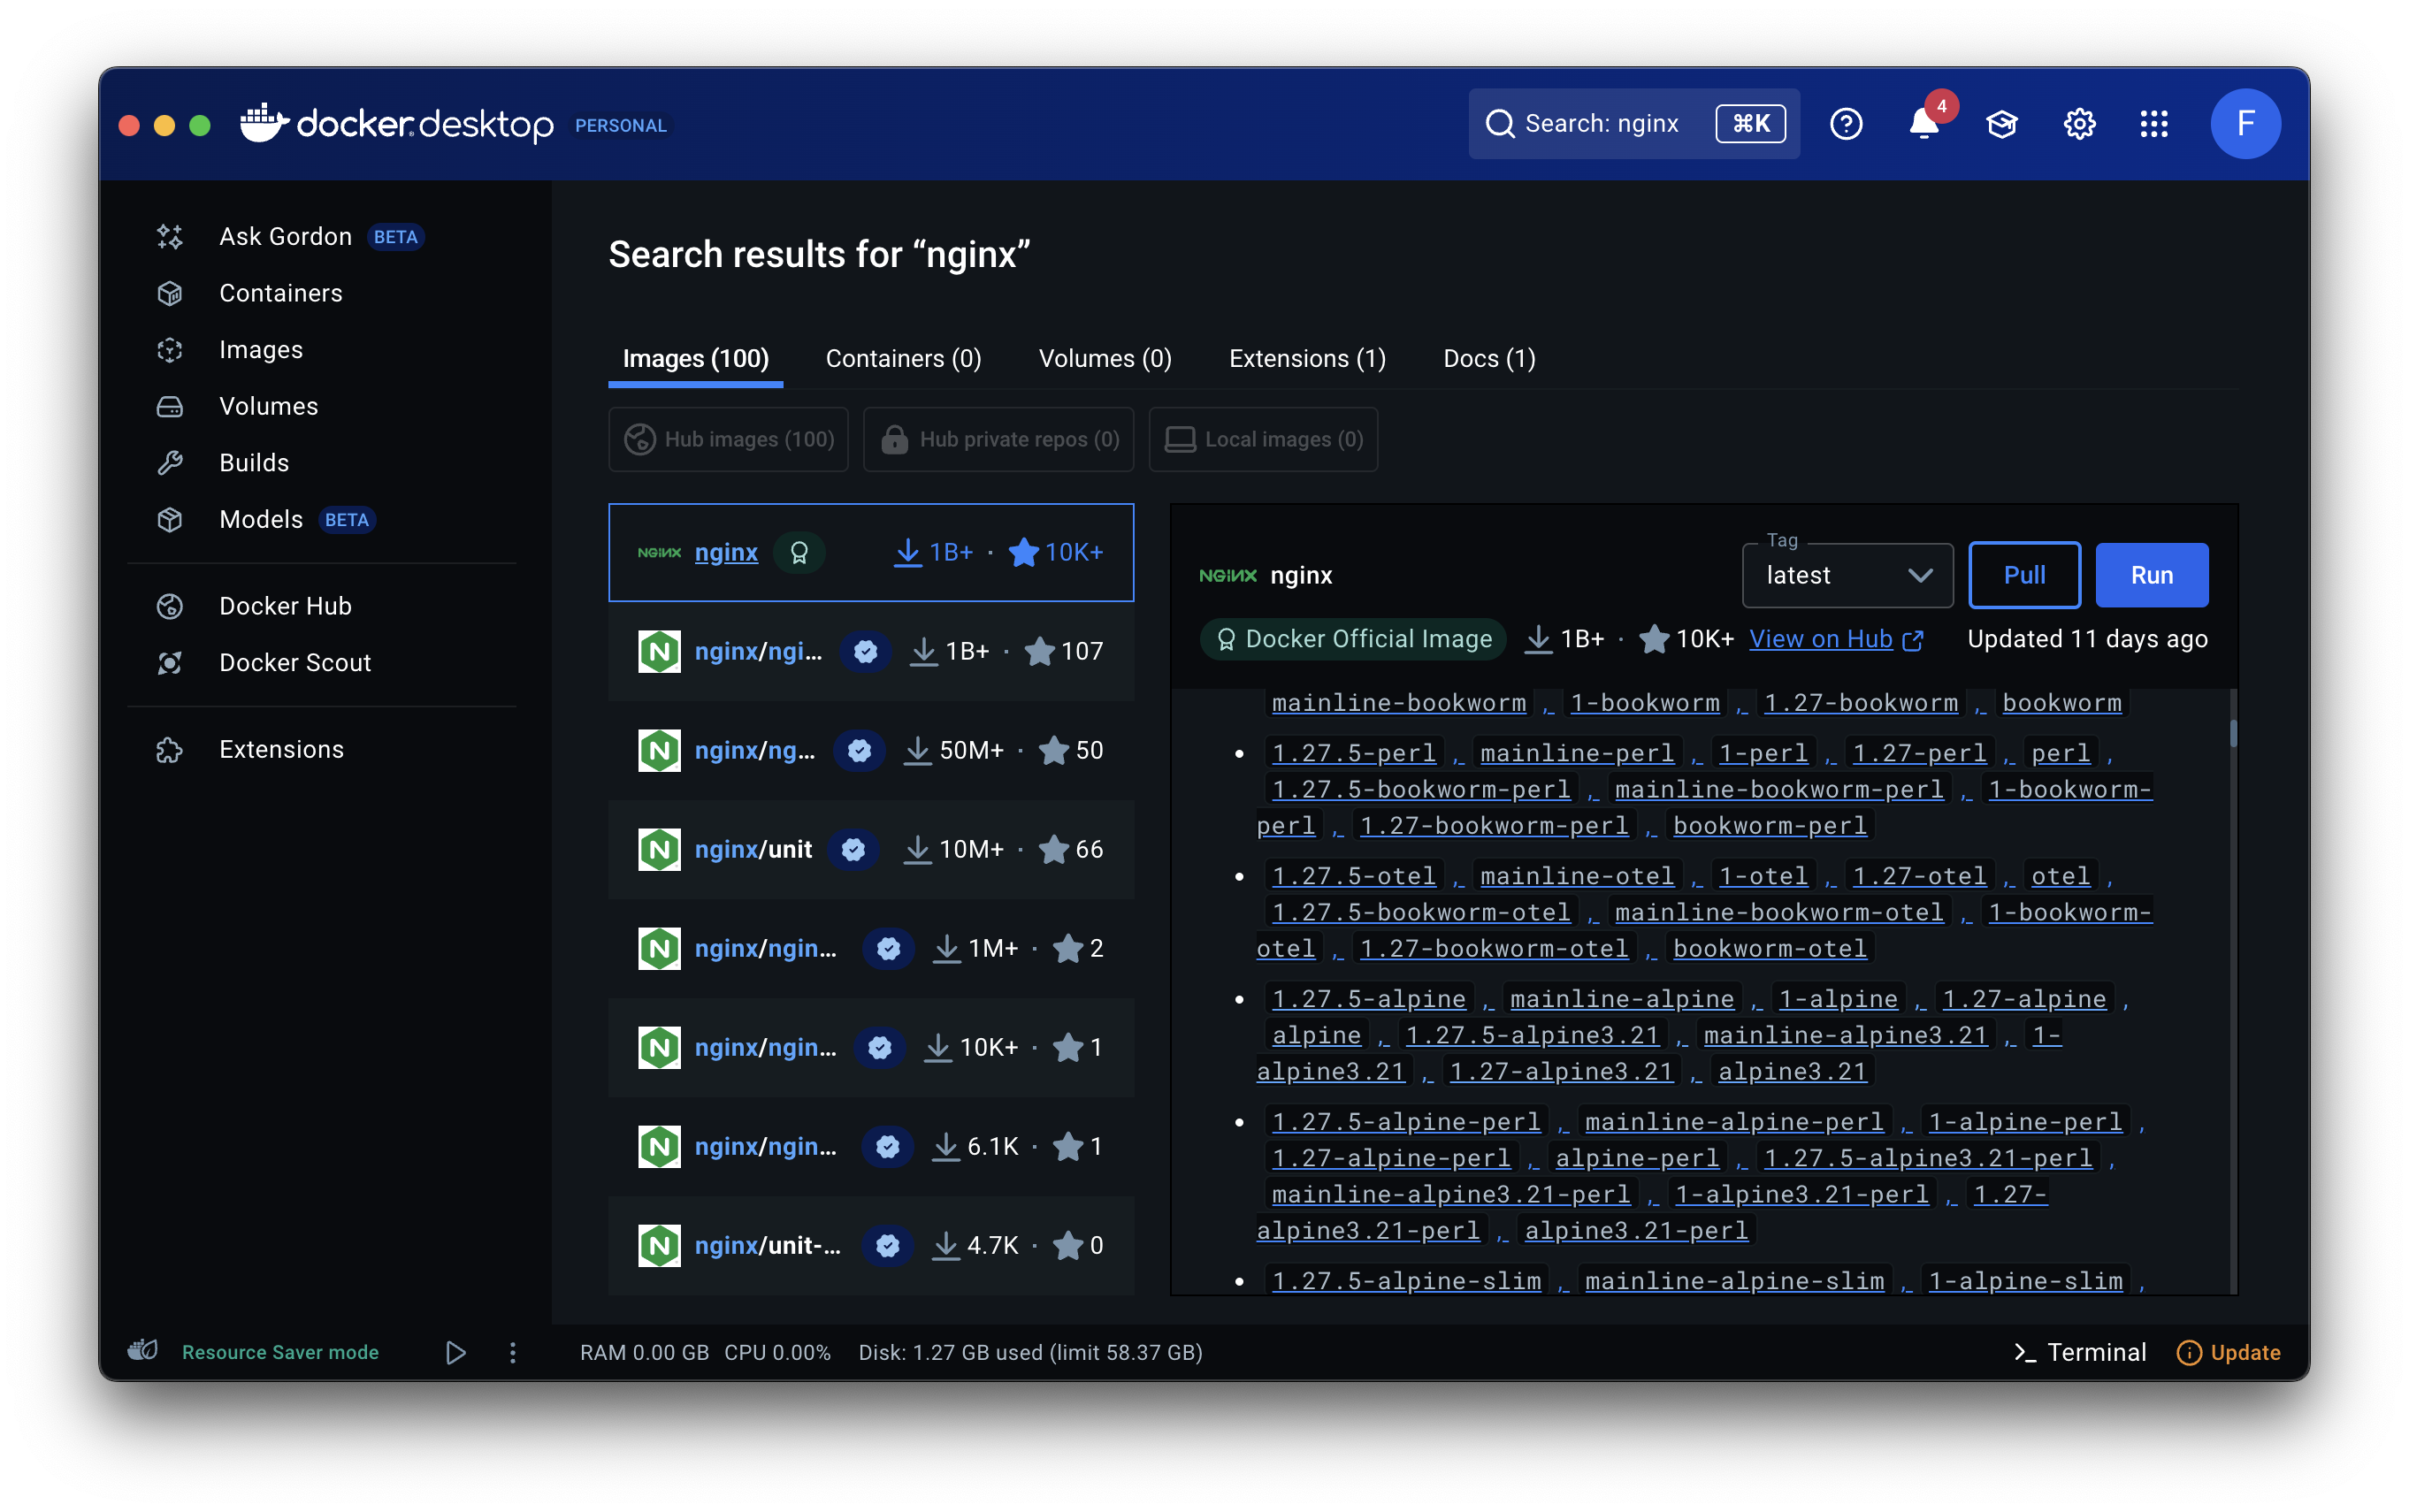
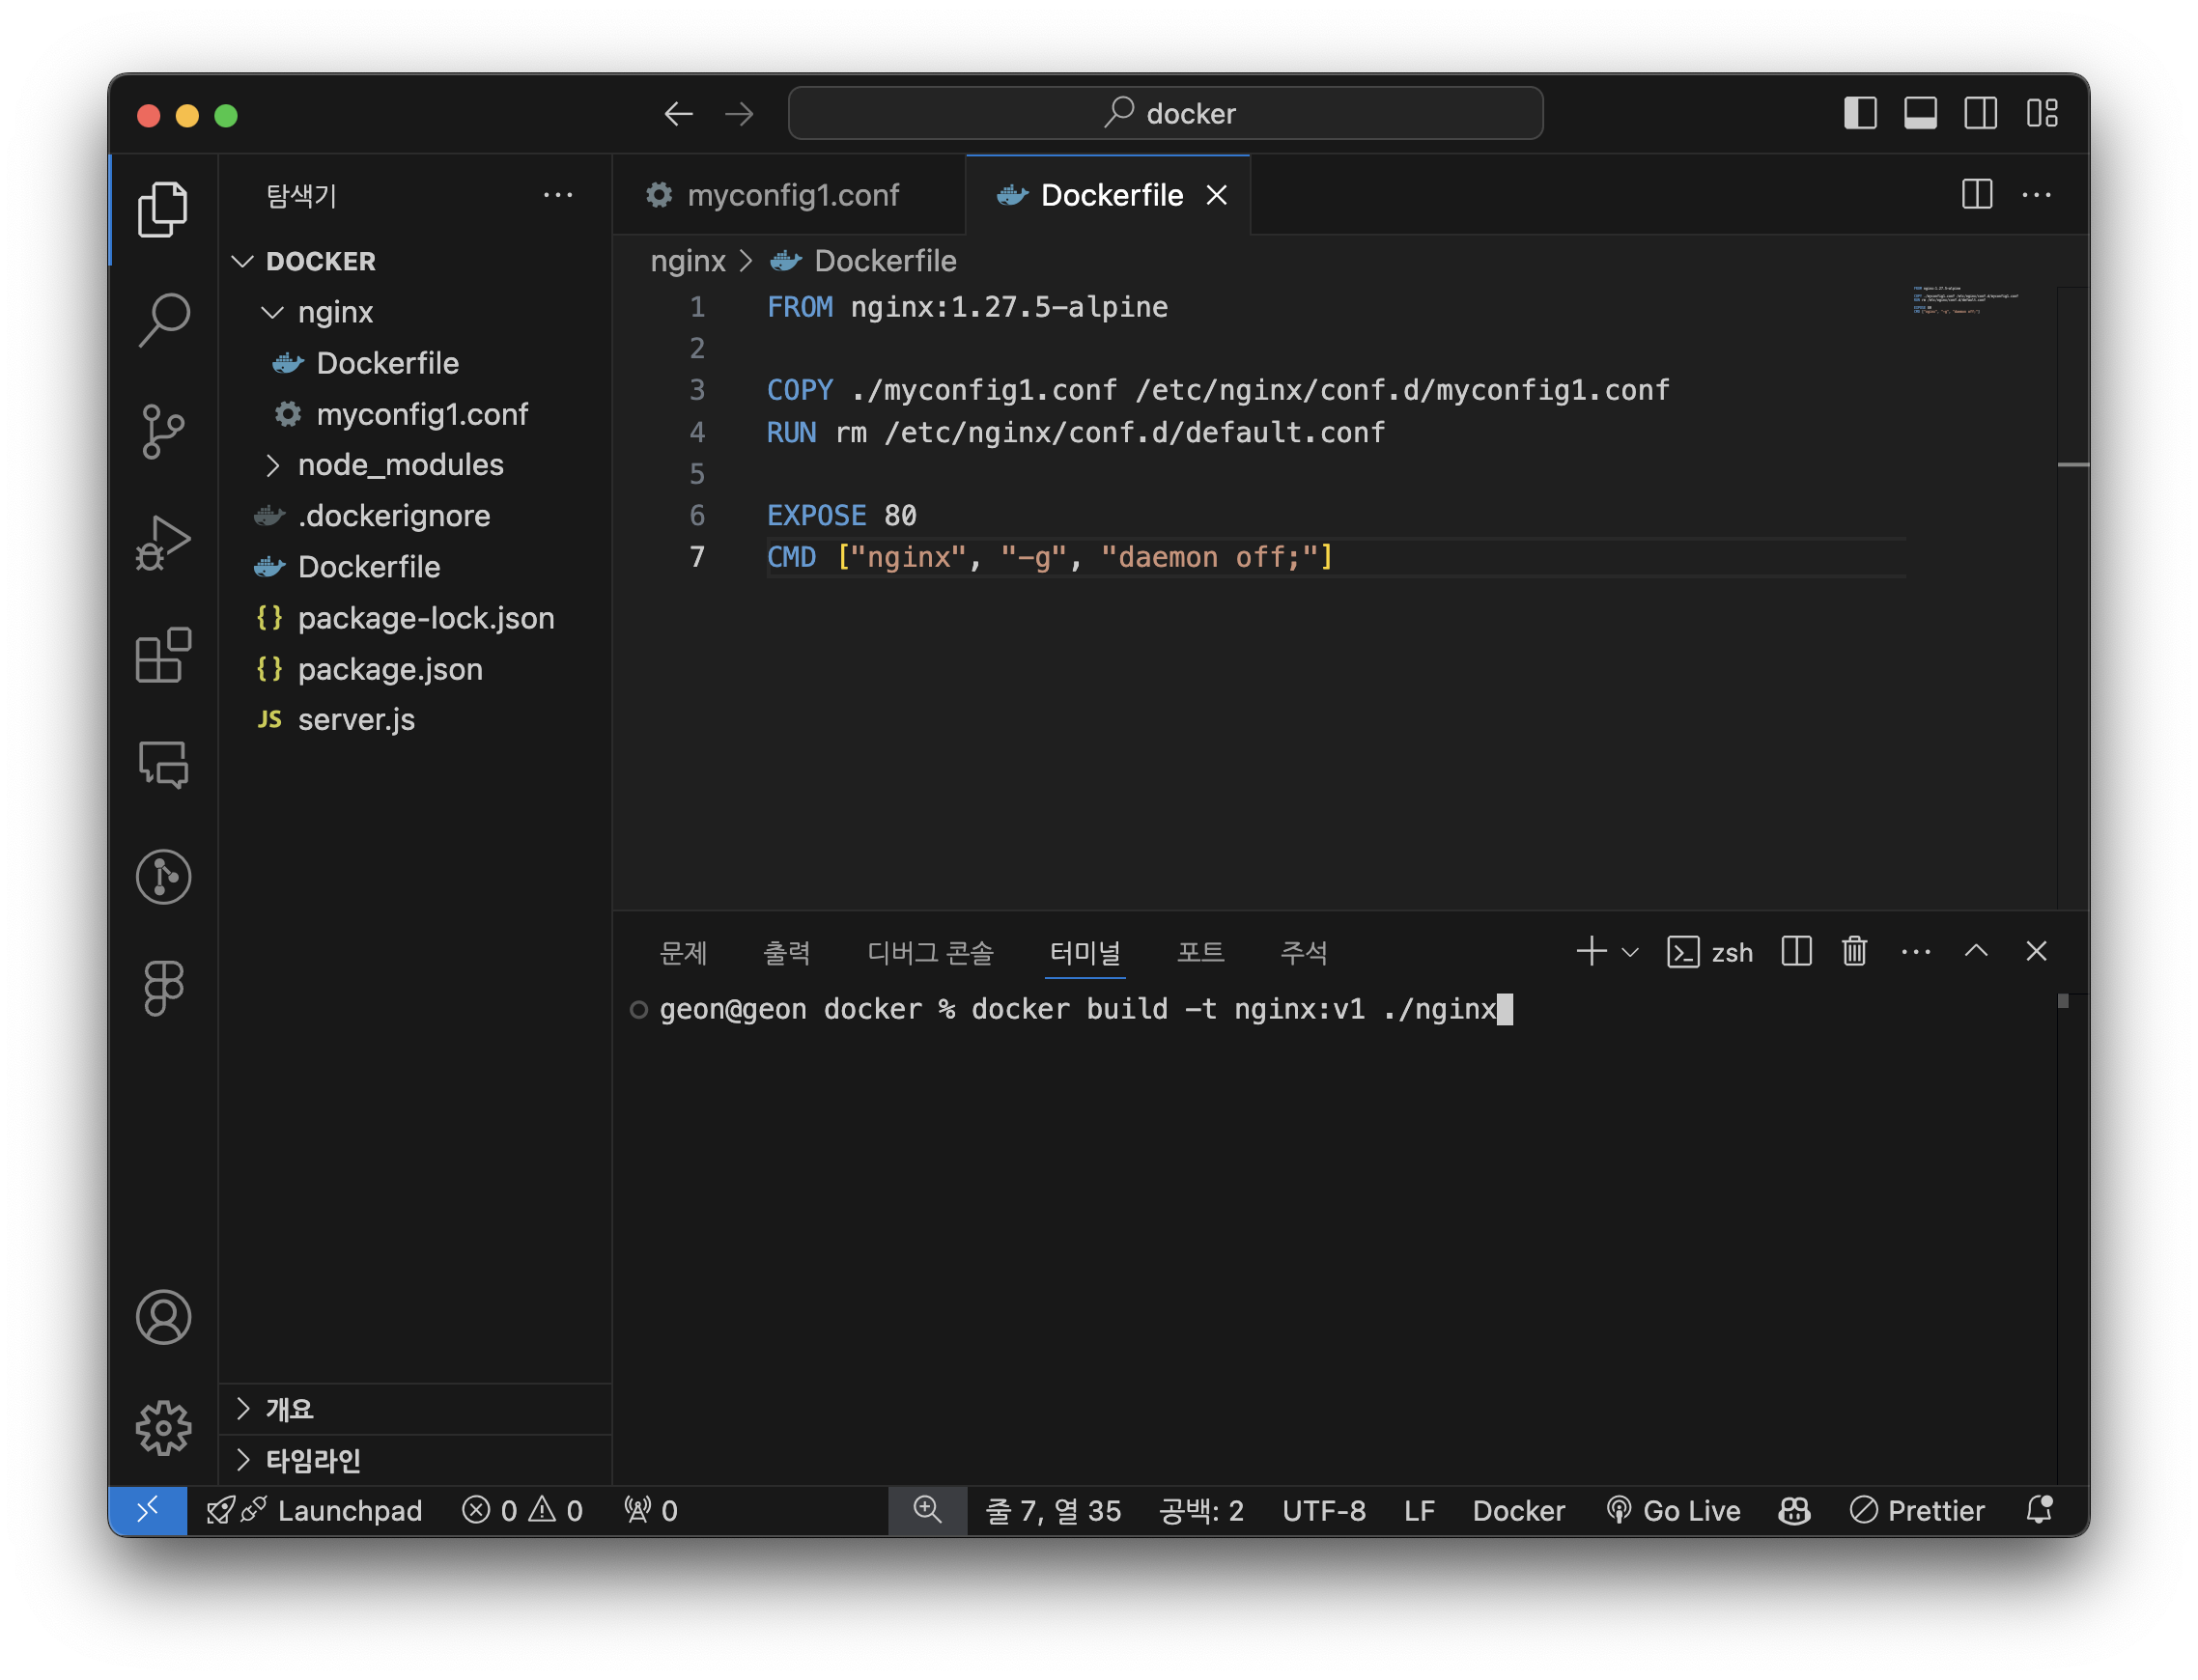
- 지금까지의 지식을 바탕으로 Dockerfile 을 하나 더 만들고, Docker Desktop 에서 nginx 를 검색하여 나온 1.27.5-alpine 을 작성할 때 사용해보도록 하겠습니다.
-
위에서 정리한대로, Dockerfile 을 작성해보면 아래와 같습니다.
FROM nginx:1.27.5-alpine

COPY ./myconfig1.conf /etc/nginx/conf.d/myconfig1.conf
RUN rm /etc/nginx/conf.d/default.conf

EXPOSE 80
CMD ["nginx", "-g", "daemon off;"]
- 이제 빌드 명령어 기반으로 빌드를 해주겠습니다.
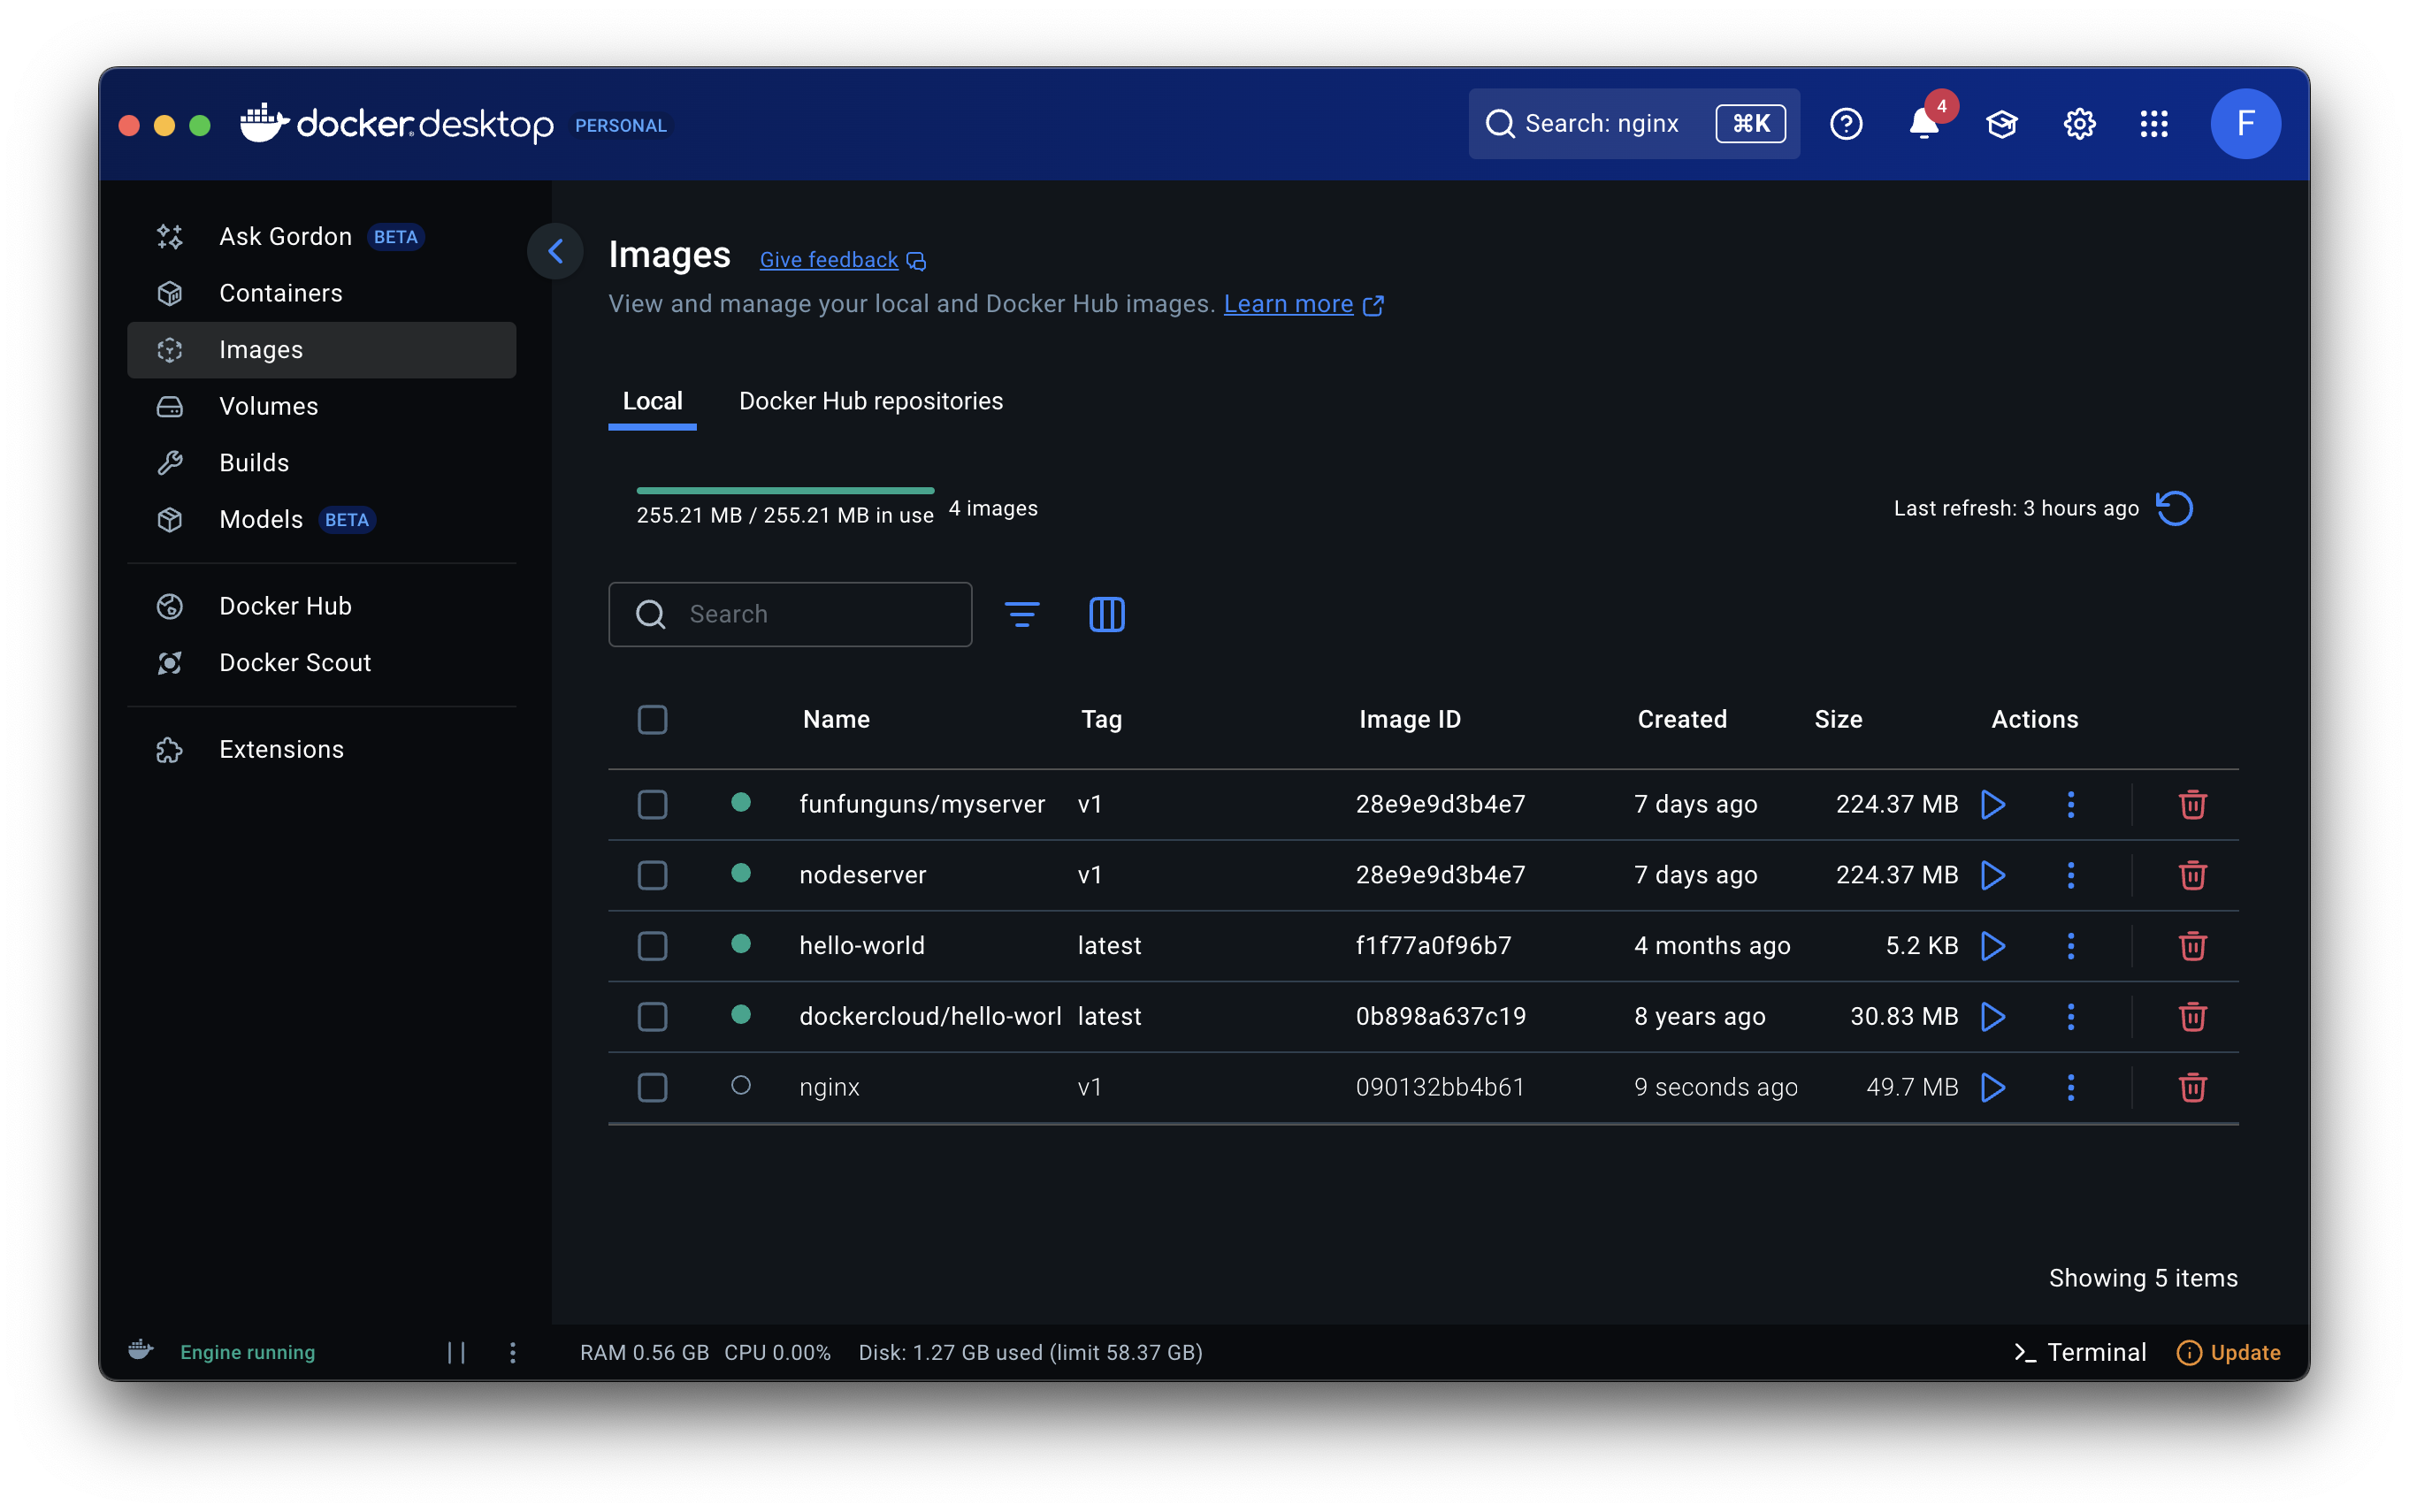
- Docker Desktop 에 들어가보면, 이미지 파일이 생성된 것을 확인할 수 있습니다.
- 이미지 파일을 RUN 하기 전에, 80번 포트로 들어오면 접속할 수 있도록 설정을 해줍시다.
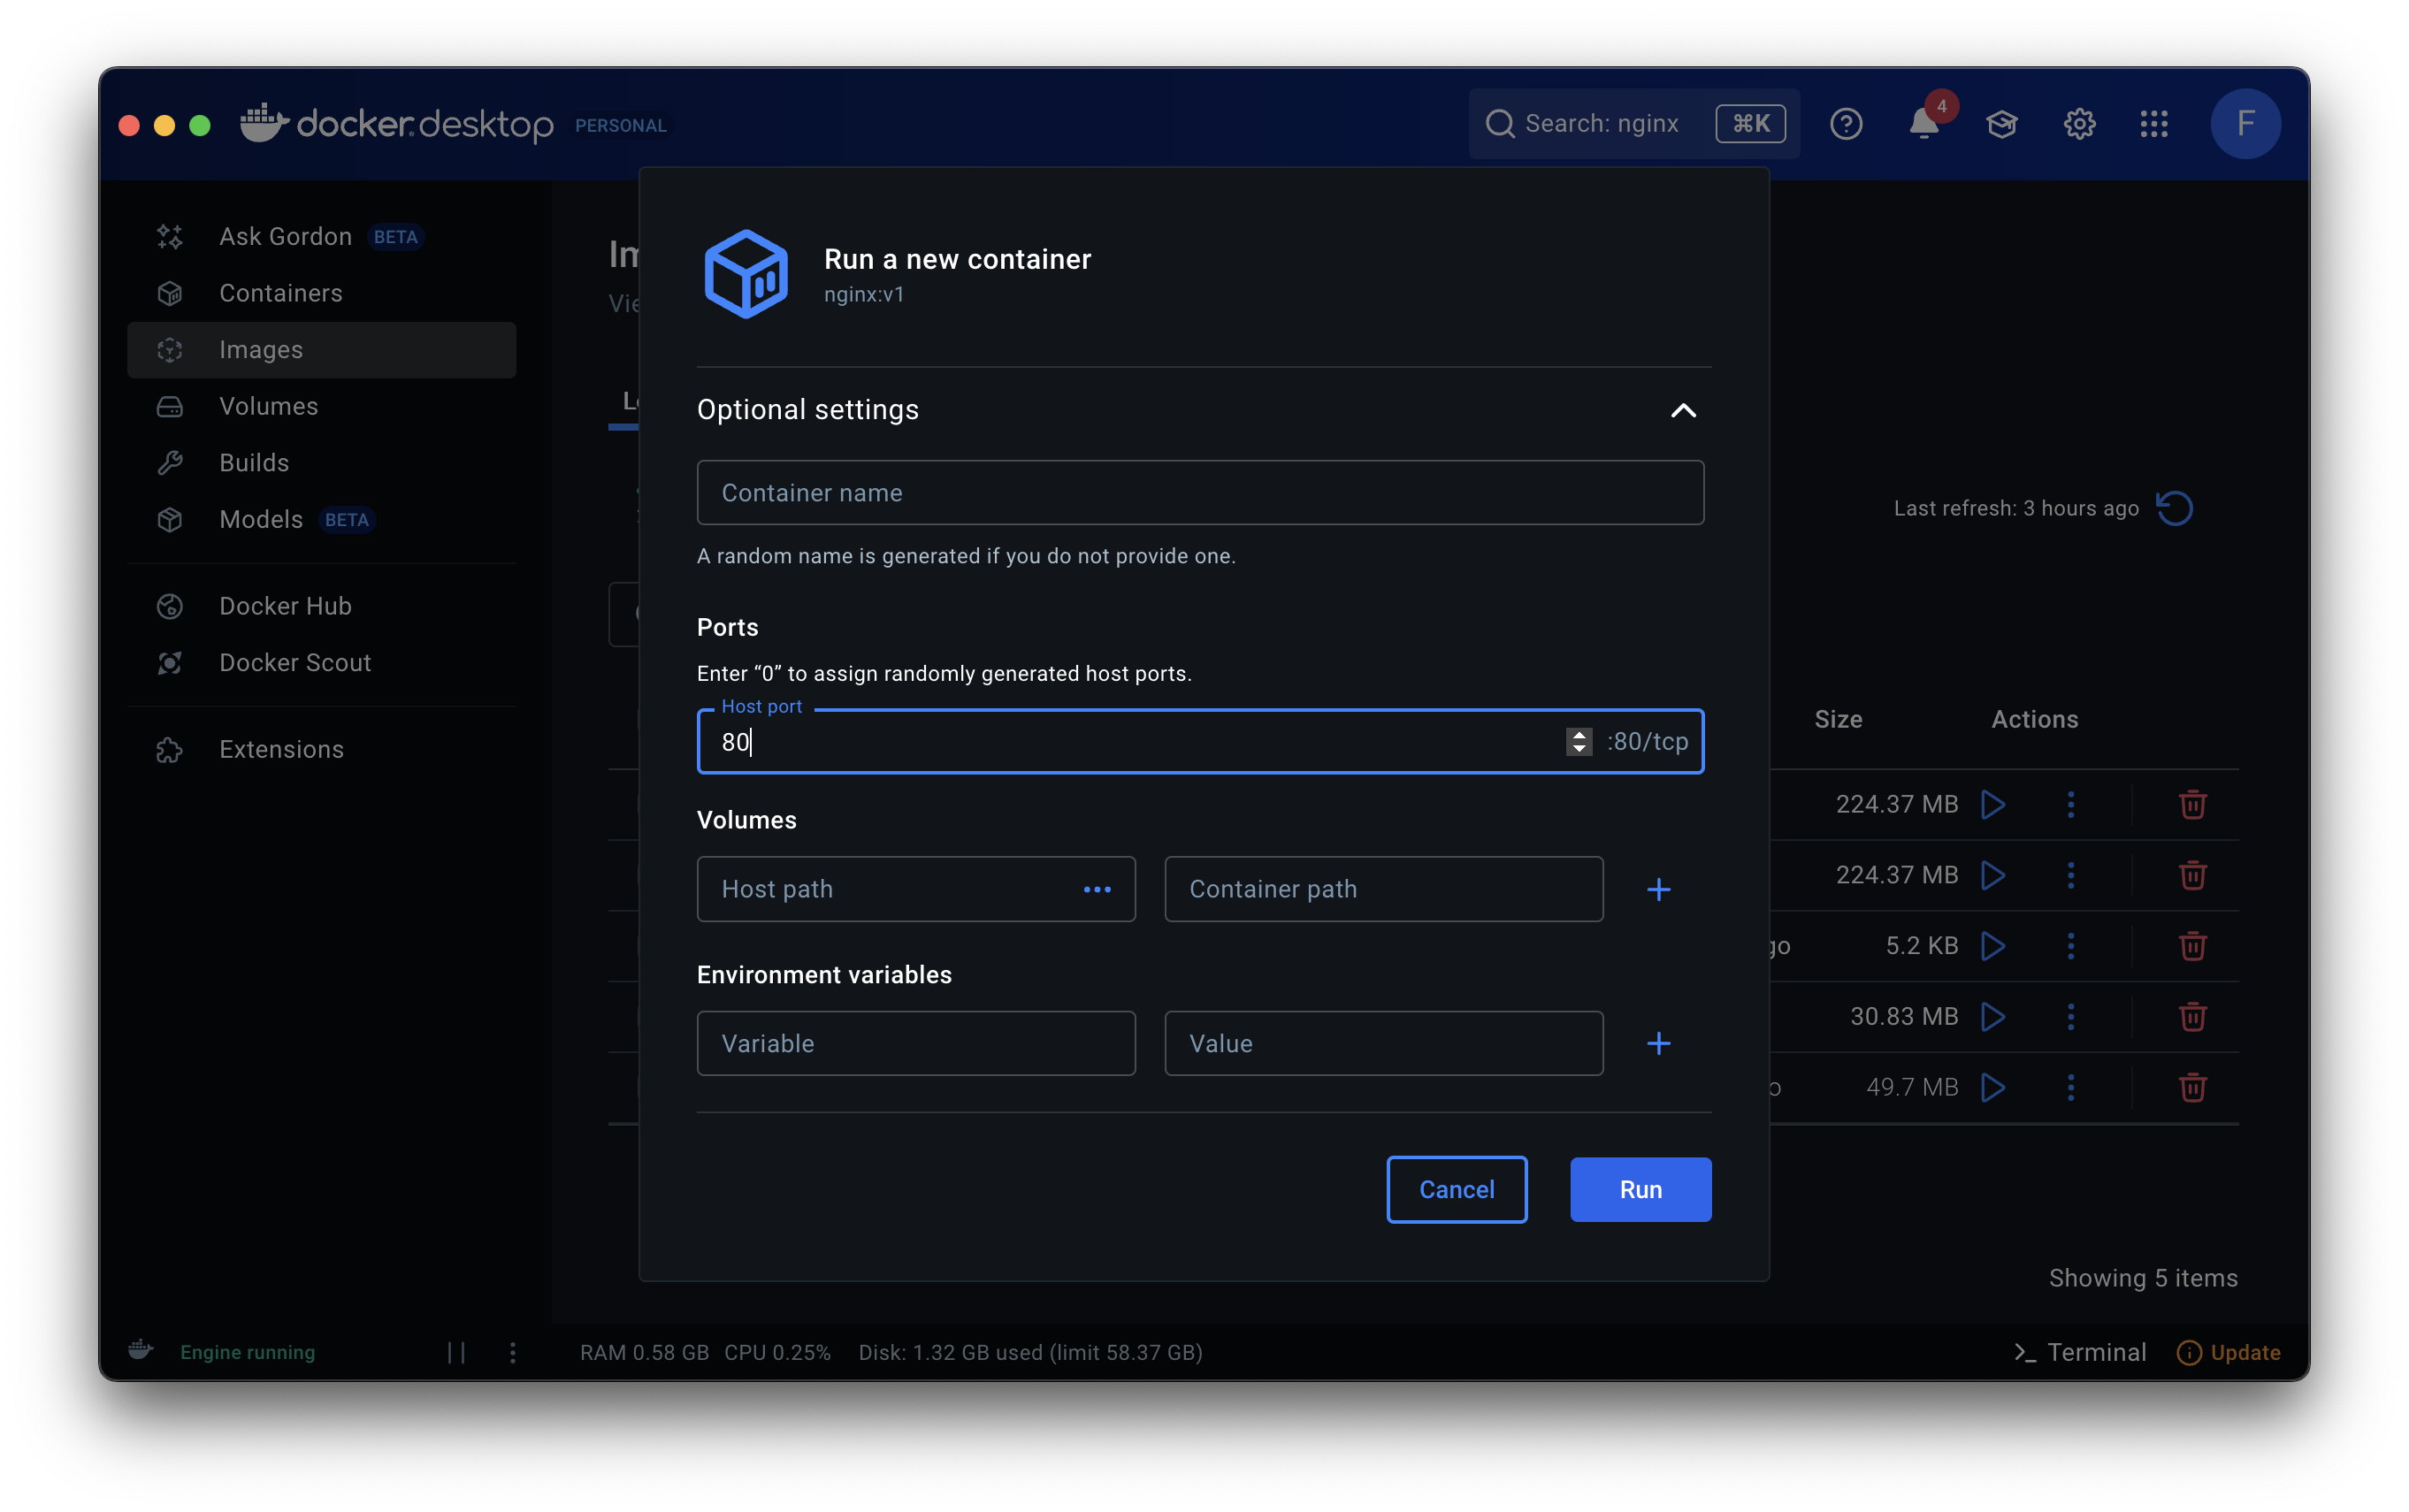
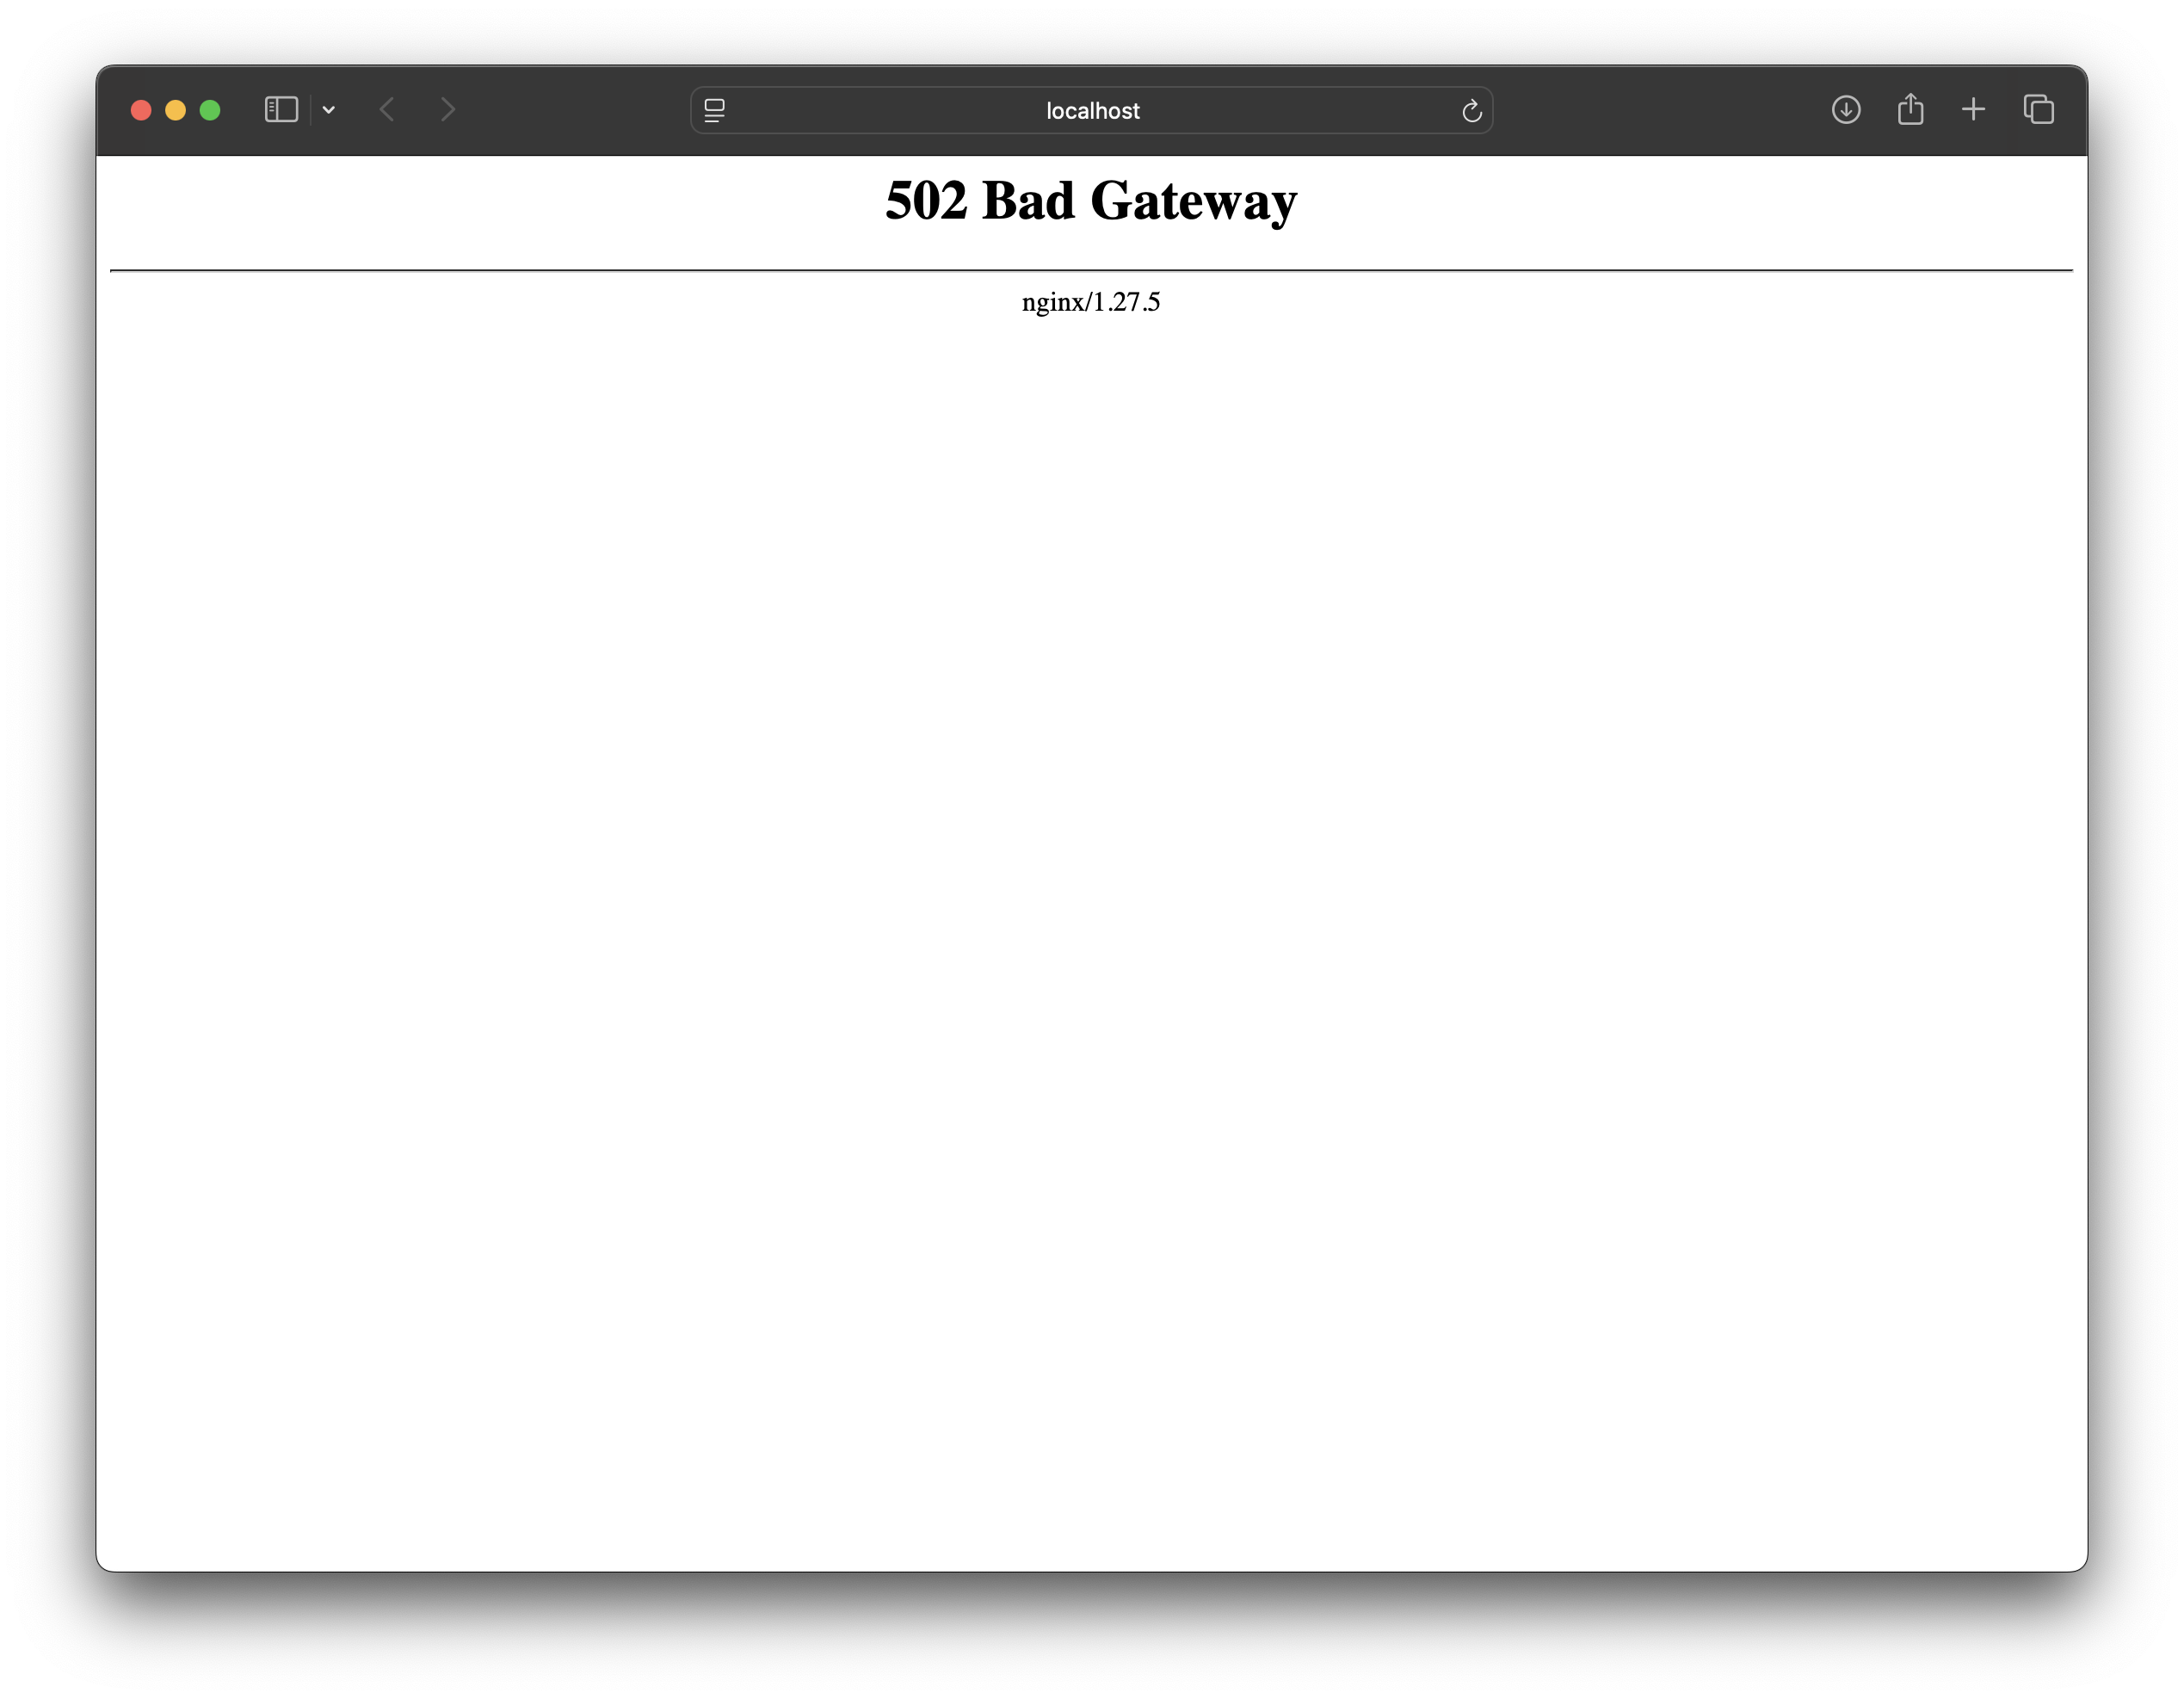
- localhost 로 접속해봤을 때, 아래처럼 nginx 에 대한 내용이 나타나면 일단 정상적으로 이루어진 것입니다.
nginx 를 실행하고 있는 컨테이너와, 서버 를 실행하고 있는 컨테이너를 연결시켜주려면 내부 네트워크를 만들어서 가상 ip 주소를 만들어줄 필요가 있습니다. 이건 다음 시간에 알아보도록 하겠습니다.

Commercial Art