Push Notification 사전 준비 사항
- 실 iOS 기기
- 시뮬레이터 테스트 불가
- XCode 11.4부터 시뮬레이터 수신 지원! (정상적이진 않기 때문에 되도록이면 실 기기로 테스트)
- Apple 푸시 알림 인증 키
- 유료 애플 개발자 프로그램 사전 등록 필수
- XCode의 App > Capabilities
- 푸시 알림 사용 / 백그라운드 설정
Push Notification
로컬, 푸시 둘 다 사용하기 위해선 무조건 해야 하는 것 = 권한
사용자가 동의를 했다는 전제 하에 시작 !1. 애플의 노티 시스템을 관리하는 곳으로 데이터 요청 (토큰 주세요)
- 사용자들을 고유하게 식별하기 위한 토큰이 필요하다
- Apple Push Notification System = APNS
2. APNS 에서 token을 받음
3. 이 토큰과 해당 토큰을 가지는 User의 정보를 Server에 저장 (서버에 동기화)
4. Server에서 토큰 저장 성공 여부 전달
5. Server to APNS to Device
- 서버에서 바로 푸시 요청을 하는 것이 아닌 APNS로 푸시 요청
- 세 군데의 토큰이 일치해야 푸시 처리가 됨
네이버/카카오 푸시 플랫폼 사용 이점
- 안드로이드는 APNS를 사용하지 않는다!
- 아요 안드 모든 정책을 고려하려면 데이터가 다르게 전달되어야 한다.
- 따라서 서버에서 고려할 사항이 많아지기 때문에
- 푸시 플랫폼 사용 시 덜 복잡해짐
FCM 실습
1. Target의 Signing&Capabilities 에서 Background Modes, Push Notification 추가

2. Background Modes 선택 사항 중 Remote notifications 선택
- 선택한 것은 개발자 홈피 (developer.apple.com-> account -> Certificates, Identifiers & Profiles -> Identifiers 에서 확인할 수 있다.
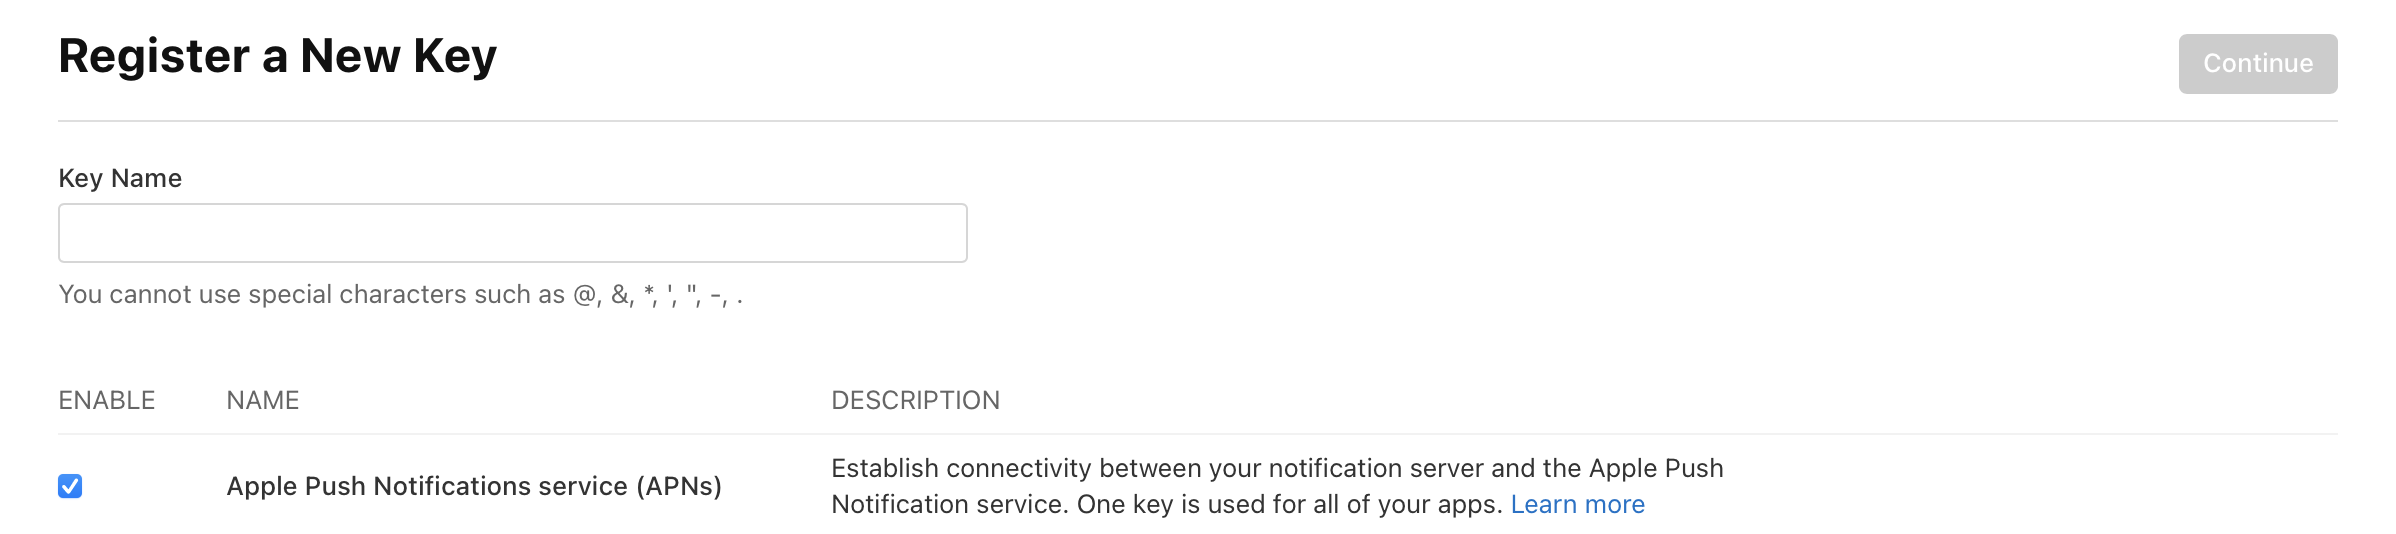
3. Apple 푸시 알림 인증 Key 추가
- 유료 개발자 계정이 있어야 key 발급 가능
- 키 이름과 APNs 체크
- 예전엔 P12 인증서였다면 이제는 P8 인증키 사용
P8 vs P12
- P8 : Public key - 여러앱에서 사용 가능 / 만료기간 x
- P12: Private key - 각 앱 당 인증서 필요 / 만료기간 1년
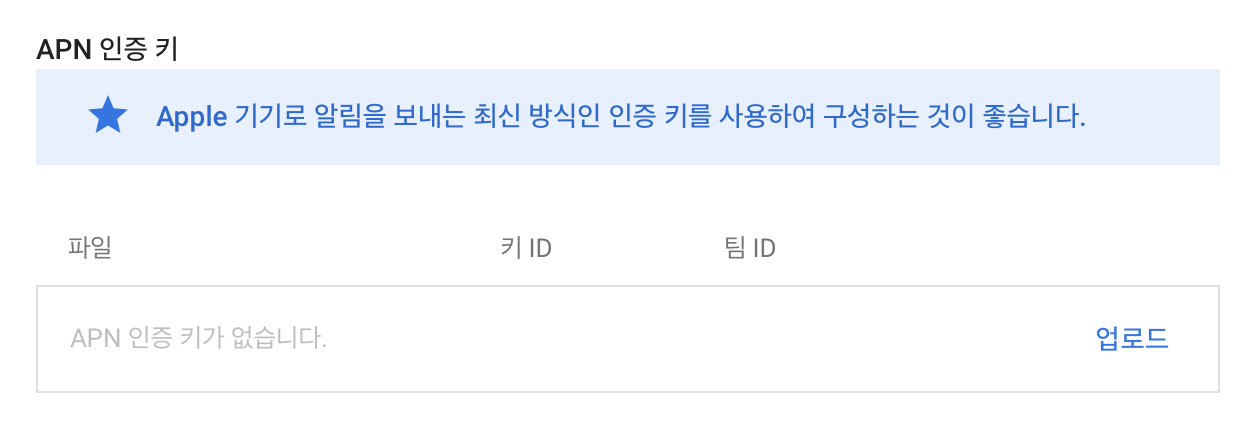
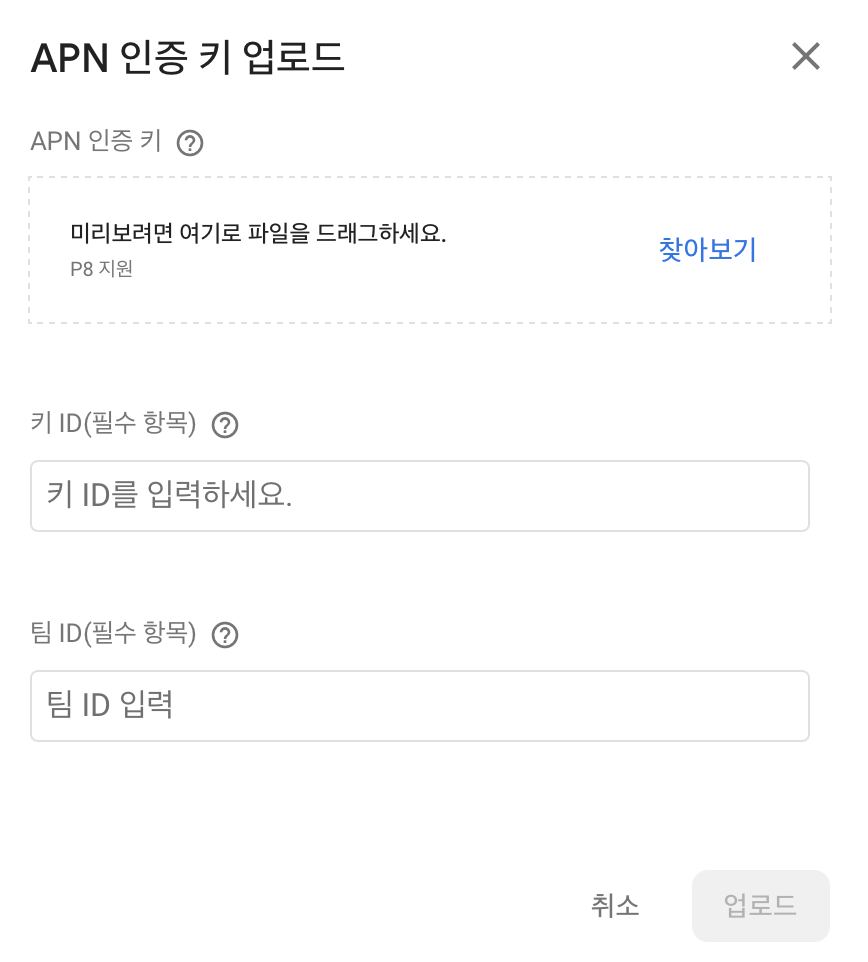
4. Firebase/messaging 라이브러리 추가 후 APN 인증키 추가
- 프로젝트 개요 > 프로젝트 설정
- 클라우드 메시징 > Apple 앱 구성 > APN 인증 키 업로드
- 추가했던 인증 키 업로드 (팀ID는 developer.apple.com -> Identifiers 클릭 시 나옴)

5. App Delegate 코드 설정
- App Delegate > didFinishLaunchingWithOptions
	// Firebase 초기화
        FirebaseApp.configure()
        // 알림 등록 (권한)
        if #available(iOS 10.0, *) {
          // For iOS 10 display notification (sent via APNS)
          UNUserNotificationCenter.current().delegate = self
          let authOptions: UNAuthorizationOptions = [.alert, .badge, .sound]          UNUserNotificationCenter.current().requestAuthorization(
            options: authOptions,
            completionHandler: { _, _ in }
          )
        } else {
          let settings: UIUserNotificationSettings =
            UIUserNotificationSettings(types: [.alert, .badge, .sound], categories: nil)
          application.registerUserNotificationSettings(settings)
        }
        application.registerForRemoteNotifications()
        // 메시지 대리자 설정
        Messaging.messaging().delegate = self
        // 현재 등록 토큰 가져오기 ( 새 토큰이라면 서버에 저장 )
        Messaging.messaging().token { token, error in
          if let error = error {
            print("Error fetching FCM registration token: \(error)")
          } else if let token = token {
            print("FCM registration token: \(token)")
          }
        }
- App Delegate > MessagingDelegate extension
extension AppDelegate: MessagingDelegate {
        // 토큰 갱신 모니터링
    func messaging(_ messaging: Messaging, didReceiveRegistrationToken fcmToken: String?) {
      print("Firebase registration token: \(String(describing: fcmToken))")
      let dataDict: [String: String] = ["token": fcmToken ?? ""]
      NotificationCenter.default.post(
        name: Notification.Name("FCMToken"),
        object: nil,
        userInfo: dataDict
      )
    }
}
- App Delegate > UNUserNotificationCenterDelegate extension
extension AppDelegate: UNUserNotificationCenterDelegate {
    // 메서드 재구성을 사용 중지했다면 APN 토큰을 명시적으로 FCM 등록 토큰에 매핑
    func application(application: UIApplication,
                     didRegisterForRemoteNotificationsWithDeviceToken deviceToken: Data) {
      Messaging.messaging().apnsToken = deviceToken
    }
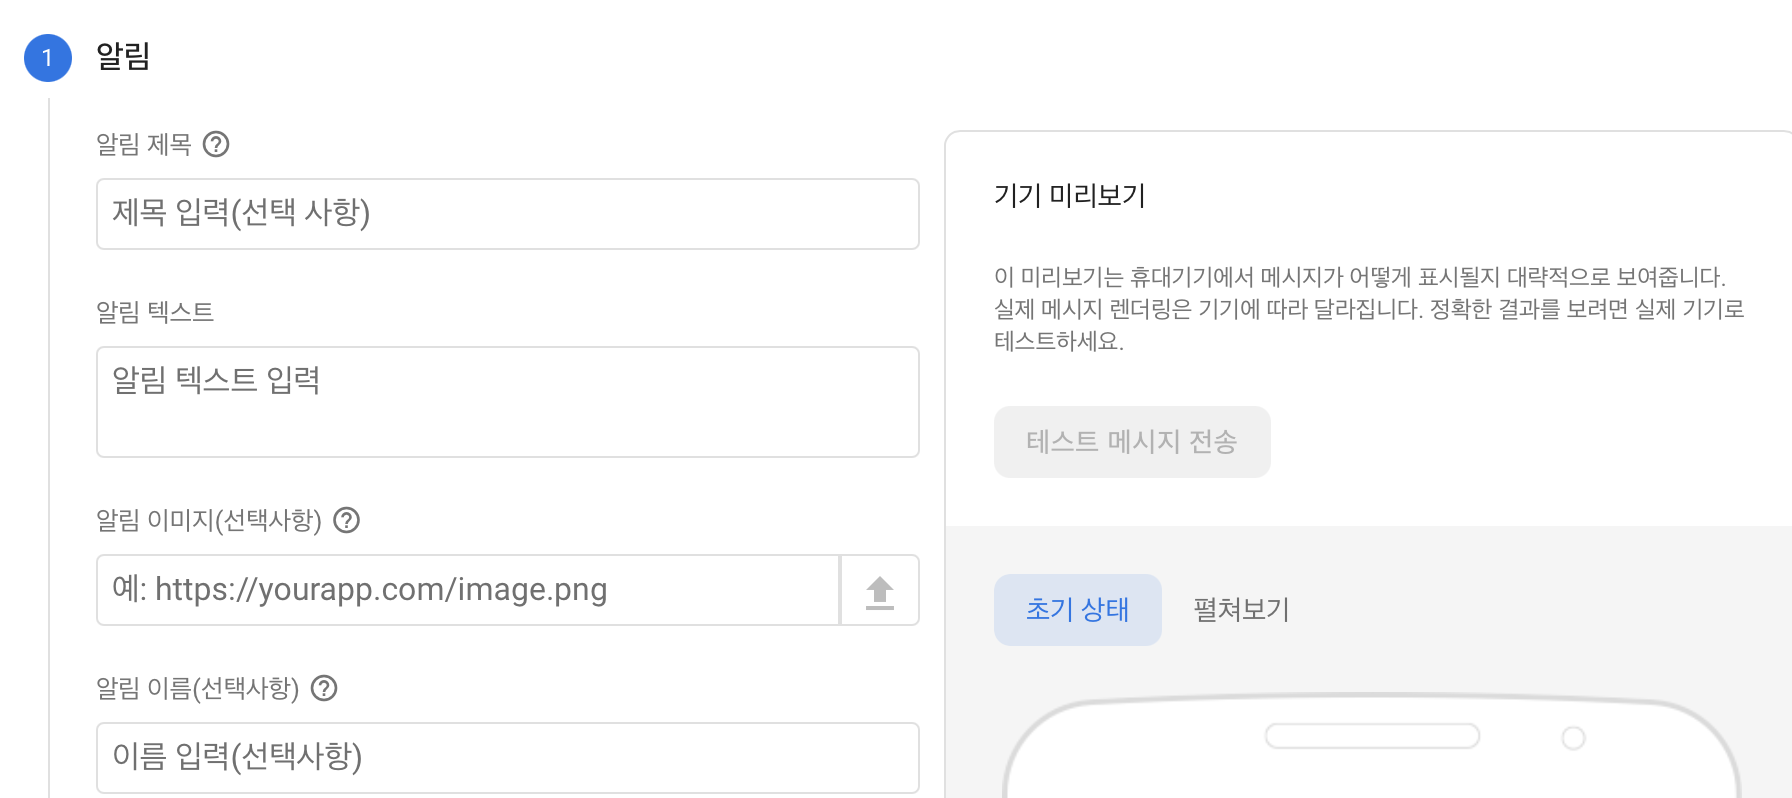
6. 푸시 알림 테스트
- 앱 빌드 후 print된 토큰 복사
- message 직접 보내며 테스트
- 콘솔창 참여 > 클라우드 메시징 클릭
- 테스트 메시지 전송 클릭 > 복사한 토큰 입력 후 테스트!
Foreground 푸시알림 받기
- 백그라운드 수신은 Default 이지만, 포그라운드 알림 수신은 따로 설정해주어야 한다.
- AppDelegate UNUserNotificationCenterDelegate extension// 포그라운드 수신 : willPresent (로컬/푸시 동일) func userNotificationCenter(_ center: UNUserNotificationCenter, willPresent notification: UNNotification, withCompletionHandler completionHandler: @escaping (UNNotificationPresentationOptions) -> Void) { completionHandler([.list, .banner, .badge, .sound]) } // iOS14부터 .alert -> .list, .banner
수신 확인
iOS에서는 푸시 알림 수신을 확인할 방법이 사용자가 푸시를 클릭했을 때 밖에 없다.
- AppDelegate UNUserNotificationCenterDelegate extensionfunc userNotificationCenter(_ center: UNUserNotificationCenter, didReceive response: UNNotificationResponse, withCompletionHandler completionHandler: @escaping () -> Void) { print("사용자가 푸시를 클릭했습니다") print(response) }만약 별도 처리를 해주지 않는다면 푸시 알림 클릭 시 앱이 켜지기만 함!