Harbor는 Docker 이미지를 관리하고 저장할 수 있는 프라이빗 레지스트리입니다. Harbor의 오프라인 설치 파일을 다운로드하고 설치를 준비하는 과정을 다룹니다.
1. Harbor 설치 준비
Harbor 설치 파일 다운로드
Harbor의 오프라인 설치 파일은 Harbor 릴리스 페이지에서 다운로드할 수 있습니다:
Harbor Releases
작성일 기준 아래 명령어를 사용하여 최신 릴리스 harbor-offline-installer-v2.12.1.tgz 파일을 다운로드합니다.
wget https://github.com/goharbor/harbor/releases/download/v2.12.1/harbor-offline-installer-v2.12.1.tgz압축 해제
tar xvf harbor-offline-installer-v2.12.1.tgz압축을 푼 디렉터리로 이동합니다.
cd harbor2. 설정 파일 구성
설정 파일 준비
압축 해제 후 생성된 디렉터리 내의 harbor.yml.tmpl 파일을 harbor.yml로 복사합니다.
cp harbor.yml.tmpl harbor.yml설정 파일 편집
harbor.yml 파일을 편집하여 hostname, port등을 설정합니다. 예제에서는 Https 포트는 주석처리 하였습니다.
hostname: 192.168.0.10

# http related config
http:
  # port for http, default is 80. If https enabled, this port will redirect to https port
  port: 80

# https related config
# https:
  # https port for harbor, default is 443
  # port: 443
  # The path of cert and key files for nginx
  # certificate: /your/certificate/path
  # private_key: /your/private/key/path
  # enable strong ssl ciphers (default: false)
  # strong_ssl_ciphers: false


...

# The default data volume
data_volume: /home/ubuntu/harbor/harbor_data

...
Note: 프로덕션 환경에서는 HTTPS 설정을 권장합니다.
3. 데이터 디렉터리 생성
Harbor는 데이터를 저장할 디렉터리가 필요합니다. 설정 파일에 지정된 경로에 디렉터리를 생성합니다.
mkdir -p /home/ubuntu/harbor/harbor_data4. Harbor 설치 및 시작
설치 스크립트를 실행하여 Harbor를 설치하고 시작합니다.
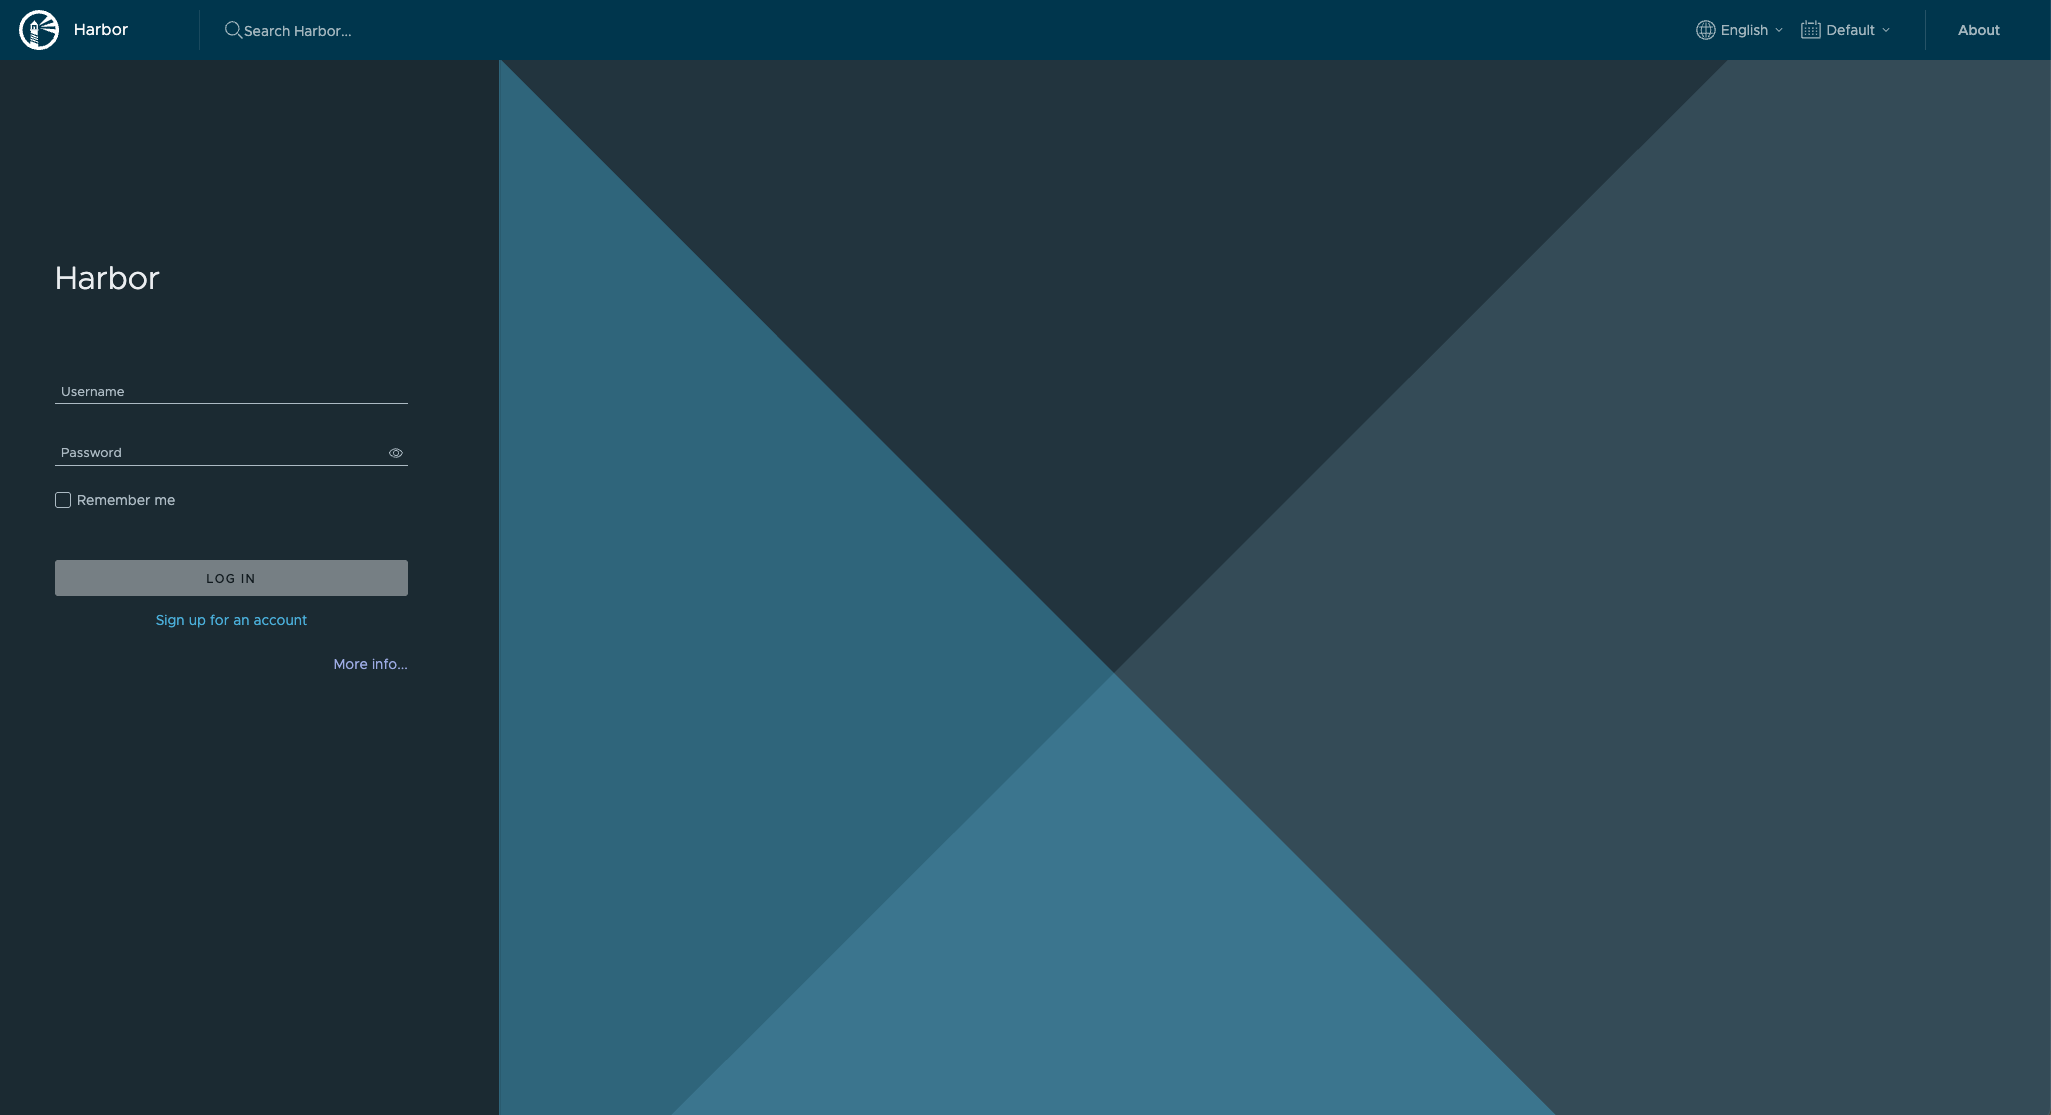
sudo ./install.sh설치가 완료되면, 웹 브라우저에서 http://<your_domain_or_ip>로 접속하여 Harbor 웹 UI에 접근할 수 있습니다.