
fetch를 이용하여 코드스테이츠 서버에 요청하고, 응답을 받는 스프린트입니다.
코드스테이츠 서버와 요청을 주고받으면서 채팅을 구현해봅시다!
구현할 화면은 다음과 같습니다!
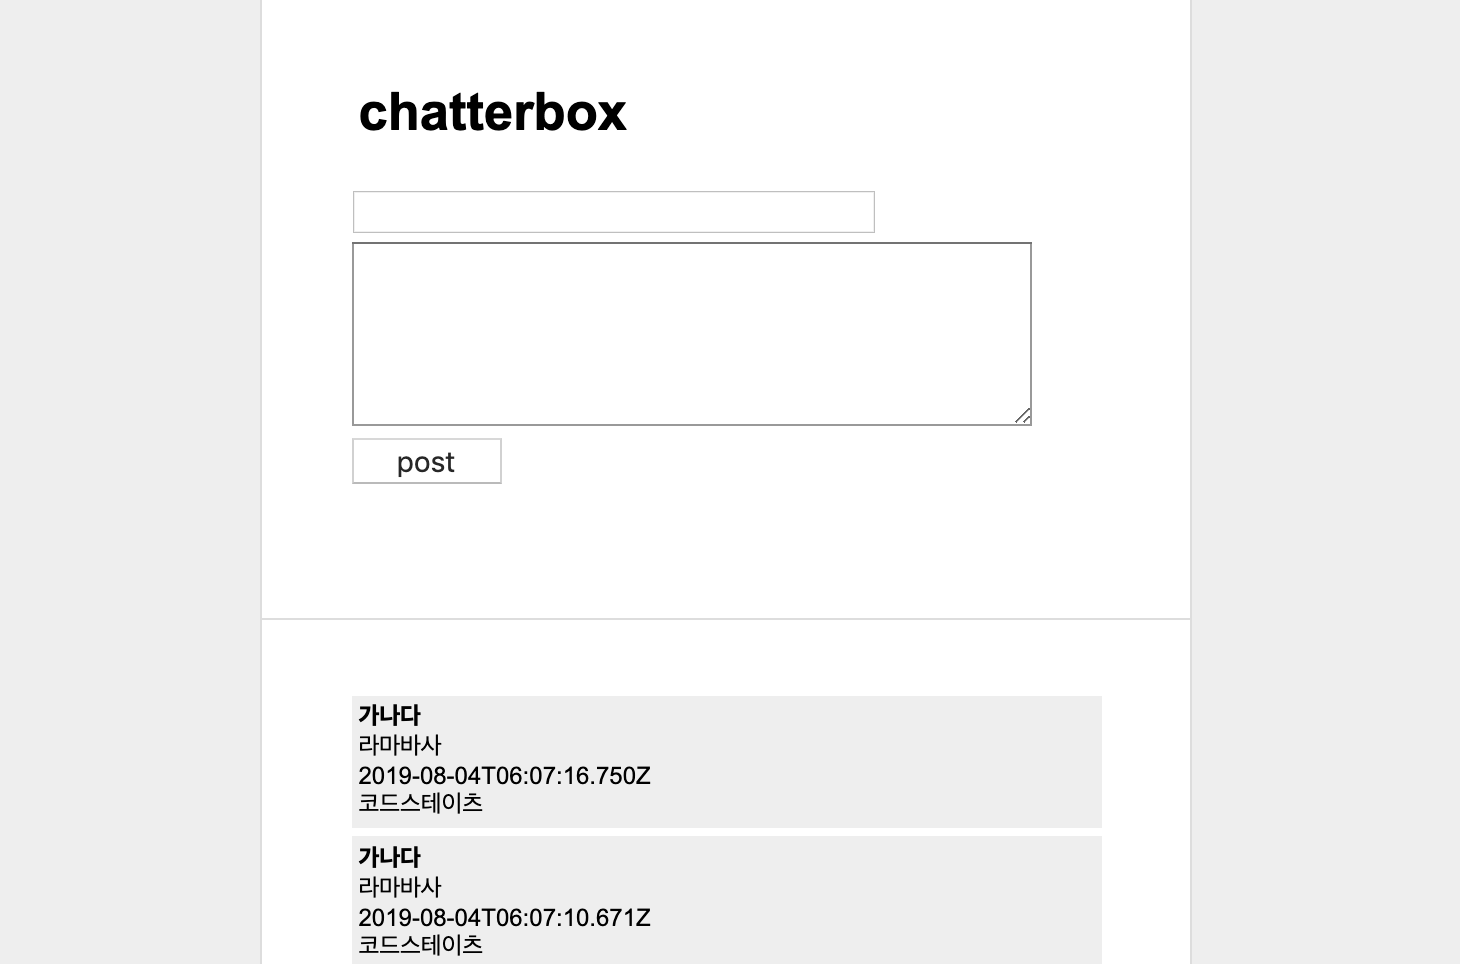
ChatterBox
1. index.html
html의 body만 잘라서 보겠습니다.
form에서 submit을 사용하여 채팅을 구현하고, 마지막 div에 채팅 내용을 구현합니다.
별 다를 것 없는 간단한 구조입니다.
<!-- index.html -->
<body>
  <div id="main">
    <h1>chatterbox</h1>
    <div id="send">
      <form class="submit">
        <input type="text" class="inputUser" />
        <textarea class="inputChat"></textarea>
        <button type="submit">post</button>
      </form>
    </div>
  </div>
  <div id="chats"></div>
  <script src="scripts/app.js"></script>
</body>
2. app.js
레퍼런스 코드는 구조화가 너무 잘 되어 있다.
따라해보면서 코드는 이렇게 짜는거다...를 알 수 있겠다...!
CS진석님께서 1개의 함수는 1가지의 역할을 수행하는 것이 좋다고 하셨다!
그렇게 분리해나가다보면 깔끔한 코드가 완성이 될 것이다 :)
// 1. fetching에 사용될 변수와 함수를 app객체에 모아둡니다.
const app = {
server: 'http://52.78.206.149:3000/messages',
// 2. 웹 시작 시 실행될 initializer입니다.
init: () => {
app.addEventHandlers();
app.fetch(json => {
json.forEach(app.renderMessage);
});
},
// 3. app.fetch의 결과인 data를 순회하며 renderMessage를 실행한다.
fetchAndRender: () => {
app.fetch(data => {
data.forEach(app.renderMessage);
});
},
// 4. submit버튼이 로드되면 이벤트리스너를 추가한다.
addEventHandlers: () => {
let submit = document.querySelector('#send .submit');
if (submit) {
submit.addEventListener('submit', app.handleSubmit);
}
},
// 5. fetch -> json() -> 콜백을 한 번에 하는 fetch메서드이다.
fetch: callback => {
window
.fetch(app.server)
.then(resp => {
return resp.json();
})
.then(callback);
},
// 6. POST타입으로 fetch한다.
send: (data, callback) => {
window
.fetch(app.server, {
method: 'POST',
body: JSON.stringify(data),
headers: {
'Content-Type': 'application/json'
}
})
.then(resp => {
return resp.json();
})
.then(callback);
},
// 7. message를 지운다.
clearMessages: () => {
document.querySelector('#chats').innerHTML = '';
},
// 8. input의 값을 비운다.
clearForm: () => {
document.querySelector('.inputUser').value = '';
document.querySelector('.inputChat').value = '';
},
// 9. XSS 방어용으로 메세지를 필터링한다.
renderMessage: ({ username, text, date, roomname }) => {
const tmpl = `<div class="chat">
<div class="username">${username
.replace(/</g, '<')
.replace(/>/g, '>')
.replace(/</g, '<')
.replace(/>/g, '>')}</div>
<div>${text
.replace(/</g, '<')
.replace(/>/g, '>')
.replace(/</g, '<')
.replace(/>/g, '>')}</div>
<div>${date}</div>
<div>${roomname
.replace(/</g, '<')
.replace(/>/g, '>')
.replace(/</g, '<')
.replace(/>/g, '>')}</div>
</div>`;
document.querySelector('#chats').innerHTML =
tmpl + document.querySelector('#chats').innerHTML;
},
// 10. message를 지우고, message를 비운다. 이후 input값도 비운다.
handleSubmit: e => {
e.preventDefault();
app.clearMessages();
app.send(
{
username: document.querySelector('.inputUser').value,
text: document.querySelector('.inputChat').value,
roomname: '코드스테이츠'
},
() => {
app.fetchAndRender();
app.clearForm();
}
);
}
};
// 11. 이 모든걸 init에 담아 실행한다.
app.init();
ggit