
이 글은 CodeStates Immersive 멤버가 아니면 이해하기 힘들 수 있습니다.
스프린트를 진행하고, 레퍼런스 코드를 보며 리뷰를 하는 글입니다 :)
이번 주차는 제 능력 & 노력이 부족하여 만족스러운 결과를 얻지 못하였네요.
다음 주차부터는 ReactJS를 하기 때문에 더 중요합니다.
VanilaJS를 다루는 수업의 비중이 줄어드니까요. 같이 리뷰볼까요~😆
🕺🏻 Dance Party🕺🏻
총 3가지 방법으로 구현합니다.
1. functional
2. pseudo classical
3. class
먼저 동작을 알아보고 코드를 리뷰해봅시다!
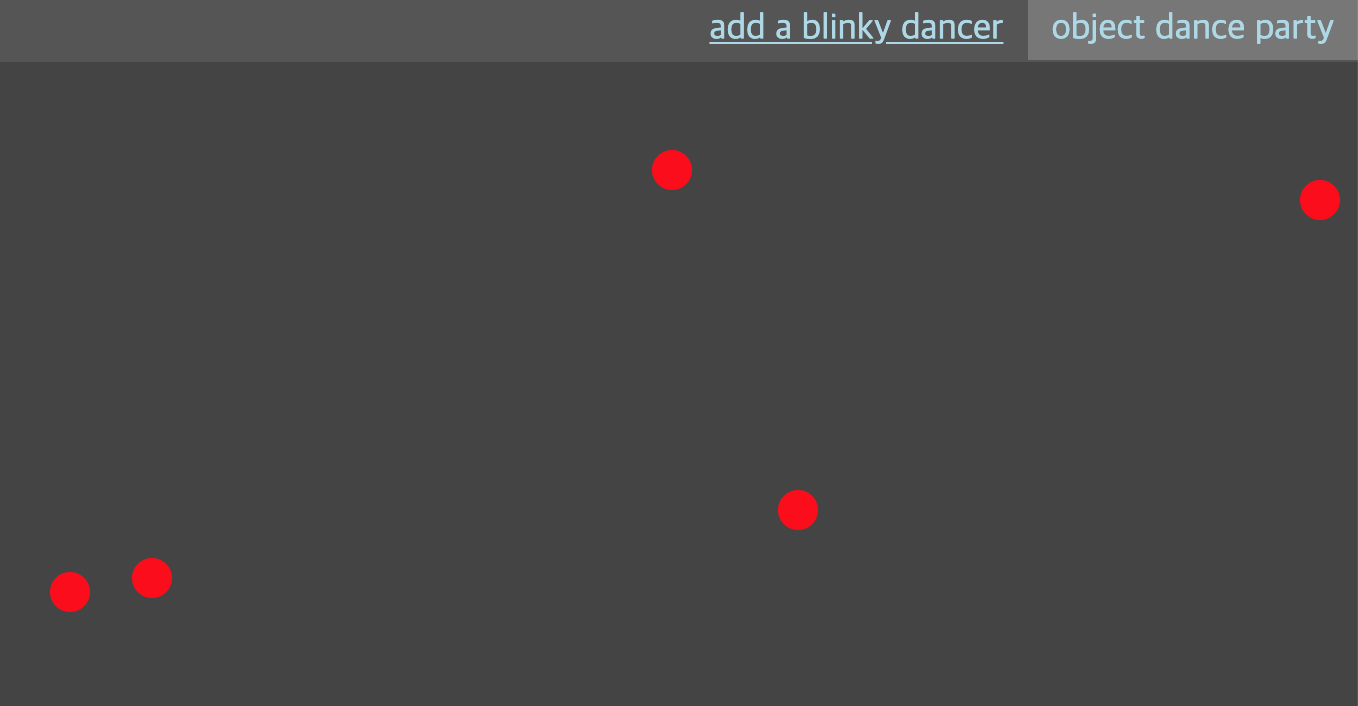
gif가 아니라 표시가 되지 않지만, 버튼 클릭시 깜빡이는 점이 하나씩 생성됩니다.
하나가 생성되고 그 상태가 유지되며, 그 다음 새로 생성되는 것이 핵심이네요!
🚗 functional
파일은 총 3가지로 나뉩니다. Dancer.js / BlinkyDancer.js / init.js .
먼저 자식 클래스인 Dancer.js입니다.
1. Dancer.js
코드를 다 보고나면 깔끔하면서도 뭔가 어색함이 느껴집니다.
pseudo classical에서 이 어색함을 잡아줄겁니다~! 우선 보시죠!
// Dancer.js
var makeDancer = (top, left, timeBetweenSteps) => {
  // 1. 각 변수와 메서드를 모을 객체 dancer를 생성합니다.
  const dancer = {};

  // 2. span태그를 생성하는 메서드
  const createDancerElement = () => {
    let elDancer = document.createElement('span');
    elDancer.className = 'dancer';
    return elDancer;
  };

  // 3. $node는 span태그가 됩니다.
  dancer.$node = createDancerElement();

  // 4. setTimeout에 인자를 넣어 실행해주는 메서드입니다.
  dancer.step = () => {
    setTimeout(dancer.step, timeBetweenSteps);
  };

  // 5. $node(span)의 style을 정해주는 메서드입니다.
  dancer.setPosition = (top, left) => {
    Object.assign(dancer.$node.style, {
      top: `${top}px`,
      left: `${left}px`
    });
  };

  // 6. 각 step과 setPosition을 인스턴스 생성 시 한 번 실행해줍니다.
  dancer.step();
  dancer.setPosition(top, left);

  return dancer;
};
2. BlinkyDancer.js
부모 메서드인 BlinkyDancer를 분석해봅시다.
// BlinkyDancer.js
var makeBlinkyDancer = (top, left, timeBetweenSteps) => {
  // 1. 각 인자를 넣어 blinkyDancer를 생성합니다.
  const blinkyDancer = makeDancer(top, left, timeBetweenSteps);

  // 2. 부모 메서드 step을 저장합니다.
  let oldStep = blinkyDancer.step;

  // 3. 새로운 step 메서드를 생성하고, 내부에서 oldStep을 불러와서 사용합니다.
  //    즉 덮어 씌운 것이 아닌, 기능을 추가한 셈이 됩니다.
  blinkyDancer.step = () => {
    oldStep();
    // 4. setTimeout이 실행되기 때문에, display속성이 계속 변합니다.
    let style = blinkyDancer.$node.style;
    style.display = style.display === 'none' ? 'inline-block' : 'none';
  };
  return blinkyDancer;
};
3. init.js
init.js는 3가지 경우가 거의 동일하므로 생략합니다.
클래스들이 잘 구현되어 있기 때문에 코드가 깔끔해집니다.
dancer를 생성하여 body에 추가만 해주면 완성됩니다!
function handleClickDancerButton () {
  let dancer = makeBlinkyDancer(
    document.body.clientHeight * Math.random(),
    document.body.clientWidth * Math.random(),
    Math.random() * 1000
  );
  document.body.appendChild(dancer.$node);
}

window.addEventListener('DOMContentLoaded', () => {
  const elAddDancerButton = document.querySelector('.addDancerButton');
  elAddDancerButton.addEventListener('click', handleClickDancerButton);
});
🚕 pseudo classical
prototype을 제대로 사용하는 예제입니다.
이 예제를 통해 prototype의 장단점을 알아보겠습니다.
1. Dancer.js
// 1. 클래스이기 때문에 첫 글자를 대문자로 표현합니다.
function Dancer (top, left, timeBetweenSteps) {
  // 2. 동일한 span생성 메서드입니다.
  const createDancerElement = () => {
    let elDancer = document.createElement('span');
    elDancer.className = 'dancer';
    return elDancer;
  };
  // 3. this에 필요한 프로퍼티를 담아준다.
  this.$node = createDancerElement();
  this.timeBetweenSteps = timeBetweenSteps;

  // 4. 생성될 때 바로 실행해 줄 메서드이다.
  this.step();
  this.setPosition(top, left);
}

// 5. 상속에 사용될 메서드들을 prototype에 정의해준다.
Dancer.prototype.step = function() {
  setTimeout(this.step.bind(this), this.timeBetweenSteps);
};
Dancer.prototype.setPosition = function(top, left) {
  Object.assign(this.$node.style, {
    top: `${top}px`,
    left: `${left}px`
  });
};
여기서 의문이 드는 점은 왜 5번처럼 굳이 메서드를 prototype에 정의하냐 인데요.
두 가지 정도의 이유를 들 수 있습니다.
1. 인스턴스 생성 시 마다 불필요하게 메서드가 정의됩니다.
2. 내부에서 this로 메서드를 생성하면 상속 구현이 어렵습니다.실제로 인스턴스를 구현해보면서 차이점을 확인하시면 더 명확하게 이해하실 수 있습니다.
2. BlinkyDancer.js
부모 클래스는 약간 패턴같은 게 있습니다.
이해가 가지 않는다면 1번, 2번, 3번은 패턴처럼 외우시면 됩니다!
특히 3번의 이유는, 상속 시에 해당 클래스는 constructor를 찾지 못합니다.
따라서 원래 자기 자신을 가리키는 거라고 다시 명시해 주는 것입니다.
function BlinkyDancer () {
  // 1. 생성되는 인스턴스가 Dancer의 context도 가질 수 있게 합니다.
  Dancer.apply(this, arguments);
}

// 2. Dancer의 prototype을 복사해옵니다.
BlinkyDancer.prototype = Object.create(Dancer.prototype);
// 3. constructor를 BlinkyDancer로 명시해줍니다.
BlinkyDancer.prototype.contructor = BlinkyDancer;

BlinkyDancer.prototype.step = function() {
  // 4. Dancer의 step메서드의 기능을 상속받기 위한 call입니다.
  Dancer.prototype.step.call(this);
  let style = this.$node.style;
  style.display = style.display === 'none' ? 'inline-block' : 'none';
};
🚙 class (ES6)
class는 ES6에서 만들어졌습니다. 다른 언어에서의 class와 같이 동작을 하는 것입니다.
하지만 이 역시 기본은 JavaScript이다 보니, 바벨로 ES5로 바꾸면 prototype으로 되어 있습니다.
prototype의 까다로운 방식은 생략하고 class로 간단하게 상속을 구현할 수 있습니다.
1. Dancer.js
pseudo classical보다 딱 봐도 간단합니다. 봅시다!
class DancerClass {
  // 1. constructor는 인스턴스가 생성될 때 실행될 프로퍼티를 담아줍니다.
  constructor(top, left, timeBetweenSteps) {
    this.$node = this.createDancerElement();
    this.timeBetweenSteps = timeBetweenSteps;
    this.step();
    this.setPosition(top, left);
  }

  // 2. 메서드는 클래스 안에서 바로 생성해줍니다.
  createDancerElement() {
    let elDancer = document.createElement('span');
    elDancer.className = 'dancer';
    return elDancer;
  }

  step() {
    // 3. setTimeout은 비동기로 실행되므로 bind로 this를 지정해주어야 합니다.
    setTimeout(this.step.bind(this), this.timeBetweenSteps);
  }

  setPosition(top, left) {
    Object.assign(this.$node.style, {
      top: `${top}px`,
      left: `${left}px`
    });
  }
}
2. BlinkyDancer.js
아래와 같이, class는 상속이 매우 간단합니다.
주석을 제외하면 사실상 메서드 하나로 위에서 배운 것과 동일하게 작동합니다!
class BlinkyDancerClass extends DancerClass {
  // 2. 부모클래스에서 따로 변경할 사항이 없이 상속한다면 생략 가능합니다.
  // constructor() {
  //   super(...생략...)
  // }

  step() {
    // 3. 부모 클래스의 메서드 상속은 super로 받아옵니다.
    super.step();
    let style = this.$node.style;
    style.display = style.display === 'none' ? 'inline-block' : 'none';
  }
}
👉🏻이렇게 차례차례 클래스까지 구현해보면서 prototype의 동작을 정리하였습니다 :)