Spring Boot 프로젝트에 React, Tailwind CSS 적용하기(feat. gradle)
지난 Spring Boot 프로젝트에 Tailwind CSS 적용하기(feat. gradle) 포스트에 이어 이번에는 Spring Boot 프로젝트에 React와 Tailwind CSS를 세팅하는 법을 알아보도록 하겠습니다.
npm 프로젝트 세팅 및 패키지 설치
1. npm 프로젝트 초기화
src/main 하위에 frontend라는 디렉토리를 신규로 생성하고 해당 디렉토리에서 npm 프로젝트를 초기화합니다.
npm init -y2. npm 패키지 설치
src/main/frontend 위치에서 Tailwind CSS 적용을 위한 패키지를 설치합니다.
npm install react react-dom react-scripts
npm install -D tailwindcss@latest postcss@latest autoprefixer@latest daisyui@latest
Tailwind 설정 적용
1. Tailwind config 생성
src/main/frontend 위치에서 tailwind.config.js 를 생성을 위해 다음의 명령어를 실행합니다.
npx tailwindcss init2. Tailwind config 적용
content 항목에는 Tailwind CSS를 적용할 대상을 지정합니다. Spring Boot 프로젝트의 정적 요소가 위치한 경로를 알맞게 작성합니다.
이어서 plugins 의 요소로 사용할 외부 라이브러리를 작성합니다. 이는 각 라이브러리에 따라 적용방법이 상이하므로 문서를 참고하여 작성합니다.
/** @type {import('tailwindcss').Config} */
module.exports = {
  content: ["./src/**/*.{html,js}"],
  theme: {
    extend: {},
  },
  plugins: [
      require('daisyui'),
  ],
}
정적 요소 및 npm 스크립트 세팅
1. HTML, CSS, 이미지
Spring Boot의 정적 요소는 src/main/frontend 에 위치합니다. 다음과 같이 필요한 파일을 세팅합니다.
src/main/frontend/public/index.htmlsrc/main/frontend/src/images/<이미지 파일>src/main/frontend/src/App.jssrc/main/frontend/src/index.jssrc/main/frontend/src/styles.css
.../
└── frontend/
    ├── node_modules/
    ├── public/
    │   └── index.html
    ├── src/
    │   ├── images/
    │   │   ├── react.svg
    │   │   └── spring-boot.svg
    │   ├── App.js
    │   ├── index.js
    │   └── styles.css
    ├── package.json
    ├── package-lock.json
    └── tailwind.config.js
2. Tailwind Directives 설정
Tailwind CSS를 컴파일하기 위한 디렉티브를 styles.css 에 작성합니다.
@tailwind base;
@tailwind components;
@tailwind utilities;
3. CSS 태그 설정
index.js 에 CSS 로드를 import 문을 추가합니다.
import React from 'react';
import ReactDOM from 'react-dom/client';
import App from './App';
import './styles.css';

const root = ReactDOM.createRoot(document.getElementById('root'));
root.render(
    <React.StrictMode>
        <App />
    </React.StrictMode>
);
4. npm 스크립트 정의
package.json 의 scripts에 다음과 같이 CSS 컴파일을 위한 스크립트를 작성합니다.
{
...
  "scripts": {
    ...
    "build": "react-scripts build && rm -rf ../resources/static && mv build ../resources/static",
    ...
  },
...
}
Gradle 빌드 스크립트 세팅 및 Jar 빌드
1. npm 명령 태스크 등록
npm 패키지를 설치하기 위한 npmInstall, Tailwind CSS를 컴파일하기 위한 buildReact 등 두 개의 태스크를 등록하겠습니다. 이 때, 각 태스크의 실행 순서를 결정하는 dependsOn() 메서드를 적절히 사용해야 에러를 방지할 수 있습니다.
...

val frontendDir = "$projectDir/src/main/frontend"

tasks.register<Exec>("npmInstall") {
    workingDir = file(frontendDir)
    commandLine("npm", "install")
}

tasks.register<Exec>("buildReact") {
    dependsOn("npmInstall")
    workingDir = file(frontendDir)
    commandLine("npm", "run", "build")
}

tasks.named("processResources") {
    dependsOn("buildReact")
}

tasks.named<Delete>("clean") {
    delete("$projectDir/src/main/resources/static")
}
2. Gradle 빌드
Gradle 명령어를 실행하여 npm 스크립트 및 jar 빌드가 정상적으로 진행되는지 확인합니다.
./gradlew clean build실습
버전 정보
- JDK 17
- Spring Boot 3.2.8
- Kotlin
준비 사항
GitHub 저장소
실습은 아래의 Spring Boot 어플리케이션을 통해 진행됩니다. 저장소를 clone 하거나 fork 해주세요.
따라하기
Spring Boot 배포
- 클라우드타입의 프로젝트 페이지에서 ➕ 버튼을 누르고 Spring Boot를 선택한 후, 미리 fork 해놓은 springboot-react 를 선택합니다.
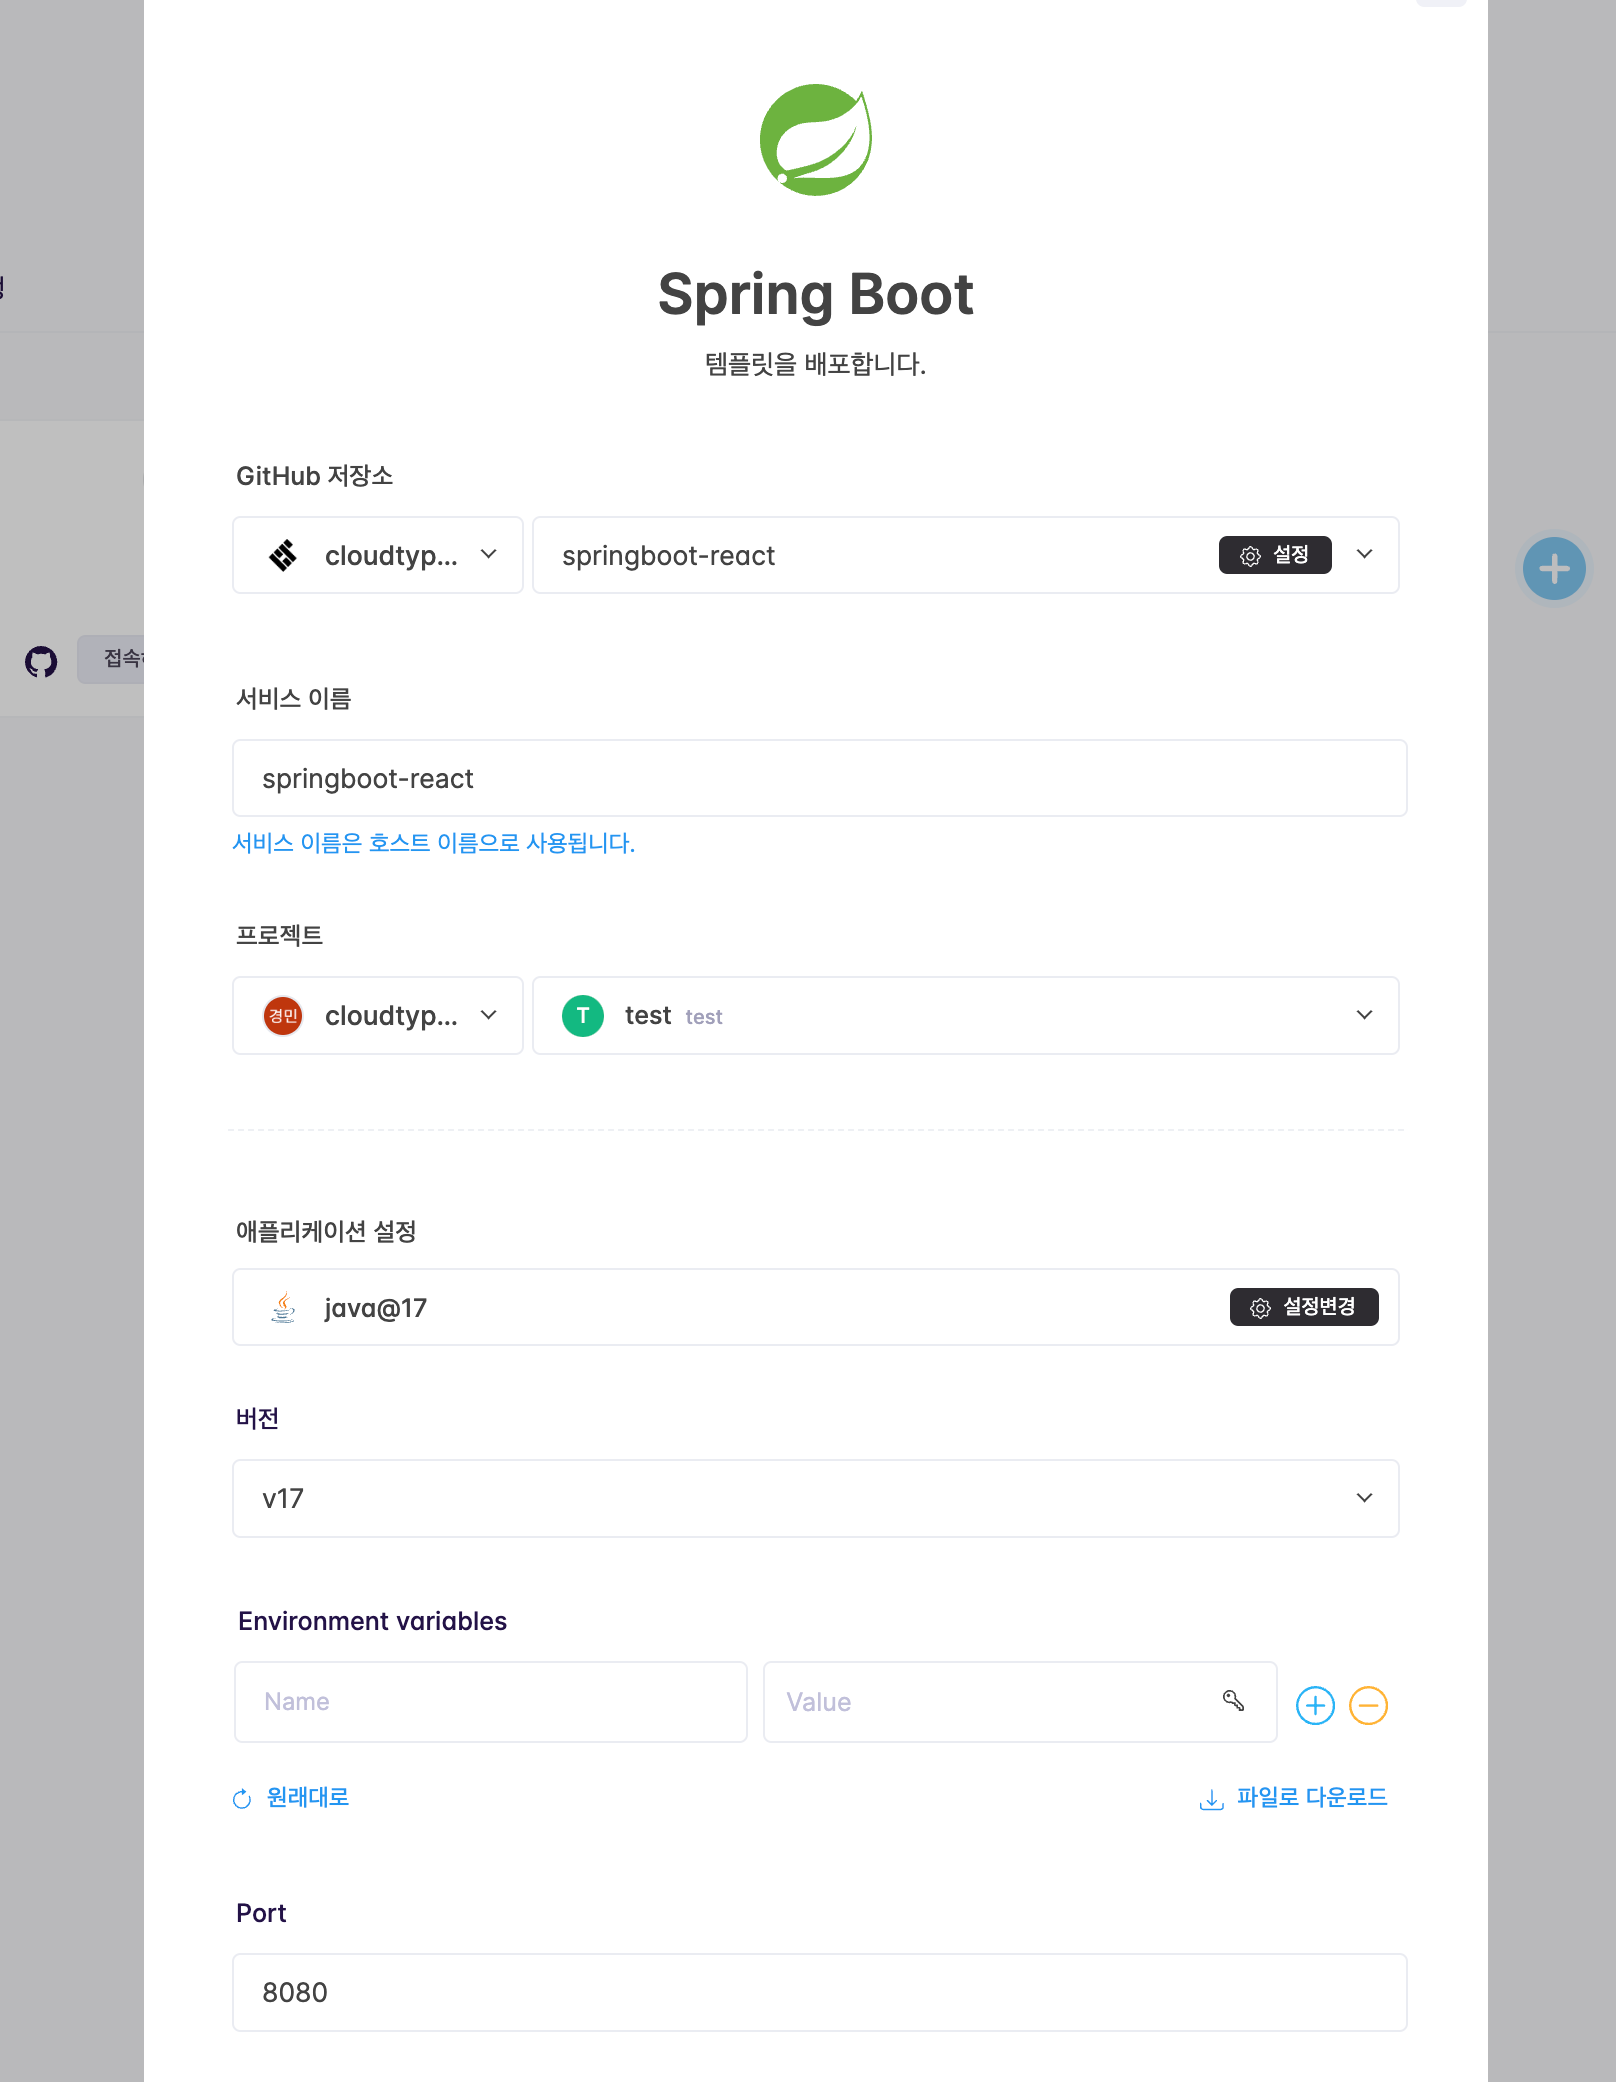
- JDK 버전: v17
- JDK 버전: v17
- 배포가 완료되면 접속하기 버튼을 누르고 브라우저에 React와 Tailwind CSS가 정상적으로 적용되었는지 확인합니다.

Reference