컴포넌트 기술 스택
- 리액트에서만 동작 가능한 UI 컴포넌트를 만들것이다.
- CSS Framework의 제약을 두지 않는다.

-
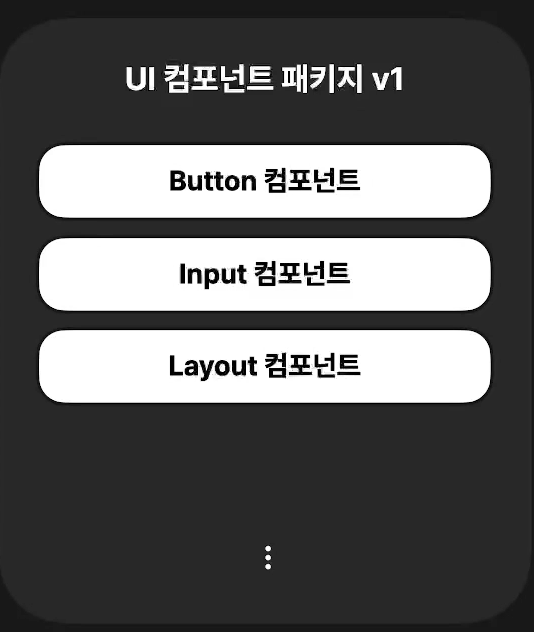
ui 컴포넌트 버전 1을 만든다.
-
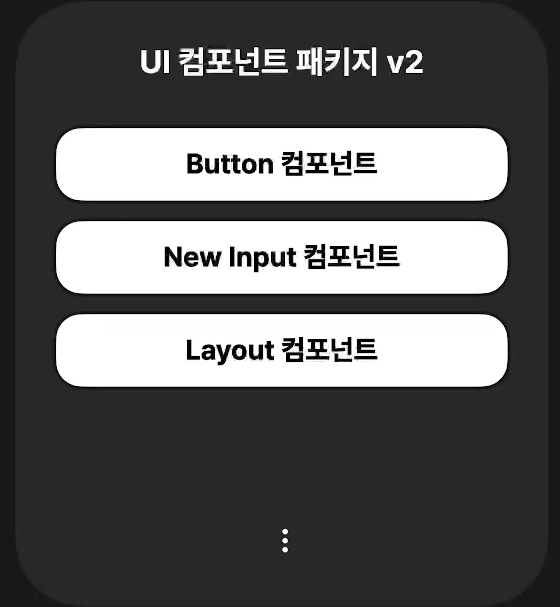
ui 컴포넌트 버전 2를 만든다.
-
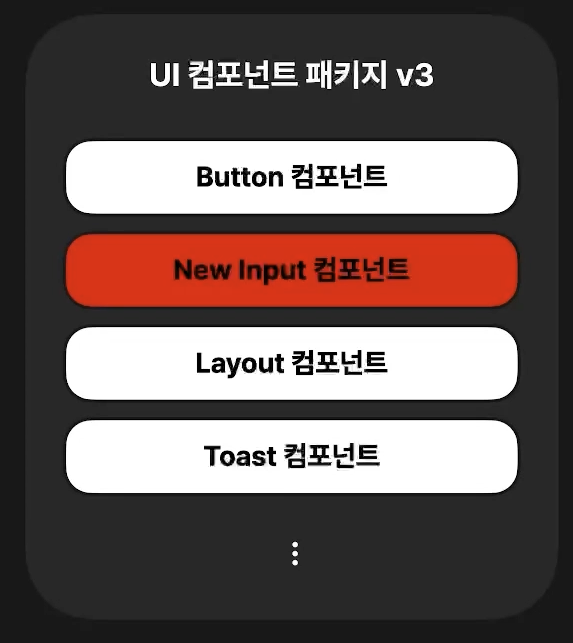
ui 컴포넌트 버전 3을 만든다.
-
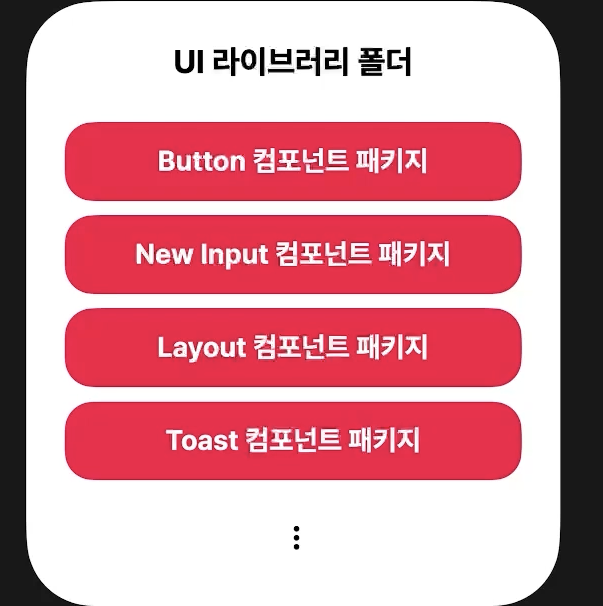
ui 라이브러리를 사용하다가 버그가 발견되면??
- 문제가 생긴다.
- 그래서 각각의 컴포넌트들을 패키지로 따로 따로 만든다.
모노레포 도입
- 모노레포를 사용하는 이유
- 코드 변경, 동일한 이슈를 한 번만 수정해도 일괄 적용 가능
- 설정 등을 한 곳에서 관리할 수 있음
- 각각의 패키지를 멀리레포로 관리하게 된다면 typescript, eslint, bundler, ci/cd 등 각각 따로 설정해줘야함
- 또 각 레포지토리 별로 설정이 다르게 될 수도 있음
- 새 프로젝트를 생성하는 비용이 크다.
- 동일한 이슈를 수정하기 위해 각각 대응해야 함.
- 코드, 컨텍스트 공유가 힘들다.

모노레포 구성
NX를 쓸거임
- Packages
- themes, ui components, config
- Services
- storybook, Docs, 웹 앱 빌더 서비스, 사이드 프로젝트
모노레포 설정
- npm -> yarn berry 설정
- node_modules, packagelock.json 삭제
- yarn set version berry
- yarn
- package.json 스크립트 yarn으로 변경
- workspace
- 루트 폴더 package.json
  "workspaces":[
    "packages/**/*",
    "services/**/*"
],- 기존 services/test에 있는 @hojoon/themes를 file기반으로 모듈을 설치했는데 디펜던시에서 삭제해주고
yarn add @hojoon/themes 로 설치하면 끝 - nx config 추가
- 홈페이지에 들어간다.
- yarn add --dev nx
- 루트에 nx.json 추가
- package.json script 추가
"build": "nx build",- 패키지들의 의존성 관계를 그래프로 보는법
"graph": "nx run-many --target=build --graph"- yarn graph

모노레포 세팅은 여기까지 다음은 eslint, config설정을 해줘야 함.
환경설정 하기
(eslint, prettierrc, esbuild, tsconfig)
yarn berry 설정까지만 하고 모노레포 처음 만들고 너무 기분 좋아서 일단 깃허브에 푸쉬하고 말았는데 갑자기 test로 만든 리액트 프로젝트에서 모듈 에러가 나고 그래서 몇시간 삽질했다.
이후에는 prettier, eslint, tsconfig 설정도 안먹어서 모노레포랑 yarn berry 프로젝트 포기할까 했지만 괜히 혼자 겁먹은게 잘못이었다.
왜냐면 강의 몇분만 더 들으면 설정하는법 다알려주기 때문!
1. packages 폴더에 있는 tsconfig.json을 수정해준다
루트 폴더에 tsconfig.base.json 파일을 만들고 다른 패키지에서 루트에 있는 tsconfig.base.json 파일의 설정을 상속받는다.
- ts config.base.json
{
  "compilerOptions": {
    "target": "ESNext",
    "module": "ESNext",
    "lib": ["ESNext", "DOM"],
    "declaration": true,
    "strict": true,
    "moduleResolution": "node",
    "jsx": "react-jsx"
  }
}
- packages/themes/tsconfig.json
{
  "extends": "../../tsconfig.base.json",
  "compilerOptions": {
    "outDir": "./dist"
  }
}
2. eslint, prettier 설정해주기
- 여기서 꽤 많이 삽질했다.
루트폴더의 packages.json
- 관련 패키지들을 설치해준다.
 "devDependencies": {
    "@typescript-eslint/eslint-plugin": "^6.5.0",
    "@typescript-eslint/parser": "^6.5.0",
    "eslint": "^8.48.0",
    "eslint-config-prettier": "^9.0.0",
    "eslint-plugin-import": "^2.28.1",
    "eslint-plugin-json-format": "^2.0.1",
    "eslint-plugin-jsx-a11y": "^6.7.1",
    "eslint-plugin-react": "^7.33.2",
    "eslint-plugin-react-hooks": "^4.6.0",
    "eslint-plugin-simple-import-sort": "^10.0.0",
    "eslint-plugin-storybook": "^0.6.13",
    "nx": "^17.2.8",
    "prettier": "^3.1.1",
    "typescript": "^5.3.3"
  }
이렇게 설치하고 .eslintrc.js, .prettierrc 파일을 만들어주고 개발환경을 세팅해줄 텐데 대부분의 사람들이 vscode랑 prettier가 충돌이 나서 빨간 에러가 뜰거다. 나도 떠서 삽질많이함
해결방법
yarn dlx @yarnpkg/sdks vscode 이러면 이제 에러도 해결된다.
3. 또한 이제 앞으로 만들 패키지마다 build config를 하는 것보다 별도의 build config 패키지를 만들어서 쓸려고 한다.
- packages/esbuild-config 폴더 생성
yarn init
yarn add esbuild@0.16.17- index.js파일에 esbuild conifg 파일 작성
const { build } = require("esbuild");

const run = ({ entryPoints = ["src/index.ts"], pkg, config = {} }) => {
  const dev = process.argv.includes("--dev");
  const minify = !dev;

  const watch = process.argv.includes("--watch");

  const external = Object.keys({
    ...pkg.dependencies,
    ...pkg.peerDependencies,
  });

  const baseConfig = {
    entryPoints,
    bundle: true,
    minify,
    sourcemap: true,
    outdir: "dist",
    target: "es2019",
    watch,
    external,
    ...config,
  };

  Promise.all([
    build({
      ...baseConfig,
      format: "esm",
    }),
    build({
      ...baseConfig,
      format: "cjs",
      outExtension: {
        ".js": ".cjs",
      },
    }),
  ]).catch(() => {
    console.error("Build failed");
    process.exit(1);
  });
};

module.exports = run;
-package.json 설정
{
  "name": "@hojoon/esbuild-config",
  "packageManager": "yarn@4.0.2",
  "main": "index.js",
  "files": [
    "index.js"
  ],
  "scripts": {
    "build": "echo \"hojoon!\"",
    "test": "echo \"Error: no test specified\" && exit 1"
  },
  "dependencies": {
    "esbuild": "0.16.17"
  }
}- 이러고 themes 패키지 폴더로 이동해서 내가 만든 esbuild config 패키리를 설치하면 된다.
yarn add --dev @hojoon/esbuild-themes- build.js 파일 수정
- run을 받아오고, pkg만 가져오면 된다. 나머지 설정들은 esbuild-config에서 다 기본 설정을 해줫기 때문에
import run from "@hojoon/esbuild-config";
import pkg from "./package.json" assert { type: "json" };

run({
  pkg,
});
- 루트 폴더에서 빌드하기
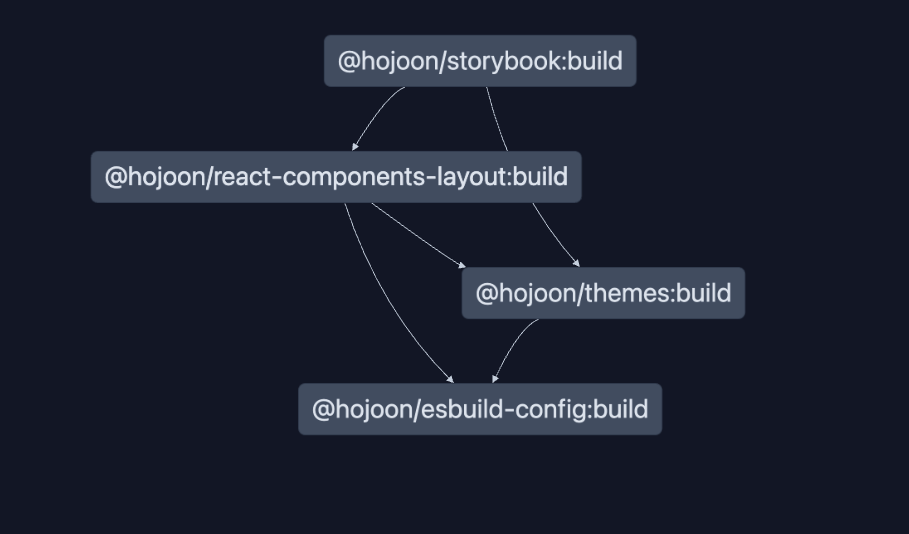
yarn build @hojoon/themes- 패키지 그래프 보기
yarn graph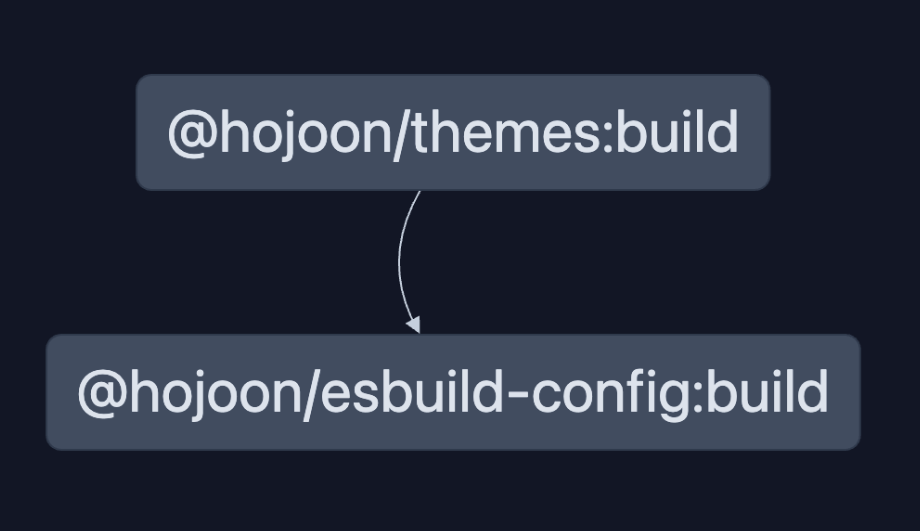
레이아웃 패키지 세팅하기
- @hojoon/react-components-layout 프로젝트 설정
- vanilla-extract 설치 & css file export
packages/react/components/layout 폴더에 layout 라이브러리를 만들어줄것임
- tsconfig 설정해주기
{
  "extends": "../../../../tsconfig.base.json",
  "compilerOptions": {
    "outDir": "./dist"
  }
}
2.build.js vanilla-extract plugin 세팅
import run from "@hojoon/esbuild-config";
import pkg from "./package.json" assert { type: "json" };
import { vanillaExtractPlugin } from "@vanilla-extract/esbuild-plugin";

const config = {
  plugins: [vanillaExtractPlugin()],
};

run({
  pkg,
  config,
});
- react, react-dom 설치해주고 내가 만든 themes 라이브러리 peerDependencies에 추가해주기
yarn add --dev react react-dom @types/react @types/react-dom
yarn add --peer @ghojoon/themes react
이러고 빌드하면 dist폴더에 빌드 결과물이 만들어진다.
내가 만든 UI가 잘 만들어졌는지 확인하려면??
스토리북을 세팅해준다.
- 루트 폴더에서 /services/storybook
yarn init
yarn workspace @hojoon/storybook dlx storybook init --type react
yarn storybook - 스토리북 실행이 된다.
- 다음으로 내가 만든 패키지 임포트해오기
yarn add --dev @hojoon/themes @hojoon/react-components-layout- 스토리북 작성해서 확인해보기
- .storybook/preview.js에서 내가 만든 테마 파운데이션 임포트 해야함
import "@hojoon/themes/themes.css"- block.stories.tsx 스토리 만들어주기
import "@hojoon/react-components-layout/style.css";
import { Block as _Block } from "@hojoon/react-components-layout";

export default {
  title: "React Components/Layout/Block",
  component: _Block,
  tags: ["autodocs"],
  parameters: {
    layout: "centered",
  },
};

export const BlockStory = {};
여기까지 스토리북 세팅이었다.
추가로 실시간으로 변경사항을 반영하고 스토리북으로 확인하려면?
- react/components/layout packages.json 스크립트 추가
"dev": "yarn build:js --watch && yarn build:type --watch"- 루트 폴더 packages.json 스크립트 추가
 "dev:all": "yarn dev:storybook & yarn dev:packages",
    "dev:storybook": "nx storybook @hojoon/storybook",
"dev:packages": "nx run-many --target=dev --projects='@hojoon/react-components-*'"- 스크립트 명령어 실행하고 컴포넌트 색상 바꾸면 실시간으로 반영된다.
yarn dev all스토리북으로 다크모드 대응하기
yarn add -dev stroybook-addon-root-attributes - .storybook/main.js addons에 추가해주기
getAbsolutePath("storybook-addon-root-attributes"),- preview.js
import "@hojoon/themes/themes.css";

/** @type { import('@storybook/react').Preview } */
const preview = {
  parameters: {
    actions: { argTypesRegex: "^on[A-Z].*" },
    controls: {
      matchers: {
        color: /(background|color)$/i,
        date: /Date$/,
      },
    },
    rootAttributesTooltip: true,
    rootAttributes: [
      {
        root: "body",
        attribute: "class",
        defaultState: {
          name: "light",
          value: "theme-light",
        },
        states: [
          {
            name: "dark",
            value: "theme-dark",
          },
        ],
      },
    ],
  },
};

export default preview;
- 이전에 미디어쿼리로 시스템에서 다크모드 감지하는 스크립트 작성했던거 preview.js에 넣어주기
const initTheme = () => {
  const isDarkTheme = window.matchMedia("(prefers-color-scheme: dark)").matches;

  if (isDarkTheme) {
    document.body.classList.add("theme-dark");
  }

  const mediaQueryList = window.matchMedia("(prefers-color-scheme: dark)");

  mediaQueryList.addEventListener("change", (e) => {
    if (e.matches) {
      document.body.classList.add("theme-dark");
    } else {
      document.body.classList.remove("theme-dark");
    }
  });
};

initTheme();- 패키지들을 잘 사용하고 있는걸 볼 수 있다.
일단 스토리북이랑 빌드 패키지 개발환경 설정은 여기까지!
생소해서 너무 어렵기도 하지만 해보지 않았던거라 또 나름 공부하는 재미가 있다. 몰랐던 스크립트 작성이나 의존 관계들, 패키지 디펜던시에 좀 가까워지는듯?
프론트? 백? 초보 개발자의 기록 공간