
이 프로젝트는 Youtube '코드팩토리'의 '[Flutter] Rest API 엔드포인트 따느라 삽질 하셨나요? 제가 도와드릴게요 Retrofit!' 강의를 참고했습니다.
RetroFit 이란 무엇인가요 ?
Retrofit 은 annotation 하나로 일반적으로 작성하는 HTTP 엔드포인트에 대한 액션들을 자동으로 클래스화 시켜주는 라이브러리입니다.
Server Url의 엔드포인트 별로 기본적인 method가 자동으로 생성돼요!
(Flutter에만 존재하는 것은 아니며 다른 언어나 프레임워크에도 존재해요.)
RetroFit을 사용하려면 간단한 사전 설정이 필요해요.
Packages
RetroFit 패키지는 Dio 패키지를 기반으로 하기 때문에 Dio를 필수로 pub.get 해줘야해요.
그 외에 pub.dev에 나와있는 패키지들이 필요해요.
retrofit pub.dev : https://pub.dev/packages/retrofit
아래 yaml은 간단한 실습에 필요한 패키지들이에요.
최신버전으로만 pub.get하게 되면 충돌이 일어나더라구요.. 그래서 버전을 약간 조율했습니다.
pubspec.yaml
dependencies:
  flutter:
    sdk: flutter
  retrofit: ^1.3.4+1
  dio: ^3.0.1
  logger:
  json_annotation: ^3.0.1
  cupertino_icons: ^1.0.2

dev_dependencies:
  flutter_test:
    sdk: flutter
  retrofit_generator: ^1.4.1+1
  build_runner: ^1.10.12
  json_serializable: ^3.5.1
API server
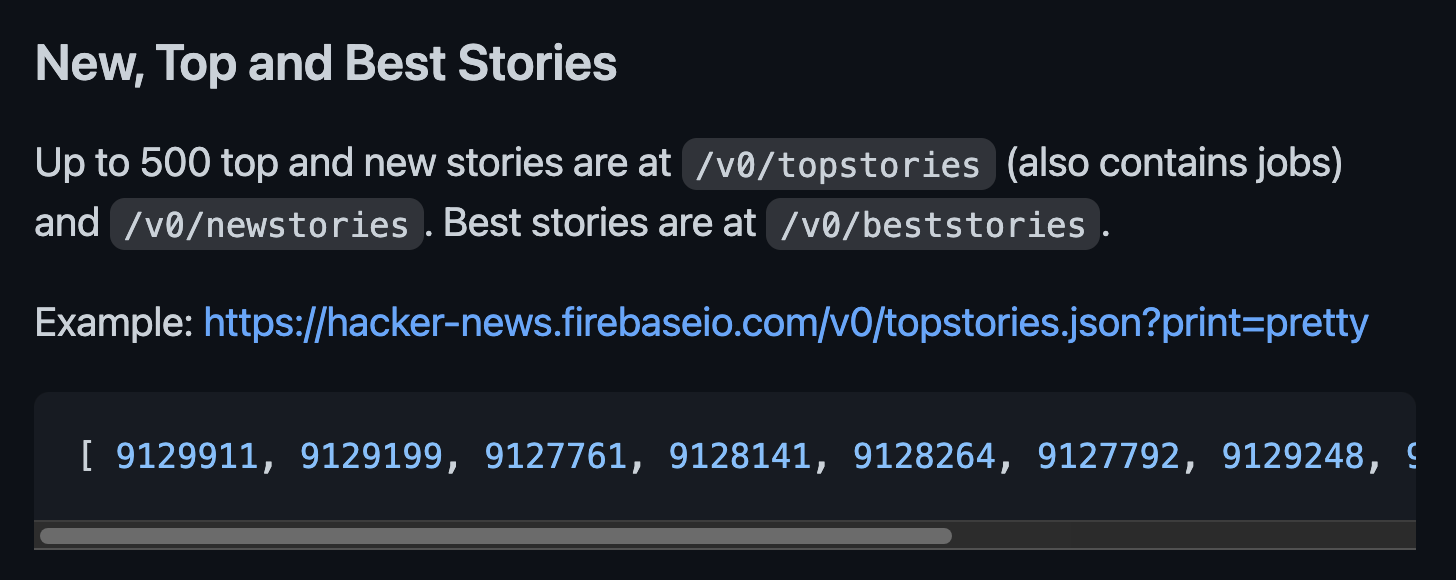
아래 주소는 이번 실습을 진행할 news api주소에요.
retrofit, json serializable package를 이용해서
간단하게 get 요청으로 server에서 top, and best stories를 불러와볼거에요.
https://github.com/hackernews/api
rest_client.dart
이제 retro fit을 이용하기 위해 코드를 짜볼게요.
코드는 정말 단순해요.
먼저! 필요한 패키지들을 import 시켜줘요.
part는 Json Serializable과 동일하게 이름이 동일한 g.dart 파일이 생긴다는 뜻이에요.
import 'package:json_annotation/json_annotation.dart';
import 'package:retrofit/retrofit.dart';
import 'package:dio/dio.dart';

part 'rest_client.g.dart';
다음으로 RestApi을 annotation해줘요.
여기서 사용할 base Url을 설정해줍니다.
(baseUrl: 'https://hacker-news.firebaseio.com/v0')이제 추상클래스를 하나 만들어줘요.
내부에 factory constructor로 dio, baseUrl을 parameter로 받아줍니다.
_RestClient 는 class 이름에 단순히 _ 를 붙여준거에요.
abstract class RestClient {
factory RestClient(Dio dio, {String baseUrl}) = _RestClient;
아마 여기저기서 빨간 밑줄이 생길거에요.
당황하지말고 따라오면 돼요.
나중에 파일이 생기면 오류는 다 없어질거에요.
이제 Get으로 서버에서 api를 불러와볼거에요.
첫번째로 topstories 의 id값들을 가져와 볼게요.
Get annotation으로 end-point를 설정해주고
Future로 가져올 data의 type을 선언해줘요.
그리고 함수 이름만 설정해주면 끝이에요.
('/topstories.json')
Future<List<int>> getTopNewsId();이번엔 위의 id 값을 활용해 news item을 불러오는 method를 선언해볼게요.
이 method는 News class를 반환하는데 이따가 News class를 만들어줄게요.
id Path 값이 동적으로 변하기 때문에 추가적인 Path 설정이 필요해요.
url의 변하는 값인 id를 {} 로 감싸주고,
method내에 named parameter로 Path 설정을 해줘요.
('/item/{id}.json')
Future<News> getNewsDetail({
() int id,
});이렇게 하면 다 끝난거나 다름없어요.
path 두가지를 Dio에 맵핑이 완료된거에요.
이제 News model을 json serializable을 활용해서 만들면 돼요.
News class는 아래 json data의 id, title, url 값을 받아줄 model 이 돼요.
(필요한 값만 가져다가 쓰는거에요)
{
  "by" : "dhouston",
  "descendants" : 71,
  "id" : 8863,
  "kids" : [ 8952, 9224, 8917, 8884, 8887, 8943, 8869, 8958, 9005, 9671, 8940, 9067, 8908, 9055, 8865, 8881, 8872, 8873, 8955, 10403, 8903, 8928, 9125, 8998, 8901, 8902, 8907, 8894, 8878, 8870, 8980, 8934, 8876 ],
  "score" : 111,
  "time" : 1175714200,
  "title" : "My YC app: Dropbox - Throw away your USB drive",
  "type" : "story",
  "url" : "http://www.getdropbox.com/u/2/screencast.html"
}
(과정설명은 json serializable포스팅과 동일하기 때문에 과정은 생략할게요.)
whole code
import 'package:json_annotation/json_annotation.dart';
import 'package:retrofit/retrofit.dart';
import 'package:dio/dio.dart';
part 'rest_client.g.dart';
(baseUrl: 'https://hacker-news.firebaseio.com/v0')
abstract class RestClient {
factory RestClient(Dio dio, {String baseUrl}) = _RestClient;
('/topstories.json')
Future<List<int>> getTopNewsId();
('/item/{id}.json')
Future<News> getNewsDetail({
() int id,
});
}
()
class News {
int id;
String title;
String type;
String url;
News({
this.id,
this.title,
this.type,
this.url,
});
factory News.fromJson(Map<String, dynamic> json) => _$NewsFromJson(json);
Map<String, dynamic> toJson() => _$NewsToJson(this);
}
이제 API를 사용할 준비는 끝!
다음 포스팅에서 Get API들을 어떻게 화면에 출력하는지 알아볼게요 🙌