#이 포스팅은 플린이의 입장에서 쓰여진 글입니다. 코드 지적은 언제나 환영입니다. 🙆🏻♂️
이 프로젝트는 Youtube '헤비프랜 - Heavy Fran'의 'Flutter json handling - json_serializable-플러터에서 json_serializable 패키지를 사용해 json 데이터 처리하는 방법' 강의를 참고했습니다.
Json Serializable
이번 포스팅은 Json Sturucture의 꽃
Json Serializable을 포스팅해볼게요!
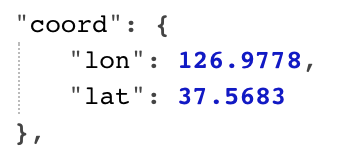
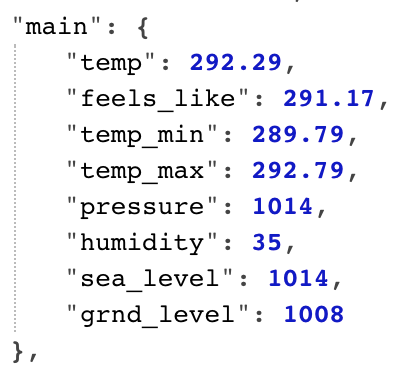
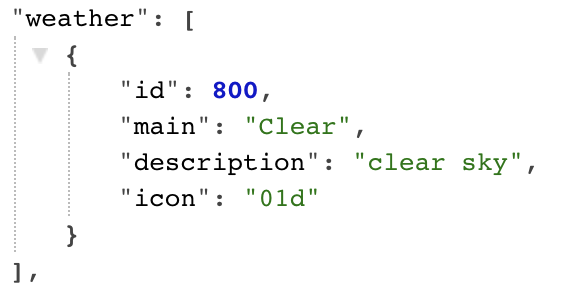
이전 포스팅과 동일하게 Json data는 아래와 같아요.
{
"coord": {
"lon": 126.9778,
"lat": 37.5683
},
"weather": [
{
"id": 800,
"main": "Clear",
"description": "clear sky",
"icon": "01d"
}
],
"base": "stations",
"main": {
"temp": 292.29,
"feels_like": 291.17,
"temp_min": 289.79,
"temp_max": 292.79,
"pressure": 1014,
"humidity": 35,
"sea_level": 1014,
"grnd_level": 1008
},
"visibility": 10000,
"wind": {
"speed": 2.71,
"deg": 92,
"gust": 5.9
},
"clouds": {
"all": 0
},
"dt": 1620696295,
"sys": {
"type": 1,
"id": 8105,
"country": "KR",
"sunrise": 1620678396,
"sunset": 1620729024
},
"timezone": 32400,
"id": 1835848,
"name": "Seoul",
"cod": 200
}
pubspec.yaml
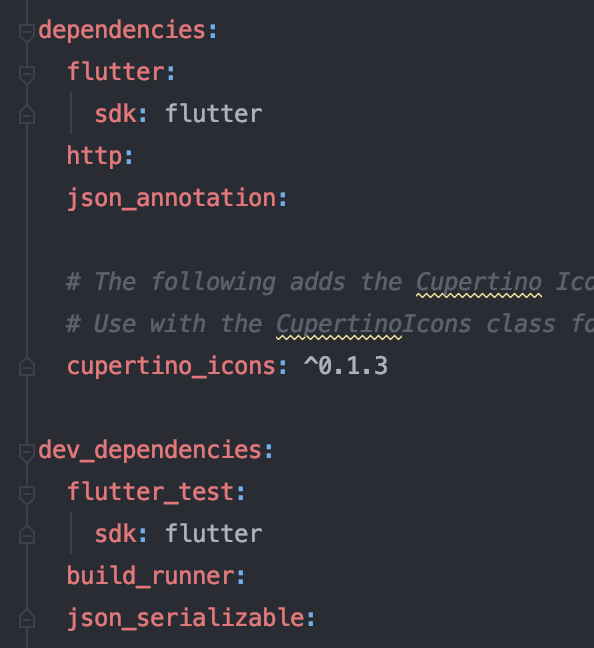
json_serializable을 사용하려면 우선 패키지를 불러와야해요.
Class
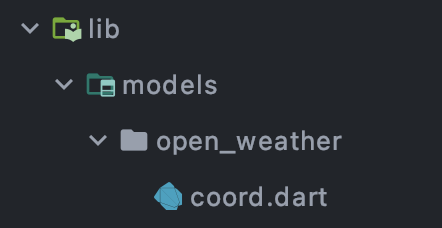
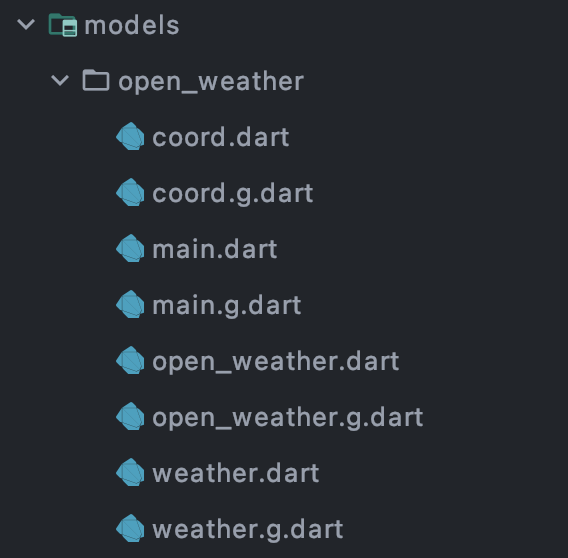
Flat, Nested와 달리 json_serializable의 class구조는 아래와 같이 폴더로 다뤄볼거에요.
coord.dart
main.dart
weather.dart
이 정도의 파일이 생성되겠네요!
우선 coord.dart 부터 보겠습니다. :)
Coord.dart
우선 json_annotatioin import를 먼저해줘요.
import 'package:json_annotation/json_annotation.dart';

part 'coord.g.dart';
part는 json annotation이 coord.g.dart 파일을 자동으로 생성되게끔 만들어줘요.
(build runner 시)
파일 내부에는 fromJson, toJson이 자동으로 생성돼요!
coord.g.dart 파일의 구조는 잠시후에 보고,
coord.dart부터 볼게요.
@JsonSerializable() annotation을 상단에 적어주고,
위의 Json data대로 class내부에 기본적인 필드, 생성자를 설정해줘요.
추가로 fromJson이나 toJson은 간단하게 아래와 같이 만들어줘요.
()
class Coord {
final double lon;
final double lat;
Coord({this.lon, this.lat});
factory Coord.fromJson(Map<String, dynamic> json) => _$CoordFromJson(json);
Map<String, dynamic> toJson() => _$CoordToJson(this);
}
main.dart
Coord class 처럼 Main, Weather 도 동일하게 만들어줄게요 :)
위의 구조를 보면서 만들어보면 ..
Main class
import 'package:json_annotation/json_annotation.dart';
part 'main.g.dart';
()
class Main {
final double temp;
(name: 'feels_like')
final double feelsLike;
(name: 'temp_min')
final double tempMin;
(name: 'temp_max')
final double tempMax;
final int pressure;
final int humidity;
Main({
this.temp,
this.feelsLike,
this.tempMin,
this.tempMax,
this.pressure,
this.humidity,
});
factory Main.fromJson(Map<String, dynamic> json) => _$MainFromJson(json);
Map<String, dynamic> toJson() => _$MainToJson(this);
}
이렇게 됩니다!
Coord와 다른점을 느끼셨나요?
json data에서는 'feels_like'로 되어있는 것을 'feelsLike'로 바꿔서 정의했어요.
이렇게 바꿔서 정의를 했다 라는것을 알려줘야해요.
그래서 JsonKey()... 를 적어주는 거에요!
weather.dart
이와 동일하게 Wether class도 만들어 볼게요.
json data를 보면 item이 List로 감싸져있는데,
각 item들을 다룰 것이기때문에 List는 일단 ! 무시하고 똑같이 만들어줘요.
Weather class
import 'package:json_annotation/json_annotation.dart';
part 'weather.g.dart';
()
class Weather {
final int id;
final String main;
final String description;
final String icon;
Weather({this.id, this.main, this.description, this.icon});
factory Weather.fromJson(Map<String, dynamic> json) =>
_$WeatherFromJson(json);
Map<String, dynamic> toJson() => _$WeatherToJson(this);
}
open_weather.dart
마지막으로 이 class 들을 모두 담아줄 class가 하나 더 필요해요.
이름은 'OpenWeather' 라고 해줄게요!
OpenWeather class
import 'package:json_annotation/json_annotation.dart';
import 'coord.dart';
import 'main.dart';
import 'weather.dart';
part 'open_weather.g.dart';
(explicitToJson: true)
class OpenWeather {
final Coord coord;
final List<Weather> weather;
final Main main;
final int visibility;
OpenWeather({
this.coord,
this.weather,
this.main,
this.visibility,
});
factory OpenWeather.fromJson(Map<String, dynamic> json) =>
_$OpenWeatherFromJson(json);
Map<String, dynamic> toJson() => _$OpenWeatherToJson(this);
}
먼저 필요한 파일들을 import해줘요.
OpenWeather class는 미리 정의한 class들을 필드값으로 가져요. visibility 같은 json data에서 단일 value 데이터는 바로 int로 처리해요.
그런데 생소한게 하나 보이지 않나요?
@JsonSerializable(explicitToJson : true)
를 해주지 않으면, screen에서 future method를 생성할 때, toJson을 로그에 찍어보면 필드값들이 찍히는 것이 아니라 Instance가 찍혀요. 필드값을 직접적으로 찍기 위해서랍니다!
아래는 @JsonSerializable(explicitToJson : true) 를 해주지않았을때를 비교하기 위해 toJson을 찍어본거에요.


여기까지 필요한 class정의는 끝났어요.
직접적인 fromJson, toJson을 만든 코드가 전혀 없죠!
아까 g.dart 파일들이 자동으로 생성되면서 그 역할을 해주는거라고 했죠?
이 파일들을 생성해주는 명령어에요!
flutter pub run build_runner build
이 명령어를 terminal에 입력해줘요.
이렇게 g.dart 파일들이 자동으로 생성돼요.
fromJson, toJson이 깨끗하게 정의되어있는 것을 볼 수 있어요.
open_weather.g.dart
// GENERATED CODE - DO NOT MODIFY BY HAND

part of 'open_weather.dart';

// **************************************************************************
// JsonSerializableGenerator
// **************************************************************************

OpenWeather _$OpenWeatherFromJson(Map<String, dynamic> json) {
  return OpenWeather(
    coord: json['coord'] == null
        ? null
        : Coord.fromJson(json['coord'] as Map<String, dynamic>),
    weather: (json['weather'] as List)
        ?.map((e) =>
            e == null ? null : Weather.fromJson(e as Map<String, dynamic>))
        ?.toList(),
    main: json['main'] == null
        ? null
        : Main.fromJson(json['main'] as Map<String, dynamic>),
    visibility: json['visibility'] as int,
  );
}

Map<String, dynamic> _$OpenWeatherToJson(OpenWeather instance) =>
    <String, dynamic>{
      'coord': instance.coord?.toJson(),
      'weather': instance.weather?.map((e) => e?.toJson())?.toList(),
      'main': instance.main?.toJson(),
      'visibility': instance.visibility,
    };
이제 data를 불러와서 Screen에 띄워볼게요.
open_weather_screen.dart
우선 Future의 구조는 flat, nested와 동일해요.
 Future<OpenWeather> getWeather() async {
    try {
      const String url =
          'https://api.openweathermap.org/data/2.5/weather?q=seoul&appid=$KEY';

      final http.Response response = await http.get(url);
      final responseData = json.decode(response.body);
      final OpenWeather ow = OpenWeather.fromJson(responseData);

      print(ow.toJson());

      return ow;
    } catch (err) {
      print(err);
      throw err;
    }
  }
FutureBuilder snapshot data를 불러올때는 nested와 비슷하게 불러와요.
return Scaffold(
      appBar: AppBar(
        title: Text('Open Weather'),
      ),
      body: FutureBuilder(
        future: getWeather(),
        builder: (context, snapshot) {
          if (snapshot.hasData) {
            final ow = snapshot.data;

            return ListView(
              padding: EdgeInsets.fromLTRB(20, 20, 20, 0),
              children: <Widget>[
                Text(
                  'longitude: ${ow.coord.lon}',
                  style: TextStyle(fontSize: 22),
                ),
                Text(
                  'latitude: ${ow.coord.lat}',
                  style: TextStyle(fontSize: 22),
                ),
                Text(
                  'weather id: ${ow.weather[0].id}',
                  style: TextStyle(fontSize: 22),
                ),
여기까지 Json_serializable의 간단한 사용법을 알아봤어요.
Json_serializable을 왜 쓰는걸까 하고 항상 궁금했는데 이렇게 정리해보니 이해가 가네요.
Json data의 구조가 조금이라도 복잡하면 쓰는게 확실히 낫다라고 생각해요. 👍