#이 포스팅은 플린이의 입장에서 쓰여진 글입니다. 코드 지적은 언제나 환영입니다. 🙆🏻♂️
이 프로젝트는 'Youtube The net ninja'의 flutter firebase tutorial 강의를 참고했습니다.
Cloud Firestore
이번엔 firebase에서 제공하는 data base를 다뤄볼거에요!
우선 firebase에서 cloud firestore를 만들어줘요.
첫 화면은 아무것도 없는 빈 상태에요.

컬렉션엔 뭐 아무거나 들어갈 수 있어요.
예를 들어서 users, products ... 만들기 나름이에요.
저는 컬렉션에 'users' 를 만들어서 사용자가 회원가입을 하면 users 컬렉션에 자동으로 업데이트를 해주도록 할게요.
DatabaseService
database 파일을 하나만들어주고,
그 안에 class를 만들어요.
database_service.dart
import 'package:cloud_firestore/cloud_firestore.dart';

// 사용자의 uid를 받아요.
class DatabaseService {
  final String uid;
  DatabaseService({this.uid});

// users collection을 변수로 만들어줄게요.
  final CollectionReference userCollection =
      FirebaseFirestore.instance.collection('users');

//회원가입시 사용자가 입력한 email, password를 받아서
  Future updateUserData(
    String _email,
    String _password,
  ) async {
//users 컬렉션에서 고유한 uid document를 만들고 그 안에 email, password 필드값을 채워넣어요.
    return await userCollection.doc(uid).set({
      'email': _email,
      'password': _password,
    });
  }
}
database 설정은 끝났어요.
AuthService class에 있는
signUpWithEmailAndPassword()에 정의한 method를 추가할게요.
auth_service.dart
Future signUpWithEmailAndPassword(String email, String password) async {
    try {
      UserCredential result = await _auth.createUserWithEmailAndPassword(
          email: email, password: password);
      User user = result.user;

      // add this code
      await DatabaseService(uid: user.uid)
          .updateUserData('$email', '$password');

      return _userFromFirebaseUser(user);
    } catch (e) {
      print('sign up failed');
      print(e.toString());
      return null;
    }
  }
끝!
회원가입을 해보면
아래와 같이 자동으로 생성돼요.
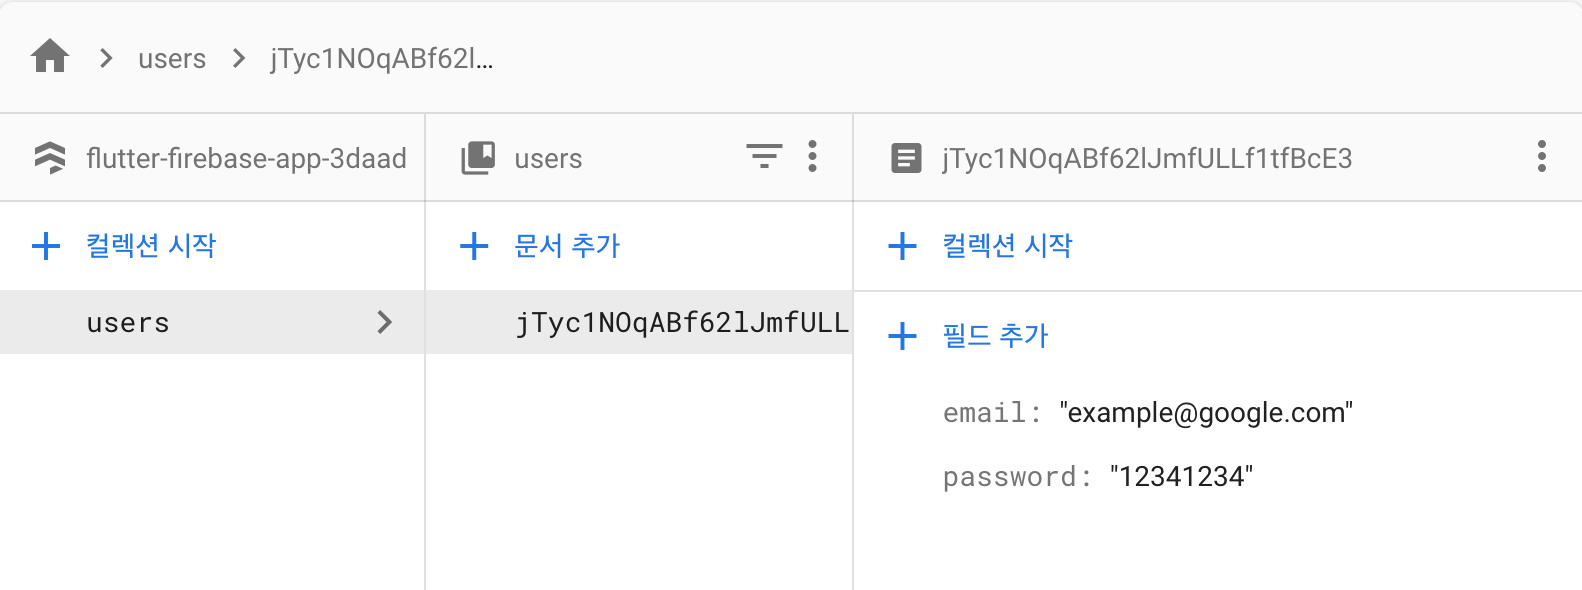
이지! 👏🏻

Web , App developer 🧑🏻💻