1. 다중 GPU passthrough 설정
(nvidia GPU 기준)
다음 게시물을 참고하여 proxmox 호스트와 컨테이너에 GPU 드라이버 설정을 완료한다.
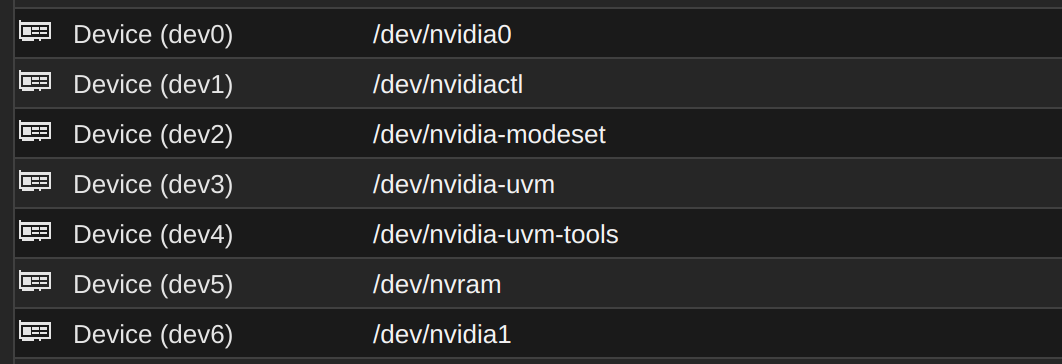
다중 GPU 환경인 경우 proxmox 쉘에서 실행한 # ls /dev | grep nvidia의 출력이 다음과 같을 것이다.
# ls /dev | grep nvidia
nvidia0
nvidia1
...(nvidiaX)
nvidia-caps
nvidiactl
nvidia-modeset
nvidia-uvm
nvidia-uvm-tools
해당 출력에서 nvidiaX 장치가 각각의 그래픽카드 디바이스를 의미한다.
따라서, 컨테이너 정보 - Resources 탭에서 Add - Device Passthrough을 통해 원하는 그래픽카드 디바이스를 추가하면 된다.

그림은 2개의 GPU를 컨테이너에서 사용하도록 설정한 예다. 해당 컨테이너에서 nvidia-smi의 출력은 다음과 같을 것이다.
$ nvidia-smi
...
|=========================================+========================+======================|
|   0  NVIDIA GeForce RTX 4090        Off |   00000000:43:00.0 Off |                  Off |
| 30%   28C    P8             13W /  450W |    5033MiB /  24564MiB |      0%      Default |
|                                         |                        |                  N/A |
+-----------------------------------------+------------------------+----------------------+
|   1  NVIDIA GeForce RTX 4090        Off |   00000000:6F:00.0 Off |                  Off |
| 30%   30C    P8              5W /  450W |    6205MiB /  24564MiB |      0%      Default |
|                                         |                        |                  N/A |
+-----------------------------------------+------------------------+----------------------+
...
이와 같은 방식으로 1번 컨테이너는 2, 3번 GPU를, 2번 컨테이너는 0, 1번 GPU만을 passthrough하여, 컨테이너별 특정 GPU 집합만을 사용할 수 있게 설정할 수도 있다!
2. LVM 이미지 크기 조정하기
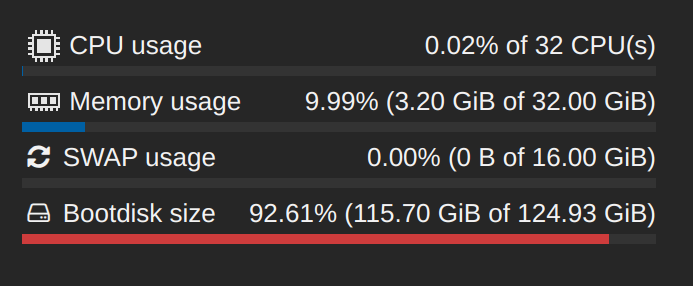
LVM으로 구성된 컨테이너의 부트디스크가 거의 다 찼다. 이 상황에서 해당 디스크에 추가 공간을 할당시켜보자.
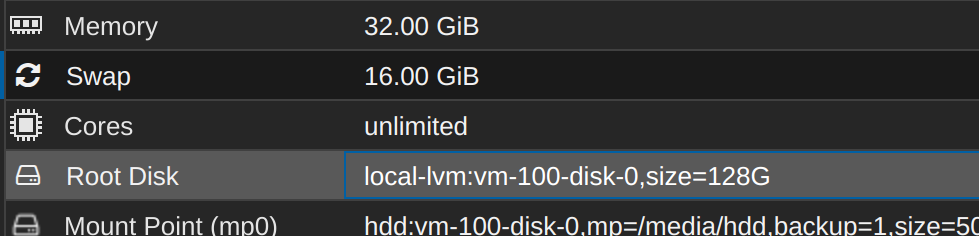
2.1. 해당 이미지 찾기
컨테이너의 Resources 탭에서 마운트된 이미지의 이름을 확인할 수 있다.
2.2. proxmox 루트 쉘에서 이미지 크기 조정하기
# lvdisplay 명령의 출력으로 해당 볼륨의 위치를 확인하자.
# lvdisplay
...
  --- Logical volume ---
  LV Path                /dev/pve/vm-100-disk-0
  LV Name                vm-100-disk-0
  VG Name                pve
  ...
  LV Size                128.00 GiB
  Mapped size            97.51%
...
할당받은 공간의 97% 가까이를 사용하고 있다... 이제 이 이미지의 크기를 조정해보자.
해당 공간을 마운트하거나 컨테이너 rootfs로 사용하고 있다면 진행되지 않으며, 마운트 해제 또는 컨테이너의 전원을 끄고 진행해야 한다.
 # lvresize --size +128G --resizefs /dev/pve/vm-100-disk-0
  Size of logical volume pve/vm-100-disk-0 changed from 128.00 GiB (32768 extents) to 256.00 GiB (65536 extents).
  WARNING: Sum of all thin volume sizes (1.14 TiB) exceeds the size of thin pool pve/data and the size of whole volume group (<930.51 GiB).
  WARNING: You have not turned on protection against thin pools running out of space.
  WARNING: Set activation/thin_pool_autoextend_threshold below 100 to trigger automatic extension of thin pools before they get full.
  Logical volume pve/vm-100-disk-0 successfully resized.
resize2fs 1.47.0 (5-Feb-2023)
resize2fs: Device or resource busy while trying to open /dev/mapper/pve-vm--100--disk--0
Couldn't find valid filesystem superblock.
fsadm: ext4 resize failed.
  /sbin/fsadm failed: 1
root@wcan:~# lvresize --size +128G --resizefs /dev/pve/vm-100-disk-0
fsck from util-linux 2.38.1
/dev/mapper/pve-vm--100--disk--0: Inode 4886385 extent tree (at level 1) could be narrower.  IGNORED.
/dev/mapper/pve-vm--100--disk--0: 596300/8388608 files (0.4% non-contiguous), 31136238/33554432 blocks
  Size of logical volume pve/vm-100-disk-0 changed from 256.00 GiB (65536 extents) to 384.00 GiB (98304 extents).
  WARNING: Sum of all thin volume sizes (<1.27 TiB) exceeds the size of thin pool pve/data and the size of whole volume group (<930.51 GiB).
  WARNING: You have not turned on protection against thin pools running out of space.
  WARNING: Set activation/thin_pool_autoextend_threshold below 100 to trigger automatic extension of thin pools before they get full.
  Logical volume pve/vm-100-disk-0 successfully resized.
resize2fs 1.47.0 (5-Feb-2023)
Resizing the filesystem on /dev/mapper/pve-vm--100--disk--0 to 100663296 (4k) blocks.
The filesystem on /dev/mapper/pve-vm--100--disk--0 is now 100663296 (4k) blocks long.
필자의 경우 전체 디스크 공간보다 LVM 디스크 전체 할당 크기가 더 커서 경고 메시지가 출력되었다. 어차피 나머지 컨테이너 중 템플릿 용으로 할당해둔 녀석이 있기 때문에 그냥 무시했다...