-
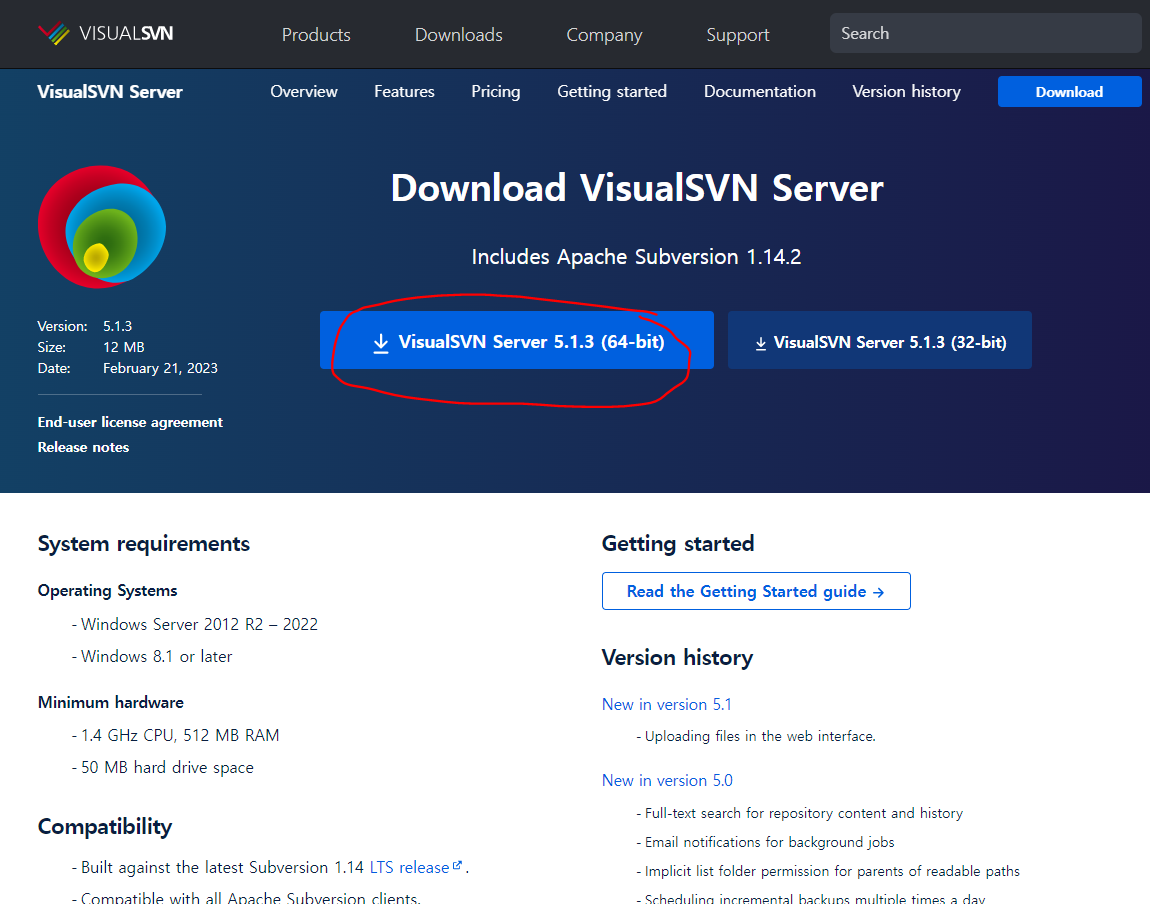
VisualSVN Download
https://www.visualsvn.com/downloads/ -
VisualSVN Getting Started
https://www.visualsvn.com/server/getting-started/
설치 📃
-
VisualSVN Server (OS에 맞게 설치)
-
VisualSVN Server - Setup
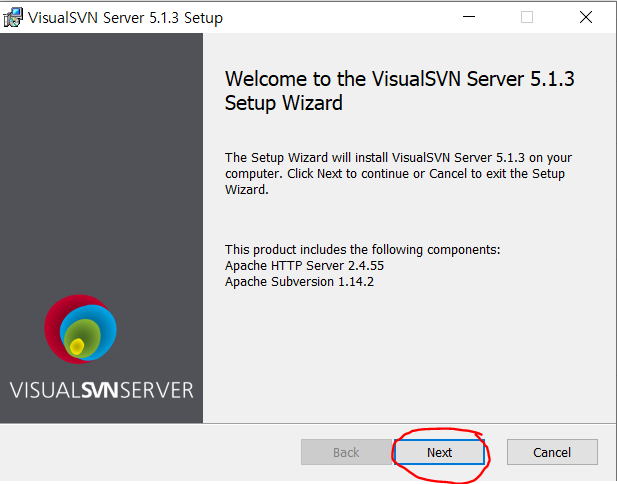
- Next 누른다
- Lisense Agreement
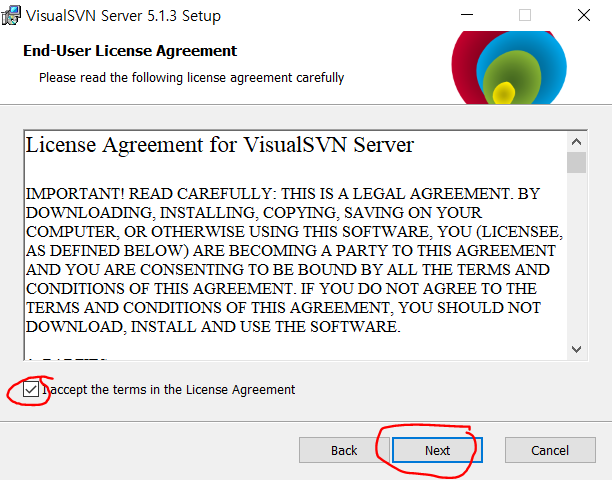
- 동의하고 Next 누른다
- Select Components
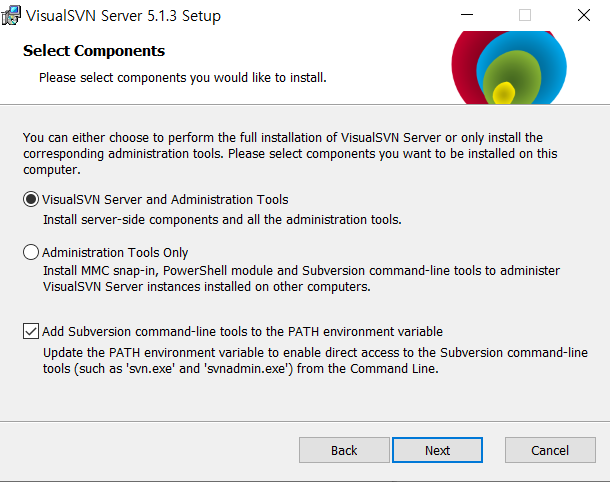
- Next 누른다
- Initial Server Configuration
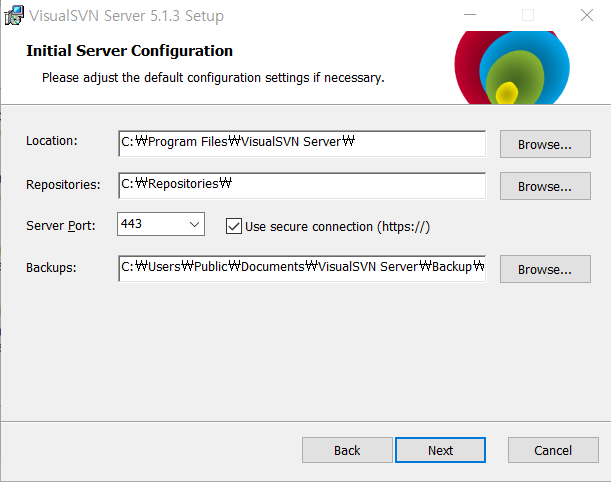
- location : VisualSVN Server가 설치될 장소
- Repositories : Repo들이 들어 있는 장소
- Server Port : 통신할 포트번호 (기본은 https의 443포트지만 사용하고 있거나, 사용할 예정이라면 다른 걸 막 만들어서 써도 됨 근데 그러면 url 뒤에 포트를 명시해줘야함, 443은 할 필요 x)
- Backups : 백업 파일들이 들어있는 곳
아마 회사라면 location은 devtool들을 모아놓은 C:\dev\VisualSVN Server\로 설정할 것이고 Repositories는 D:\Repositories\로 만들 것 같음
- Search Indexing Configuration
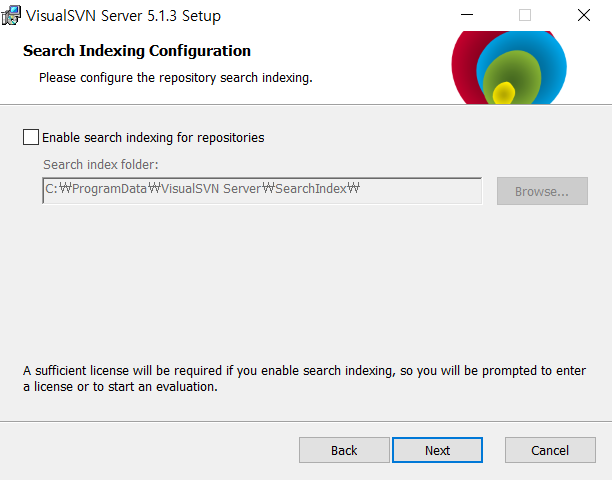
- 뭐 공식문서에 따르면
Consider enabling the full-text search feature that allows finding files with the specified content in the web interface. To enable the full-text search capabilities, you have to enable search indexing for repositories.
막 이렇게 적혀있는데 무시하고 Next를 누르자 (만약 Search indexing 허용하면 45일만 공짜로 쓰고 나중에 돈 내야함..)
- Authentication Mode
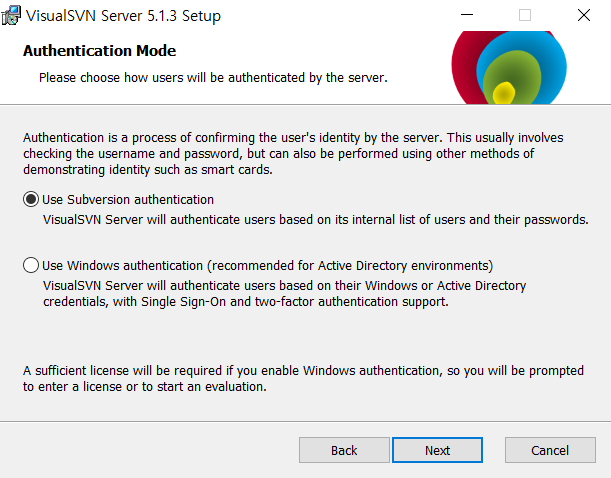
- Use Subversion authentiaction을 체크하자 (만약 windows authentication을 사용하낟고 하면 이것도.. 6번과 같은 이유로 돈 내야함)
- Ready to Install
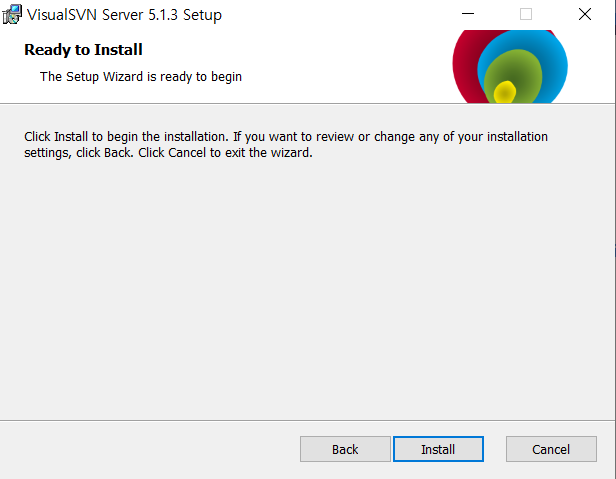
- 설치ㄱ
Serverside Repository 생성 🏃♂️
❗ 아마 회사 내에서 발급해 준 Server Repository가 있을 것이다. 없을 시에는 이렇게 만들면 됨
- Repository 생성
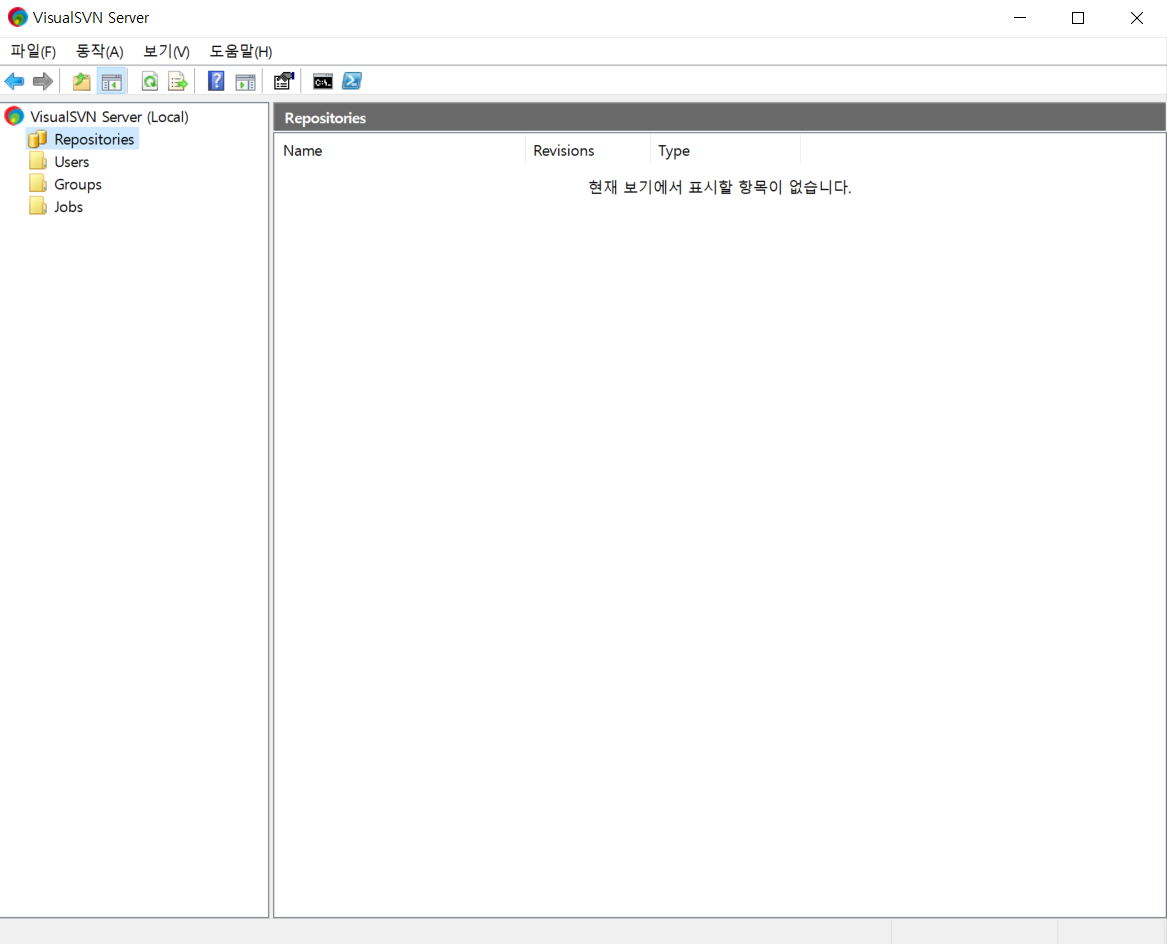
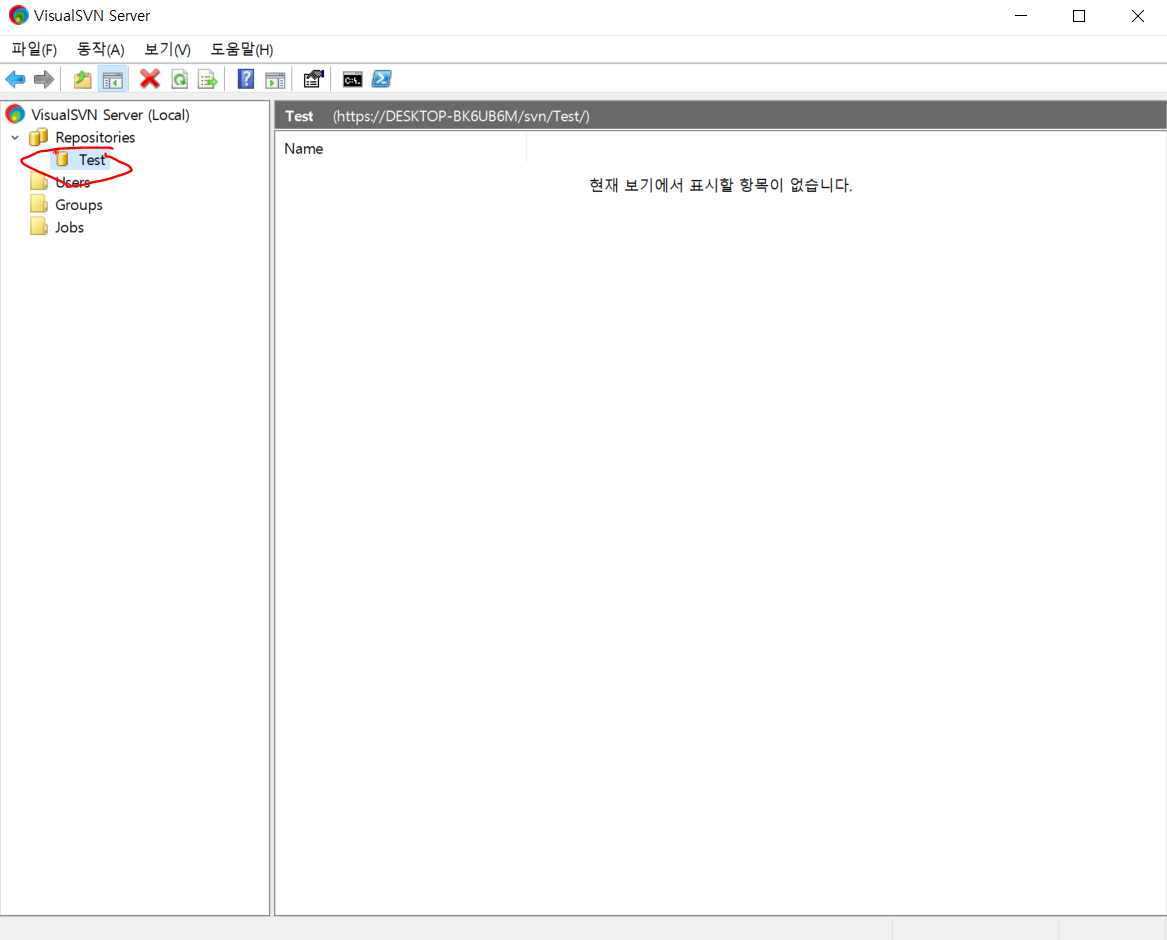
- Sidebar의 Repositories를 우클릭하면 Create new Repository를 누르자
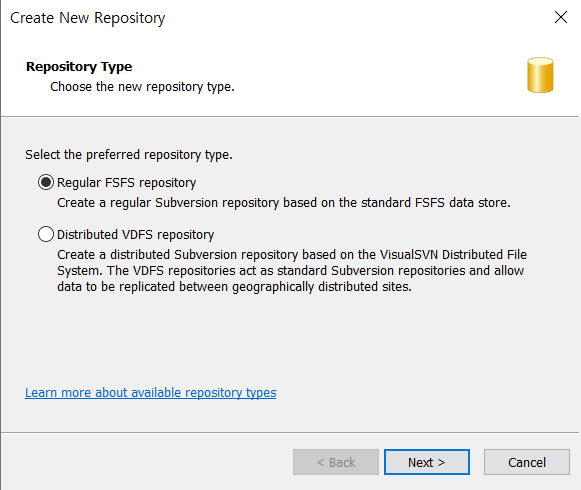
- Regular FSFS repository를 선택하고 Next
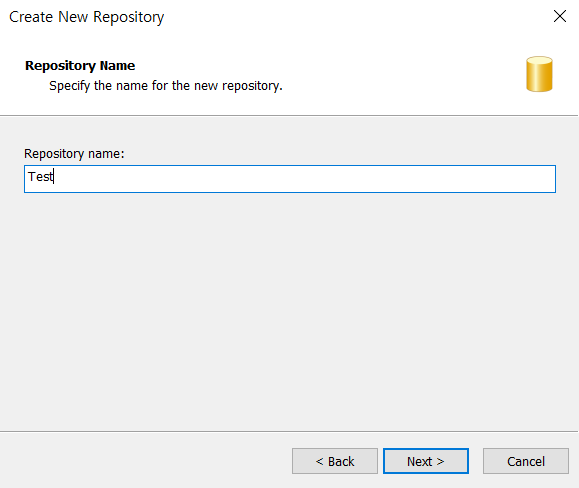
- Repository name을 설정하고 Next
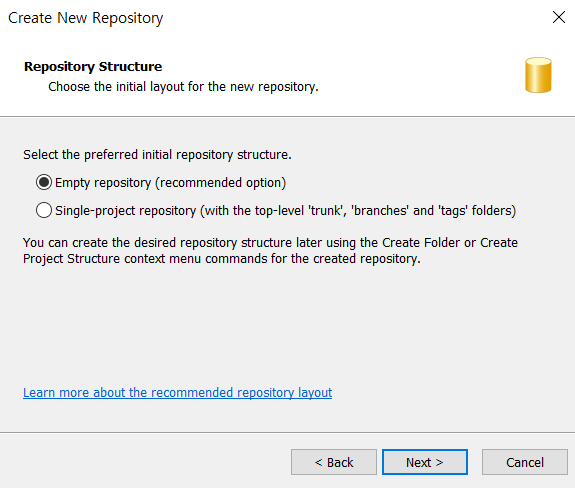
- Empty repository를 선택하고 Next
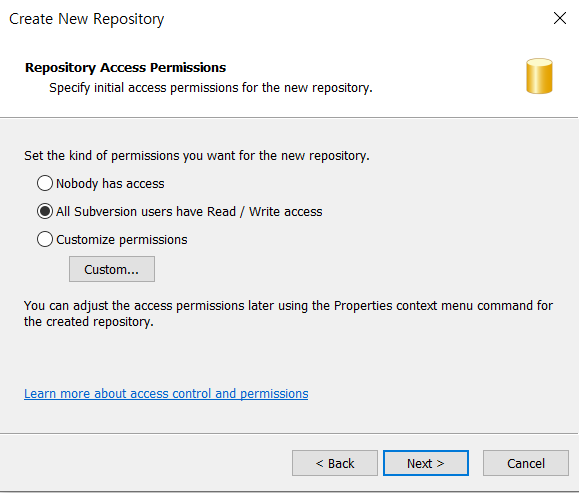
- All Subversion users have Read/Write access를 선택하고 Next
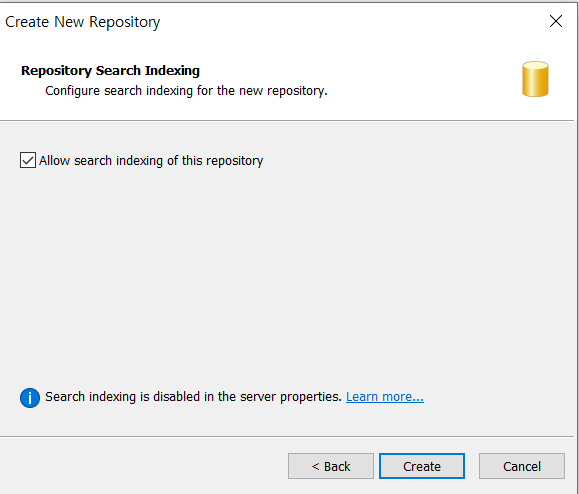
- Allow search indexing of this repository(현재 Test repo를 찾을 수 있도록)를 선택하고 Create
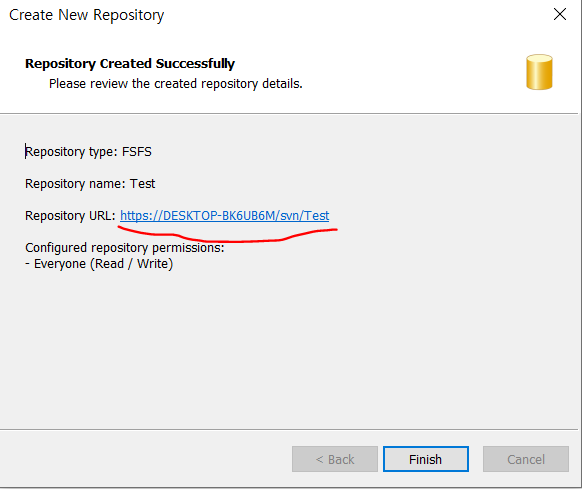
- 이제 Repository URL로 다른사람과 협업이 가능한 서버 Repo가 생성되었다
사용자 계정 생성 🤷♂️
❗ 위에 서버랑 마찬가지로 회사에서 만들어 준 사용자 계정이 있을 것이다. 즉 그 계정은 서버로 부터 Repo 접근 권한(Read/Write)을 받은 것이고 우리는 받은 계정을 토대로 Server Repository URL과 연결해서 Server Repo에 접근하면 됨
❗ 만약 받은 계정이 없으면 Server에서 사용자를 만들어 줘야함
- 사용자 생성
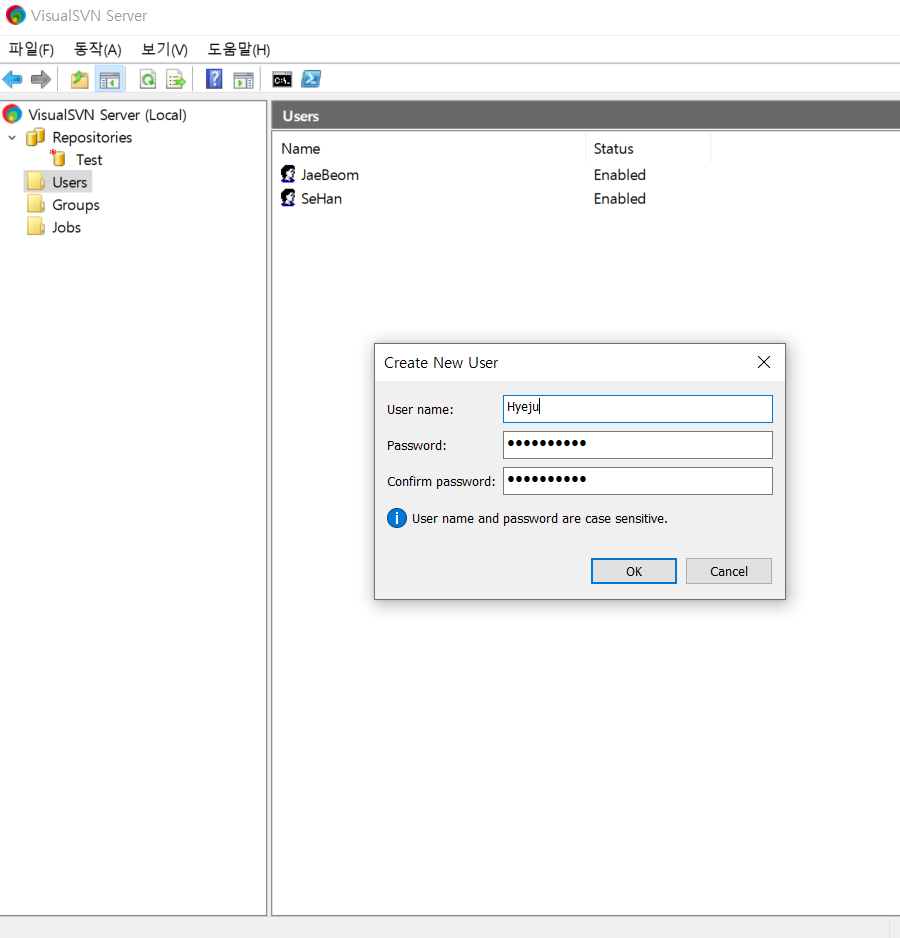
- Sidebar의 Users 우클릭해서 Create New User를 함
- 이 계정의 User name과 Password를 통해서 Server Repo를 이용할 수 있음
- Password 같은 경우 대/소문자 구분이 가능해서 잘 해줘야함