독스
fbase.js
import { initializeApp } from "firebase/app";

const firebaseConfig = {
  apiKey: "AIzaSyB4S_8p3bCsDwcUh-keh8rxYXQ7-Vil1Io",
  authDomain: "hoitter.firebaseapp.com",
  projectId: "hoitter",
  storageBucket: "hoitter.appspot.com",
  messagingSenderId: "1046367215865",
  appId: "1:1046367215865:web:f62b2a279f2e74f87ac228",
};

const app = initializeApp(firebaseConfig);

export const authService = app.auth();
이제 fbase를 통해 firebase api를 사용할 수 있다.
App
import firebase from "firebase/compat/app";
import "firebase/compat/auth";
import "firebase/compat/firestore";
import "firebase/compat/storage";
import { useState } from "react";
import { authService } from "../fbase";
import AppRouter from "./Router";
function App() {
const [isLoggedIn, setIsLoggedIn] = useState(authService.currentUser);
return (
<>
<AppRouter isLoggedIn={isLoggedIn} />
<footer>© {new Date().getFullYear()} Nwitter</footer>
</>
);
}
export default App;이제 islogginedIn을 사용할 수 있게 되었다.
Login
hoitter project 페이지 않에서 Authentication을 선택하고 유저를 인증할 방법을 선택한다. 이번에는 전통적인 이메일패스워드를 선택한다. 그리고 깃허브와 구글도 해보자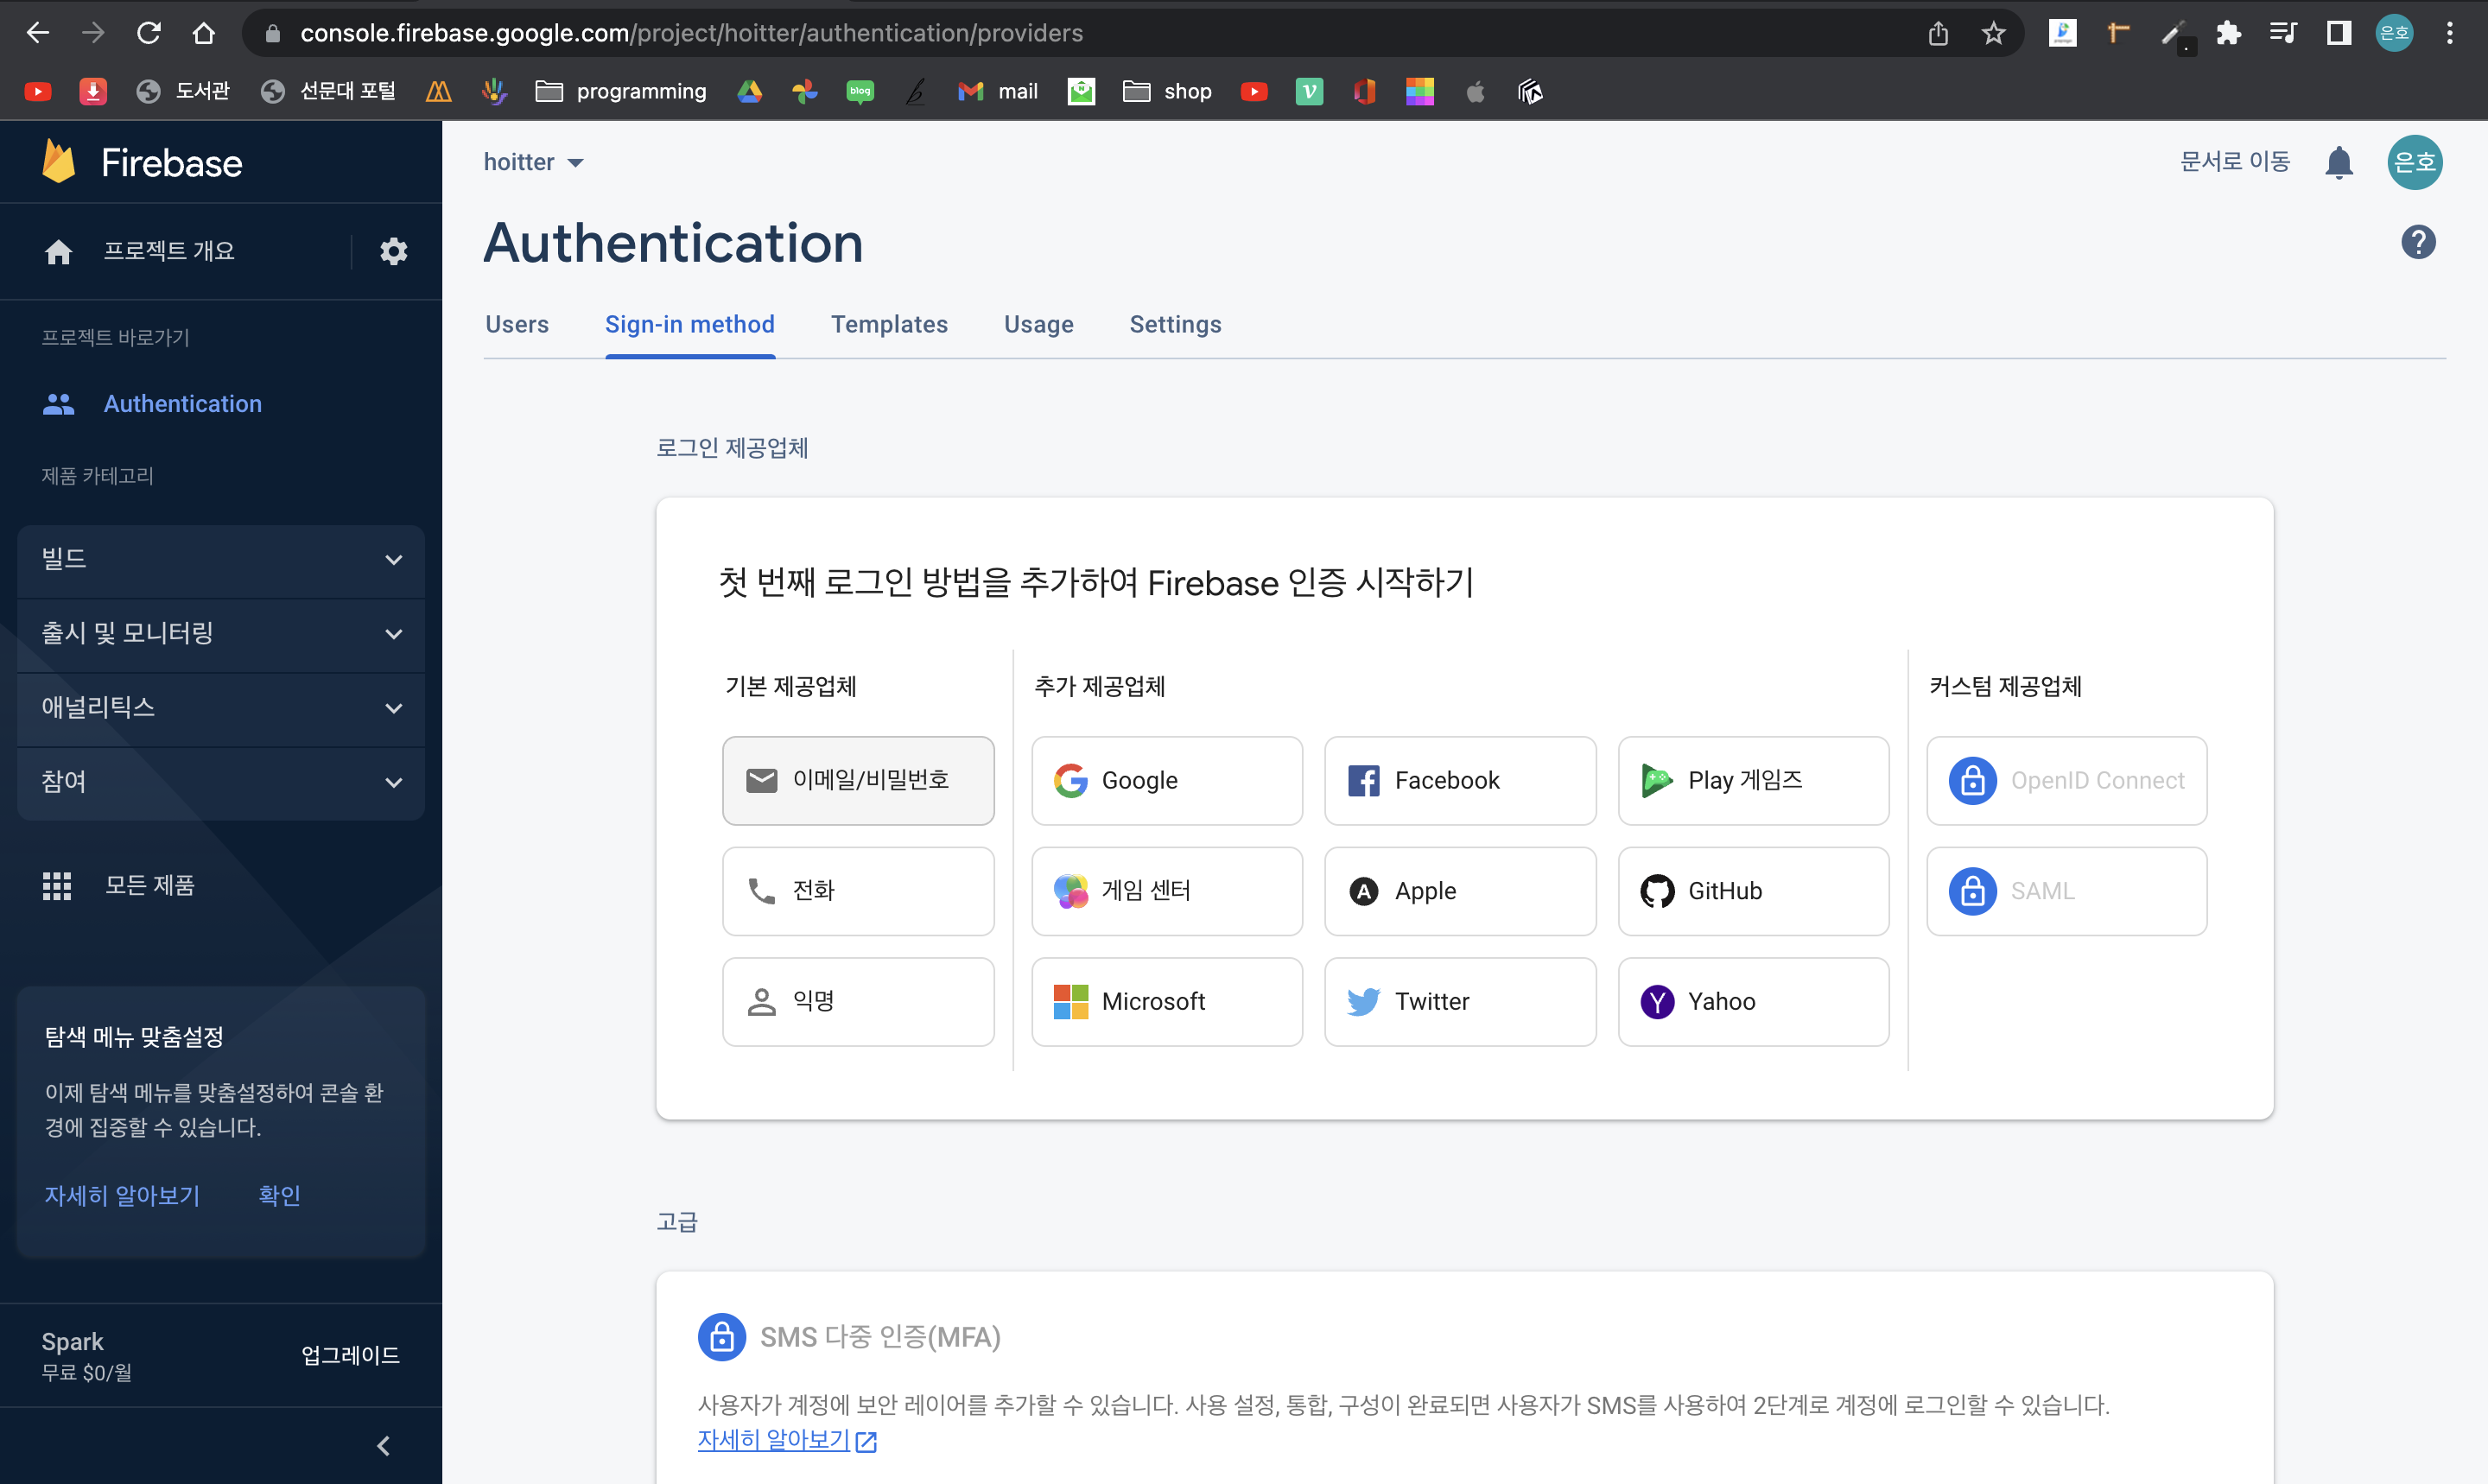
깃허브는 OAuth를 통해 만들어주자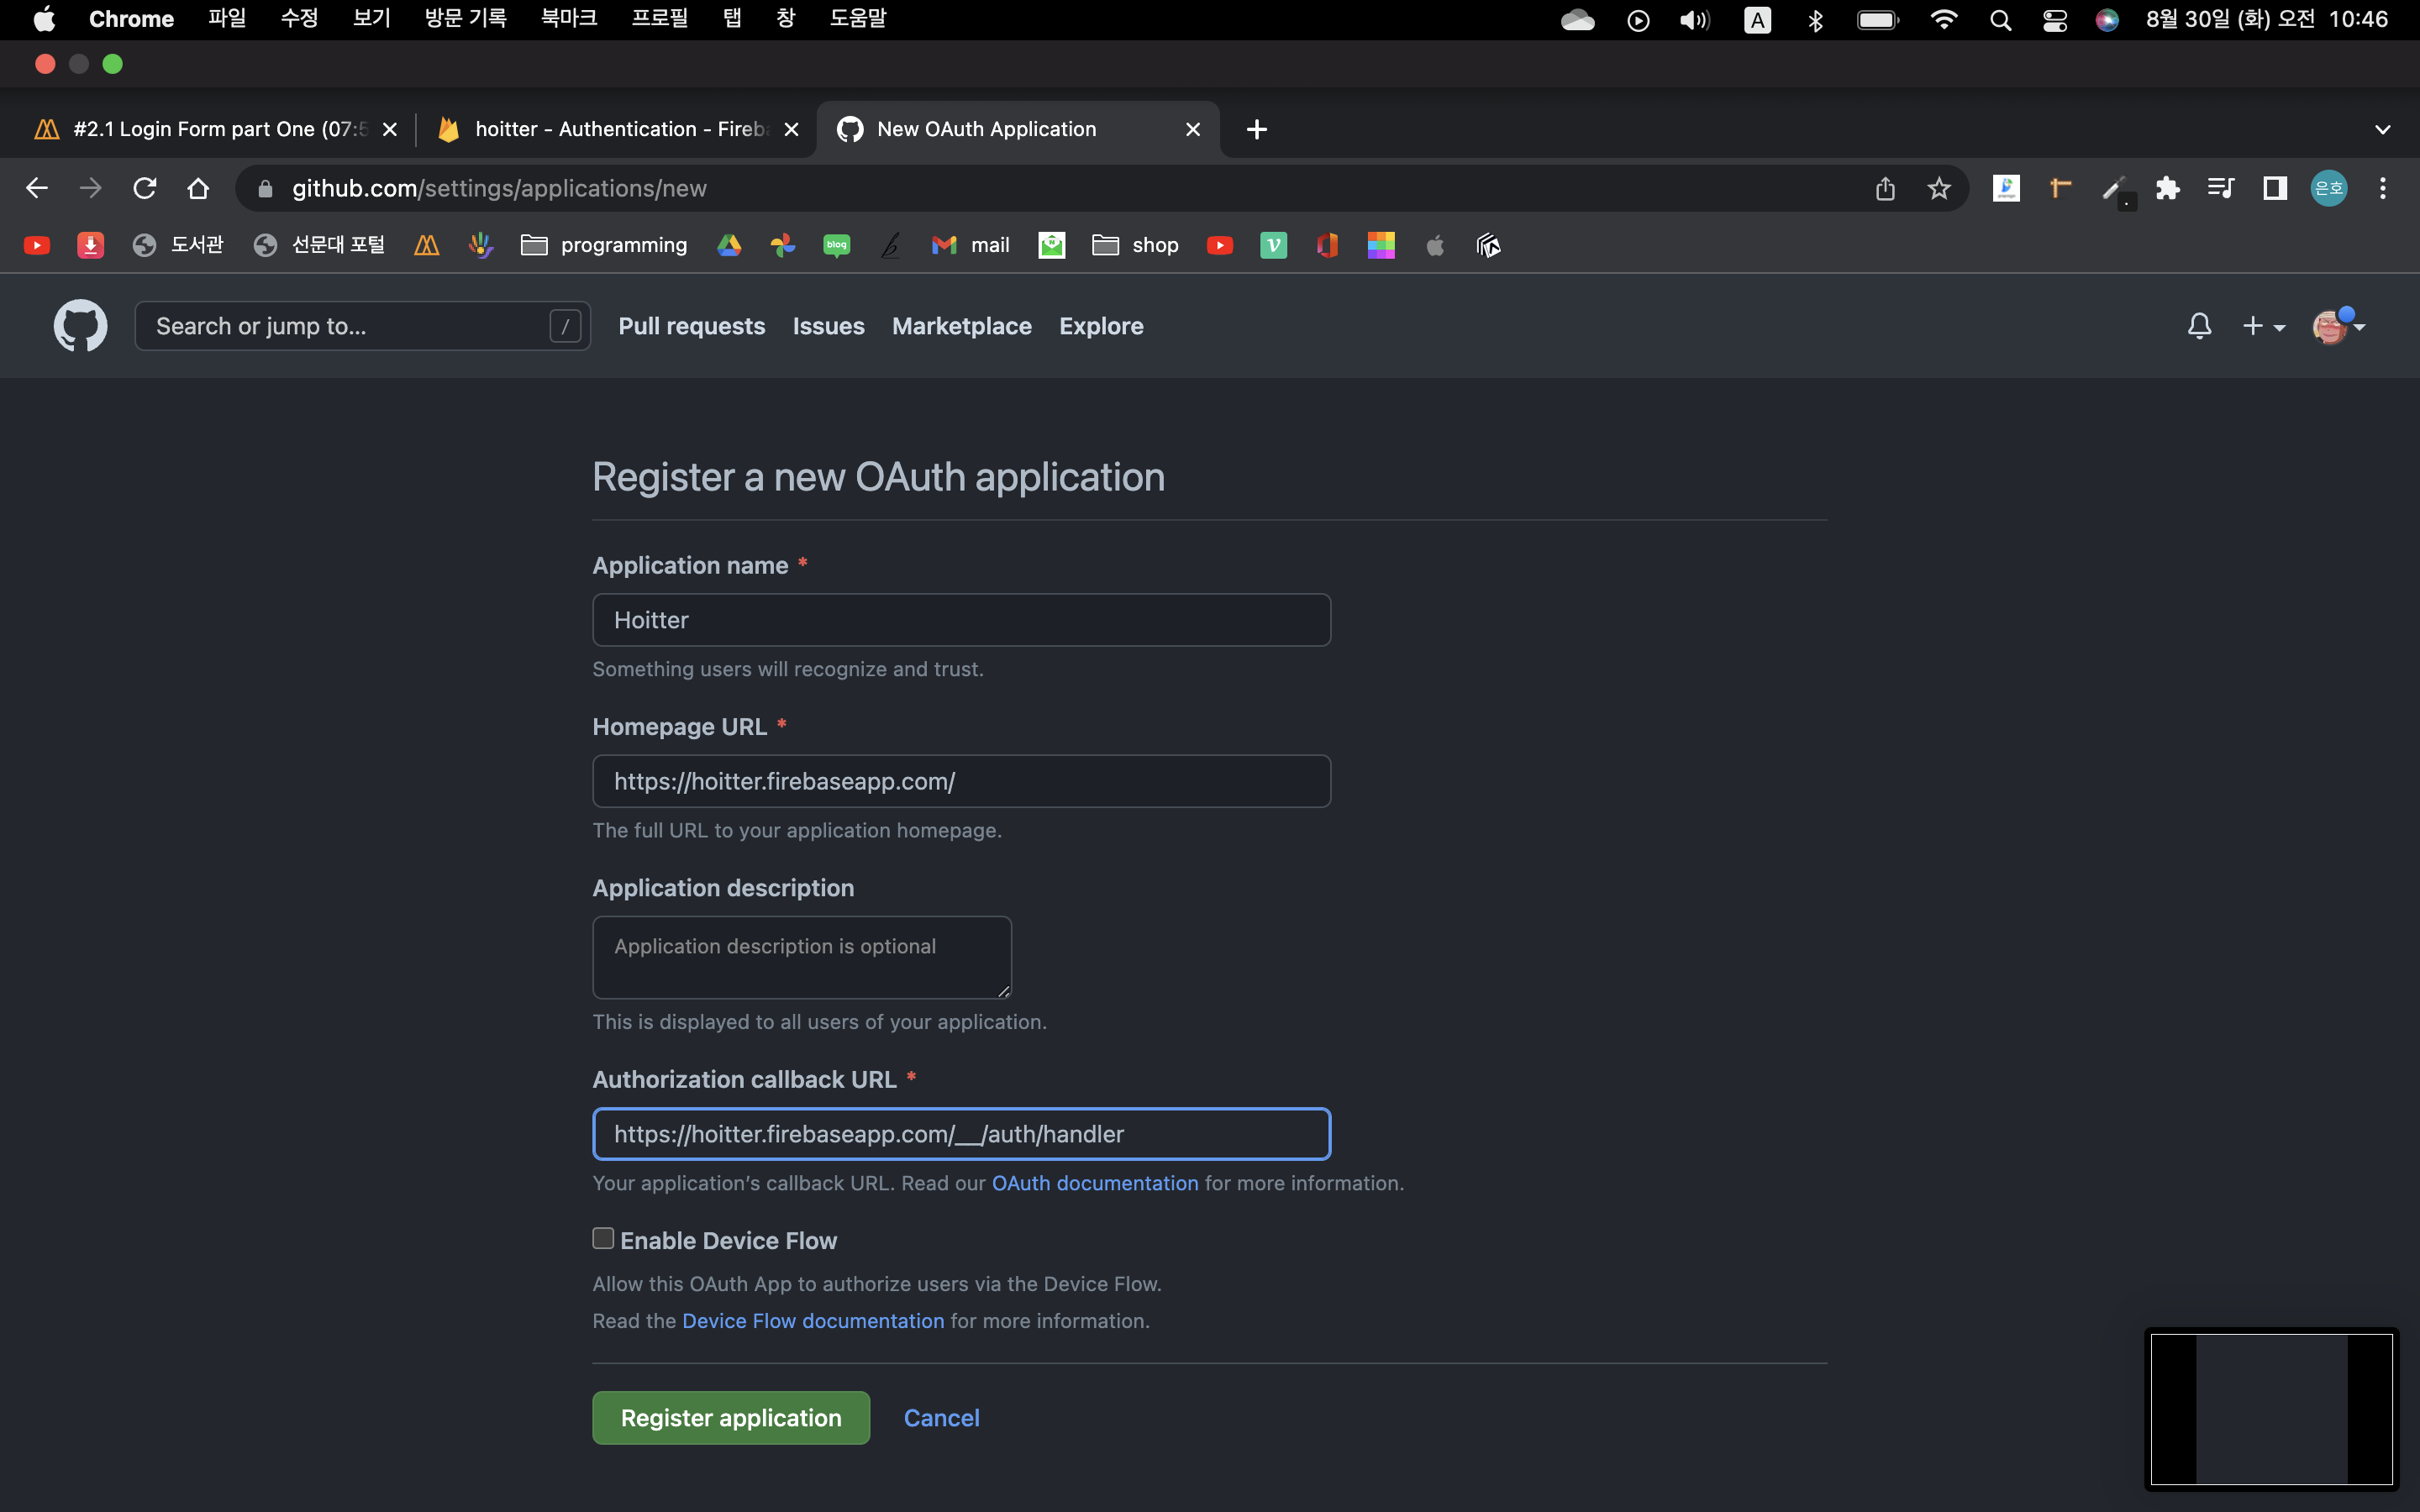
그리고 만든 앱에서 클라이언트 계정을 파베와 연결해주면 된다.
Auth.js
import React, { useState } from "react";

const Auth = () => {
  const [email, setEmail] = useState("");
  const [pw, setPw] = useState("");
  const onChange = (event) => {
    const {
      target: { name, value },
    } = event;
    if (name === "email") {
      setEmail(value);
    } else if (name === "pw") {
      setPw(value);
    }
  };
  const onSubmit = (e) => {
    e.preventDefault();
  };
  return (
    <div onSubmit={onSubmit}>
      <form action="">
        <input
          onChange={onChange}
          name="email"
          type="email"
          placeholder="email"
          required
        />
        <input
          onChange={onChange}
          name="pw"
          type="password"
          placeholder="PW"
          required
        />
        <button>LOGIN</button>
      </form>
    </div>
  );
};
export default Auth;
Create & Verify
문서를 확인하면 만들고 인증하는 문서를 보여주는 링크가 각각 있을 것이다.
먼저 계정을 만들어보자.

const [newAccount, setNewAccout] = useState(true);
//사용자가 입력한 데이터가 새로운 유저라면
const onSubmit = async (e) => {
    e.preventDefault();
    try {
      let data;
      if (newAccount) {
        data = await authService.createUserWithEmailAndPassword(email, pw);
      } else {
        data = await authService.signInWithEmailAndPassword(email, pw);
      }
      console.log(data);
    } catch (error) {
      console.log(error);
    }
  };
이후 로그인을 해보면, 당연히 앱내에서는 알수 없지만 파베유저목록에 한명 생긴것을 볼 수 있다. 이제
그러나 App의 코드에 문제가 있다. 로그인버튼을 눌러도, 로그인페이지에 머무르는데const [isLoggedIn, setIsLoggedIn] = useState(authService.currentUser); 에서 authService가 항상 스탠바이중인것은 아니라는 것이다. 때문에 초기화하는데 시간이 걸리고, 그 순간에 js는 알아채지 못한다.
때문에 이 메소드를 활용하여, 유저를 listen한다.
import { useState, useEffect } from "react";
import { authService } from "../fbase";
import AppRouter from "./Router";
function App() {
const [init, setinit] = useState(false);
const [isLoggedIn, setIsLoggedIn] = useState(false);
useEffect(() => {
authService.onAuthStateChanged((user) => {
if (user) {
setIsLoggedIn(true);
} else {
setIsLoggedIn(false);
}
setinit(true);
});
}, []);
return (
<>
{init ? <AppRouter isLoggedIn={isLoggedIn} /> : "Initializing..."}
<footer>© {new Date().getFullYear()} Nwitter</footer>
</>
);
}
export default App;OAuth
const onSocialClick = async (e) => {
    const {
      target: { name },
    } = e;
    let provieder;
    if (name === "google") {
      provieder = new firebaseInstance.auth.GoogleAuthProvider();
    } else if (name === "github") {
      provieder = new firebaseInstance.auth.GithubAuthProvider();
    }
    const data = await authService.signInWithPopup(provieder);
    console.log(data);
  };

//
<div>
  <button name="google" onClick={onSocialClick}>
    Google
</button>
<button name="github" onClick={onSocialClick}>
  Github
</button>
</div>
참고로 firebaseInstance는 firebase를 fbase에서 export한 후 import한 변수이다.
LogOut
먼저 네이게이션 헤더바를 만들자.
컴포넌트/Navigation
import { Link } from "react-router-dom";

const Navigation = () => (
  <nav>
    <ul>
      <li>
        <Link to="/">Home</Link>
      </li>
      <li>
        <Link to="/profile">My Profile</Link>
      </li>
    </ul>
  </nav>
);

export default Navigation;
이후 라우터에 변경사항들을 작성한다.
import React from "react";
import { useHistory } from "react-router-dom";
import { authService } from "../fbase";

const Profile = () => {
  const history = useHistory();
  const onLogOutClick = () => {
    authService.signOut();
    history.push("/");
  };
  return (
    <>
      <span>Profile</span>
      <button onClick={onLogOutClick}>LogOut</button>
    </>
  );
};
export default Profile;
참고로 프로필페이지에서만 로그아웃이 가능하게 만들것이다.
참고로 호환성문제로 인해 링크가 바뀌어도 컴포넌트들이 렌더링되지 않는 문제가 있었는데 리-라-돔의 버전을 5.3.3으로 업그레이드 해주었다.