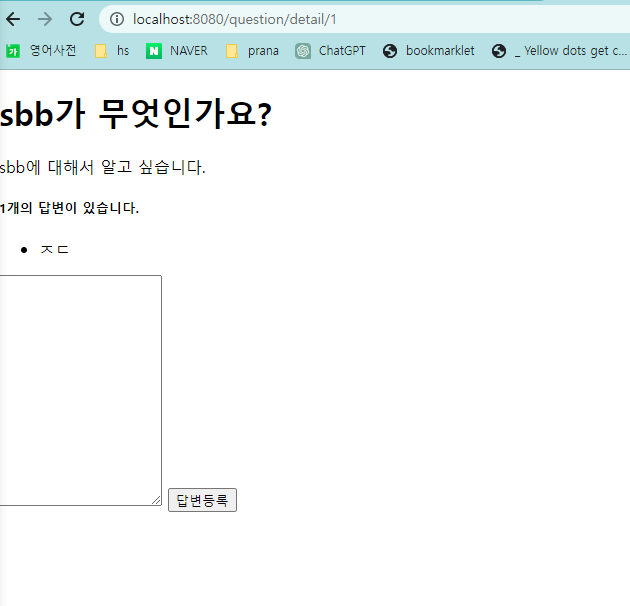
답변 등록 버튼 만들기
## question_detail.html
<!DOCTYPE html>
<html lang="en" xmlns:th="http://www.w3.org/1999/xhtml">
<head>
    <meta charset="UTF-8">
    <title>Title</title>
</head>
<body>
        <h1 th:text="${question.subject}"></h1>
        <div th:text="${question.content}"></div>

        <form th:action="@{|/answer/create/${question.id}|}" method="post">
            <textarea name="content" id="content" rows="15"></textarea>
            <input type="submit" value="답변등록">
        </form>
</body>
</html>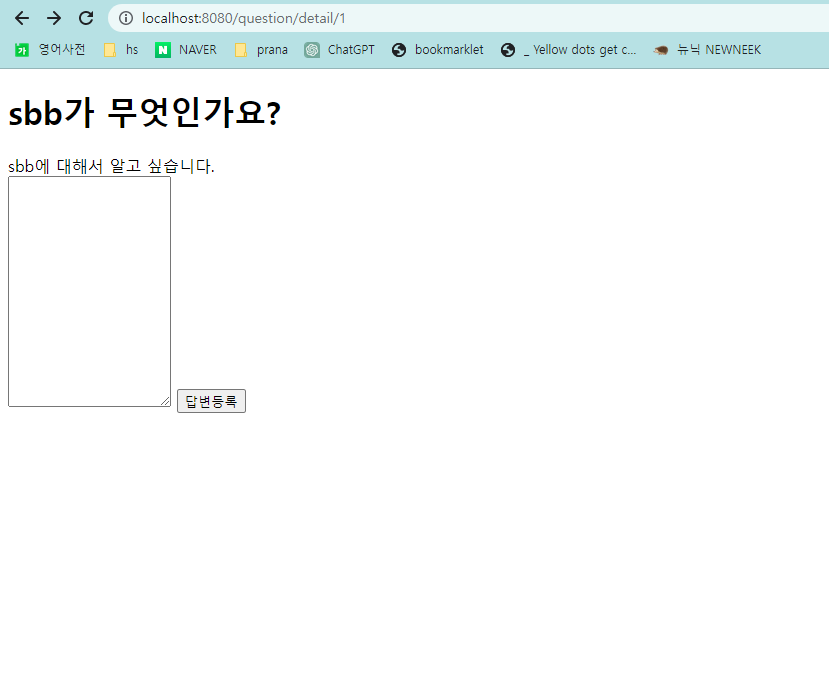
// AnswerController.java
package com.mysite.sbb.answer;

import com.mysite.sbb.question.Question;
import com.mysite.sbb.question.QuestionService;
import lombok.RequiredArgsConstructor;
import org.springframework.stereotype.Controller;
import org.springframework.ui.Model;
import org.springframework.web.bind.annotation.PathVariable;
import org.springframework.web.bind.annotation.PostMapping;
import org.springframework.web.bind.annotation.RequestMapping;
import org.springframework.web.bind.annotation.RequestParam;

@RequestMapping("answer") ----①
@RequiredArgsConstructor
@Controller
public class AnswerController {
    private final QuestionService questionService;

    @PostMapping("create/{id}")----②
    public String createAnswer(Model model, @PathVariable("id") Integer id, @RequestParam String content)---③{
        Question question = this.questionService.getQuestion(id);
        // TODO: 답변을 저장한다.
        // 아직 답변을 저장하는 코드는 작성하지 않고 주석으로 남겨두었다.
        return String.format("redirect:/question/detail/%s", id);
    }
}
① URL 프리픽스도 /answer로 고정
② @GetMapping과 동일하게 매핑을 담당하는 역할을 하지만, POST 요청만 받아들일 경우에 사용한다.
<form th:action="@{|answer/create/${question.id}|}" method="post">
@PostMapping(value="create/{id}" 대신 @PostMapping("create/{id}") 처럼 value는 생략해도 된다.
③ createAnswer 메서드의 매개변수에는 @RequestParam String content 항목이 추가되었다.
-
이 항목은 템플릿에서 답변으로 입력한 내용(content)를 얻기 위해 추가되었다.
-
템플릿의 답변 내용에 해당하는 textarea의 name 속성명이 content이기 때문에 여기서도 변수명을 content로 사용해야 한다.
<textarea name="content" id="content" rows="15"></textarea>
순서
1. localhost:8080으로 들어가면,
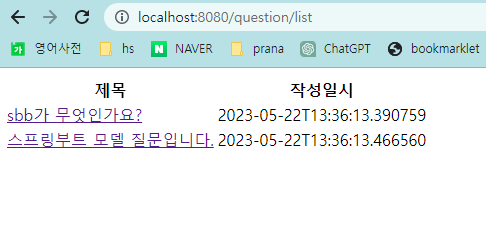
MainController에 의해

question/list 컨트롤러로 redirect되고,
//MainController.java
package com.mysite.sbb;

import org.springframework.stereotype.Controller;
import org.springframework.web.bind.annotation.GetMapping;
import org.springframework.web.bind.annotation.ResponseBody;

@Controller
public class MainController {

    @GetMapping("/sbb")
    @ResponseBody
    public String index(){
        //System.out.println("index");
        return "안녕하세요 sbb에 오신 것을 환영합니다.." + "";
    }

    @GetMapping("/")
    public String root(){
        return "redirect:question/list";
    }
}
2. /question/list
@GetMapping("/list")
    public String list(Model model) {
        List<Question> questionList = this.questionService.getList();
        model.addAttribute("questionList", questionList);
        return "question_list";
    }
여기서는 list에서 question_list.html이라는 template을 반환한다.
<!DOCTYPE html>
<html lang="en" xmlns:th="http://www.w3.org/1999/xhtml">
<head>
    <meta charset="UTF-8">
    <title>Title</title>
</head>
<body>
<table>
    <thead>
    <tr>
        <th>제목</th>
        <th>작성일시</th>
    </tr>
    </thead>
    <tbody>
    <tr th:each="👉question : ✅${questionList}">
        <td>
            <a th:href="@{|detail/${question.id}|}" th:text="${question.subject}"></a>
        </td>
        <td th:text="${question.createDate}"></td>
    </tr>
    </tbody>
</table>
</body>
</html>
✅questionList가 위의 Controller에서 지정한 questionList가 되고, 👉question이라는 변수를 받아 for each문을 사용하여 제목에 a링크를 통해 다른 페이지로 접속할 수 있도록 한다.
html의 th:href="@{|detail/${question.id}|}" 가 해당되며,
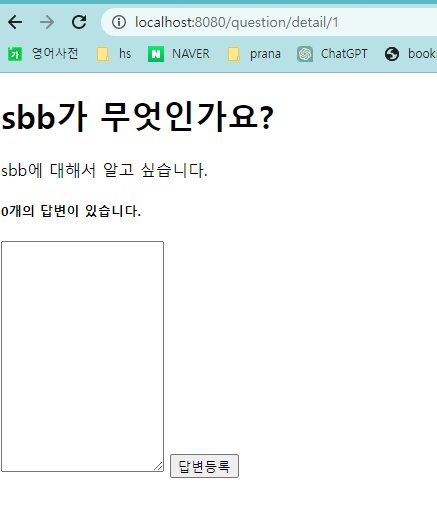
3. /question/detail/{id}
@GetMapping(value="/detail/{id}")
    public String detail(Model model, @PathVariable("id") Integer id){
        Question question = this.questionService.getQuestion(id);
        model.addAttribute("question", question);
        return "question_detail";
    }
클릭한 id 값을 받아서 getQuestion으로 찾고,
question으로 addAttribute로 설정하였다.
GetMapping 과 연결되면서 또 다시 html template인 question_detail 을 반환하게 된다.
(template은 src/main/resources/templates 디렉터리에 위치한다.)
<!DOCTYPE html>
<html lang="en" xmlns:th="http://www.w3.org/1999/xhtml">
<head>
    <meta charset="UTF-8">
    <title>Title</title>
</head>
<body>
        <h1 th:text="${question.subject}"></h1>
        <div th:text="${question.content}"></div>
        <h5 th:text="|${#lists.size(question.answerList)}개의 답변이 있습니다.|"></h5>
        <div>
            <ul>
                <li th:each="answer : ${question.answerList}" th:text="${answer.content}"></li>
            </ul>
        </div>
        <form th:action="@{|/answer/create/${question.id}|}" method="post">
            <textarea name="content" id="content" rows="15"></textarea>
            <input type="submit" value="답변등록">
        </form>
</body>
</html>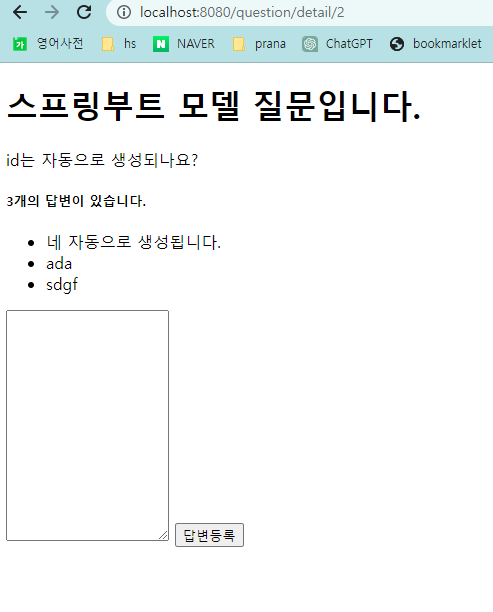
나중에 디자인을 적용한다고 한다.
4. 답변 등록
form에 답변을 등록하면, post 방식으로 action을 통해 데이터를 담아 보내게 된다. 그렇게 되면 submit "답변등록" 버튼을 눌렀을 때,
/answer/create/${question.id}를 받게 된다.
5. /answer/create/{id}
package com.mysite.sbb.answer;

import com.mysite.sbb.question.Question;
import com.mysite.sbb.question.QuestionService;
import lombok.RequiredArgsConstructor;
import org.springframework.stereotype.Controller;
import org.springframework.ui.Model;
import org.springframework.web.bind.annotation.PathVariable;
import org.springframework.web.bind.annotation.PostMapping;
import org.springframework.web.bind.annotation.RequestMapping;
import org.springframework.web.bind.annotation.RequestParam;

@RequestMapping("answer")
@RequiredArgsConstructor
@Controller
public class AnswerController {
    private final QuestionService questionService;
    private final AnswerService answerService;

    @PostMapping("/create/{id}")
    public String createAnswer(Model model, @PathVariable("id") Integer id, @RequestParam String content){
        Question question = this.questionService.getQuestion(id);
        // TODO: 답변을 저장한다.
        this.answerService.create(question, content);
        return String.format("redirect:/question/detail/%s", id);
    }
}
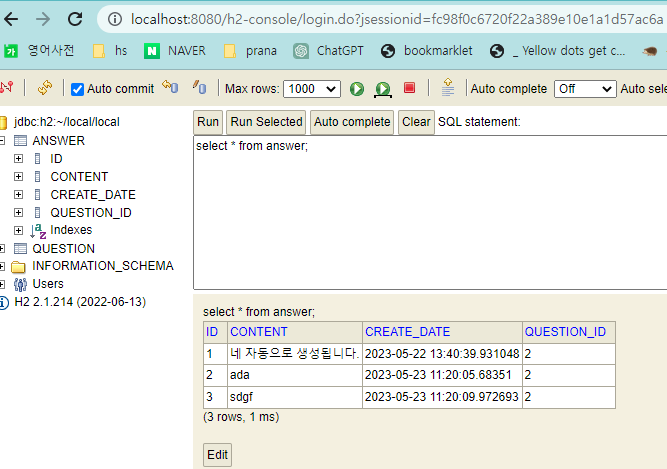
해당 답변 엔티티는 질문의 id를 외래키로 걸어두었기 때문에,
this.answerService.create(question, content); create 메서드에 question과 content를 담아 메서드를 실행시키면,
// AnswerService.java
package com.mysite.sbb.answer;

import com.mysite.sbb.question.Question;
import lombok.RequiredArgsConstructor;
import org.springframework.stereotype.Service;

import java.time.LocalDateTime;

@RequiredArgsConstructor
@Service
public class AnswerService {
    private final AnswerRepository answerRepository;

    public void create(Question question, String content){
        Answer answer = new Answer();
        answer.setContent(content);
        answer.setCreateDate(LocalDateTime.now());
        answer.setQuestion(question);
        this.answerRepository<.save(answer);

    }
}
answer 객체를 생성하고, 내용, 작성일시, 질문을 set한다.
set 한 answer 객체를 save(insert)하고 메서드를 완료하면,
다시 위의 Controller 의 return 문으로 redirect 할 수 있게 한다.
String.format("redirect:/question/detail/%s", id);
//Answer.java
package com.mysite.sbb.answer;

import com.mysite.sbb.question.Question;
import jakarta.persistence.*;
import lombok.Getter;
import lombok.Setter;
import org.springframework.data.annotation.CreatedDate;

import java.time.LocalDateTime;

@Getter
@Setter
@Entity
public class Answer {
    @Id
    @GeneratedValue(strategy = GenerationType.IDENTITY)
    private Integer id;

    @Column(columnDefinition = "TEXT")
    private String content;

    @CreatedDate
    private LocalDateTime createDate;

    @ManyToOne
    private Question question;
}
// Question.java
package com.mysite.sbb.question;

import java.util.List;

import com.mysite.sbb.answer.Answer;
import jakarta.persistence.CascadeType;
import jakarta.persistence.*;
import lombok.Getter;
import lombok.Setter;
import jakarta.persistence.OneToMany;
import java.time.LocalDateTime;

@Getter
@Setter
@Entity
public class Question {
    @Id
    @GeneratedValue(strategy = GenerationType.IDENTITY)
    private Integer id;

    @Column(length = 200)
    private String subject;

    @Column(columnDefinition = "TEXT")
    private String content;

    private LocalDateTime createDate;

    @OneToMany(mappedBy = "question", cascade = CascadeType.REMOVE)
    private List<Answer> answerList;
}
6. 답변 등록 이후
다시 위의 Controller 의 return 문으로 redirect 할 수 있게 한다.
String.format("redirect:/question/detail/%s", id);
- redirect가 되면,
http://localhost:8080/question/detail/{id}로 넘어가게 된다. 등록된 답변이 나타나고, 화면에 개수와 같이 뜨게 된다.