
array
배열 만드는 방법
let array = new Array(3);
array[0]='A';
array[1]='B';
array[2]='C';
console.log(array);
let array2 = new Array(1,2,3)
console.log(array2);
let array3 = [1,2,3,4,5]
console.log(array3);
배열 생성 시 주의할 점
let array4 = new Array(10)
console.log(array4);
console.log(array4.length);
✔ 0자리에 10이 있는게 아니라 10개의 빈 배열이 생기는것.
let array5 = new Array('go')
console.log(array5);
✔ 이때는 0자리에 'go'라는 string이 있음.
출력하기
const subway = ['1호선','2호선','3호선','4호선']👈
//인덱스 번호는 0, 1, 2, 3 length는 4
console.log(subway[2])
console.log(subway.length)
📌 for 문 이용해서 한번에 다 뽑아내는법
for(let i = 0; i<subway.length ; i++) {
    console.log(subway[i])
}
배열 삭제
const subway = ['1호선','2호선','3호선','4호선'] delete subway[2]; console.log(subway) 
👉 delete를 사용하면 배열의 인덱스를 수정하지 않는다. 공간만 비움 (undefined 들어감)
배열 자체 수정하기. 특정 위치 제거
const subway = ['1호선','2호선','3호선','4호선']
subway.splice(2,1)👈
console.log(subway)
powerRanger.shift()👈
console.log(powerRanger)
powerRanger.pop()👈
console.log(powerRanger)
familyName.splice(2,1)
console.log(familyName)
const newFamilyName = familyName.slice(2,3);//-1👈
console.log(newFamilyName)
- splice(시작인덱스, 갯수): 배열 자체를 수정함
- shift()//맨 앞 제거
- pop() : 맨 뒤 제거
- slice :


배열 추가
const powerRanger=['red','green','blue']
console.log(powerRanger.unshift('yellow')) 👈
console.log(powerRanger)
console.log(powerRanger.push('black')) 👈
console.log(powerRanger)
console.log(powerRanger.splice(2,0,'pink',)) 👈
console.log(powerRanger)
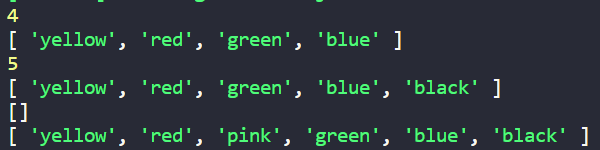
- unshift : 제일 앞 추가
- push : 제일 뒤 추가
- splice() : 중간에 추가(인덱스 번호, 삭제할 갯수,'추가할인덱스')
배열끼리 합치기
const arr1 = [1,2,3]
const arr2 = [4,5,6,7,8,9]
const arrPlus = arr1.concat(arr2) 👈
console.log(arrPlus)
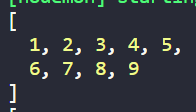
concat : 배열이름1.concat(합칠배열이름)
배열 순서 바꾸기
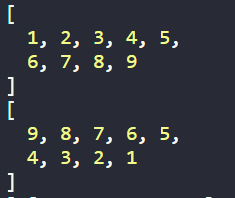
const arrReverse = arrPlus.reverse()
console.log(arrReverse)
배열중첩, 중첩된 배열 합치기
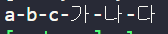
//배열 중첩
let mutiArray = [['a','b','c'],['가','나','다']]👈
console.log(mutiArray);
//중첩된 배열 합치기
const mutiflat = mutiArray.flat(2);👈
console.log(mutiflat)
//배열 문자열로 합치기
const textJoin = mutiflat.join();👈
console.log(textJoin)
const textJoin = mutiflat.join('-');👈
1. 배열 중첩
2. flat() : 중첩된 배열 합치기 flat(합칠 배열의 갯수)
3. join : 배열 문자열로 합치기. join('-') 열 사이에 '-' 넣어서 합치기

const year = ['2022','2023','2024','2025']
console.log(year.indexOf('2024'))//인덱스 번호 반환
console.log(year.includes('2024'))//배열 안에 있는지 t/f
console.log(Array.isArray(year))//배열인지 아닌지(생성자.isArray) t/f
indexof 활용
const value=year.indexOf('2026');
if(value!==-1){
    console.log('값이 있따')
}else{
    console.log('값이 없다')
}
📌 배열과 Date 객체 이용해서 년. 월. 일. 요일 구하기
const today = new Date();
const months = [1, 2, 3, 4, 5, 6, 7, 8, 9, 10, 11, 12]
const week = ['일','월','화','수','목','금','토']
console.log(`오늘은 ${now.getFullYear()}년 ${months[now.getMonth()]}월 ${now.getDate()}일 ${week[now.getDay()]}요일`)
const today = new Date(); const year = today.getFullYear(); const month = today.getMonth() +1; const day = today.getDate(); const weekDay = ['일','월','화','수','목','금','토'] const week = weekDay[today.getDay()]; console.log(`오늘은 ${year}년 ${month}월 ${day}일 ${week}요일`)
DOM
DOM tree
DOM 트리를 구성하는 객체 하나를 노드라고 함.
1. 문서노드 : 전체 문서를 가리키는 Document 객체. document로 참조
2. HTML 요소 노드 : HTML 요소를 가리키는 객체.
3. 텍스트 노드 : 텍스트를 가리키는 객체
노드 객체 가져오기
CSS 선택자로 노드 가져오기
document.querySelector("선택자"); : 맨 첫번째 것 하나만
document.querySelectorAll("선택자"); : 모두 가져옴
적용해보기
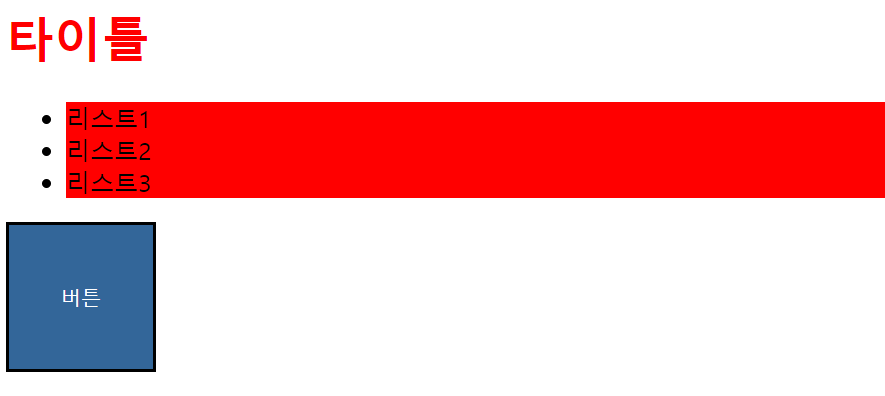
const title = document.querySelector('#logo');
const list = document.querySelectorAll('.list');👈
title.style.color='#f00'👈
list.style.backgroundColor='#369'👈
✔ 반복문으로 list 전체에 스타일 적용하기
for(i = 0; i < list.length; i++){
    list[i].style.backgroundColor='#369';
    }
forEach(대상데이터, 인덱스, 배열)
    list.forEach(li => {
        li.style.backgroundColor='red';
})
✔ classList로 클래스 추가하여 css 스타일 적용
const btn = document.querySelector('#btn');
btn.style.backgroundColor='#369'
btn.classList.add("on")
- querySelectorAll : 유사배열로 받아옴
- 스크립트로 스타일 적용한 것은 우선순위가 높은 인라인으로 들어감. 정적 css를 동적으로 바꿔야 하기 때문. 안바꾸고 싶으면 css에서 !imporant
- querySelectorAll로 불러와도 첫번째에만 적용됨.
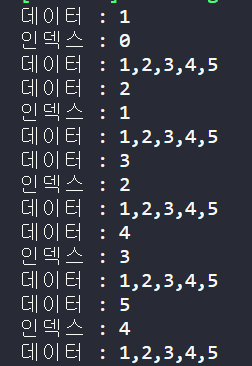
forEach 문 (배열)
let array = [1,2,3,4,5]
function arrFnc(arrlist){
    arrlist.forEach((data,index,arr)=>{
        console.log(`데이터 : ${data}`)
        console.log(`인덱스 : ${index}`)
        console.log(`데이터 : ${arr}`)
    })//function(){}
}
arrFnc(array)
이벤트 처리기 등록
addEventListener
target.addEventListener(type, listener, useCapture);type : 이벤트 유형을 뜻하는 문자열 ("click","mouseup"등)
listender : 이벤트가 발생했을 때 처리할 함수
useCapture : 이벤트 단계
📌h1 태그 클릭하면 배경 색 바꾸기
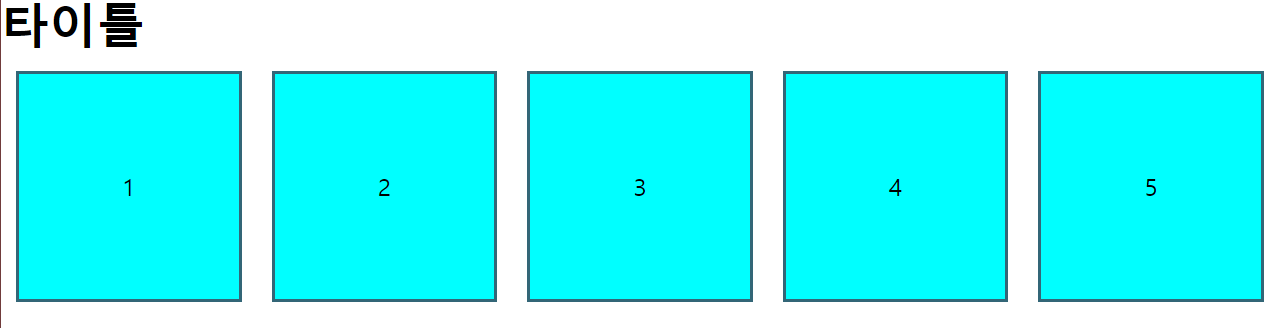
const logo = document.querySelector('#logo')
const list = document.querySelectorAll('.list')
logo.addEventListener('click',() => {
    list.forEach((li)=>{
        li.classList.toggle('on')👈
    })
})
forEach : 배열을 불러옴 (반복함)
toggle : 할당된 클래스 이름이 없는 경우 클래스 이름을 동적으로 설정하거나 특정 클래스가 이미 있는 경우 동적으로 제거할 수 있음
📌list 요소 클릭하면 배경 바뀜

const list = document.querySelectorAll('.list')
list.forEach((li) => {
    li.addEventListener('click', ()=>{
        li.classList.toggle('on')
    })
})
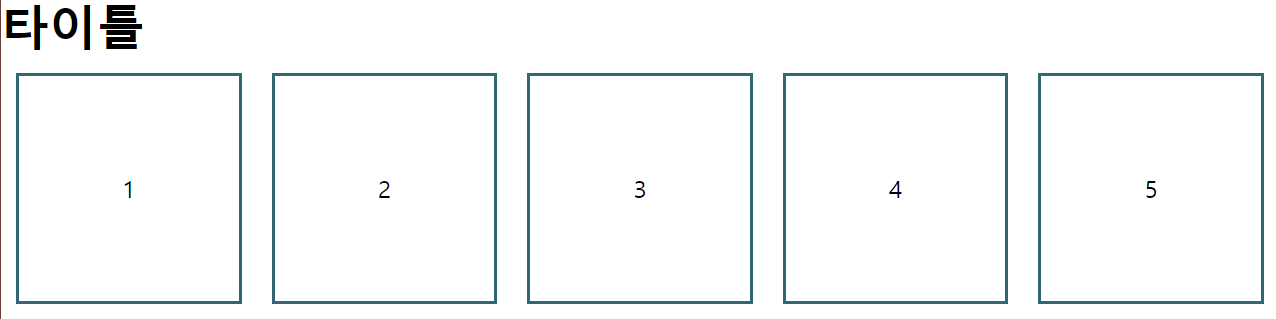
Grid
중첩된 요소에 gird 적용하기

        .container{
            ...
            display: grid;
            grid-template-columns: auto auto auto;
            justify-content: space-between; 👈
            align-content: space-between;
        }
        .item{
            ...
            display: grid;
            justify-items: center;👈
            align-items: center;
        }
        .item div {
            width: 100px;
            height: 100px;
            ...
        }
        .item9 div{
            justify-self: stretch;👈
            align-self: stretch;
            width: auto;
            height: auto;
        }
        .item2 div{
            justify-self: start;👈
            align-self: start;
        }
-
가장 상위 부모요소에 grid 속성 적용. grid-template-columns으로 열 나누고 justify/align-content로 아이템 동일한 간격으로 정렬
-
두번째 부모요소에 grid 속성 적용. align/justify-items로 아이템 가운데 정렬
-
각 아이템에 align/justify-self 이용하여 지정한 아이템에만 스타일 적용