스토리북 메이저 버전이 6에서 7로 업데이트되었다
이번에 새롭게 시작하는 프로젝트에 7버전으로 적용하면서 7버전 기준으로 사용방법 및 스토리북의 주요 기능에 대해 정리해보자
이 포스트는 Next.js 13.4.4버전에 Storybook 7.0.22버전을 사용하는 것을 기준으로 작성되었습니다
스토리북
- https://storybook.js.org/
- 스토리북은 UI 컴포넌트를 개발, 테스트 및 문서화를 위해 이를 사용합니다. 오픈 소스이며 무료입니다.
설치
npx storybook@latest init초기 설정
Path alias 설정(@/)
- Next.js 기본 설정으로 path alias가
@/로 설정되어있다 - 스토리를 만들기 위해 컴포넌트를 import 하면 자동으로 alias가 붙어서 import 되는데 스토리북에선 이것을 인식하지 못한다
- 스토리북 웹팩 설정을 추가로 해주어야 한다
스토리북 관련 공통 설정은 프로젝트 루트에 자동으로 설치된 .storybook폴더에 있는 파일들에서 할 수 있다
webpack.config.ts 파일을 만들고 아래와 같이 설정해준다
import path from "path";

module.exports = ({ config }) => {
  config.resolve.alias = {
    ...config.resolve.alias,
    "@/components": path.resolve(__dirname, "../src/components"),
    "@/styles": path.resolve(__dirname, "../src/styles"),
    "@/utils": path.resolve(__dirname, "../src/utils"),
    "@/constants": path.resolve(__dirname, "../src/constants"),
    public: path.resolve(__dirname, "../public"),
  };
  return config;
};
- 이미지를 public 폴더에 가지고 있는 경우
public/../이미지.png와 같이 public으로 import하기도 하는데 이것도 alias에서 설정해주면 된다 @/*와 같이 한번에 설정을 해주고 싶었지만 스토리북에서 인식하지 못해서 각각 설정해주었다
스토리 만들기
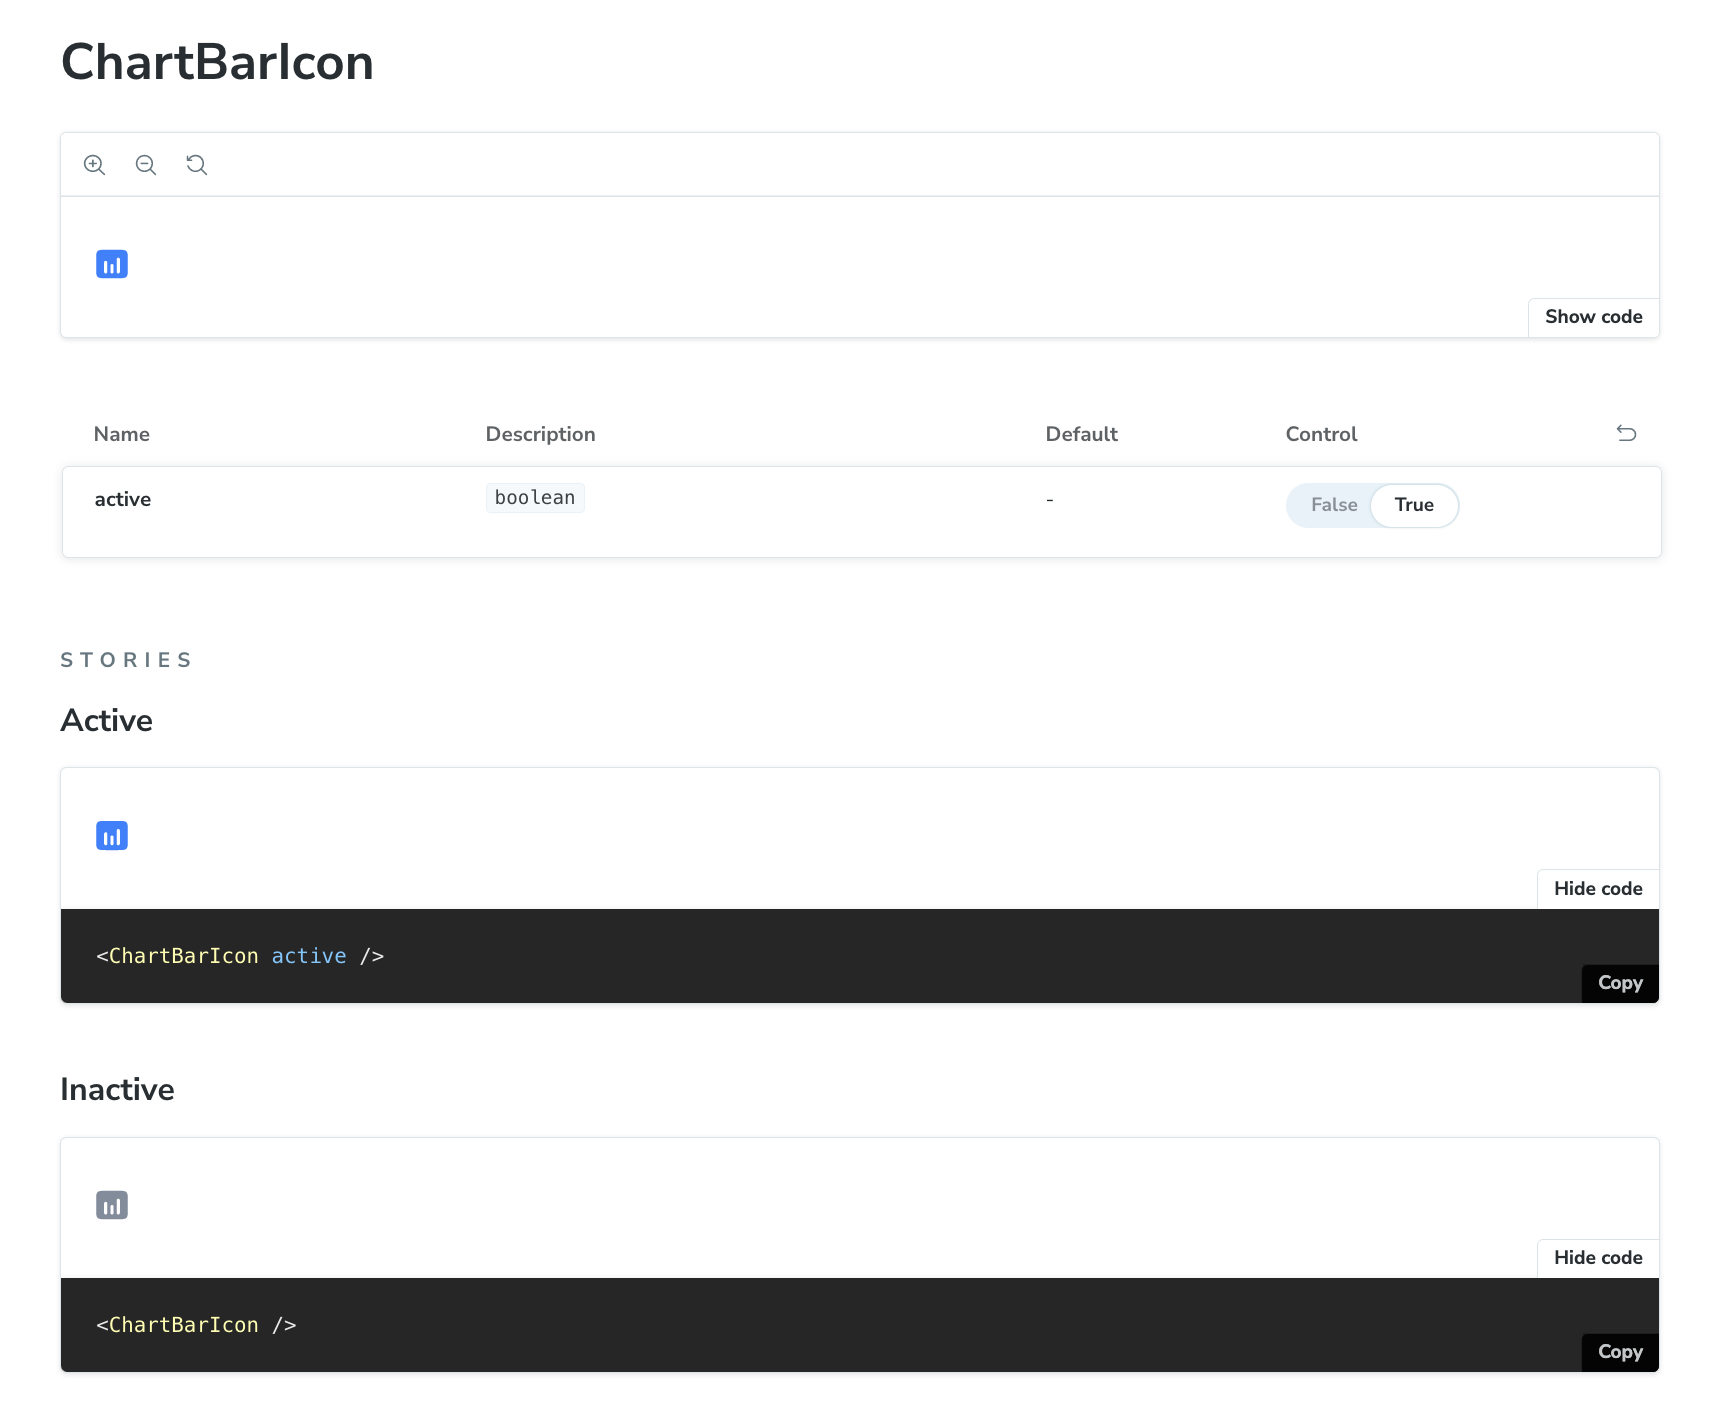
스토리북은 기본적으로 컴포넌트를 문서화하기 좋은 도구이다
아래와 같이 컴포넌트를 문서화 할 수 있다
// 1. 스토리북 타입 임포트
import type { Meta, StoryObj } from "@storybook/react";

// 3. 2번을 작성하면서 컴포넌트 임포트(자동완성)
import ChartBarIcon from "@/components/atoms/icon/ChartBarIcon";

// 2. meta 정보 작성
const meta: Meta<typeof ChartBarIcon> = {
  title: "components/atoms/icon/ChartBarIcon",
  component: ChartBarIcon,
  tags: ["autodocs"],
};

export default meta;
type Story = StoryObj<typeof ChartBarIcon>;

// 4. 스토리 작성
export const Active: Story = {
  args: {
    active: true,
  },
};

export const Inactive: Story = {
  args: {
    active: false,
  },
};
- 4번의 스토리 작성 시 args가 해당 컴포넌트의 각 props 이다
- 위 예시의 컴포넌트는 boolean 타입의 active prop이 하나 존재한다
7버전 주요 기능
// RegistrationForm.stories.ts|tsx
import { userEvent, within } from '@storybook/testing-library';

// ...

export const FilledForm = {
  play: async ({ canvasElement }) => {
    const canvas = within(canvasElement);

    const emailInput = canvas.getByLabelText('email', {
        selector: 'input'
    });
    await userEvent.type(emailInput, 'example-email@email.com', {
        delay: 100
    });

    const passwordInput = canvas.getByLabelText('password', {
        selector: 'input'
    });
    await userEvent.type(passwordInput, 'ExamplePassword', {
        delay: 100
    });

    const submitButton = canvas.getByRole('button');
    await userEvent.click(submitButton);
  },
};- userEvent 같은 테스팅 관련 메서드들이 제공된다
- 이전에도 있었는지는 모르겠지만 이제는 기본적으로 설치 후 제공되는 예제에도 테스팅 관련 예제가 포함되어 있다
3️⃣ Component Story Format v3 trims boilerplate code and improves ergonomics
🛡️ Improved type safety
📚 Docs overhaul with MDX2 support and streamlined doc blocks
🏗️ Frameworks API for streamlined integrations
- https://storybook.js.org/blog/framework-api/
- 🔼 Zero-config NextJS
- 🇸 Zero-config SvelteKit
⚡️ First-class Vite support: Storybook is configured automatically based on your Vite settings, and reduced installation size & startup time.
Improved interaction testing: stabilized test runner and interactions debugger
☂️ Code coverage for interaction tests
🎨 UI design refresh: edge-to-edge layout, redrawn icons & refined forms
🏛️ Improved stability with Ecosystem CI
TODO
- 스토리북 7버전 공식 블로그 예제들 전부 따라해보기

움직이는 만큼 행복해진다